Today I’m sharing a card that was a lot of fun to put together. The images and shapes in the Sea of Textures bundle (Sea of Textures stamp set and Under the Sea Framelits Dies) can be anything from whimsical to realistic. Combined with the Tranquil Textures Designer Series Paper, they help you create amazing underwater scenes.
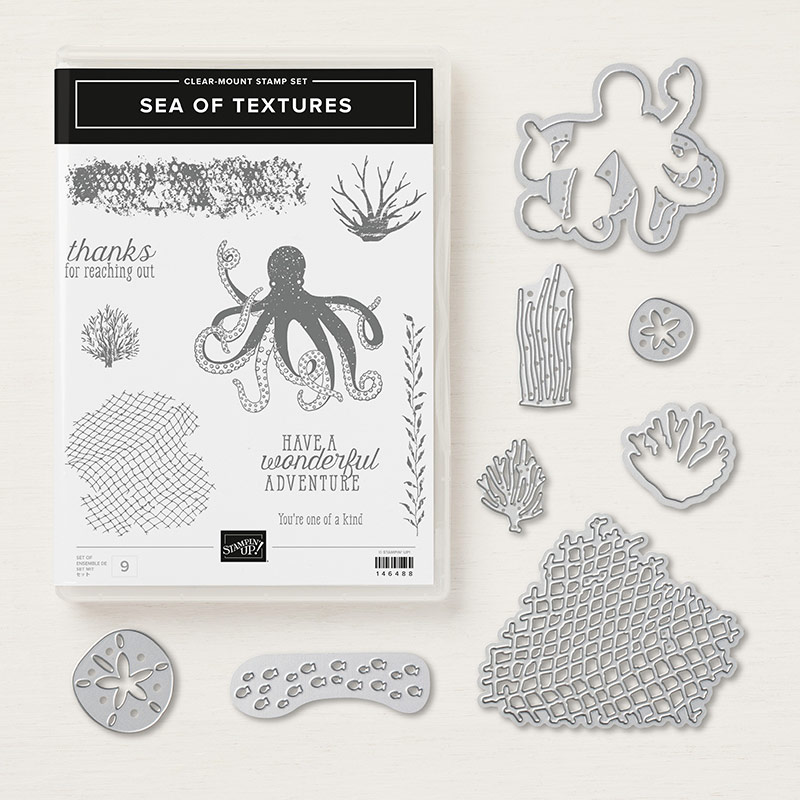
Sea of Textures Bundle © Stampin’ Up!
Here’s what I made:


Here’s what I did:
Cut and scored with my Stampin’ Trimmer:
- Shaded Spruce card stock (CS) cut to 8-1/2″ x 5-1/2″, then scored in half at 4-1/4″
- Mint Macaron CS cut to 4-1/8″ x 5-3/8″
- Tranquil Textures Designer Series Paper (DSP) cut to 4″ x 5-1/4″
- Whisper White CS cut to 4″ x 5-1/4″ for the inside of the card
Stamped with the Tranquil Tide stamp set:
- tall kelp image in Shaded Spruce ink onto the DSP layer along the bottom
- sentiment and octopus in Shaded Spruce ink onto a scrap of Soft Sea Foam CS
Die cut using the Under The Sea Framelits:
- octopus
- netting from scraps of Fresh Fig and Mint Macaron CS
- various coral shapes from Balmy Blue, Mint Macaron, and Shaded Spruce CS
- one large and one small sand dollar from Sahara Sand CS
- school of fish from Fresh Fig CS
Cut using the Classic Label Punch:
- sentiment – Cut it close to one end, then stuck it back into the punch and cut it near the other end.
Assembled the card:
- burnished the fold in the card base with a Bone Folder
- die cut fish, large sand dollar, corals, nets, and octopus glued onto the DSP layer – trimming extra bits of netting with Paper Snips
- sentiment adhered to the DSP layer using Stampin’ Dimensionals
- small sand dollar glued onto the Whisper White CS
- Whisper White CS glued onto the inside of the card base
An easier way:
- It took a few minutes to glue all those tiny Fresh Fig fish onto the card front. There’s a simpler way to get essentially the same effect. Place the die on the DSP layer and cut the fish from it. Then put a layer of Fresh Fig CS under the DSP so it shows through the tiny fish shaped holes.
Here are today’s colors:
You can click on each one to see all the products that come in that color!
Here’s what I used:
Click on these images for more details and to purchase.
Here’s some information you should check out:
- Click here for your free catalog.
- Join my team to get a discount on your stamping supplies!
- SUBSCRIBE to my weekly newsletter and daily blog updates.
- June Host Code 9K74TMW4 – receive free product!
- Earn Gumball Rewards – receive free product!
- Gift Certificates are available in any U.S. dollar amount from me. Contact me for details.
Thanks for stopping by today, and Sweet Stamping!