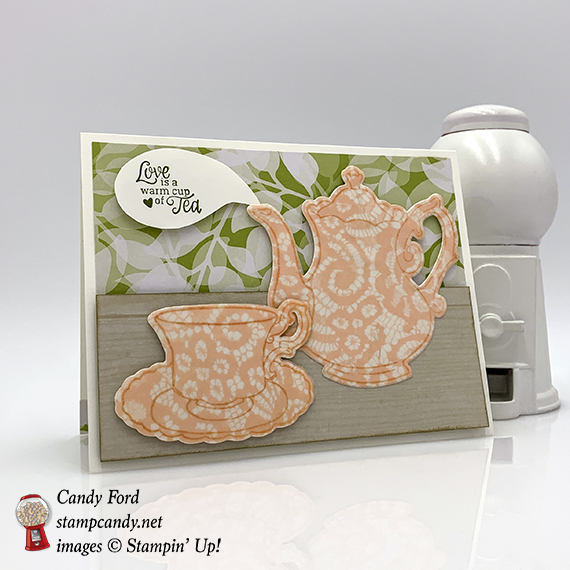
For today’s card I tried to create a scene of a teapot and cup & saucer on a wooden table. I thought the lacy pink vellum from the Floral Romance Designer Series Paper was a perfect pattern for a china tea set. The china pieces and sentiment are from the Tea Together stamp set from the Occasions catalog, and the coordinating Tea Time Framelits Dies. The dies are a Sale-a-bration item and are available for free with a $100 order, but only through March 31 or while supplies last, so don’t wait.
Here’s what I made:
Very often I put nothing on the inside of my cards, leaving plenty of room for a handwritten note. But lately I’ve been more in the mood to adorn the inside, even if it’s just with a strip of paper, like this one: 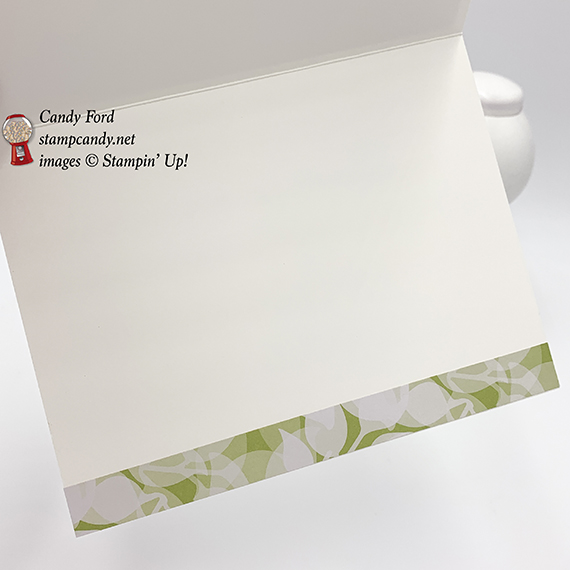 S
S
Here’s what I did:
Cut and scored with my Stampin’ Trimmer:
- Whisper White Thick card stock (CS) cut to 5-1/2″ x 8-1/2″, then scored in half at 4-1/4″
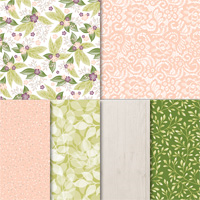
- Floral Romance Designer Series Paper (DSP) cut to 5-1/4″ x 2-1/2″ (leaves)
- DSP (leaves) cut to 5-1/2″ x 1/2″
- DSP (wood) cut to 5-1/4″ x 2″
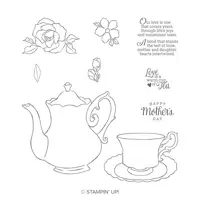
Stamped with the Tea Together stamp set:
- teapot and cup images in Petal Pink ink onto the lacy vellum DSP
- NOTE: the Stamparatus makes this much easier since the stamps tends to slide around on the vellum
- sentiment in Mossy Meadow ink onto a scrap of Whisper White Thick CS
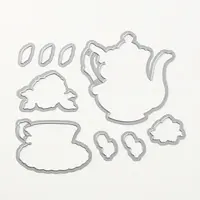
Die cut using the Tea Time Framelits:
- the stamped vellum teapot and cup
- teapot and cup shapes from a scrap of Whisper White Thick CS, to back the vellum ones
Colored using a Sponge Dauber:
- the edges of the wood DSP layer in Sahara Sand ink, to give the “table” some dimension
Cut using Paper Snips:
- the stamped sentiment so look like steam coming out of the teapot
- I first laid the scrap of CS with the sentiment under the teapot and drew the shape with a pencil
Assembled the card:
- burnished the fold in the card base with a Bone Folder
- small DSP strip glued onto the inside bottom edge of the card base
- larger leaves DSP layer glued onto the front of the card base
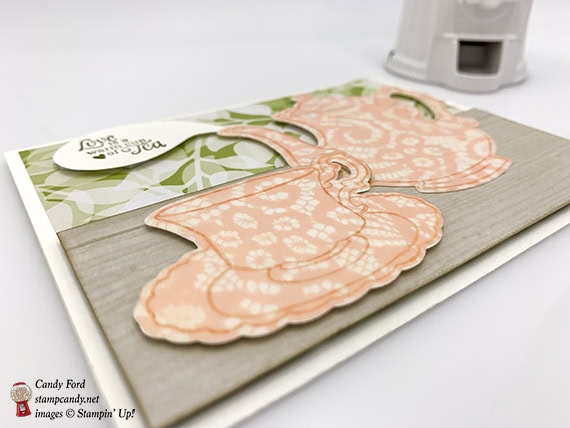
- vellum teapot and cup glued onto the Whisper White CS versions of the same shapes
- NOTE: I applied glue to the entire front of the Whisper White die cut shapes, then applied the vellum on top. If the glue is everywhere, you don’t notice it through the vellum. Be very careful when doing this step. I accidentally got a cat hair between two of the layers, which luckily doesn’t show in the photos.
- teapot glued onto the wood DSP layer
- cup adhered onto the wood DSP layer using Stampin’ Dimensionals (if you think this makes the card too thick, you can glue the cup onto the layer)
- wood DSP/teapot adhered onto the front of the card base using Stampin’ Dimensionals
- sentiment adhered onto the leaves DSP layer using Stampin’ Dimensionals, with the tip tucked under the teapot spout.
S
Here are today’s colors:
You can click on each one to see all the products that come in that color!
S
Here’s what I used:
Click on these images for more details and to purchase.
The Tea Time Framelits Dies are free with a $100 purchase, through March 31 or while supplies last.


S
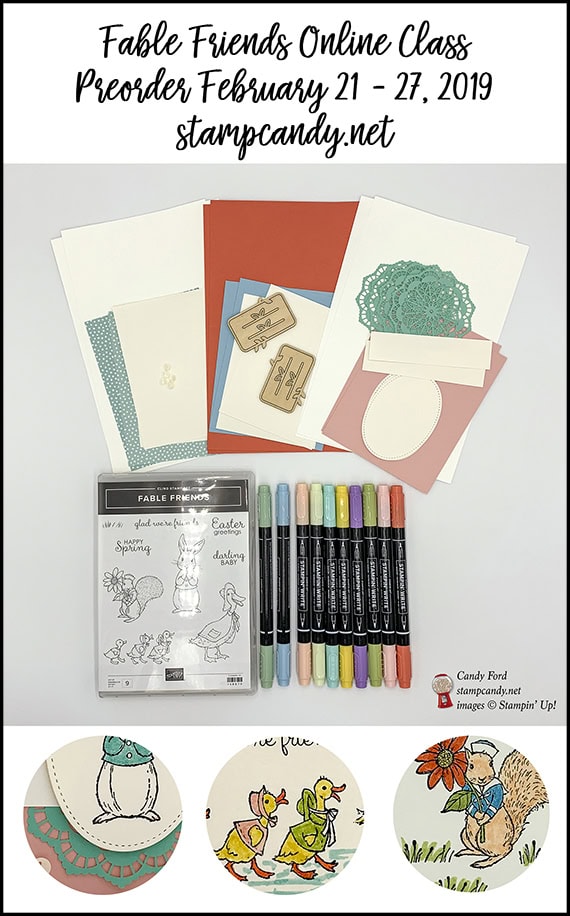
Preorder the Fable Friends Online Class by February 27!
- Make 6 adorable cards at home in your PJs!
- 2 each of 3 designs
- Perfect for Spring occasions
- Limited spots available!
Click on the image below for details:
S
Here are some helpful links to check out:
- Sale-a-bration!!!– earn free items!
- Shop my online store
- Clearance Rack
- SUBSCRIBE to my weekly newsletter and daily blog updates.
- February Host Code X2T6W47T – receive free product!
- Earn Gumball Rewards – receive free products!
- Gift Certificates are available in any U.S. dollar amount from me. Contact me for details.
- Have you shopped from me within the past year? Join my private VIP Facebook group for exclusive project tutorials and more!
- Join my team! Sale-a-bration is a super time to join! You get so much extra!!!

S
Thanks for stopping by today, and Sweet Stamping!