
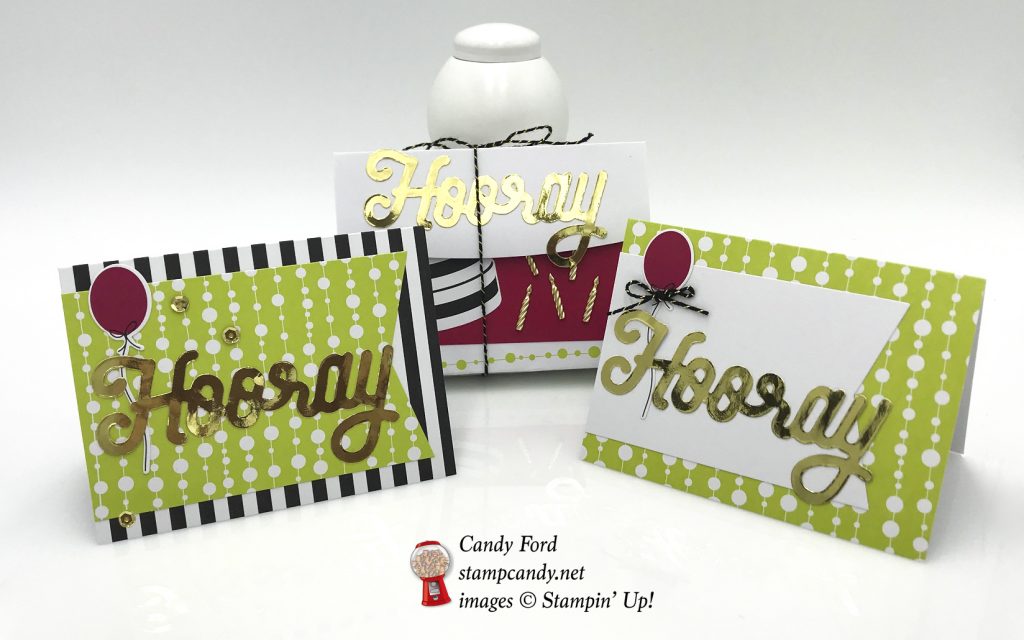
It’s time for the APPT (A Paper Pumpkin Thing) Blog Hop for June. This month’s PP kit, called Broadway Star, coordinates with the new Broadway Bound suite in the annual catalog, and it is a winner winner chicken dinner! It’s all so fun and bright and cheery. You can’t help but smile. For today’s hop I made some small note cards and a holder to store them in.
There are so many different things you can make using this kit, especially when you combine it with the products in the suite. I decided to keep it rather simple. The Candle Embellishments are the only thing from the suite I used on my projects. I didn’t even use a stamp, even though the ones in the PP kit and the ones in the suite are terrific.
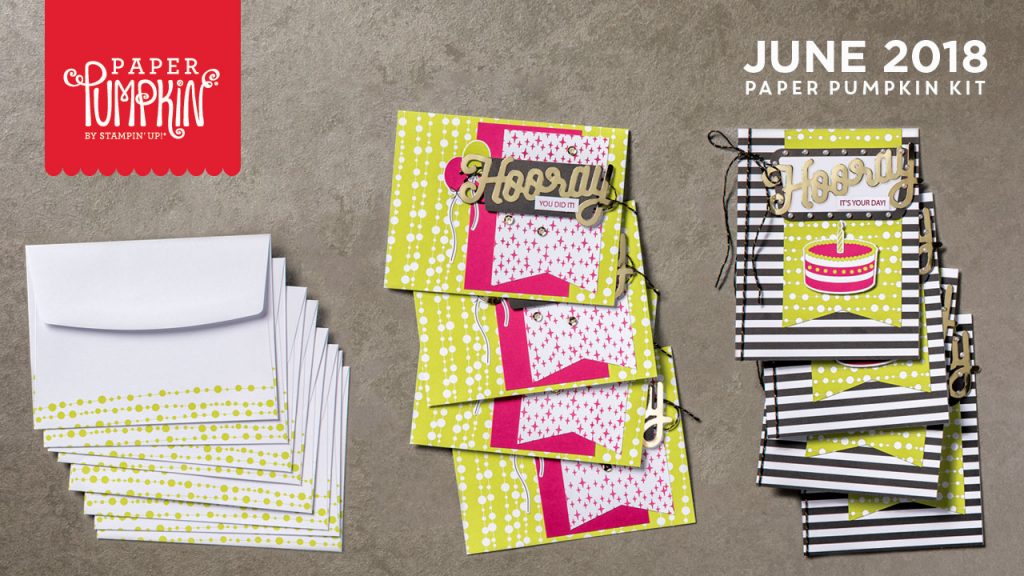
This is the Paper Pumpkin kit…
…and this is the suite from the catalog.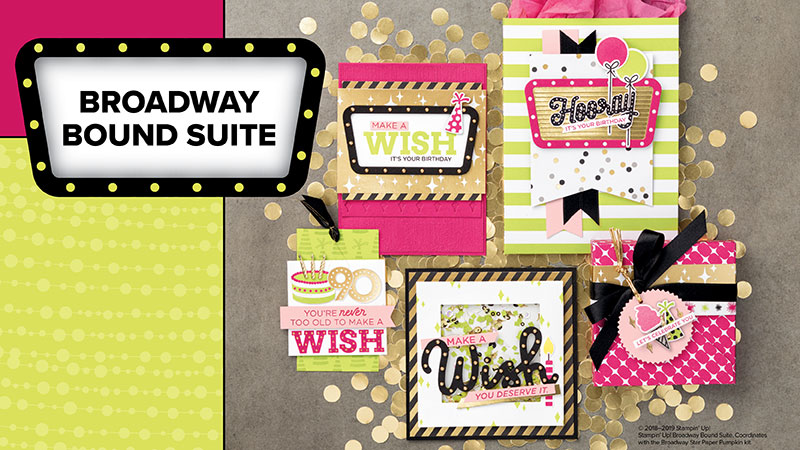
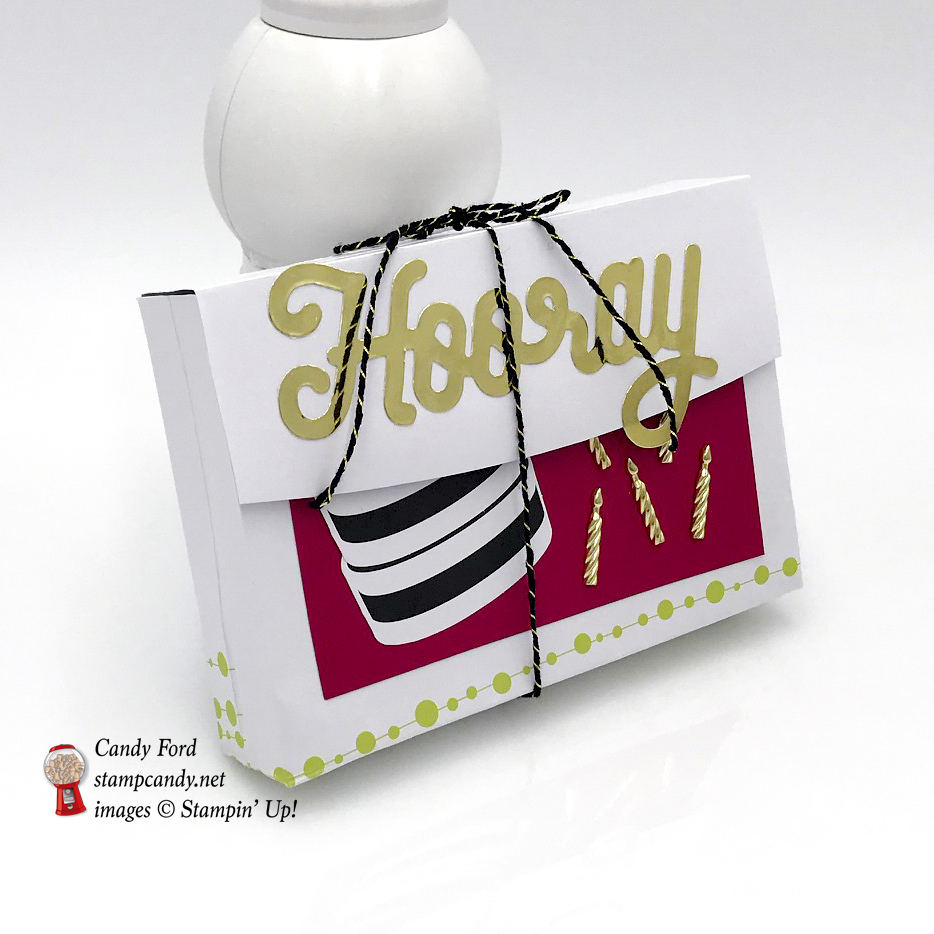
Here’s what I made:

Here’s what I did:
Cut and scored with my Stampin’ Trimmer:
- cut 3 black striped and 3 green cards down to 4-1/2″ x 6-3/4″, making sure to keep the score line centered, so once the cards are folded they measure 4-1/2″ x 3-3/8″ – in other words, cut 1″ x 8-1/2″ strip off the long side, and cut 7/8″ off each end
- scored one of the envelopes 1/2″ in from either side and 1/2″ in from the bottom, then burnished the folds with a bone folder
Cut using Paper Snips:
- cut away the outer edges of the envelope flap, that fall outside the score lines
Assembled the cards:
- burnished the fold in the card bases with a Bone Folder
- banners applied onto the front of the card bases (green onto the black card, and white onto the green card)
- balloon applied to the left side of the card front
- gold Hooray applied to the banner
- tied bows with the black & gold twine from the kit and adhered them to the balloons on the green cards using a rolled up glue dot
- applied self stick sequins to the front of the black & white cards
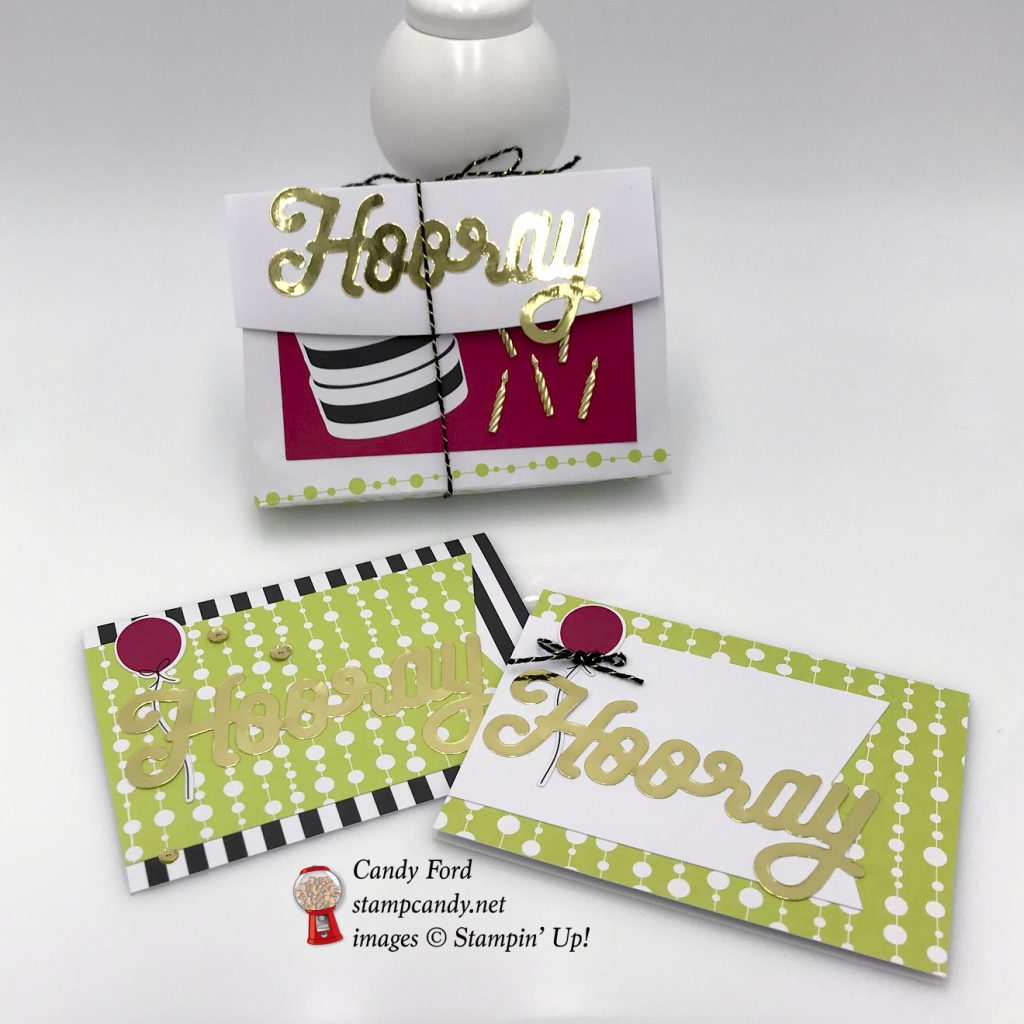
Assembled the holder:
- applied a self stick red layer onto the front of the envelope
- glued two cakes together to make a taller cake, then glued them onto the red layer
- applied 5 gold candles onto the red layer
- applied a self stick gold Hooray onto the front of the flap
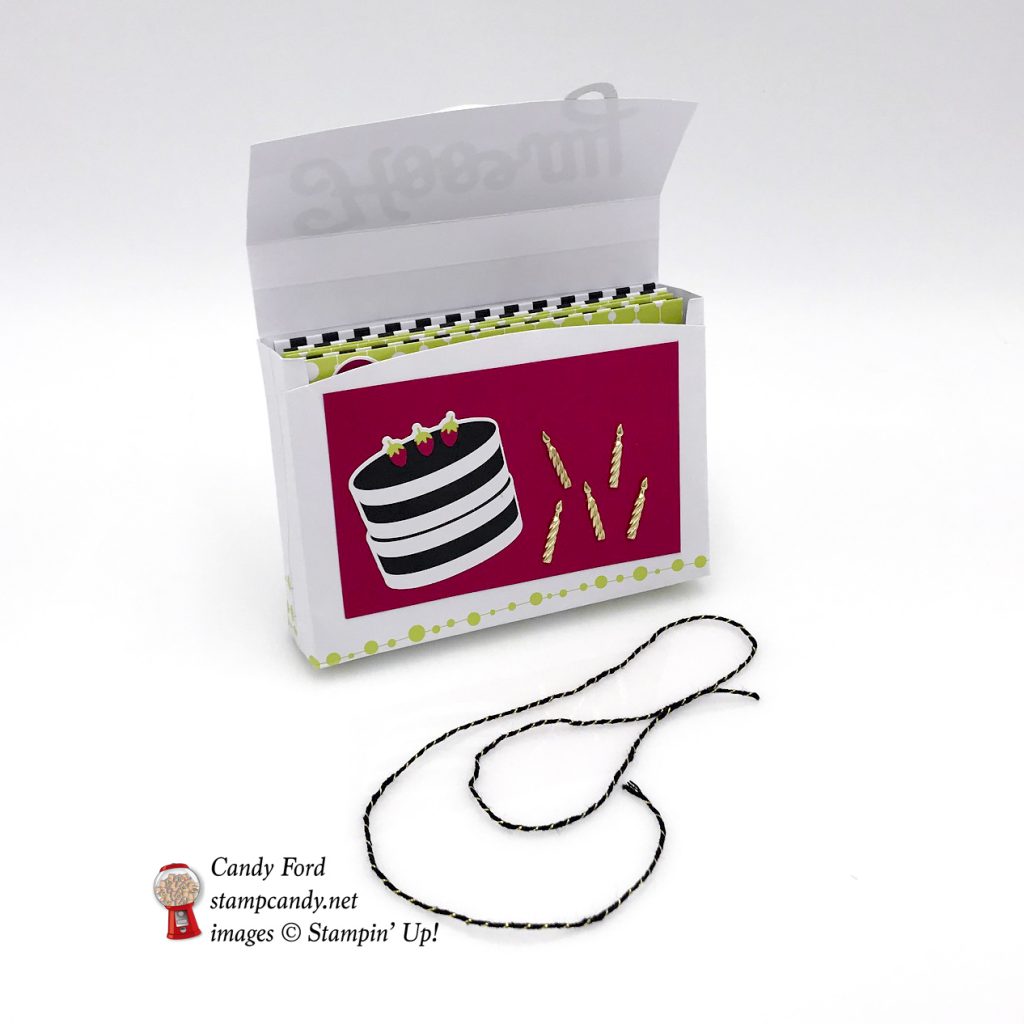
- used an Embossing Buddy to powder the bits of the Hooray that stick out from the flap, so they wouldn’t be sticky
- with one hand inside the envelope and one hand outside, flattened the sides and bottom until they were square
- tucked under the points at the bottom corners and glued them to the bottom of the holder
- put the cards in the holder and tied it closed with a piece of the black & gold twine
Here’s the APPT hop:
You can follow the list, or just click on Next to go to the next stop on the hop!

Here are today’s colors:
You can click on each one to see all the products that come in that color!
Here’s what I used:
Click on these images for more details and to purchase.
Here’s how to get Paper Pumpkin:
The easiest, and least expensive, way to subscribe to Paper Pumpkin is with a 12 month prepaid subscription. There are also 6-month, 3-month, and 1-month prepaid subscriptions. Click on the images below to purchase. Or you can CLICK HERE to subscribe on a month-to-month basis.
Here’s the Broadway Bound Suite:
Here’s some information for you to check out:
- Shop my online store
- Clearance Rack
- Click here for your free catalog.
- Join my team to get a discount on your stamping supplies!
- SUBSCRIBE to my weekly newsletter and daily blog updates.
- June Host Code 9K74TMW4– receive free product!
- Earn Gumball Rewards – receive free products!
- Gift Certificates are available in any U.S. dollar amount from me. Contact me for details.
Thanks for stopping by today, and Sweet Stamping!


I love your card holder and cards. Thanks
Thanks, Anita!
I love your adorable note cards and note card holder, Candy! I’m glad you shared the tip for using the embossing buddy to get the stickiness off the back sides of the Hooray sticker, too. 😉
Thanks so much, Rachel!
It never occurred to me to make a taller cake – that was clever. Thanks for sharing your note cards and box idea and all the details.
Thanks so much, Monika!