May 6, 2020 | Cards, Gallery |
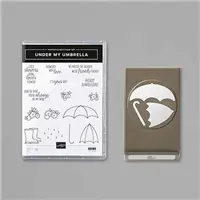
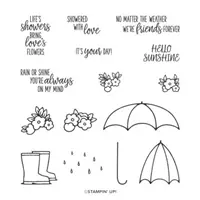
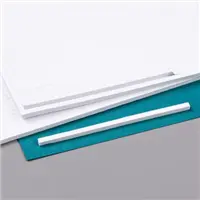
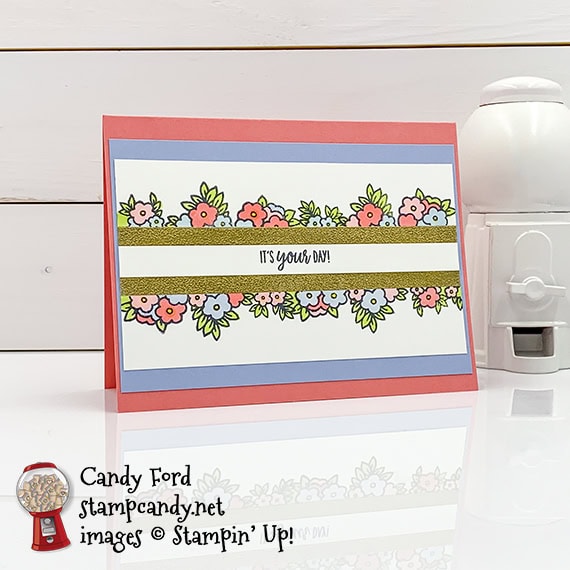
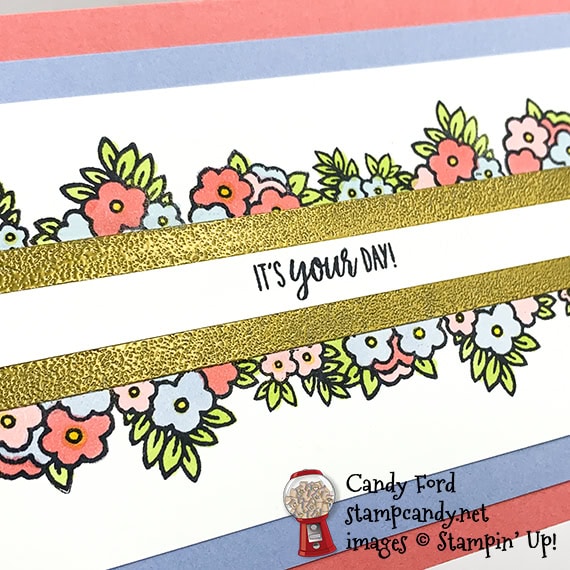
Today’s card is another project from my May Stamp Club. I used the Under My Umbrella stamp set, but didn’t use an umbrella. Instead I used the flower stamps from the set, along with a heat embossing technique using Tear & Tape. x
If you are reading this in email, some photos may appear blurry, or may not appear at all. Please click here to see the post on my blog.
Last Chance Products:
These products will be retiring soon. Get them while you can, because they will start to sell out quickly. See all the products in my online store here.
S My Umbrella My Umbrella My Umbrella
Here’s what I made:
S
Here’s what I did:
Cut and scored with my paper trimmer:
- Flirty Flamingo card stock (CS) cut to 5-1/2″ x 8-1/2″, then scored in half at 4-1/4″
- Seaside Spray CS layer cut to 5-3/8″ x 3-5/8″
- Whisper White CS layer cut to 5-1/4″ x 3″
- Whisper White CS cut to 5-1/4″ x 4″ for the inside of the card base
Stamped with the Under My Umbrella stamp set:
- sentiment in Tuxedo Black Memento ink onto the center of the Whisper White CS layer
- two pieces of Tear and Tape applied onto the Whisper White CS layer, above and below the sentiment (left the backing on the Tear & Tape) then flowers stamped in Tuxedo Black Memento ink along the Tear and Tape
Colored using Stampin’ Blends Markers:
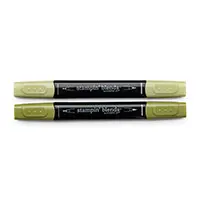
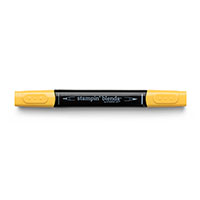
- flowers in Flirty Flamingo, Seaside Spray, Granny Apple Green, and Pineapple Punch
Heat embossed:
- dusted Whisper White CS layer with an Embossing Buddy
- pulled off Tear & Tape backing
- covered the two strips of adhesive in gold embossing powder, and tapped off the excess
- used a Heat Tool to melt the embossing powder
Assembled the card:
- burnished the fold in the card base with a Bone Folder
- Seaside Spray CS layer glued onto the front of the card base
- Whisper White CS layer glued onto the Seaside Spray CS layer
- Whisper White CS glued onto the inside of the card base
S
Here are today’s colors:
You can click on each one to see all the products that come in that color!
S
Here’s what I used:
Click on these images for more details and to purchase. If you are reading this post in email, the product images may not show up. Click here to see the post on my blog.
Supply ListClick “Supply List” for a clickable and printable list of the products!
S
Here are some helpful links:
Thanks for stopping by today, and Sweet Stamping!
May 5, 2020 | Cards, Gallery, Holiday |
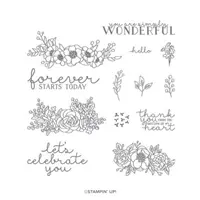
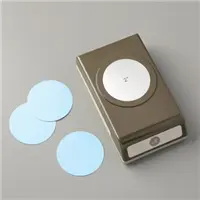
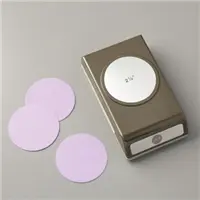
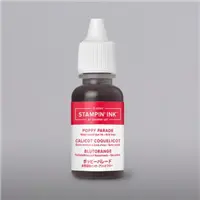
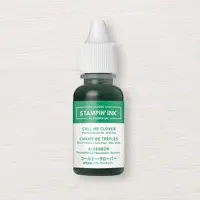
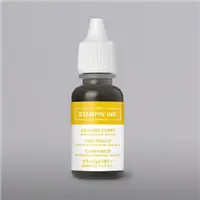
Happy Cinco de Mayo! Today’s card is not a Cinco de Mayo card, but it was inspired by the colors in the graphic below: Poppy Parade, Call Me Clover, and Crushed Curry. I used the Bloom & Grow stamp set for the floral image and the sentiment, then watercolored using Stampin’ Ink Refills and an Aqua Painter. I also used a couple of Circle Punches and the Layering Circles Dies. If you prefer, you can use the dies for the three cut circles.

If you are reading this in email, some photos may appear blurry, or may not appear at all. Please click here to see the post on my blog.
Last Chance Products:
These products will be retiring soon. Get them while you can!. See all the remaining items in my online store here.
S Cinco Cinco Cinco Cinco Cinco Cinco
Here’s what I made:


S
Here’s what I did:
Cut and scored with my paper trimmer:
- Call Me Clover card stock (CS) cut to 5-1/2″ x 8-1/2″, then scored in half at 4-1/4″
- Crushed Curry CS layer cut to 5-1/4″ x 4″
- Watercolor Paper cut to 5″ x 2-1/2″
- Whisper White CS cut to 5-1/4″ x 4″ for the inside of the card base
Stamped with the Bloom & Grow stamp set:
- floral image in Jet Black Stazon ink onto the Watercolor Paper layer
- sentiment in Jet Black Stazon ink onto a scrap of Watercolor Paper layer
Cut using the 2″ Circle Punch:
Cut using the 2-1/4″ Circle Punch:
- a scrap of Poppy Parade CS
Cut using the Layering Circles Dies:
- a scrap of Call Me Clover CS a little bigger than the Poppy Parade punched circle
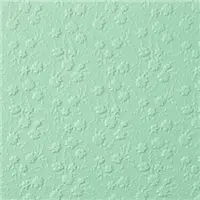
Embossed using the Ornate Floral 3D Embossing Folder:
- the Crushed Curry CS layer
Colored using an Aqua Painter & Stampin’ Ink Refills:
- flowers in Poppy Parade and Crushed Curry
- leaves in Call Me Clover and Crushed Curry
- sentiment background in Crushed Curry
- NOTE: I used a large acrylic block as a paint palette. I didn’t put water in the Aqua Painter. Instead I used a bowl of water and a paper towel to more precisely control the amount of water.
Assembled the card:
- burnished the fold in the card base with a Bone Folder
- embossed Crushed Curry CS layer glued onto the front of the card base
- Watercolor Paper layer glued onto the Crushed Curry CS
- 2 pieces of ribbon adhered onto the Crushed Curry CS layer using Tear & Tape
- sentiment glued onto the Poppy Parade CS circle
- Poppy Parade CS circle glued onto the Call Me Clover CS circle
- Call Me Clover CS circle glued over ribbon and layers
- Whisper White CS glued onto the inside of the card base

S
Here are today’s Cinco de Mayo colors:
You can click on each one to see all the products that come in that color!
S
Here’s what I used:
Click on these images for more details and to purchase. If you are reading this post in email, the product images may not show up. Click here to see the post on my blog.
Supply List <— Click for a clickable and printable list of the products!
S
Here are some helpful links:
Thanks for stopping by today, and Sweet Stamping!
May 4, 2020 | Cards, Gallery |
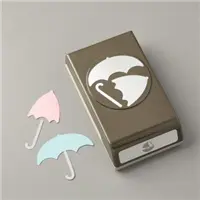
Today I’m sharing another card I made for my May Stamp Club. I used the Under My Umbrella bundle (Under My Umbrella stamp set and Umbrella Builder Punch) with the Stitched So Sweetly Dies and Best Dressed Designer Series Paper. I don’t have any Old Olive ribbon, so I used a Dark Old Olive Stampin’ Blends Marker to color some Whisper White 1/4″ Crinkled Seam Binding Ribbon.
If you are reading this in email, some photos may appear blurry, or may not appear at all. Please click here to see the post on my blog.

These products will be retiring soon. Get them while you can, because they will start to sell out quickly. See all the products in my online store here.
S under my under my under my under my
Here’s what I made:

S
Here’s what I did:
Cut and scored with my paper trimmer:
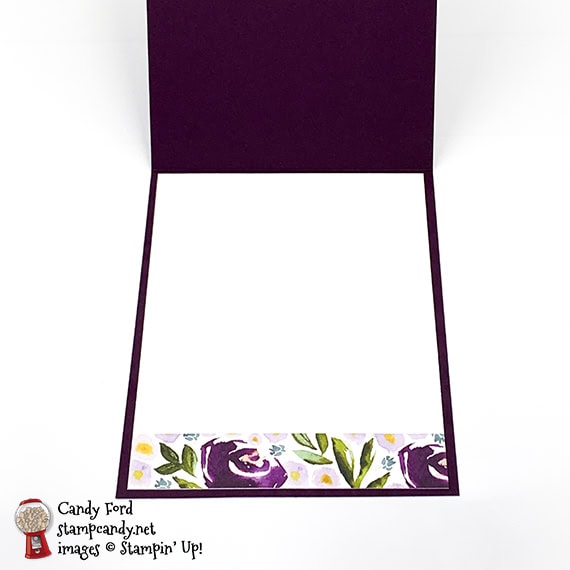
- Blackberry Bliss card stock (CS) cut to 4-1/4″ x 11″, then scored in half at 5-1/2″
- Best Dressed Designer Series Paper (DSP) layer cut to 4″ x 5-1/4″
- Old Olive CS layer cut to 4-1/8″ x 5-3/8″
- Whisper White CS layer cut to 2-1/8″ x 3-1/4″
- DSP cut to 4″ x 3/4″
- Whisper White CS cut to 4″ x 5-1/4″ for the inside of the card base
Stamped with the Under My Umbrella stamp set:
- sentiment in Tuxedo Black Memento ink onto the top left corner of the Whisper White CS layer
- umbrella in Tuxedo Black Memento ink onto a scrap of DSP
- flowers in Tuxedo Black Memento ink onto a scrap of Whisper White CS
Colored using Stampin’ Blends Markers:
- flowers in Purple Posy, Old Olive, and Daffodil Delight
- about 15″ of white ribbon in Dark Old Olive
Cut using the Stitched So Sweetly Dies:
- scalloped rectangle from a scrap of Blackberry Bliss CS
Cut using the Umbrella Builder Punch:
- stamped umbrella
- umbrella handle from a scrap of Basic Black CS
Cut using Paper Snips:
Assembled the card:
- burnished the fold in the card base with a Bone Folder
- DSP layer glued onto the Old Olive CS layer
- colored ribbon adhered onto the DSP layer using Tear & Tape, and the ends wrapped around to the back of the Old Olive CS layer
- another piece of the colored ribbon tied around the first piece, and tied in a bow, on the right side
- die cut Blackberry Bliss CS scalloped rectangle glued over the ribbon, onto the DSP layer
- Whisper White CS layer glued onto the Blackberry Bliss CS scalloped rectangle
- umbrella and handle glued onto the lower left corner of the Whisper White CS layer
- flowers glued over the umbrella and handle
- 3/4″ DSP strip glued onto the bottom edge of the Whisper White CS for the inside of the card base
- Whisper White CS glued onto the inside of the card base
S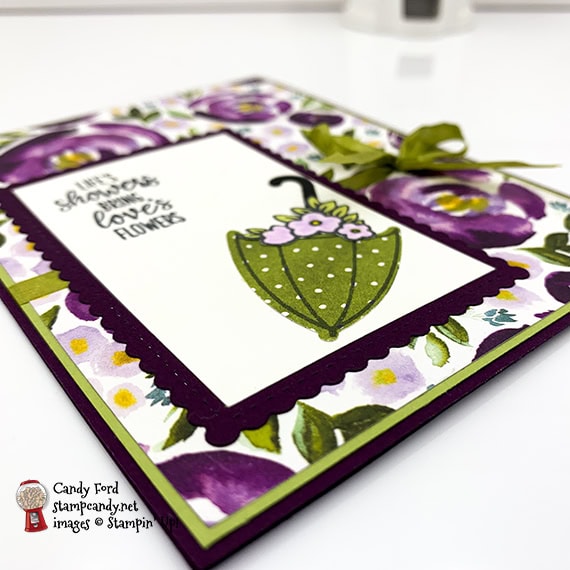
S
Here are today’s main colors:
You can click on each one to see all the products that come in that color!
S
Here’s what I used:
Click on these images for more details and to purchase. If you are reading this post in email, the product images may not show up. Click here to see the post on my blog.
Supply ListClick “Supply List” for a clickable and printable list of the products!
S
Here are some helpful links:
S
Thanks for stopping by today, and Sweet Stamping!
Apr 30, 2020 | Bags, Blog Hop, Cards, Gallery |

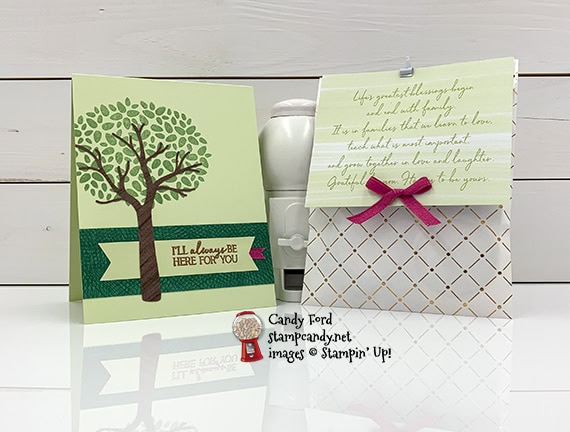
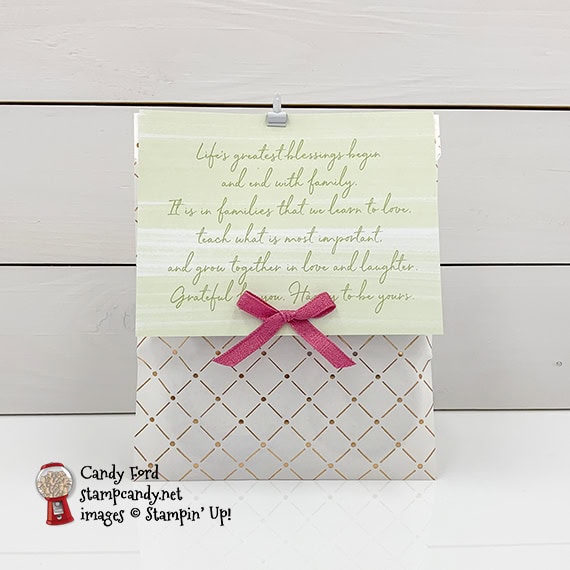
Welcome to the April 2020 APPT Blog Hop! This month’s kit is called My Wonderful Family and it makes 8 cards great to send to your kinfolk. I used the kit to make an alternate card and a gift bag of cookies. Be sure to hop around to all the stops on the and see all the great alternate projects made with this kit.
If you are reading this in email, some photos may appear blurry, or may not appear at all. Please click here to see the post on my blog.
S 2020 APPT Blog Hop April 2020 APPT Blog Hop April 2020 APPT Blog Hop
Here’s what I made:
S
Here’s what I did:
Cut and scored with my paper trimmer:
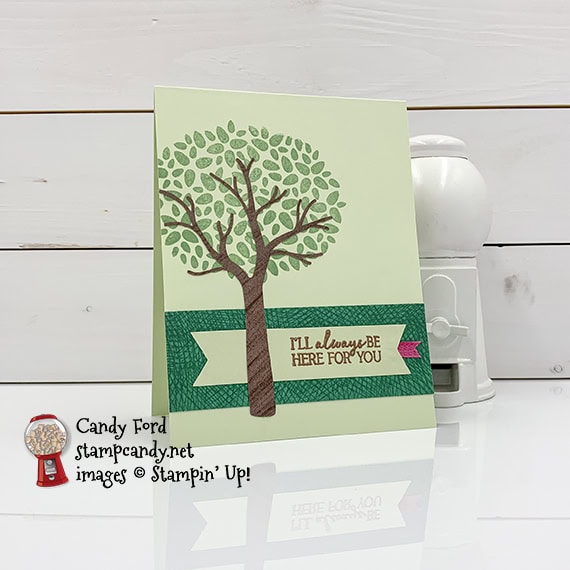
- Soft Sea Foam card stock (CS) cut to 4-1/4″ x 11″, then scored in half at 5-1/2″
- 4-1/4″ x 1-1/2″ cut from the printed end of a card base from the kit
- optional: Whisper White CS cut to 4″ x 5-1/4″ for the inside of the card base
Stamped with the My Wonderful Family stamp set:
- leaves of the tree in Mint Macaron ink onto the front of the card base, to the left
- sentiment in Versamark ink onto a Soft Sea Foam banner from the kit, then heat embossed in copper
Assembled the card:
- burnished the fold in the card base with a Bone Folder
- 4-1/4″ x 1-1/2″ patterned piece glued onto the front of the card base
- piece of ribbon from the kit notched at one end using Paper Snips, then adhered onto the back of the sentiment at the end
- sentiment glued onto the patterned piece
- tree die cut glued over the stamped leaves and the sentiment
- optional: Whisper White CS glued onto the inside of the card base
Assembled the bag:
- folded over the top of the bag and burnished the fold with a Bone Folder
- text piece from the kit clipped onto the top of the bag with a Mini Library Clip
- ribbon from the kit tied in a bow, then adhered onto the text piece with a Mini Glue Dot
S
Here’s the April 2020 APPT Blog Hop:
S
Here are today’s colors:
You can click on each one to see all the products that come in that color!
S
Here’s what I used:
Click on these images for more details and to purchase. If you are reading this post in email, the product images may not show up. Click here to see the post on my blog.
Supply List Click “Supply List” for a clickable and printable list of the products!
S
Here are some helpful links:
Thanks for stopping by today, and Sweet Stamping!
Apr 28, 2020 | Blog Hop, Boxes, Cards, Gallery |

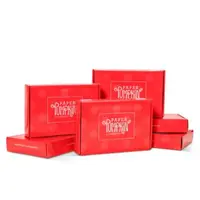
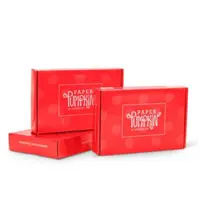
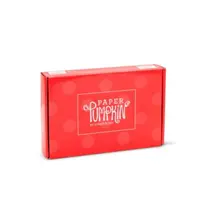
It’s time for the April 2020 PPP Blog Hop – My Wonderful Family. This month’s kit is all about family. It’s designed to make 8 cards. I’ve made an alternate card and a matching Mini Pizza Box for Mother’s Day. Be sure to hop around to all the stops and see all the great alternate projects made with the My Wonderful Family kit! https://bit.ly/34OqoUo
If you are reading this in email, some photos may appear blurry, or may not appear at all. Please click here to see the post on my blog.
S PPP Blog Hop – My Wonderful Family PPP Blog Hop – My Wonderful Family PPP Blog Hop – My Wonderful Family PPP Blog Hop – My Wonderful Family
Here’s what I made:


S
Here’s what I did:
Cut and scored with my paper trimmer:
- Crushed Curry card stock (CS) cut to 4-1/4″ x 11″, then scored in half at 5-1/2″
- Whisper White CS layer cut to 4-1/8″ x 5-3/8″
- 2″ x 4-1/8″ cut off the printed end of a card base from the kit
- 2-1/4″ x 4-1/4″ cut off the printed end of another card base from the kit
- optional: Whisper White CS cut to 4″ x 5-1/4″ for the inside of the card base
Stamped with the My Wonderful Family stamp set:
- sentiment in Shaded Spruce ink onto a die cut label from the kit
Cut using Paper Snips:
- each end of a Crushed Curry die cut strip to match the ends of the white label
Colored using a Stampin’ Blends Marker:
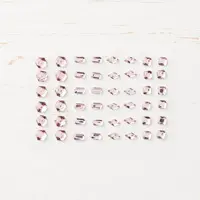
- 4 Petal Pink Rhinestones in Dark Mango Melody
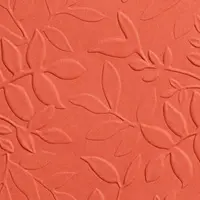
Embossed using the Layered Leaves 3D Embossing Folder:
Assembled the card:
- burnished the fold in the Crushed Curry CS card base with a Bone Folder
- embossed layer glued onto the front of the card base
- 2″ x 4-1/8″ patterned piece glued onto the embossed layer
- large die cut leaf glued over the patterned piece and embossed layer
- sentiment glued onto the Crushed Curry strip
- Crushed Curry strip adhered over the leaf using Stampin’ Dimensionals
- colored rhinestone applied onto the body of a die cut butterfly
- butterfly adhered onto the embossed layer using Mini Stampin’ Dimensionals
- optional: Whisper White CS glued onto the inside of the card base
Assembled the box:
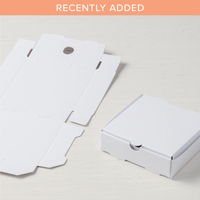
- burnished the folds in the pizza box with a Bone Folder and folded to assemble
- 2-1/4″ x 4-1/4″ patterned piece glued onto the lid of the box, going part way down the two sides
- large die cut leaf glued over the patterned piece and the box lid
- 3 remaining colored rhinestones applied onto the bodies of 3 more butterflies
- butterflies adhered onto the box using Mini Stampin’ Dimensionals
S
Here’s the PPP Blog Hop – My Wonderful Family:
Click the pumpkin to hop to the next stop, Lisa Ann Bernard of Queen B Creations.
S
Here are today’s main colors:
You can click on each one to see all the products that come in that color!
S
Here’s what I used:
Click on these images for more details and to purchase. If you are reading this post in email, the product images may not show up. Click hereto see the post on my blog.
Supply List Click “Supply List” for a clickable and printable list of the products!
S
Here are some helpful links:
Thanks for stopping by today, and Sweet Stamping!
Apr 24, 2020 | Cards, Gallery |
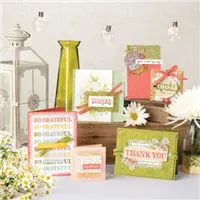
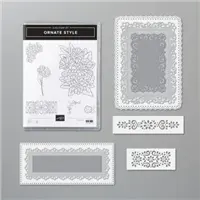
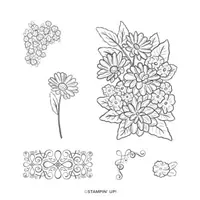
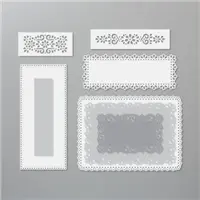
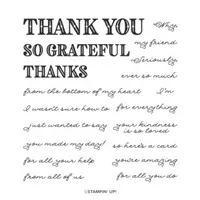
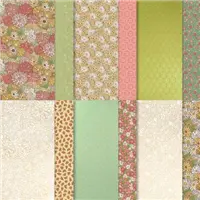
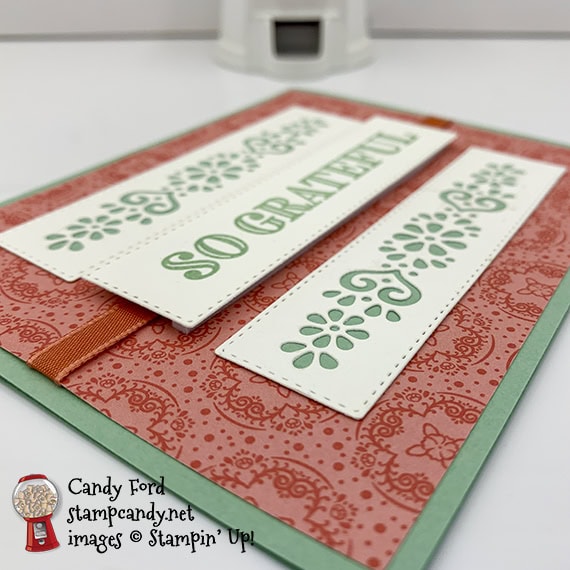
Today’s card was not one of our Candy Heart team meeting Make & Take projects, but I thought I’d go ahead and finish out the week with the Ornate Garden Suite Bundle. I used Ornate Thanks and Ornate Style stamp sets and the Ornate Layers Dies along with the Ornate Garden Specialty Designer Series Paper to create this So Grateful thank you card.
If you are reading this in email, some photos may appear blurry, or may not appear at all. Please click here to see the post on my blog.
S
But first, check out these Last Chance Products:
These products will be retiring soon. Get them while you can, because they will start to sell out quickly. Click on each one to download the list.
S Ornate Thanks Ornate Thanks Ornate Thanks
Now, here’s what I made:
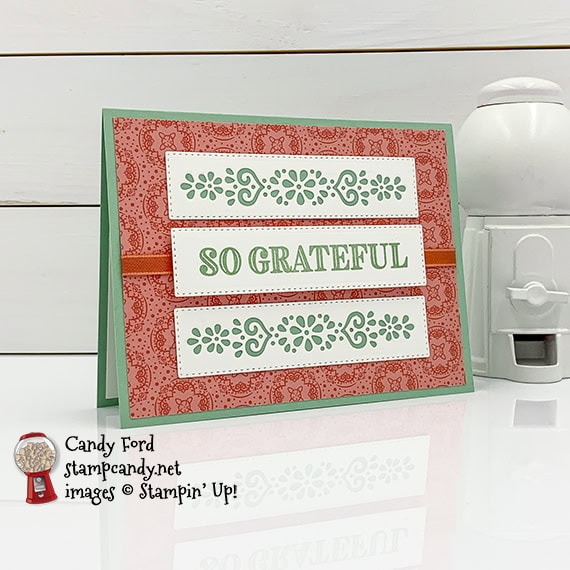
S
Here’s what I did:
Cut and scored with my paper trimmer:
- Mint Macaron card stock (CS) cut to 5-1/2″ x 8-1/2″, then scored in half at 4-1/4″
- Ornate Garden Specialty Designer Series Paper (DSP) layer cut to 5-1/4″ x 4″
- 2 pieces of Mint Macaron CS cut to 3-7/8”x7/8”
- Whisper White CS cut to 5-1/4″ x 4″ for the inside of the card base
Stamped with the Ornate Thanks stamp set:
- sentiment in Mint Macaron ink onto a scrap of Whisper White Thick CS
Stamped with the Ornate Style stamp set:
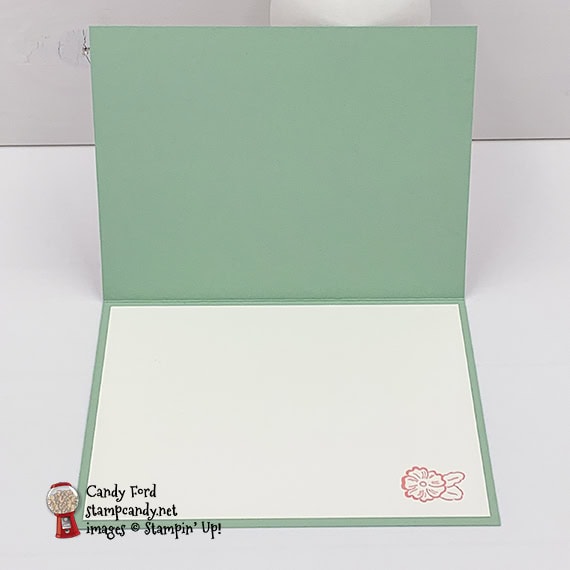
- flower in Terracotta Tile ink onto the Whisper White CS for the inside of the card base
Cut using the Ornate Layers Dies:
- sentiment
- two pieces of Whisper White Thick CS with the same rectangle die, and with the decorative die in the middle
Assembled the card:
- burnished the fold in the card base with a Bone Folder
- Terracotta Tile ribbon adhered onto the DSP layer using Tear & Tape, wrapping the ends around to the back
- DSP layer glued onto the front of the card base
- sentiment adhered onto the DSP layer, over the ribbon, using Foam Adhesive Strips
- Mint Macaron CS strips glued onto the backs of the two remaining die cut pieces, so it showed through the design, then glued onto the DSP layer
- Whisper White CS glued onto the inside of the card base
S
Here are today’s colors:
You can click on each one to see all the products that come in that color!
S
Here’s what I used:
Click on these images for more details and to purchase. If you are reading this post in email, the product images may not show up. Click here to see the post on my blog.
Supply List Click “Supply List” for a clickable and printable list of the products!
S
Here are some helpful links:
Thanks for stopping by today, and Sweet Stamping!


