Mar 15, 2023 | Blog Hop, Cards |
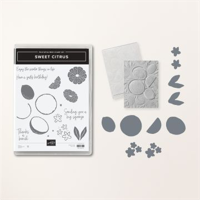
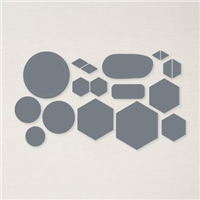
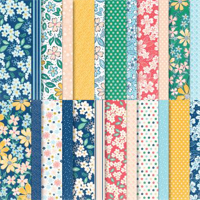
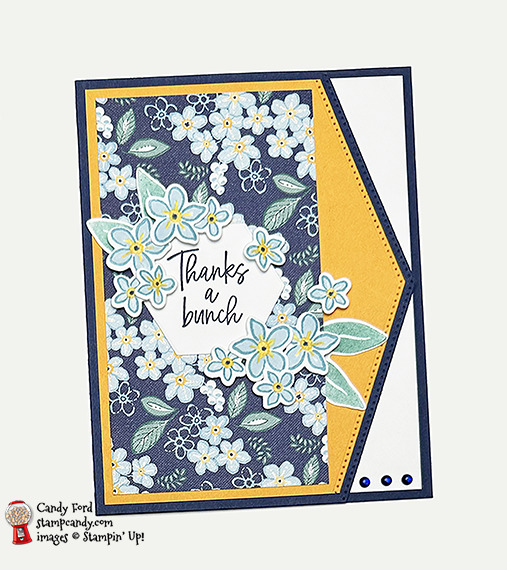
Welcome to the March 2023 IRBH (InKing Royalty Blog Hop)! This month we are focusing on Flowers. I used the Sweet Citrus Bundle along with Regency Park Designer Series Paper, Basic Borders Dies, and Beautiful Shapes Dies to create my floral card today. After reading this post, I hope you will hop to the next blog on the hop, Renae Novak at Blessed by Cards. Scroll down below the directions for my card to see the whole blog hop list.
If you are reading this in email, some photos may appear blurry, or may not appear at all. Please click here to see the post on my blog.
S March 2023 IRBH – Flowers March 2023 IRBH – Flowers March 2023 IRBH – Flowers March 2023 IRBH – Flowers
Here’s what I made:
S
#stampcandy
Here’s what I did:
Cut and scored with my paper trimmer:
- Night of Navy card stock (CS) cut to 8-1/2″ x 5-1/2″, and scored in half at 4-1/4″
- Mango Melody CS layer cut to 4″ x 5-1/4″
- Regency Park Designer Series Paper (DSP) layer cut to 2-3/4″ x 5″
- Basic White CS cut to 4″ x 5-1/4″ for the inside of the card base
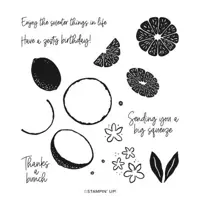
Stamped with the Sweet Citrus stamp set:
- sentiment in Night of Navy ink onto a scrap of Basic White CS
- flowers in Balmy Blue ink onto a scrap of Basic White CS
- flower centers in Daffodil Delight ink
- leaves in Shaded Spruce ink (stamped off) onto a scrap of Basic White CS
Colored the flowers using:
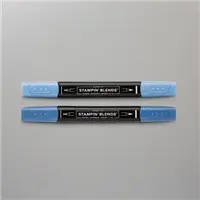
- Light Balmy Blue Stampin’ Blends Marker for petals
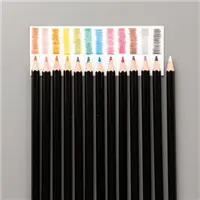
- Daffodil Delight Watercolor Pencil for petals
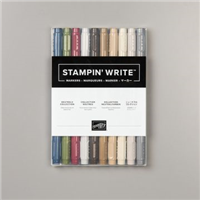
- Dark Night of Navy Stampin’ Blends Marker (or Night of Navy Stampin’ Write Marker) for center dot
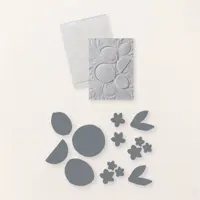
Cut using the Sweet Citrus Dies (part of Sweet Citrus Hybrid Embossing Folder):
- all stamped flowers & leaves
Cut using the Beautiful Shapes Dies:
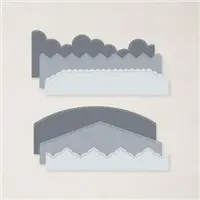
Cut using the Basic Borders Dies:
- the right edge of the Mango Melody CS layer
- the right edge of the card base front
Assembled the card:
- burnished the fold in the card base with a Bone Folder
- Mango Melody CS layer glued onto the card base front
- DSP layer glued onto the Mango Melody CS layer
- sentiment glued onto the DSP layer
- leaves glued and flowers adhered with Stampin’ Dimensionals around sentiment
- Basic White CS glued onto the inside of the card base
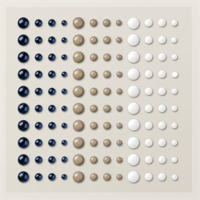
- 3 Night of Navy Enamel Dot Essentials applied to the Basic White CS with a Take Your Pick tool
S
Here’s the March 2023 IRBH:
Thank you for hopping along with us. If you get stuck during the Blog Hop, please use this line-up as a guide:
- Brian King at Stamp with Brian
- Jackie Beers at Blue Line Stamping
- Pam Morris at Tap Tap Stamp
- Ann Murray at Murray Stamps Ink
- Robin Myren at Songbird Designs by Robin
- Candy Ford at Stamp Candy <—– YOU ARE HERE!
- Renae Novak at Blessed by Cards
- Sue Jackson at Just Peachy Stamping
- Jan Dufour at Stamp Me Silly
- Joanne Wittington at The Inky Dragon
- Jessica Atchison at Stampin with the Atchisons
s
Here are today’s colors:
You can click on each one to see all the products that come in that color!
S
Here’s what I used:
Click on these images for more details and to purchase. If you are reading this post in email, the product images may not show up. Please click here to see the post on my blog.
Supply List. <— Click for a clickable and printable list of the products!
s
Here’s some news!
Stampin’ Up! has announced that there will be a color refresh with the new 2023-2024 Annual Catalog. (We already know Pretty Peacock and Lost Lagoon are coming back.) If there are any items from the current Annual Catalog that you want, I recommend ordering them as soon as you can, because some things are already selling off the shelves, especially ink pads and refills. Once they announce exactly which colors will be leaving, those will sell out very quickly, so don’t wait!
This is a teaser photo that Stampin’ Up! shared with demonstrators recently. I can’t wait to see it in color! But even in the black & white version, you can tell there is a nice mix of light, medium, and deep shades coming.

Here are some helpful links:
Thanks for stopping by today, and Sweet Stamping!
Nov 16, 2022 | Autumn, Blog Hop, Cards, Fun Folds, Gallery, Thanks, Thanksgiving |
 s
s
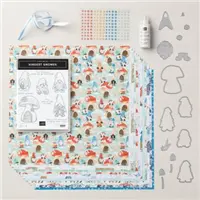
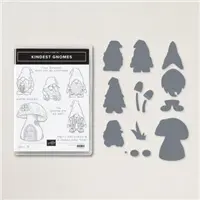
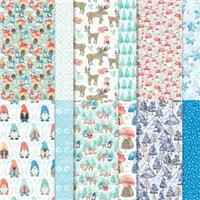
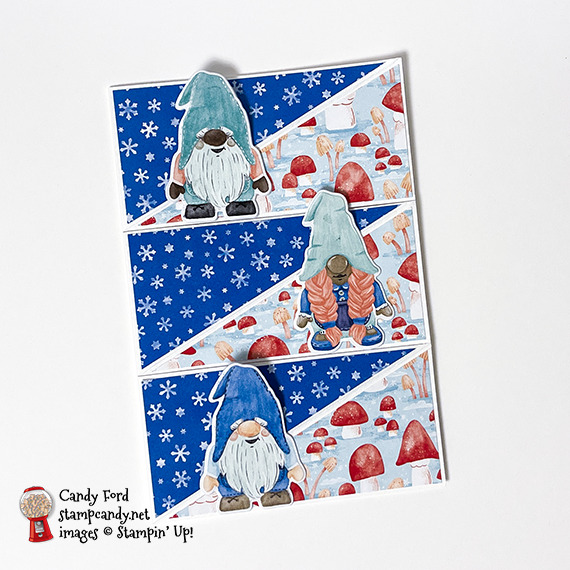
Welcome to the November 2022 Inking Royalty Blog Hop! This month’s blog hop is dedicated to showing Thanks. I used products from the Storybook Gnomes Suite Collection to create Tri-Panel Twisted Easel Card. I CASEd a card made by Marciene Ingram, but I changed the measurements and a few other things about it. We both used products from the Storybook Gnomes Suite Collection, just different ones. And I love that this Designer Series Paper (DSP) is so inclusive with black, brown, and white gnomes.
I am a paper gal. I love stamping, but I’m really all about the paper. The sentiment is the only stamped element of this card. It’s all DSP and cardstock.
We are excited to share our creations and hope you love them! After reading my post, I hope you will hop to the next person on the list below. Be sure to hop around to see ALL the great projects the Royals have created for you!
If you are reading this in email, some photos may appear blurry, or may not appear at all. Please click here to see the post on my blog.
S November 2022 Inking Royalty Blog Hop November 2022 Inking Royalty Blog Hop November 2022 Inking Royalty Blog Hop November 2022 Inking Royalty Blog Hop
Here’s what I made:


S
Here’s what I did:
Cut with my Paper Trimmer:
- Storybook Gnomes Designer Series Paper (DSP) (2 pieces snowflake pattern) cut to 4″ x 1-7/8″ then cut in half diagonally from top right corner to bottom left corner (should have 4 triangular pieces)*
- DSP (3 pieces mushroom pattern) cut to 4″ x 1-7/8″ then cut in half diagonally from top right corner to bottom left corner (should have 6 triangular pieces)*
- 4-1/4″ x 6-1/4″ Basic White Memories & More Card cut to 6-3/16″ tall
- front of the card base cut horizontally at 2-1/16″ and 4-1/8″ to create 3 flaps
- each flap scored diagonally from top right corner to bottom left corner
* I needed 3 pieces of each DSP pattern. I cut 4 of the snowflake pattern triangles because I could rotate one and have only one left over. I cut 6 of the mushroom pattern because it is directional, so I used all three bottom triangles and have the three others left over.
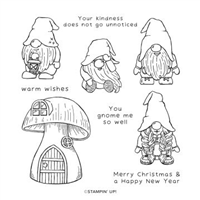
Stamped with the Kindest Gnomes stamp set:
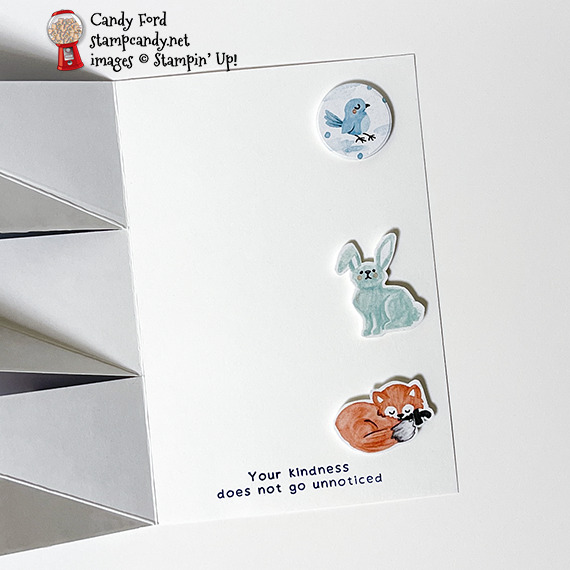
- sentiment in Pacific Point ink onto the inside of the card base, at the bottom
Cut using Paper Snips:
- 3 gnomes, a bird, a bunny, and a fox from DSP – roughly cut with extra around the edges
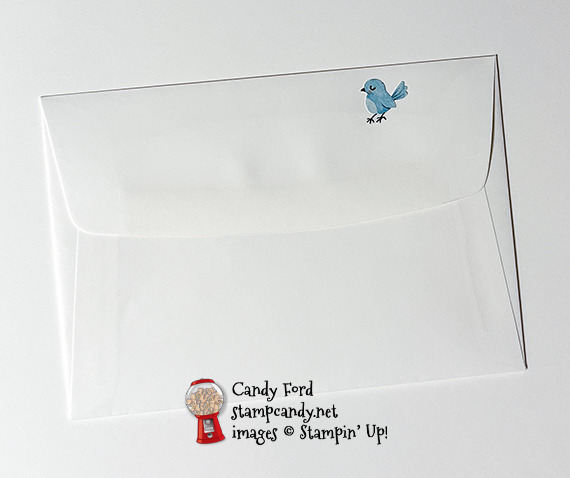
- fussy cut a second bird for the envelope
- the bird, bunny, and fox, after they were glued onto Basic White Thick CS
Glued:
- 3 gnomes, bird, bunny, and fox to scraps of Basic White Thick CS – layered to make them stronger
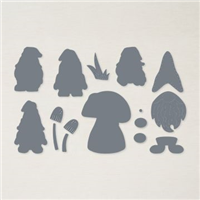
Cut using the Gnomes Dies:
Cut using the Beautiful Shapes:
- the layered bird with the smallest circle die (the bird was just too small to fussy cut and pop up with Dimensionals)
Assembled the card:
- burnished the folds in the card base with a Bone Folder
- 3 snowflake DSP layers glued onto the top left triangular section of each card flap
- 3 mushroom DSP layers glued onto the bottom right triangular section of each card flap
- bottom parts of gnomes glued onto the mushroom DSP, being careful not to have any exposed glue above the bottom right triangular section of each card flap
- layered bird, bunny, and fox adhered onto the inside of the card base with various foam adhesives, so they would keep the flaps propped open
- fussy cut bird glued onto the flap of the Memories & More envelope
S
Here’s the November 2022 Inking Royalty Blog Hop:
Thank you for hopping along with us. If you get stuck during the Blog Hop, please use this line-up as a guide:
- Brian King at Stamp with Brian
- Jackie Beers at Blue Line Stamping
- Jan Dufour at Stamp Me Silly
- Candy Ford at Stamp Candy <—– YOU ARE HERE!
- Lynn Kolcun at Avery’s Owlery
- Marilyn Jones at Stamp with MJ
- Sue Jackson at Just Peachy Stamping
- Renae Novak at Blessed by Cards
- Sheryl Sharp at Sharp Notes by Sheryl
- Robin Myren at Songbird Designs by Robin
ss
Here are today’s main colors:
You can click on each one to see all the products that come in that color!
S
Here’s what I used:
Click on these images for more details and to purchase. If you are reading this post in email, the product images may not show up. Please click here to see the post on my blog.
Sale: $23.20
Price: $29.00
Supply List. <— Click for a clickable and printable list of the products!
S
Here are some helpful links:
S
Thanks for stopping by today, and Sweet Stamping!
Nov 14, 2022 | Blog Hop, Cards, Gallery, Holiday, Thanks |
 s
s
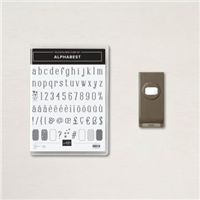
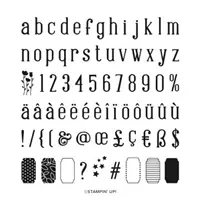
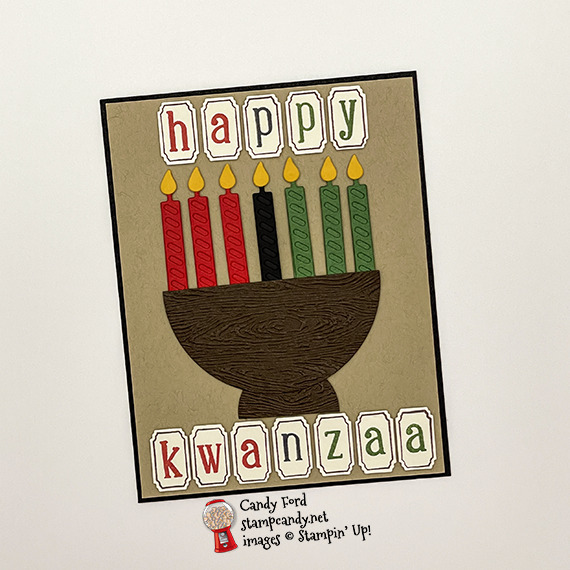
Welcome to the November 2022 Candy Hearts Blog Hop! This month we’re sharing Holiday themed projects. We all know that Stampin’ Up! has lots of great Christmas products to choose from, but I wanted to show how easy it is to use Stampin’ Up! products to make a card, even though there isn’t a specific stamp set for it in the current catalogs. I used the Alphabest Bundle, Sentiment Silhouettes Dies, and Layering Circles Dies to create a Happy Kwanzaa card. Change the colors and add two more candles for a Hannukah card.
After reading my post, I hope you will hop to the next person on the list below. Be sure to hop around to see ALL the great projects the Candy Hearts have created for you!
If you are reading this in email, some photos may appear blurry, or may not appear at all. Please click here to see the post on my blog.
S November 2022 Candy Hearts Blog Hop November 2022 Candy Hearts Blog Hop November 2022 Candy Hearts Blog Hop November 2022 Candy Hearts Blog Hop
Here’s what I made:
S
Here’s what I did:
Cut with my Paper Trimmer:
- Basic Black Cardstock (CS) cut to 8-1/2″ x 5-1/2″, scored in half at 4-1/4″
- Crumb Cake CS cut to 4-1/8″ x 5-3/8″
- Early Espresso CS cut to 3-1/4″ x 5″ for die cutting
- Very Vanilla Thick CS cut to 1-1/2″ x 6″ for punching
- Real Red CS cut to 1-1/2″ x 3″ for die cutting
- Garden Green CS cut to 1-1/2″ x 3″ for die cutting
- Basic Black CS cut to 1″ x 1-1/2″ for die cutting
- Crushed Curry CS cut to 3-1/2″ x 1/2″ for die cutting
- Very Vanilla CS cut to 4″ x 5-1/4″ for the inside
Stamped with the Alphabest stamp set:
- letters in Real Red, Garden Green, and Memento inks onto the 1-1/2″ x 6″ Very Vanilla Thick CS
- border around letters in Early Espresso ink
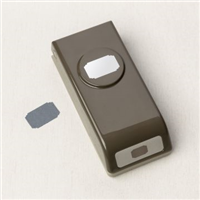
Cut using the Best Label Punch:
Cut using the Layering Circle Dies:
- 3-1/4″ x 5″ Early Espresso CS using the largest plain circle die and the second smallest plain circle die
Cut using the Sentiment Silhouettes Dies:
- 3 solid candles & 3 striped candles from the 1-1/2″ x 3″ Real Red CS
- 1 solid candle & 1 striped candle from the 1″ x 1-1/2″ Basic Black CS
- 3 solid candles & 3 striped candles from the 1-1/2″ x 3″ Garden Green CS
- 7 flames from the 3-1/2″ x 1/2″ Crushed Curry CS
Embossed with the Timber 3D Embossing Folder:
- both die cut circles, then cut both in half
Assembled the card:
- fold in the card base burnished with a Bone Folder
- Crumb Cake CS layer glued onto the front of the card base
- striped candles glued onto solid candles
- flames glued onto all candles
- one smaller half circle glued onto the back of one larger half circle to make the candle holder (save the other halves for another project)
- candles glued onto the back of the candle holder top
- letters and candle holder with candles adhered onto the Crumb Cake CS layer with Black Dimensionals (minis on the candles; regular size on everything else)
- Very Vanilla CS glued onto the inside of the card base
S
Here’s the November 2022 Candy Hearts Blog Hop:
s
Here are today’s colors:
You can click on each one to see all the products that come in that color!
sS
Here’s what I used:
Click on these images for more details and to purchase. If you are reading this post in email, the product images may not show up. Pleaseclick here to see the post on my blog.
Supply List. <— Click for a clickable and printable list of the products!
S
Here are some helpful links:
S
Thanks for stopping by today, and Sweet Stamping!
Nov 8, 2022 | Cards |

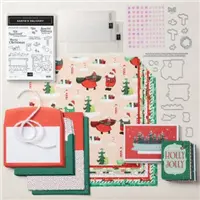
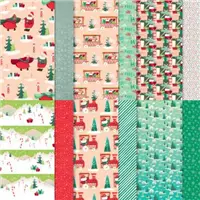
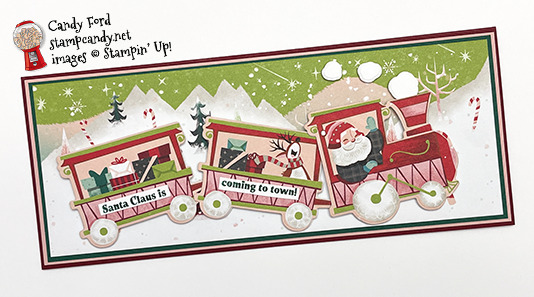
Welcome to the November 2022 ICS Blog Hop! The theme this month is “Christmas is Coming.” I used products from the Santa Express Suite Collection to create a slimline card (3-1/2″ x 8-1/2″ fits in a regular #9 or #10 envelope.) This card is all the the paper. The only stamping is the sentiments. I used the Santa Express Designer Series Paper (DSP) with Cherry Cobbler, Blushing Bride, Shaded Spruce, and Basic White card stocks to create the scene. This DSP makes cardmaking a breeze! And I love that it has Santa and Mrs. Claus in black, white, and brown versions, rather than the more traditional strictly caucasian version. I’m glad that Stampin’ Up! is working on being more inclusive.
Be sure to hop around to all the blogs to see the creative inspiration being shared today!
If you are reading this in email, some photos may appear blurry, or may not appear at all. Please click here to see the post on my blog.
S November 2022 ICS Blog Hop November 2022 ICS Blog Hop November 2022 ICS Blog Hop November 2022 ICS Blog Hop
Here’s what I made:

S
Here’s what I did:
Cut and scored with my paper trimmer:
- Cherry Cobbler card stock (CS) cut to 8-1/2″ x 7″, then scored in half at 3-1/2″
- Blushing Bride CS layer cut to 8-3/8″ x 3-3/8″
- Shaded Spruce CS layer cut to 8-1/4″ x 3-1/4″
- Santa Express Designer Series Paper (DSP) layer cut to 8-1/8″ x 3-1/8″
- Basic White CS cut to 8-1/4″ x 3-1/4″ for the inside of the card base
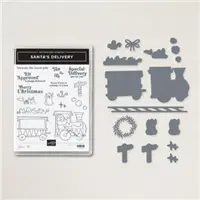
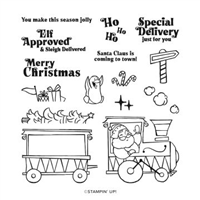
Stamped with the Santa’s Delivery stamp set:
- front sentiment in Shaded Spruce ink onto a scrap of Basic White CS, then cut apart with Paper Snips Scissors
- inside sentiment in Shaded Spruce ink onto the Basic White CS for the inside
Cut using the Santa’s Train Dies:
- one engine and two cars from Santa Express DSP
- one engine, two cars, and puffs of steam from Basic White Thick CS
Assembled the card:
- burnished the fold in the card base with a Bone Folder
- Blushing Bride CS layer glued onto the front of the card base
- Shaded Spruce CS layer glued onto the Blushing Bride CS layer
- DSP layer glued onto the Shaded Spruce CS layer
- DSP engine and cars glued onto the Basic White Thick CS engine and cars – this is to make them stronger so they could be popped up
- front sentiment pieces glued onto the cars
- cars and engine adhered onto the DSP layer with Foam Adhesive Sheets and Mini Stampin’ Dimensionals
- three steam puffs adhered onto the DSP layer with Mini Stampin’ Dimensionals
- Basic White CS glued onto the inside of the card base
S
Here’s the November 2022 ICS Blog Hop:
Click the Next button to hop to the next blog, Shirley Merker of Super Awesome Stamper.

s
Here are today’s main colors:
You can click on each one to see all the products that come in that color!
S
Here’s what I used:
Click on these images for more details and to purchase. If you are reading this post in email, the product images may not show up. Please click here to see the post on my blog.
Supply List. <— Click for a clickable and printable list of the products!
S
Here are some helpful links:
S
Thanks for stopping by today, and Sweet Stamping!
Oct 19, 2022 | Autumn, Blog Hop, Cards, Gallery, Halloween |

s
Welcome to the October 2022 Inking Royalty Blog Hop! This month’s blog hop is dedicated to Halloween. The inspiration for my card is a shirt I saw online and thought was a hoot:
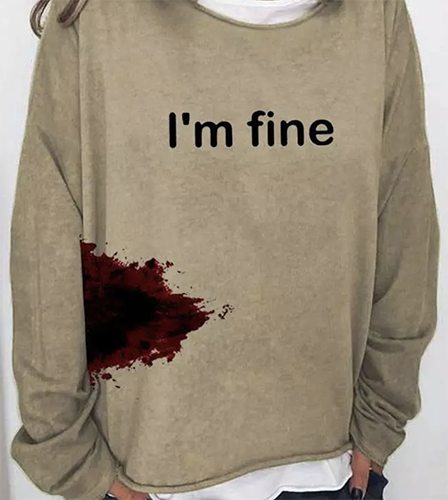
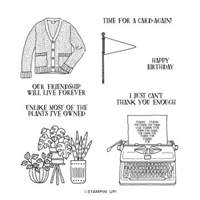
I decided to make my own version with the sweater from the Forever Friendship stamp set. Just FYI, the Dark Cherry Cobbler Stampin’ Blends Marker is great for blood…ya know, just in case you ever need it. I used the black ink pad to grunge up the layers on the front and the inside. The one time I didn’t get an ink smudge on the card, and I wanted to!
We are excited to share our creations and hope you love them! After reading my post, I hope you will hop to the next person on the list below. Be sure to hop around to see ALL the great projects the Royals have created for you!
If you are reading this in email, some photos may appear blurry, or may not appear at all. Please click here to see the post on my blog.
S October 2022 Inking Royalty Blog Hop October 2022 Inking Royalty Blog Hop October 2022 Inking Royalty Blog Hop October 2022 Inking Royalty Blog Hop
Here’s what I made:


S
Here’s what I did:
Cut with my Paper Trimmer:
- Basic Black Cardstock (CS) cut to 4-1/4″ x 11″, then scored in half at 5-1/2″
- Celebrate Everything DSP layer (stars) cut to 4-1/4″ x 5-1/2″
- Mango Melody CS layer cut to 3-7/8″ x 3-7/8″
- DSP layer (jack-0-lanterns) cut to 3-3/4″ x 3-3/4″
- Basic White CS layer cut to 2-1/2″ x 2-1/2″
- Mango Melody CS cut to 4″ x 5-1/4″ for the inside
Stamped with the Forever Friendship stamp set:
- sweater in Tuxedo Black Memento ink onto a scrap of Basic White Thick CS
Stamped with the Alphabest stamp set:
- “i’m fine” letters and frames in Tuxedo Black Memento ink onto a scrap of Basic White Thick CS
- “happy halloween” onto the 4″ x 5-1/4″ Mango Melody CS for the inside
Cut using the Deckled Rectangles Dies:
- both Mango Melody CS layers, the Basic White CS layer, and the smaller DSP layer
- NOTE: for the square layers on the front, I used the largest die and cut two adjacent sides at a time.
Cut using the Best Label Punch:
Cut using Paper Snips:
- fussy cut the sweater, including the bite marks
Colored with Stampin’ Blends Markers:
- sweater in Light & Dark Crumb Cake
- bite edges in Dark Cherry Cobbler
Grunged with my Tuxedo Black Memento ink pad:
Assembled the card:
- burnished the fold in the card base with a Bone Folder
- star DSP layer glued onto the front of the card base
- Mango Melody CS layer glued onto the star DSP layer
- jack-o-lantern DSP layer glued onto the Mango Melody CS layer
- Basic White CS layer glued onto the jack-o-lantern DSP layer
- sweater adhered onto the Basic White CS layer using Black Stampin’ Dimensionals
- “i’m fine” letters adhered onto the star DSP layer using Black Stampin’ Dimensionals
- Mango Melody CS glued onto the inside of the card base
S
Here’s the October 2022 Inking Royalty Blog Hop:
Thank you for hopping along with us. If you get stuck during the Blog Hop, please use this line-up as a guide:
- Brian King at Stamp with Brian
- Renae Novak at Blessed by Cards
- Marilyn Jones at Stamp with MJ
- Ann Murray at Murray Stamps Ink
- Pam Morris at Tap Tap Stamp
- Candy Ford at Stamp Candy <—– YOU ARE HERE!
- Katie Ferguson at Cottage Paper
- Jan Dufour at Stamp Me Silly
- Jackie Beers at Blue Line Stamping
- Sue Jackson at Just Peachy Stamping
ss
Here are today’s colors:
You can click on each one to see all the products that come in that color!
S
Here’s what I used:
Click on these images for more details and to purchase. If you are reading this post in email, the product images may not show up. Please click here to see the post on my blog.
Supply List. <— Click for a clickable and printable list of the products!
S
Here are some helpful links:
S
Thanks for stopping by today, and Sweet Stamping!


