Today I’m excited to share with you a thank you card I made for a dear friend of mine, Mr. Brian King of stampwithbrian.com.
I’ve been enjoying making clothes for the Bear Hugs bears. It’s like playing with paper dolls when I was little. To see the other dressed bears I’ve done recently click here, and here.
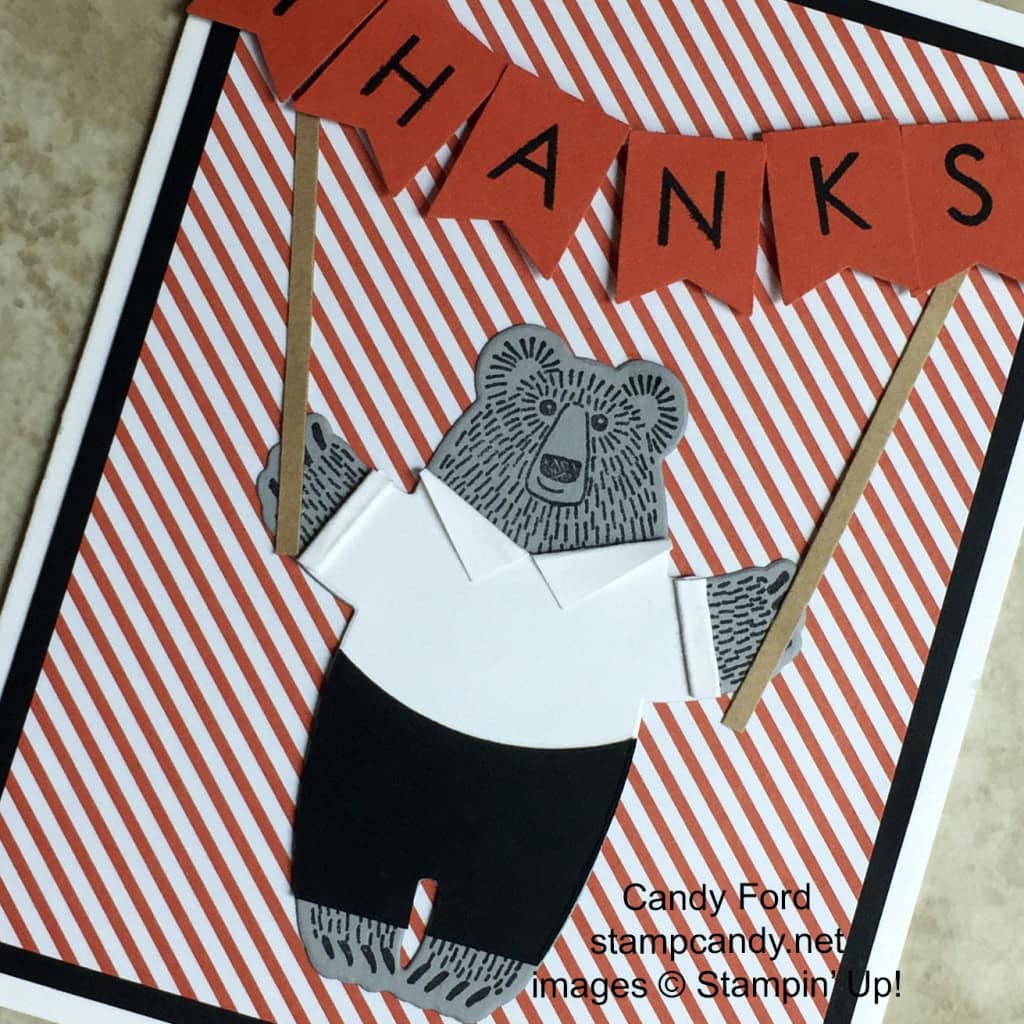
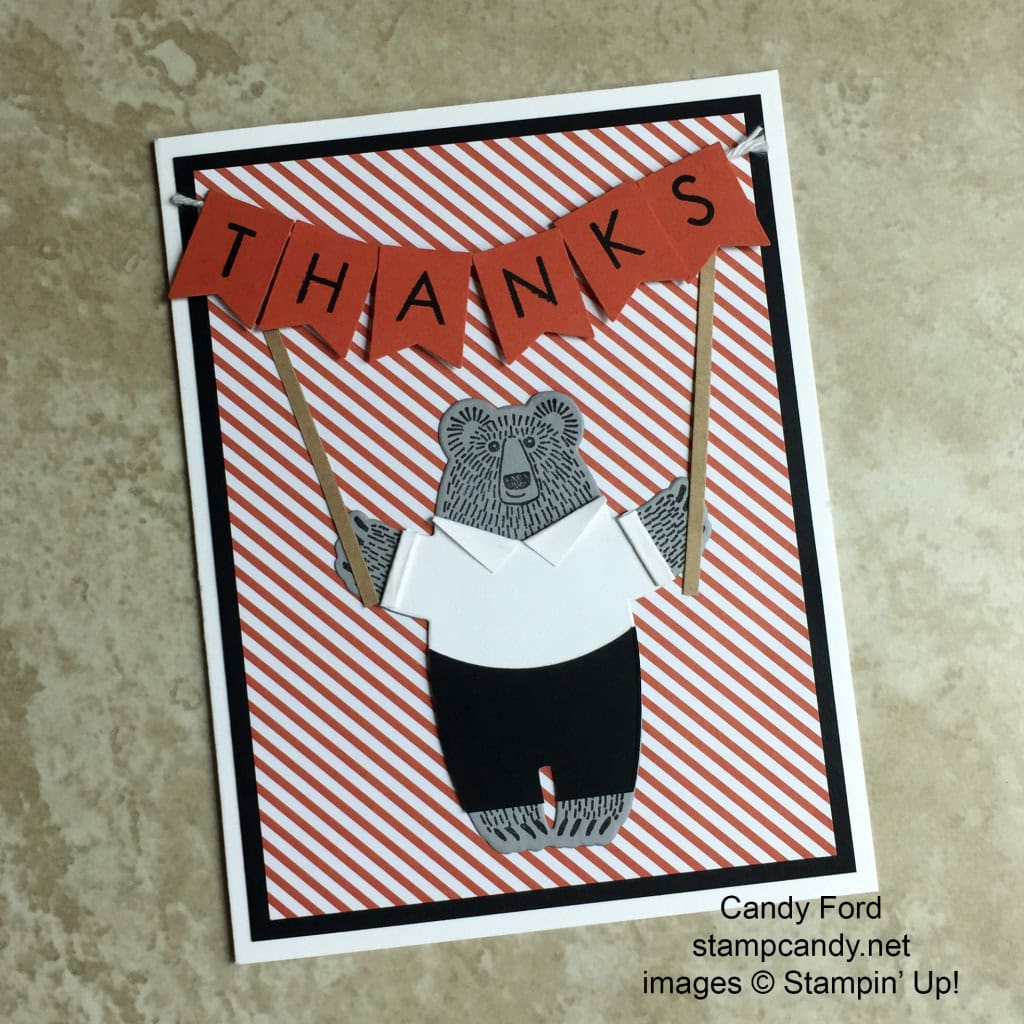
This young fellow is sporting black pants and a white collared shirt with the sleeves rolled up, and he’s holding a banner that says THANKS. You won’t believe how easy this was to make. (But don’t tell Brian that. I want him to think I toiled making his card.)
First I stamped the larger of the two bears from the Bear Hugs stamp set in Basic Black onto Smoky Slate card stock. I used the Bear Hugs Framelits Die set to cut him out. I used the same die to cut a piece of Whisper White CS and a piece of Basic Black CS.
From the Whisper White piece, I cut off the head straight across. I snipped down the center, just a little from the top, and folded over the two side pieces to make a collar, holding them in place with a tiny dot of glue underneath. This is quite a bit simpler that the collars I’ve made for the other dressed bears.
I cut off the finger area and rolled up the sleeves, holding them in place with a tiny bit of glue. I put a clip on the collar and sleeves until they were dry. I cut straight across the bottom of the piece above the legs, and glued it on top of the bear.
From the Basic Black piece, I cut off the feet. Then I used the 2-1/2″ Circle Punch to cut off the top just below the armpits, making the curved waistline of the pants. I glued this on top of the bear over his shirt tail.
I glued the bear onto the card front (a piece of Schoolhouse Designer Series Paper,) and the card front onto a Basic Black layer, and that glued onto the Thick Whisper White card base.
The banner is stamped in Basic Black onto Tangerine Tango CS with the Back to Basics Alphabet stamp set, then each letter cut with the Banner Punch. The pieces are glued along the top onto a piece of Whisper White Bakers Twine. The two poles are 1/8″ wide strips of Crumb Cake CS glued onto the bear’s hands and onto the card front. The banner is then attached to the card front with Stampin’ Dimensionals.
Easy peasy!
Here’s what I used:
****************************************
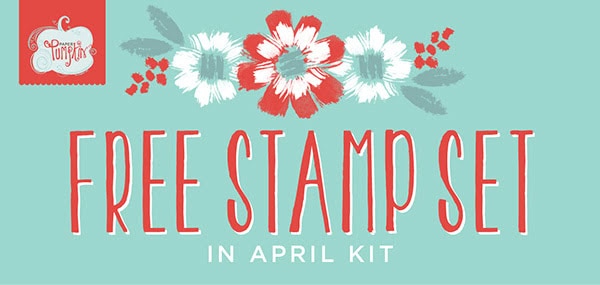
March is a big month for Paper Pumpkin–it’s their third birthday and they just shipped their ONE MILLIONTH kit! To celebrate, they are sending an exclusive stamp set called All about Everything in ALL of the April Paper Pumpkin kits. They’re keeping the artwork a surprise, but they are sure you’ll love EVERYTHING about it! Click here to sign up by April 10 to get in on the fun!
There is only one week left of Sale-a-bration 2016! Do you have all the free SAB items you want? No? Place your qualifying order by March 31. You receive one free SAB item for every $50 in a product order. Hurry before these items are gone for good!
And remember, the 3-month Prepaid Paper Pumpkin subscription is only $55 through March 31, and that qualifies you for a free SAB item!
Thanks for stopping by today, and Sweet Stamping!


I adore this card more than you can ever know, Candy! And don’t worry – I didn’t read the part about how easy it was to make and understand that you suffered great lengths to make this card for me. You are the best!
Love the way you are dressing the bears. It gives them so much personality.
I saw this card on Brian’s blog today Candy and just had to pop by to let you know how very cute I think he is – you have made me look at these bears in a whole new light. A great card!
Such a wonderful idea, thank you so very much for sharing….good job!!
This is just too cute, Candy. The clothes are adorable and easy to make. Love it.
Candy, I was inspired by your adorable bears and made some of my very own! I mentioned you on my blog. Check it out here:
https://stampwitchblog.wordpress.com/2016/09/16/bear-hugs-bringing-warmth-and-cheer/