Welcome to the March Pals Blog Hop where we are celebrating spring. This month we are featuring spring related projects for Mother’s Day, Easter or any other occasion that celebrates winter coming to an end.
You may just be starting the blog hop or may have come from Sue Becker at RnR Stamping on the Pals Hop. If you get off track at any time, the full lineup below will help you move along from blog to blog so you see all of the amazing creations.
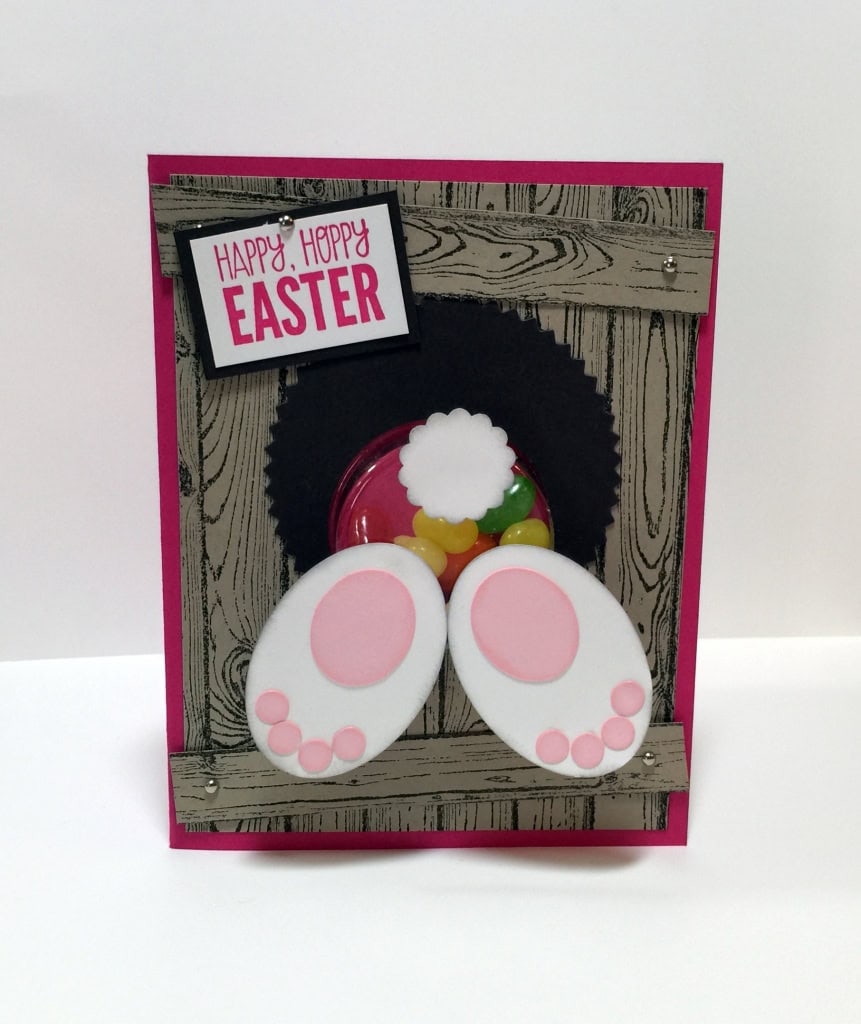
Today I’m excited to share one of the projects we made in Stamp Club this month. This little bunny with a belly full of jelly beans is trying to crawl through a hole in the fence, and all we see are his little backside and feet…
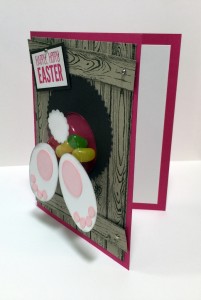
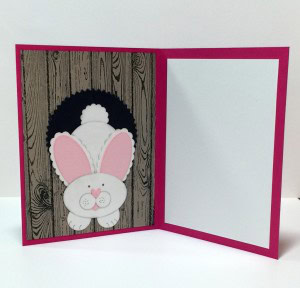
…until you open the card to see his adorable face.
I’ve always enjoyed Punch Art. Well, I’ve always enjoyed punches. They are such a quick and easy way to cut out a perfect shape, and they’re very portable. I knew I wanted to include a few specific things in our club projects this month: punch art, a rabbit for Easter, and the Circle Treat Cups that I’d had for a while but hadn’t used yet. So I set out to combine them into one card.
For the rabbit, I scoured the Internet for ideas. There are quite a few different ones out there, all very cute, but they all either used retired punches or just weren’t exactly what I was looking for. So I took some ideas from several of them and put them together, tweaking the design for this card. I think he turned out pretty cute, don’t you? Here’s how we did it:
Use the following punches:
7/8” Scallop Circle – 2 in Whisper White
1-3/4” Circle – 2 in Whisper White
3/4” Circle – 2 in Whisper White
½” Circle – 2 in Whisper White
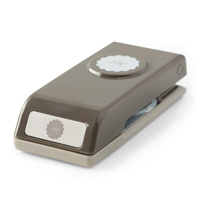
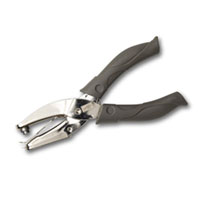
¼” Handheld Circle – 9 in Pink Pirouette
Extra Large Oval – 3 in Whisper White
Scallop Oval -2 in Whisper White
Large Oval – 2 in Pink Pirouette
Small Oval – 2 in Pink Pirouette
Owl Builder Punch – 1 heart in Pink Pirouette
We used a sponge dauber to edge all white pieces with Smoky Slate ink and all pink pieces with Pink Pirouette. This gives the bunny more dimension and prevents the pieces from disappearing into one another.
For the front:
Assemble feet with 2 Extra Large Ovals in white, 2 Small Ovals in pink, and 8 ¼” circles in pink. Use 1 7/8” Scallop Circle in white for the tail.
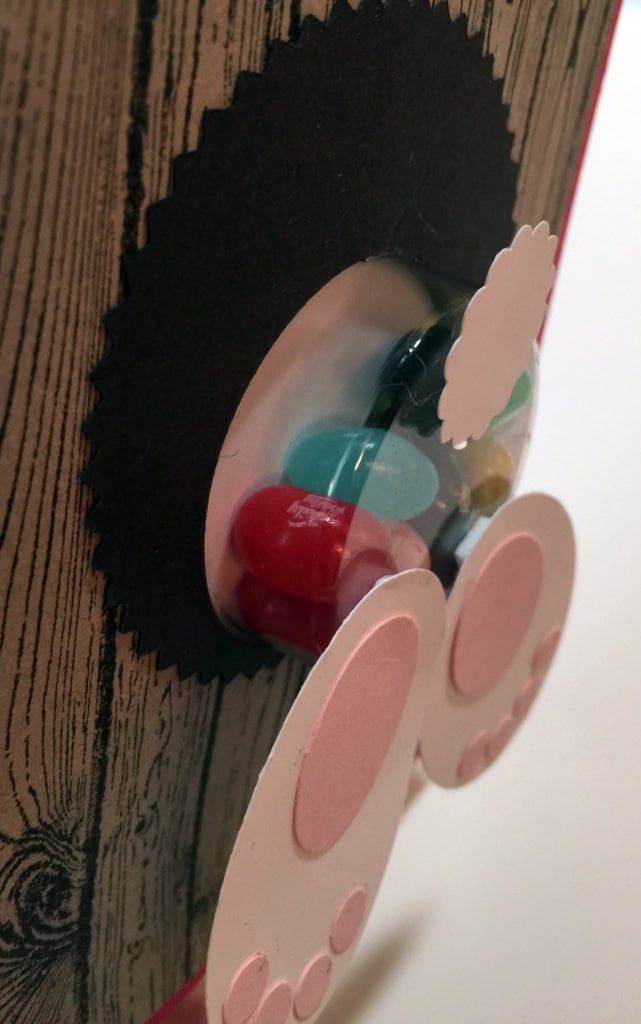
Place 10-12 jelly beans in the Treat Cup, peel the backing off, and adhere one 1-3/4” Circle in white to the back to contain the jelly beans. (If you don’t want to use the Treat Cup, simply replace it with the 1-3/4” Circle.) On this example, I forgot to back the treat cup with the white circle, so you see the Melon Mambo card base showing through behind the jelly beans. I prefer the white backing.
Here’s one I did with the white backing. It accidentally got stepped on, plus I didn’t ink the edges of all the punched pieces, so I didn’t use it for the main photo above, but you can see the difference in the color behind the jelly beans.
For the inside:
Assemble the face with 1 Extra Large Oval in white, two ½” circles in white for the cheeks, one ¼” Circle in pink for the mouth, and the heart from the Owl Builder Punch in pink for the nose. Use a Smoky Slate Stampin’ Write Marker to draw whiskers and eyes.
Adhere two ¾” Circles in white below face. Draw toes with Smoky Slate marker.
Adhere the 2 Large Ovals in pink to the 2 Scallop Ovals in white for the ears. Adhere these to the top of the face. Adhere all that on top of one 1-3/4” Circle for the body, and add one 7/8” Scallop Circle in white for the tail.
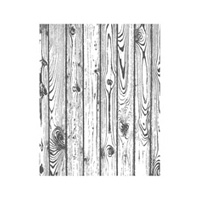
For the fence:
Use the Hardwood background stamp on Crumb Cake card stock with Early espresso ink. Create three, one for the front, one for the back, and one from which to cut the cross pieces.
The hole is cut from Early Espresso card stock with the Starburst Framelits. Cut two and adhere one over each of the two stamped fence pieces.
Punch a 1-3/4″ hole in the front pieces (fence & hole) for the Treat Cup to stick through.
From the third stamped image, cut two “boards” for cross pieces. Attach each with two 1/8″ Mini Brads.
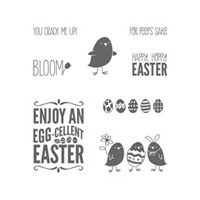
The sentiment is from the For Peeps’ Sake stamp set. It’s Melon Mambo ink on Whisper White card stock, then matted with Early Espresso card stock. It’s attached to the fence with another Mini Brad.
Finish it up:
Attach it all to your card base (we used Melon Mambo) and you’re done! I know it looks like a lot of steps, but it’s actually very easy.
Check back for a tip on punching the hole in the right place on the fence!
The next stop is Karen Hallam at Karen’s Blog on the Pals Blog Hop! Thanks for visiting and I hope to see you next month. And as always, Sweet Stamping!
Very cute Candy! I too love punch art. So many creative things can be done with them! And I love the Sweet Treet Cups. Don’t think they are used enough. This is definitely a fun way to use them!
Candy, this card is adorable. I think I’m going to CASE your bunny for my sister’s birthday card. Do you want to guess what her nickname is? You did a great job Candy.


SO cute! Love his little belly of jelly beans. 🙂
Darling card! This card would make anyone smile! Great job!
Very cute Candy! I too love punch art. So many creative things can be done with them! And I love the Sweet Treet Cups. Don’t think they are used enough. This is definitely a fun way to use them!
Candy, this card is adorable. I think I’m going to CASE your bunny for my sister’s birthday card. Do you want to guess what her nickname is? You did a great job Candy.
So adorable. Thank you for the details on creating the bunny!
Cute!!!! I’ve never seen this card done with candy! Great idea, “Candy”! TFS
Cutest bunny face of the season. Thanks.