
It’s time for the PPP Blog Hop! This month’s Paper Pumpkin kit, called Poppin’ Birthday, makes 8 fun pop-up birthday cards in honor of Paper Pumpkin’s 6th birthday. I can’t wait to see all the alternate projects the hoppers have come up with. Be sure to hop all the way around to see all of them!

S
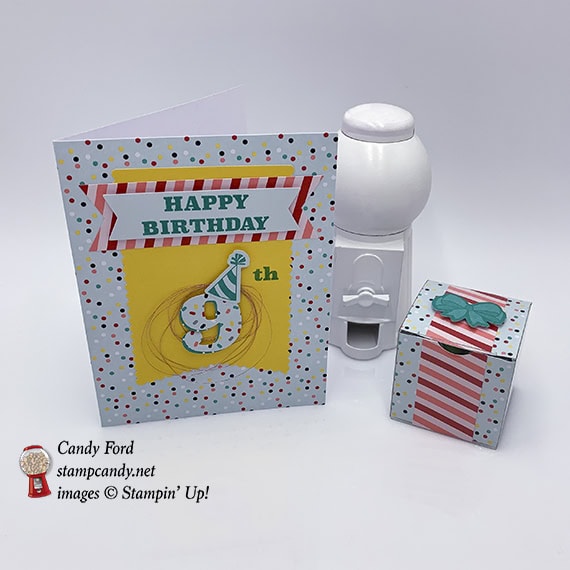
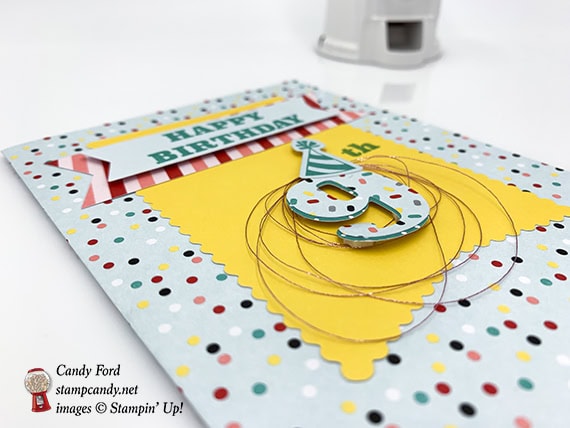
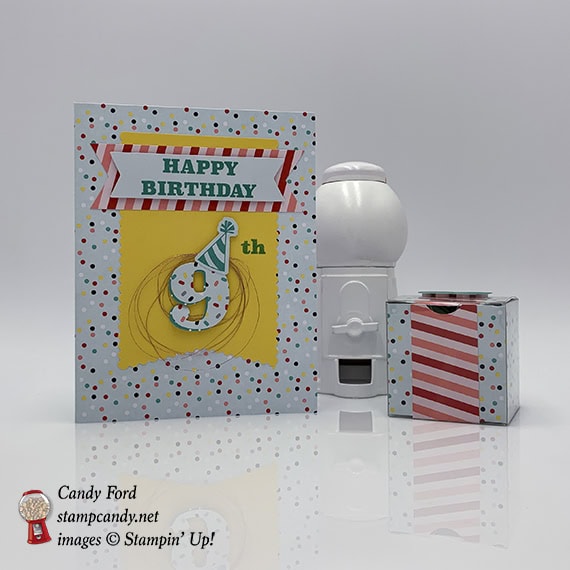
Here’s what I made:
S
Here’s what I did:
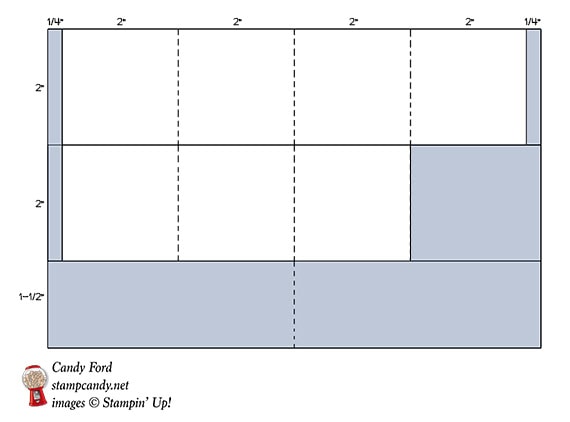
Cut and scored with my Stampin’ Trimmer:
- 2 of the red striped pieces cut to 4″ long, then scored in half at 2″
- blue card base cut to 2″ x 8-1/2″ (two pieces)
- 1st piece: cut 1/4″ off each end, then scored at 2″ and 6″ (the original score line will be at 4″)
- 2nd piece: cut 1/4″ off one end and 2-1/4″ off the other end, then scored at 2″ (the original score line will be at 4″)
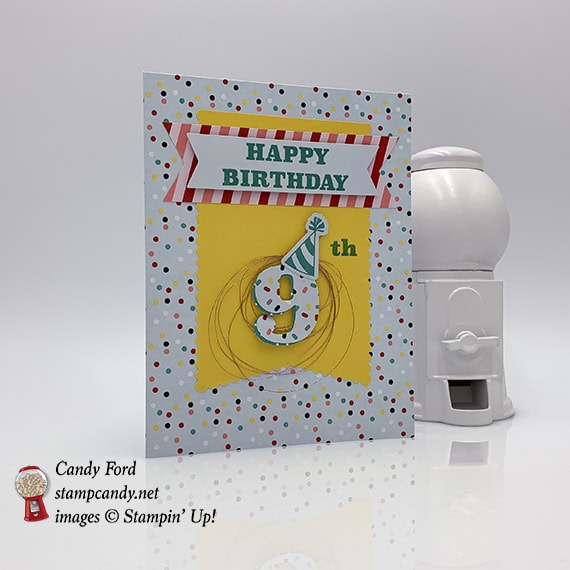
Stamped with the Poppin’ Birthday stamp set:
- “Happy Birthday” in Bermuda Bay ink onto a blue label
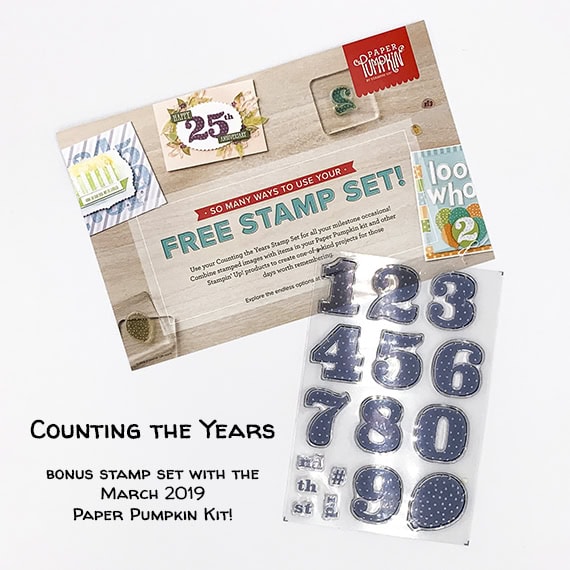
Stamped with the bonus Counting the Years stamp set:
- “th” in Bermuda Bay ink onto a yellow banner
Cut using Paper Snips:
- notched both ends of a red striped piece to match the blue stamped piece
Assembled the card:
- burnished the fold in the card base with a Bone Folder
- yellow banner glued onto the front of the card base
- notched red striped piece glued over the yellow banner
- sentiment adhered onto the striped piece using Stampin’ Dimensionals
- light blue “9” glued onto a dark blue “9”, offset just a little bit
- party hat glued onto the top of the 9s
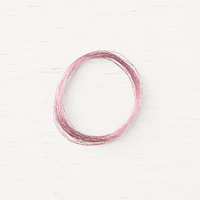
- rose metallic thread wrapped around my fingers several time (some loops around 3 fingers and some around 2 finders)
- 9s adhered onto the yellow banner, over the rose thread, using Mini Stampin’ Dimensionals (The dimensionals hold the thread to the banner.)
- glued onto
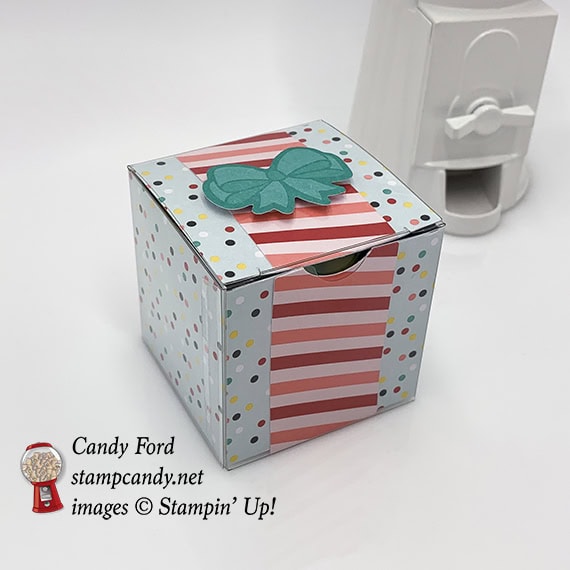
Assembled the box:
- burnished the folds in the card base pieces, striped pieces, and box with a Bone Folder
- assembled the box
- striped pieces glued onto the 8″ piece of card base, lining up the score lines (each striped piece covers 2 sections of the card base piece)
- notched one end of the 8″ strip using a 1/2″ circle punch (Actually I used the 3/4″ punch because the 1/2″ was upstairs and I was too lazy to go get it. But the 1/2″ is the right size.)
- 8″ strip inserted into the box, front to back, lining up the punched notch with the finger notch in the front of the box
- 6″ strip inserted into the box side to side
- put treats inside and closed the box
- adhered a bow onto the top of the box using Stampin’ Dimensionals
NOTE: I used Multipurpose Liquid Glue just because I love it, but you can certainly use the glue dots that come in the kit instead.
CLICK HERE to download the stamp case insert for this month’s kit.
S
Here’s the Poppin’ Birthday Blog Hop:
Click on the Next button to hop to the next stop, Charmane Hopkins of Renee’s Paper Treasures:

Here are today’s colors:
You can click on each one to see all the products that come in that color!
S
Here’s what I used, other than what came in the kit:
Click on these images for more details and to purchase.


S
Here’s the official video for this month’s kit:
S
Preorder the Easter Treat Holder Online Class by March 27!
- Make 10 adorable treat holders at home in your PJs!
- perfect for Easter or Spring
- fill with your own treats or gifts
- class kits include 270+ precut pieces!
- Limited spots available
Click on the image below for details:

S
Here are some helpful links to check out:
- Sale-a-bration!!!– earn free items!
- Shop my online store
- Clearance Rack
- SUBSCRIBE to my weekly newsletter and daily blog updates.
- March Host Code RHZ6NBS7 – receive free product!
- Earn Gumball Rewards – receive free products!
- Gift Certificates are available in any U.S. dollar amount from me. Contact me for details.
- Have you shopped from me within the past year? Join my private VIP Facebook group for exclusive project tutorials and more!
- Join my team! Sale-a-bration is a super time to join! You get so much extra!!!

S
Thanks for stopping by today, and Sweet Stamping!


Cute projects Candy!
Thanks, Lisa!
I LOVE the clean, simplicity of your projects! Both are FUN alternatives! Thanks for sharing the the measurements for the box!
Thanks, Darla!
Great treat holder. I really need to get better at making these little packages. Thank you so much for sharing.
Thanks, Charmane!
Great projects, Candy! They showcase the items in the kit beautifully. ♥
Thanks, B!
Sweet card and box! I liked how you layered the numbers to make it more dimensional and add a shadow color. Smart and sweet!
Thanks, Sharon!
How fun!! Love the card and box combo!!
Thanks, Debbi!
That box is adorable! Thanks for hopping with us and sharing such amazing ideas!
Thanks, Deb!
Great projects Candy! Love the box!!!
Thanks, Terri!
Love the detail behind the 9!