
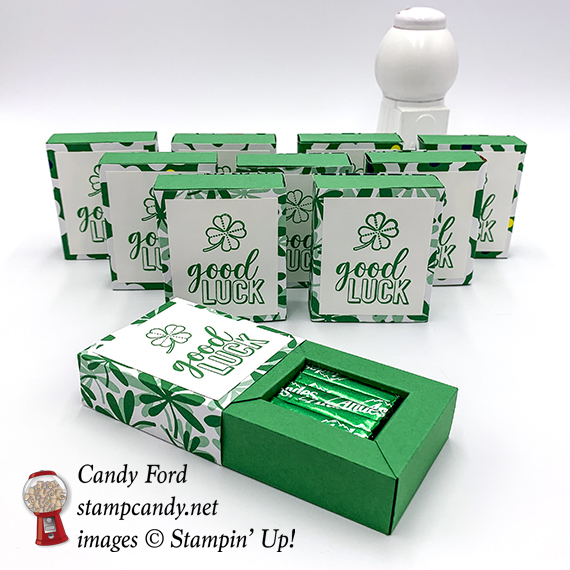
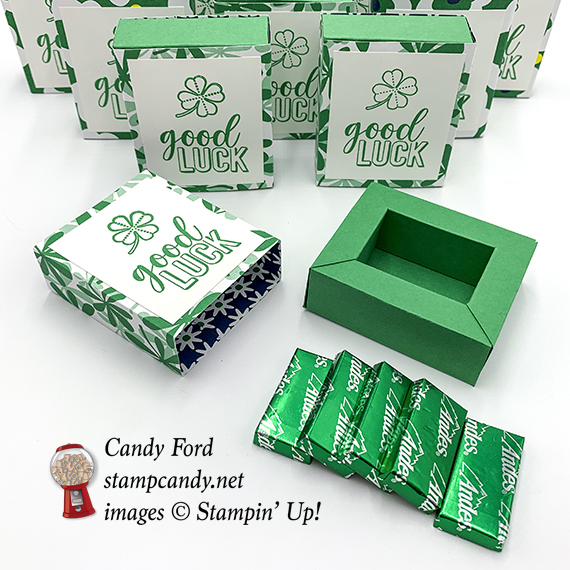
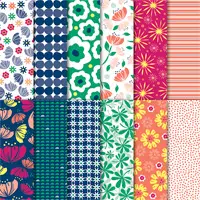
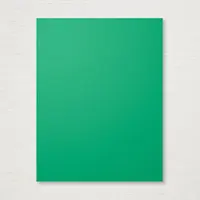
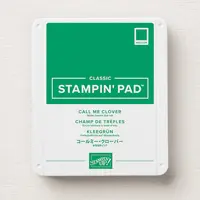
Today is the March Candy Hearts Team Meeting, and I’m sharing with you some little treat boxes I made for the Hearts. Each sliding box holds 5 Andes Mints… because they’re green… for St. Patrick’s Day. I used the Amazing Life stamp set (which contains a clover image,) Call Me Clover (of course) card stock and ink, and Happiness Blooms Designer Series Paper. I used two different patterns of the Designer Series Paper that have a lot of Call Me Clover in them. 
While I made these for St. Patrick’s Day, the sentiment could easily be used to celebrate a new job, a move to a new city, or any new adventure.
One more thing, before I get to today’s project. Today is my sister Judy’s birthday. Yep, she’s a St. Patrick’s Day baby.
Happy Birthday to the best sister ever!
S
Here’s what I made:

S
Here’s what I did:
Cut and scored with my Stampin’ Trimmer:
- Call Me Clover card stock (CS) cut to 7-3/4″ x 8″, then scored along all four sides at 1/2″, 1-3/8″, 1-7/8″, and 2-3/4″
- NOTE: On certain projects, I find it easier to score this way, starting at each of the four corners, than to score along the whole side at once. I think it make the sides more symmetrical.
- also scored along both 7-3/4″ sides at 3-1/4″ and 4-1/2″, only down to the second score line
- Happiness Blooms Designer Series Paper (DSP) cut to 2-7/16″ x 6″
- Whisper White CS cut to 2-1/8″ x 2-3/8″
- NOTE: I actually used the Simply Scored tool for all the scoring, since there was so much of it, and I was making so many boxes.
Cut using Paper Snips:
- removed yellow areas in the diagram below

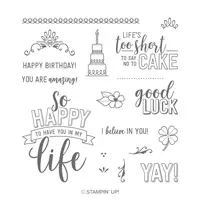
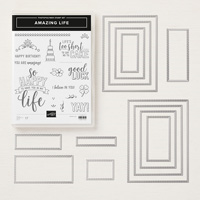
Stamped with the Amazing Life stamp set:
- sentiment and clover on Call Me Clover ink onto the Whisper White CS
Assembled the sliding box:
- burnished all the folds in the box and cover with a Bone Folder
- flaps on the two longer sides rolled inward to form the sides, and the outermost flap glued onto the bottom of the box
- flaps on the two shorter sides folded inward to form the sides, and the outermost flap glued onto the bottom of the box. The skinnier center part goes between the two long sides, and the diagonal cut lies on top of the long side to create a mitered corner look. I also put a little spot of glue under the diagonally cut section so it would stick to the top of the adjacent side.
- cover wrapped around the box, and pinched around the corners, then folded and burnished on the pinched areas.
- cover wrapped around the box again and the ends glued together, making sure it’s snug, but also loose enough to slide on and off.
- stamped piece glued onto the top of the box cover

S
Here are today’s main colors:
You can click on each one to see all the products that come in that color!
S
Here’s what I used:
Click on these images for more details and to purchase.


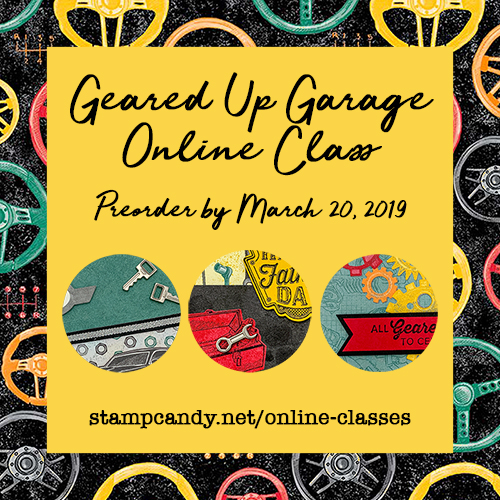
Preorder the Geared Up Garage Manly Card Online Class by March 20!
- Make 6 masculine cards at home in your PJs!
- 2 each of 3 designs
- easy, manly designs for birthday, Father’s Day, or just to say I love you
- Limited spots available
Click on the image below for details:
S
Here are some helpful links:
- Sale-a-bration!!!– earn free items! ONLY 2 WEEKS LEFT!!!
- Shop my online store
- Clearance Rack
- SUBSCRIBE to my weekly newsletter and/or daily blog updates.
- March Host Code RHZ6NBS7 – receive free product!
- Earn Gumball Rewards – receive free products!
- Gift Certificates are available in any U.S. dollar amount from me. Contact me for details.
- Have you shopped from me within the past year? Join my private VIP Facebook group for exclusive project tutorials and more!
- Join my team! Sale-a-bration is a super time to join! You get so much extra, like the amazing Craft & Carry Tote Bag!

S
Thanks for stopping by today, and Sweet Stamping!


The wrapper needs to be more than 6 inches long! I will have to use what I cut for something else.
Pat, the wrapper goes around the skinnier sides, not the wider sides, so you should have about 5/8″ to overlap with a 6″ long wrapper.
I agree with Pat. The printed paper at 6″ does not wrap around the box with any overlap.
The box should be 2-1/4″ wide x 2-1/2″ long x 1/2″ tall. Measuring around the slimmer sides, the total circumference is 5-1/2″ (2-1/4″ + 1/2″ + 2-1/4″ + 1/2″) so you should have an overlap of about 1/2″.The circumference in the other direction is 6″, so you would need a longer piece to wrap around it an overlap.