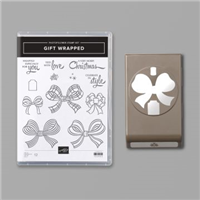
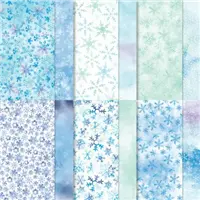
Welcome t the November 2020 ICS Blog Hop! This month’s theme is Christmas is coming, so we’re featuring Christmas cards. I used the Gift Wrapped Bundle (Gift Wrapped stamp set and Gift Bow Builder Bunch) and Snowflake Splendor Designer Series Paper to create a Slimline card. This is one of the projects we made at my November Stamp Club gathering.
Be sure to hop around to all the stops to see all the great Christmas cards this team have made for you today!
If you are reading this in email, some photos may appear blurry, or may not appear at all. Please click here to see the post on my blog.
S November 2020 ICS November 2020 ICS November 2020 ICS November 2020 ICS. https://stampcandy.net/cards/November-2020-ICSBH-Christmas/ https://bit.ly/37WSEbl
Here’s what I made:
S
Here’s what I did:
Cut and scored with my paper trimmer:
- Balmy Blue card stock (CS) cut to 8-1/2″ x 7″, then scored in half at 3-1/2″
- Snowflake Splendor Designer Series Paper (DSP) layer cut to 8-1/4″ x 3-1/4″
- Whisper White CS cut to 8-1/4″ x 3-1/4″ for the inside of the card base
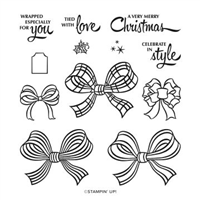
Stamped with the Gift Wrapped stamp set:
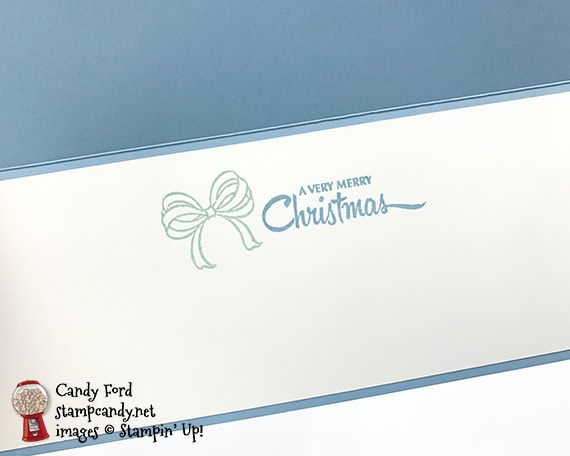
- 3 bows in Balmy Blue ink and 2 bows in Pool Party ink onto a scrap of Whisper White Thick CS
- sentiment in Balmy Blue ink onto the Whisper White CS for the inside
- small bow in Pool Party ink next to the sentiment
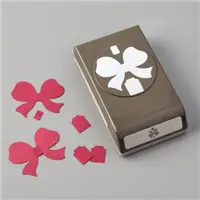
Cut using the Gift Bow Builder Punch:
- the 5 large stamped bows
Assembled the card:
- burnished the fold in the card base with a Bone Folder
- DSP layer glued onto the front of the card base
- 5 punched bows glued onto the DSP layer
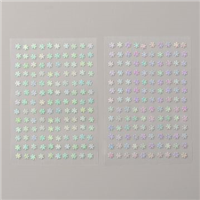
- Adhesive Backed Snowflakes applied onto the DSP layer, on the visible centers of the snowflakes, using a Take Your Pick tool (they don’t show in the photos)
- Whisper White CS glued onto the inside of the card base
S
Here’s the November 2020 ICS Blog Hop:
Click the Next button to hop to Tricia Butts of Tricia’s Stamping Creations.
Here are today’s colors:
You can click on each one to see all the products that come in that color!
S
Here’s what I used:
Click on these images for more details and to purchase. If you are reading this post in email, the product images may not show up. Please click here to see the post on my blog.
Supply List <— Click for a clickable and printable list of the products!
S
S
Here are some helpful links:
- November Host Code T9TNBY67 – receive free product!
- Shop my online store
- Request a free catalog
- Shop the new Curvy Celebrations items!!! – available only through January 4!
- SUBSCRIBE to my weekly newsletter and/or daily blog updates.
- Paper Pumpkin: buy a Prepaid Subscription or subscribe month-to-month
- Earn Gumball Rewards – receive free products!
- Gift Certificates are available in any U.S. dollar amount from me. Contact me for details.
- Have you shopped from me within the past year? Join my private VIP Facebook group for exclusive project tutorials and more!
- Join my team and enjoy a 20% discount (or more) on all your purchases! You choose $125 in products and pay only $99, and get free shipping! No obligation! No selling required!
S
Thanks for stopping by today, and Sweet Stamping!








slimline cards are so fun, and i like that you used this bundle i just got it last week and have been having fun with some gift packing ideas! Thanks for joining us this month!
Thanks, Deb!
Love the colours on your Slimline Card.
Thanks, Elizabeth!
I love how you used the bows! Such a great idea!
Thanks, Jackie!!
Candy I love your project.
I’ve noticed the slim line cards are trending at the moment. I’ve added this design to my task list. Thank you so much for sharing!
Thanks, Charmane! I like the Slimline cards. They give you more room to design.
What a fun card!! I’m going to have to CASE this one! Love the colors and I have to get that bow punch now!
Thanks, Cheryl! Oh yes, you need that punch!
Super cute way to use the bow punch. Great colors too!
Thanks, Sharon!
Super fun card Candy! Love the color combo!
Thanks, Terri!
Love the card! Was just thinking I need to make a slimline card and look up the mea sure men’s for it. Perfect that I found yours first! ? You may want to add 1/2″ to your 3″ on card base though.
Thanks so much, June! It is supposed to be 3-1/2″ (half of the 7″.) I’ve changed my typo in the post above fro 3″ to 3-1/2″.
Really fun card! Love the colors you used!!!
Thanks, Darla!