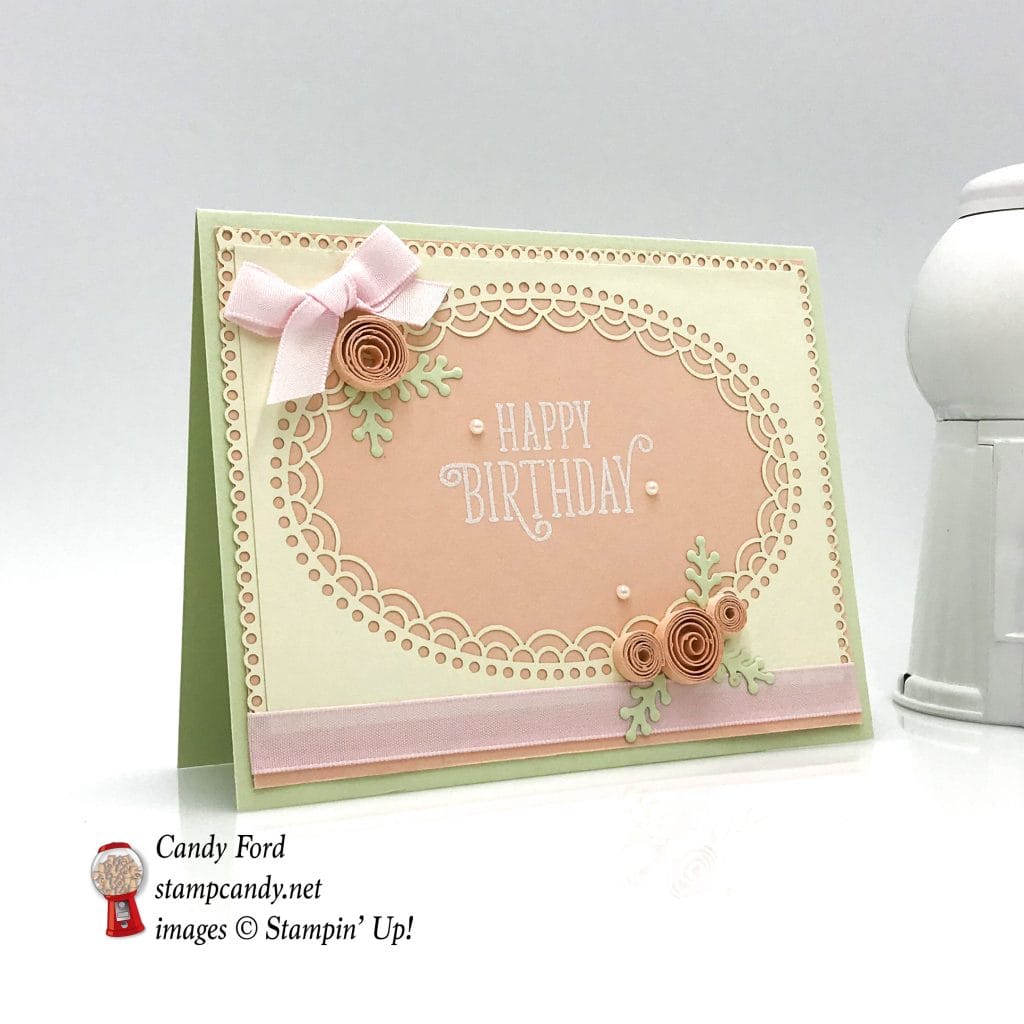
Pastels, lace, bows, and delicate quilled flowers. This dainty birthday card has it all. The sentiment is from the Happy Birthday Gorgeous stamp set, a fave of mine that carried over to the new catalog. Yay! All the lace is from the Delightfully Detailed Laser Cut Specialty Paper – this stuff is exquisite. And it’s Whisper White on one side and Very Vanilla on the other!
Soft Sea Foam and a couple of pinks, Petal Pink and Powder Pink, pair with the Very Vanilla for the soft color palette. It’s interesting to see how similar, or different, the two pinks look in different lighting. In these photos they look really different.
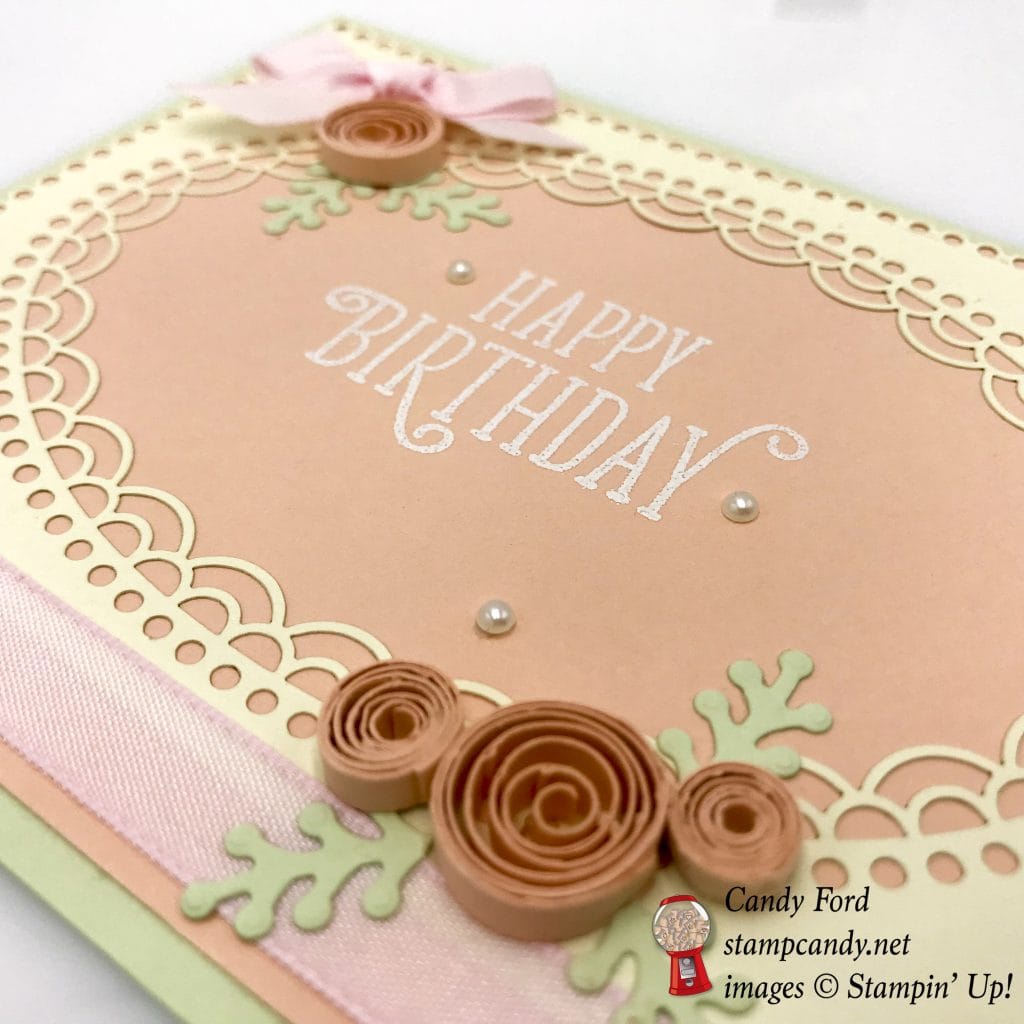
And I’m determined that quilling is coming back! I just wrapped the paper strips around a skewer. Easy!
Here’s what I made:
Here’s what I did:
Cut and scored with my Stampin’ Trimmer:
- Soft Sea Foam card stock (CS) cut to 5-1/2″ x 8-1/2″, then scored in half at 4-1/4″
- Petal Pink CS layer cut to 5-1/4″ x 4″
- Delightfully Detailed Laser Cut Paper (with lacy oval cut out) cut to 5″ x 3-1/2″
- Delightfully Detailed Laser Cut Paper (thin decorative strips) cut to 5-1/4″ (one piece) and 4″ (two pieces)
- Petal Pink CS cut to 1/8″ x 6″ (four pieces)
Stamped with the Happy Birthday Gorgeous stamp set:
- sentiment in Versamark ink onto the Petal Pink CS layer, so it will be centered in the laser cut oval, then heat embossed it in white
Die cut using the Foliage Frame Framelits:
- 5 leaves from a scrap of Soft Sea Foam CS
Assembled the card:
- burnished the fold in the card base with a Bone Folder
- thin decorative strips glued onto the top and side edges of the Petal Pink CS layer
- laser cut oval layer glued onto the Petal Pink CS layer, lined up at the top (There will be some extra space at the bottom.)
- Powder Pink ribbon adhered to the bottom of the Petal Pink CS layer, overlapping the laser cut piece, and wrapping the ends around to the back, using Tear & Tape
- each 1/8″ CS strip tightly rolled (quilled) around a skewer
- glued down the ends of two quilled pieces, keeping them tightly rolled
- glued down the ends of the other two quilled pieces, after letting the roll loosen into a larger circle
- NOTE: You may find that 6″ is too long. Roll the pieces, then snip off any extra that you need to in order to get the quilled circle size you want.
- leaves and quilled flowers glued onto the card font
- bow tied with the Powder Pink Ribbon and adhered to the card front using Mini Glue Dots
- three pearls applied around the sentiment
Here are today’s colors:
You can click on each one to see all the products that come in that color!
Here’s what I used:
Click on these images for more details and to purchase.
Here’s some information you should check out:
- Shop my online store
- Clearance Rack
- Click here for your free catalog.
- Join my team to get a discount on your stamping supplies!
- SUBSCRIBE to my weekly newsletter and daily blog updates.
- June Host Code 9K74TMW4– receive free product!
- Earn Gumball Rewards – receive free products!
- Gift Certificates are available in any U.S. dollar amount from me. Contact me for details.
Thanks for stopping by today, and Sweet Stamping!


SO dainty (just as you described). Such a lovely card, Candy! <3