Hello, Sweet Stampers! I hope you’re having a lovely day, or evening, or afternoon, or whenever you’re reading this. I’m actually writing this from my bed, because my back went out. Not to worry though. A day or two in bed with drugs will make it feel much better. So if I seem a little loopy in my typing, please forgive me. It’s the drugs. Okay, just one drug, but it’s not something I would ever want to take and try to use heavy machinery. Okay, that’s enough about my whining. Let’s get to today’s card.
Actually I made this card a while back but never got around to posting it. I liked it when I made it, then later I hated it – I think the color combo is what got me. They aren’t colors I would usually think to use together, but I was trying to work outside my comfort zone. But now I like it again. (I’d love to hear what you think. Please comment below.) And it’s sooo easy to make…if you have a Big Shot. And really, if you’re gonna make cards, why wouldn’t you have a Big Shot? I mean, it’s a pretty amazing tool and you can do so much cool stuff with it. On today’s card I used it with two dies (from the Lovely Words Thinlits Dies and the Sweet & Sassy Framelits Dies) and the Oh My Stars embossing folder. Zip, zip, zip and you’re done! There isn’t even any stamping on this card!
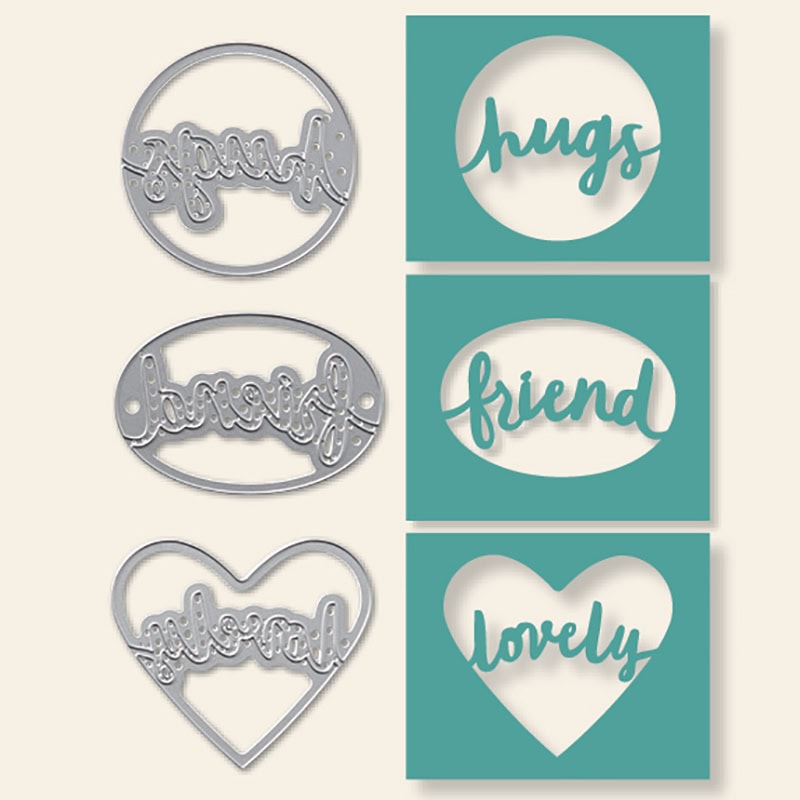
Lovely Words Thinlits Dies © Stampin’ Up!
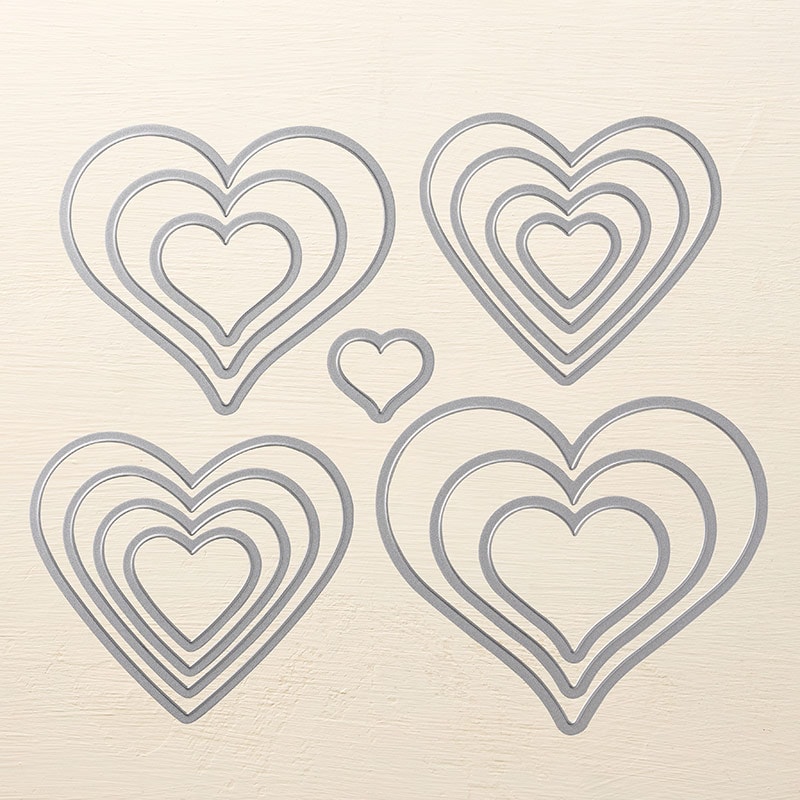
Sweet & Sassy Framelits Dies © Stampin’ Up!
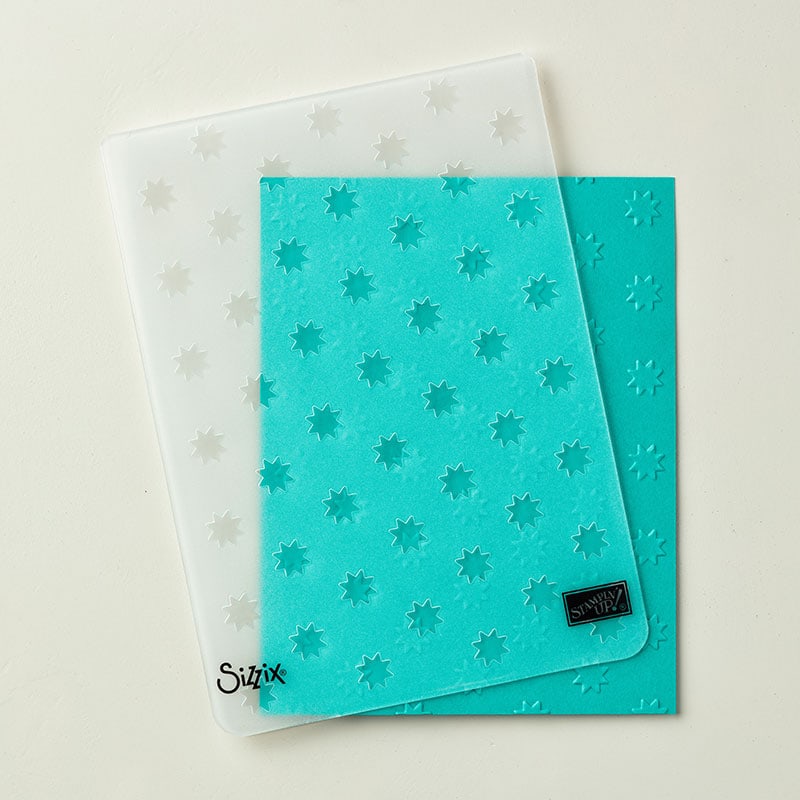
Oh My Stars Textured Impressions Embossing Folder © Stampin’ Up!
Here’s what I made:

Here’s what I did:
Cut and scored with my Stampin’ Trimmer:
- Smoky Slate card stock (CS) cut to 8-1/2″ x 5-1/2″, then scored in half at 4-1/4″
Die cut using the Lovely Words Thinlits:
- “lovely” in a heart from a scrap of Lemon Lime Twist CS
- As you can see in the photo of this die set above, the dies cut out the shape from the paper, leaving the word intact.
Die cut using the Sweet & Sassy Framelits:
- around the “lovely” heart, to create a border, because I wanted just the thin heart border around the word.
Dry Embossed with the Oh My Stars Embossing Folder:
- the front of the card base
Assembled the card:
- burnished the fold in the card base with a Bone Folder
- die cut glued onto onto the front of the card base
- three silver star enamel shapes applied to the front of the card base
- See, I told you it was easy!
Here are today’s colors:
You can click on each one to see all the products that come in that color!
Here’s what I used:
Click on these images for more details and to purchase.
Here’s some cool stuff you should know:
Don’t miss out on the biggest event of the year! Free products with every $50 you spend! Extra Stampin’ Rewards with a $250 order! Lots more included in the Starter Kit! CLICK HERE for more information. CLICK HERE to shop now!
- How to save 70% off the Starter Kit
- SUBSCRIBE to my newsletter.
- My Class Calendar
- March Host Code 34CJGPSJ
- Get my FREE Gift for March
- Earn Gumball Rewards – get free stamps
- Gift Certificates are available in any U.S. dollar amount from me. Contact me for details: candy@stampcandy.net
Thanks for stopping by today, and Sweet Stamping!


I like it so much I may CASe it! Feel better soon!
LOVE this color combination and the sweet simplicity of your card. Hope your back is better soon, my friend. <3