Today I’m sharing one of the two Make & Takes from our March Candy Hearts team meeting.
I hadn’t really played much with the Bear Hugs Bundle, but I was looking at it recently and came up with the idea to make clothes for the bears.
Say hello to Mama Bear! She’s dressed in a lovely ensemble of Crushed Curry and Pool Party. I cut her blouse with the same die I would use to cut out the bear, so everything fits perfectly!
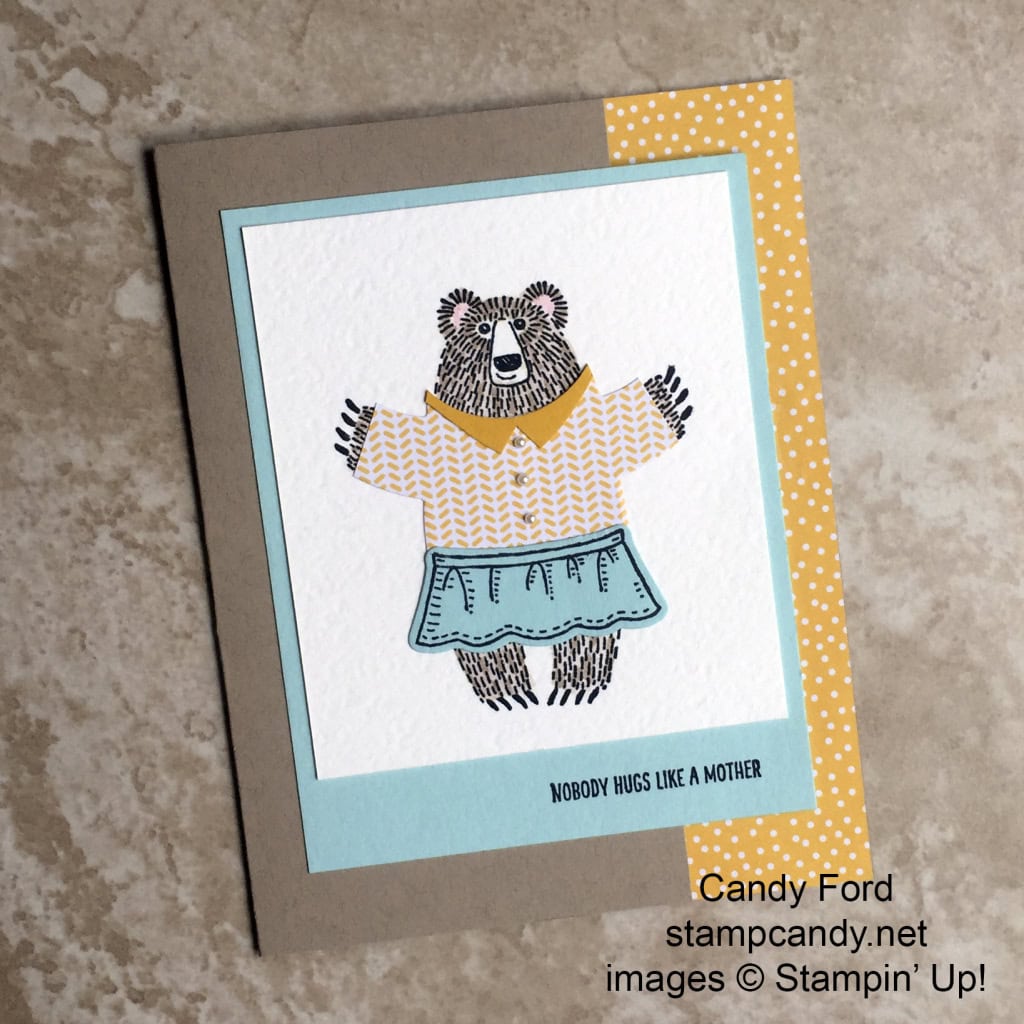
The card base is Crumb Cake card stock. The front is cut narrower than the back, so the strip of Cherry On Top Designer Series Paper glued to the back shows when the card is closed.
The front panel of Pool Party CS is centered but only glued to the front of the card. The sentiment from the Bear Hugs stamp set is stamped in Basic Black directly onto the Pool Party layer.
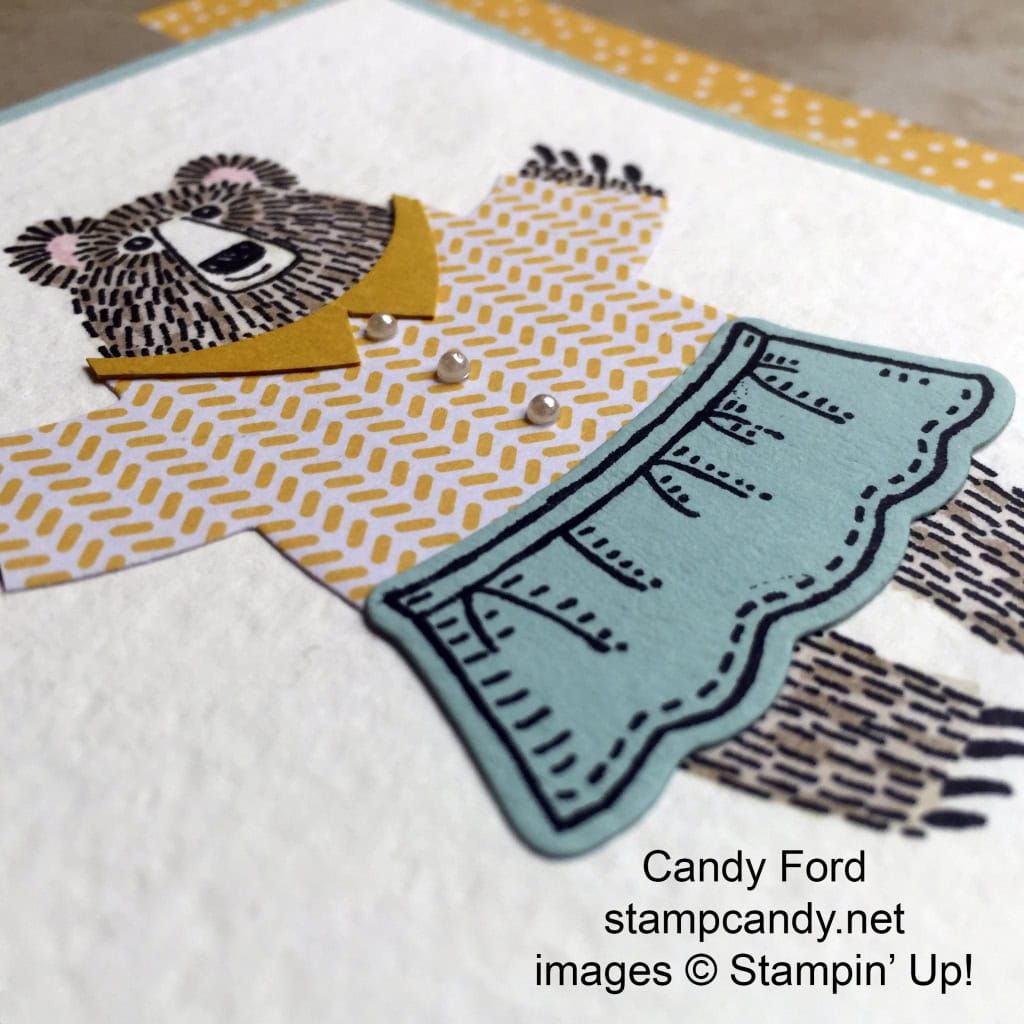
We stamped the bear in Basic Black directly onto a piece of Watercolor Paper. We used an Aqua Painter to color in the bear with Crumb Cake ink. We used a Pink Pirouette Stampin’ Write Marker to color the inside of her ears.
We used the Bear Hugs Framelits to cut the shirt from a piece of Cherry on Top DSP. We used the 1-3/8″ Circle punch to cut off the head and create a curved neckline. We used Paper Snips to cut off the hands and the bottom of the body, then we glued it on top of the bear. We glued that onto the shirt.
We stamped the skirt in Basic Black onto Pool Party CS, then cut it with the coordinating Framelit. We glued that onto the bear over the shirt tail.
Then we added three of the smallest Pearl Basic Jewels as buttons.
It’s so much easier than it looks! Check back tomorrow to see Papa Bear!!!
Here’s what we used:
Thanks for stopping by today, and Sweet Stamping!


Candy – you are BRILLIANT! I absolutely loved this project when I first saw it at your team meeting. SO SMART! <3
Awesome! Thank you for sharing. I didn’t see instruction for the “collar”. Did I miss it? Hahaha! Sometimes I do. They both are adorable. I’ve been thinking about Santa & Mrs. Claus also. Too early, huh? Are you going to design for the kids? You are such an awesome lady, and so talented. Again, Thank YOU for sharing!
Oops, sorry about that. To make the collar, I cut into a piece of card stock with the 1-3/8″ Circle Punch. I then used Paper Snips to cut the notch and the outer collar shape. I put it on the shirt and trimmed any extra pieces extending past the top. I hope that explains it well enough. Please let me know if you have questions.