
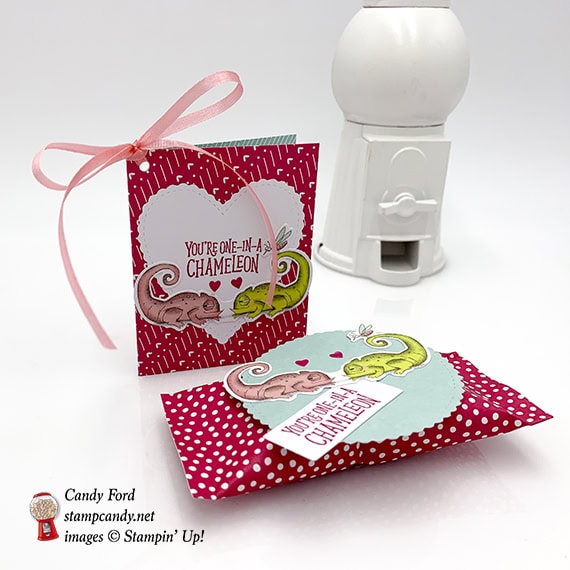
It’s time for the APPT Blog Hop for the January 2019 Be Mine Paper Pumpkin kit! I have really enjoyed playing with this month’s kit. First, it’s adorable and fun. Second, it comes with a lot of extra pieces. Third, since it coordinates with the Animal Expedition suite from the Annual catalog, you can do lots and lots of different things with it. And fourth, I love puns – “you’re one in a chameleon.” For today’s projects I made a mini card that can be tucked into a 3″ x 3″ envelope or tied onto a gift, and a Ghirardelli treat wrapper. (Target has lots of cute Valentine’s versions of lots of your favorite candies.)
Here’s what I made:
These are the two candies in today’s treat wrapper: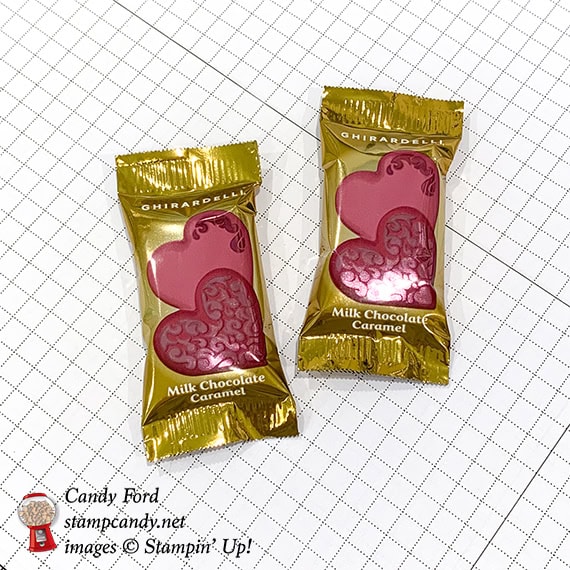
S
Here’s what I did:
Cut and scored with my Stampin’ Trimmer:
- Whisper White card stock (CS) cut to 2″ x 2-3/4″
- Melon Mambo Designer Series Paper (DSP) cut to 4″ x 4-1/4″
- one of the pillow boxes in the kit cut to 3″ x 4-3/4″, with the score line in the box at the halfway point (2-3/8″) of the new card base (when folded, the card measured 2-3/8″ x 3″)
Stamped with the Be Mine stamp set:
- sentiment in Melon Mambo ink onto one of the shorter die cut labels in the kit
- sentiment in Melon Mambo ink onto the white side of one of the die cut hearts in the kit
Cut using the 1/8″ Circle Punch:
- through both layers of the card, at the top left corner
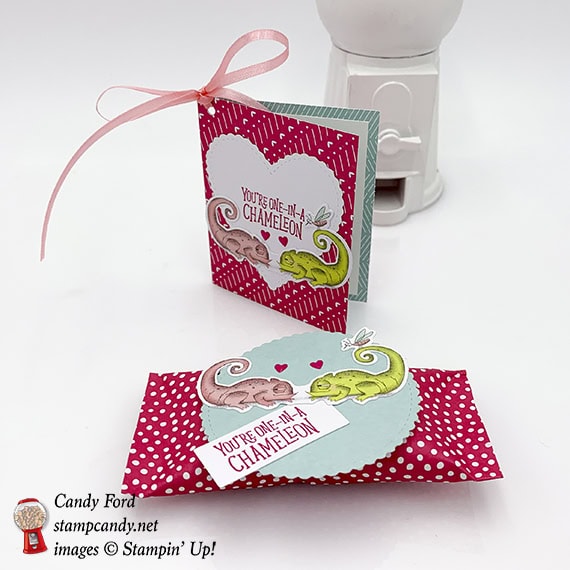
Assembled the one in a chameleon card:
- burnished the fold in the card base with a Bone Folder
- stamped heart die cut glued onto the front of the card
- chameleon die cut glued over the heart
- 2 heart enamel shapes applied above the chameleons’ heads
- Whisper White CS glued onto the inside of the card
- Flirty Flamingo ribbon run through the hole in the card and tied in a bow
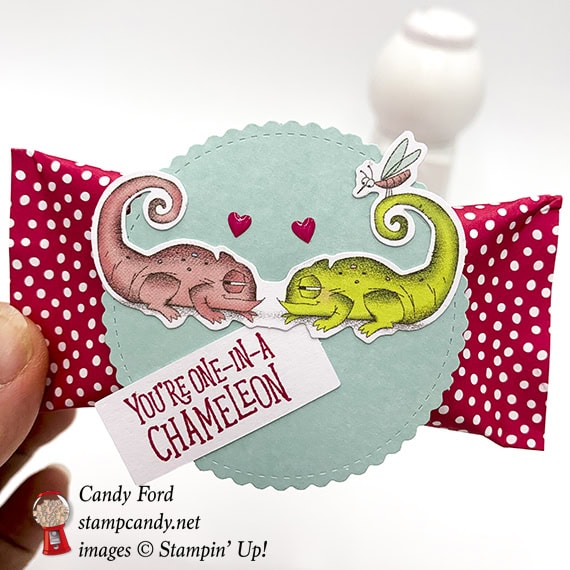
Assembled the Ghirardelli treat wrapper:
- wrapped the DSP around the two candies, and glued the overlapping ends on the back
- glued both ends closed
- chameleon die cut glued onto a round die cut from the kit
- 2 heart enamel shapes applied above the chameleons’ heads
- sentiment label glued onto the round die cut
- round die cut glued onto the front of the DSP wrapper
I used Multipurpose Liquid Glue on today’s projects, but you can certainly use the adhesives that come in the kit.
S
Here’s the hop:
Here are today’s colors:
You can click on each one to see all the products that come in that color!
Here’s what I used:
Click on these images for more details and to purchase.


S
Here’s where to get your prepaid Paper Pumpkin subscription:
Buy a 3, 6, or 12 month subscription and earn free Sale-a-bration items!


S
Here’s the official Stampin’ Up! video on this month’s kit:
S
Click on the image below to see the Animal Expedition suite:

Here are some helpful links:
- Sale-a-bration!!!
- Shop my online store
- Clearance Rack
- SUBSCRIBE to my weekly newsletter and daily blog updates.
- January Host Code TGBRZYGE – receive free product!
- Earn Gumball Rewards – receive free product!
- Gift Certificates are available in any U.S. dollar amount from me. Contact me for details.
- Have you shopped from me within the past year? Join my private VIP Facebook group for exclusive project tutorials and more!
Thanks for stopping by today, and Sweet Stamping!


Quick, simple, and fun…I love it! Thanks for sharing 😀
Thanks, Kimberley!
Love the sweet packaging you created for the sweet treats! TFS!
Thank you, Roberta!
Sweet Projects for some sweet treats!
Thanks again, Roberta!
Absolutely love the treat wrapping – so cute and quick! The card is awesome and a great way to use the kit. Thanks for sharing.
Thanks, Pam!
An adorable mini card and a cute little treat wrapper. Very sweet! Thanks for sharing Candy
Thanks, Monika!!
So cute how you created the pouch for your candy and the coordinating card too!
Thanks, Debbie!