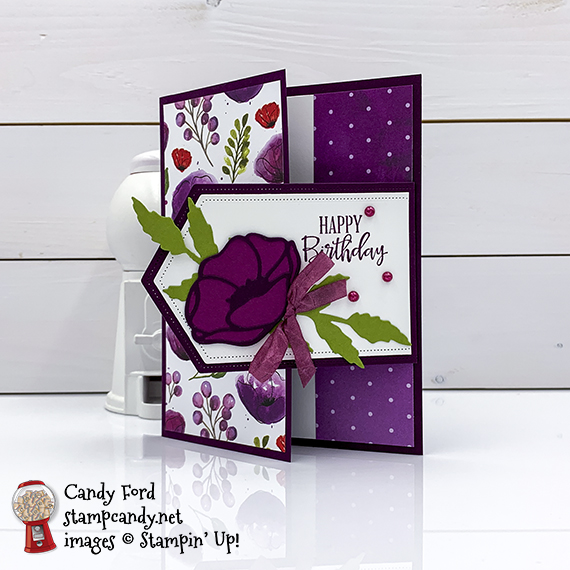
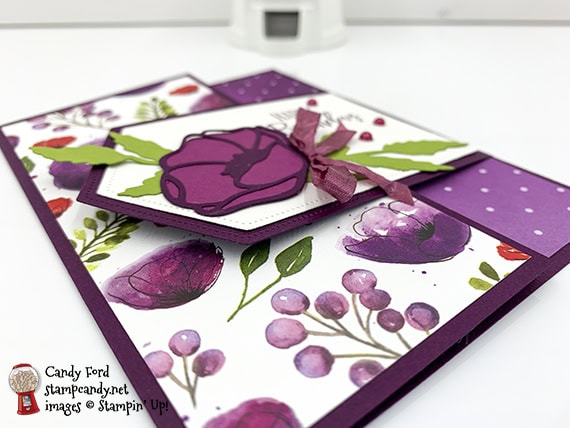
Today’s birthday card I CASEd from Margaret Knight of creativestampingwithmargaret.com. I used products from the Peaceful Poppies Suite (Peaceful Moments stamp set, Poppy Moments Dies, and Peaceful Poppies Designer Series Paper) along with the Stitched Nested Labels Dies.
If you are reading this in email, some photos may appear blurry, or may not appear at all. Please click here to see the post on my blog.
S
Here’s what I made:


S
Here’s what I did:
Cut and scored with my paper trimmer:
- Blackberry Bliss card stock (CS) cut to 7″ x 5-1/2″, then scored at 2-3/4″
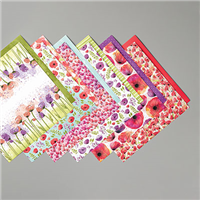
- Peaceful Poppies Designer Series Paper (DSP) layer cut to 2-1/2″ x 5-1/4″
- DSP layer cut to 1-1/2″ x 5-1/4″
- Whisper White CS cut to 4″ x 5-1/4″
Cut using the Stitched Nested Label Dies:
- Blackberry Bliss CS scrap using the largest die, then scored along one end just before the taper starts
- Whisper White CS scrap using the second largest die, then cut off one end just before the taper starts
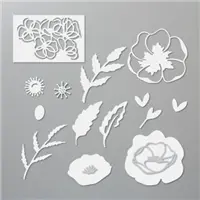
Cut using the Poppy Moments Dies:
- solid flower from a scrap of Rich Razzleberry CS
- flower overlay from a scrap of Blackberry Bliss CS
- leaves from a scrap of Old Olive CS (2 pieces)
Stamped with the Peaceful Moments stamp set:
- sentiment in Blackberry Bliss ink onto the Whisper White die cut label
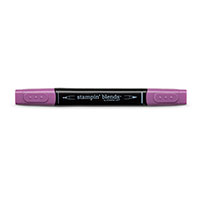
Colored using a Stampin’ Blends Marker:
- about 9″ of Whisper White ribbon in Dark Rich Razzleberry
- 3 Pearl Basic Jewels in Dark Rich Razzleberry
Assembled the card:
- burnished the fold in the card base with a Bone Folder
- smaller DSP layer glued onto the right side of the Whisper White CS
- small flap of the Blackberry Bliss die cut label glued onto the back of the Whisper White CS
- Whisper White CS glued onto the inside of the card base
- larger DSP layer glued onto the front of the card base
- Whisper White die cut label glued onto the Blackberry Bliss die cut label
- overlay glued onto the flower
- leaves glued onto the back of the flower
- flower glued onto the Whisper White die cut label
- colored ribbon tied in a bow and adhered at the bottom of the flower using a Mini Glue Dot
- 3 colored pearls applied around the sentiment
S
Here are today’s colors:
You can click on each one to see all the products that come in that color!
S
Here’s what I used:
Click on these images for more details and to purchase. If you are reading this post in email, the product images may not show up. Click here to see the post on my blog.
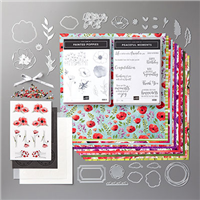
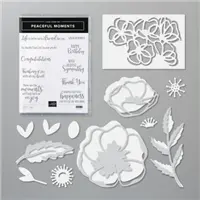


Supply List Click “Supply List” for a clickable and printable list of the products!
S
Here are some helpful links:
- Shop my online store
- Clearance Rack
- SUBSCRIBE to my weekly newsletter and daily blog updates.
- April Host Code YUSFAX63 – receive free product!
- Paper Pumpkin: buy a Prepaid Subscription or subscribe month to month
- Earn Gumball Rewards – receive free products!
- Gift Certificates are available in any U.S. dollar amount from me. Contact me for details.
- Have you shopped from me within the past year? Join my private VIP Facebook group for exclusive project tutorials and more!
- Join my team and enjoy a 20% discount (or more) on all your purchases! You choose $125 in products and pay only $99, and get free shipping! No obligation! No selling required!
S
Thanks for stopping by today, and Sweet Stamping!
![]()

Such a beautiful card!
Thanks, Candy!
What was the finished size?
4-1/4″ x 5-1/2″