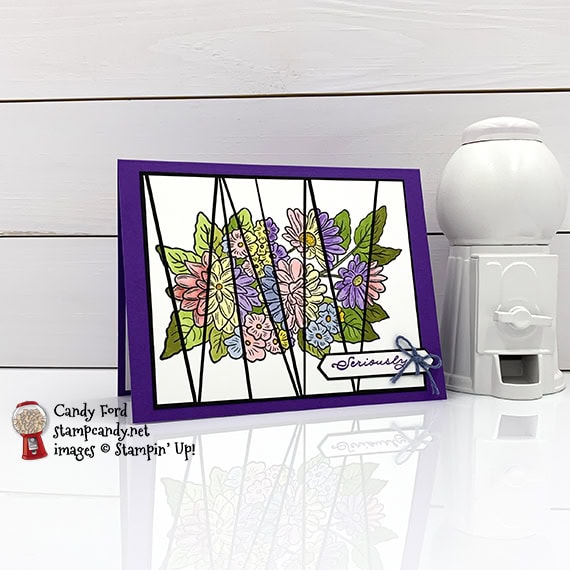
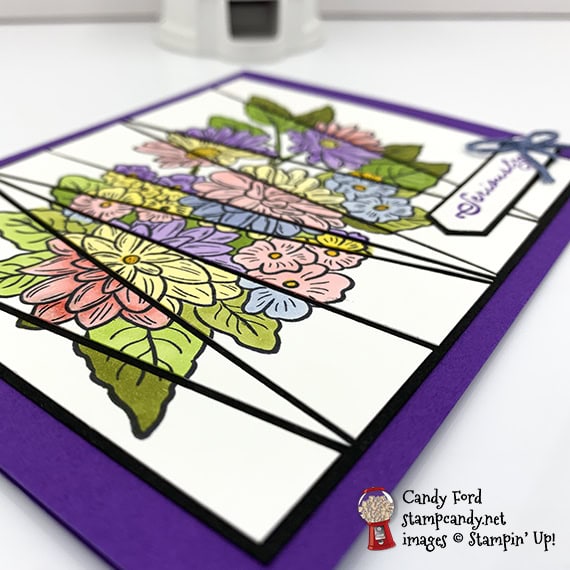
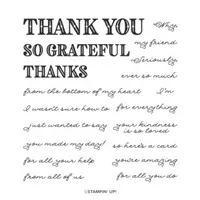
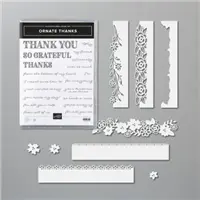
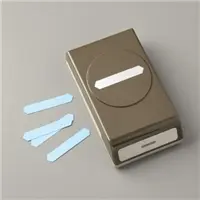
Today’s card doesn’t use the PPPST! Can you believe it? Instead I’m using another popular technique. This is my first try at the Scrappy Strip Technique. I used the Ornate Thanks and Ornate Style stamp sets. I colored in the image using Stampin’ Blends Markers, then cut it into strips. And I cut the sentiment using the Classic Label Punch.
PPPST = Paper Piecing Press n Seal Technique
If you are reading this in email, some photos may appear blurry, or may not appear at all. Please click here to see the post on my blog.
S scrappy scrappy scrappy scrappy scrappy
Here’s what I made:
S
Here’s what I did:
Cut and scored with my paper trimmer:
- Gorgeous Grape card stock (CS) cut to 5-1/2″ x 8-1/2″, then scored in half at 4-1/4″
- Basic Black CS layer cut to 4-3/4″ x 3-7/8″
- Whisper White CS layer cut to 4-1/4″ x 3-3/4″ (*after floral image was stamped, I cut the layer into strips as shown)
- Basic Black CS cut to 2-1/2″ x 7/16″
- Whisper White CS cut to 5-1/4″ x 4″ for the inside of the card base
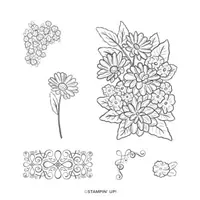
Stamped with the Ornate Style stamp set:
- floral image in tuxedo Black Memento ink onto the Whisper White CS layer*
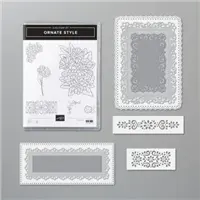
Stamped with the Ornate Thanks stamp set:
- front sentiment in Gorgeous Grape ink onto a scrap of Whisper White CS
- inner sentiment in Seaside Spray ink onto the Whisper White CS for the inside of the card base
Cut using the Classic Label Punch:
- front sentiment
Cut using Paper Snips:
- both ends of the Basic Black CS strip, to mat the front sentiment
Colored using Stampin’ Blends Markers:
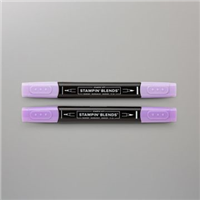
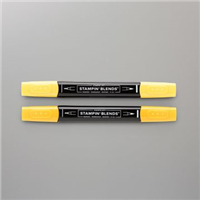
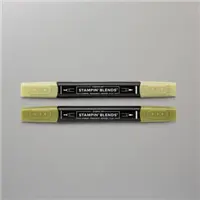
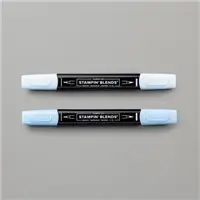
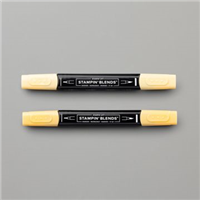
- floral image in Flirty Flamingo, Granny Apple Green, Highland Heather, Mango Melody, Old Olive, Seaside Spray, and So Saffron
- Note: I used different colors in each strip.
Assembled the card:
- burnished the fold in the card base with a Bone Folder
- colored strips glued onto the Basic Black CS layer, about 1/16″ apart
- Basic Black CS layer glued onto the front of the card base
- front sentiment glued onto the Basic Black CS strip
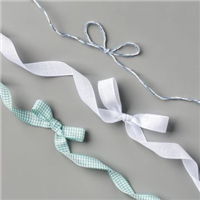
- blue twine pulled out of a piece of blue/white/silver twine, then tied around the sentiment and tied in a bow
- front sentiment glued onto the strips
- Whisper White CS glued onto the inside of the card base
S
Here’s what I would do differently:
I’m not sure why I thought I needed to cut all the strips into triangles with sharp points. When I look at other Scrappy Strip cards I’ve seen lately, I realize their strips have four edges instead of 3. I think that would make it much easier to line up the pieces.
S
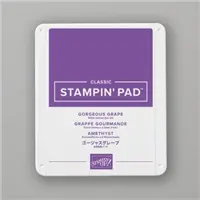
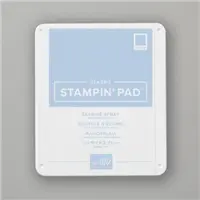
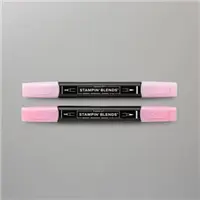
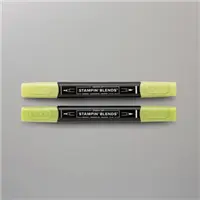
Here are today’s colors:
You can click on each one to see all the products that come in that color!
S
Here’s what I used:
Click on these images for more details and to purchase. If you are reading this post in email, the product images may not show up. Please click here to see the post on my blog.
Supply List <— Click for a clickable and printable list of the products!
SS
Here are some helpful links:
- June Host Code DXD9JX2S – receive free product!
- Shop my online store
- Clearance Rack
- Request a free catalog
- SUBSCRIBE to my weekly newsletter and/or daily blog updates.
- Paper Pumpkin: buy a Prepaid Subscription or subscribe month to month
- Earn Gumball Rewards – receive free products!
- Gift Certificates are available in any U.S. dollar amount from me. Contact me for details.
- Have you shopped from me within the past year? Join my private VIP Facebook group for exclusive project tutorials and more!
- Join my team and enjoy a 20% discount (or more) on all your purchases! You choose $125 in products and pay only $99, and get free shipping! No obligation! No selling required!
S
Thanks for stopping by today, and Sweet Stamping!





Fun idea coloring each strip differently.
Thanks, Phyllis! I thought it would add some interest to the card.
Pretty card, Candy. Thanks for all the details. Enjoy your day!
Thanks, Hilda! And you’re welcome!