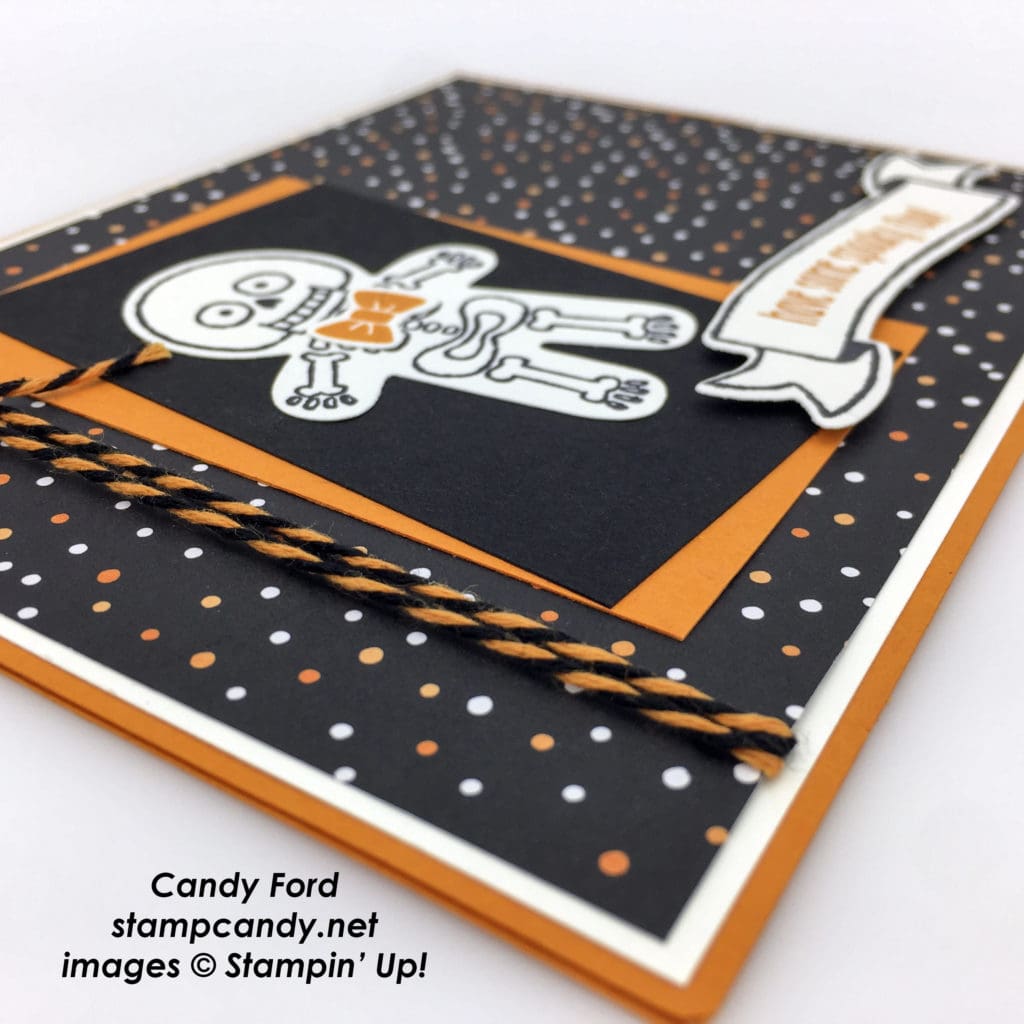
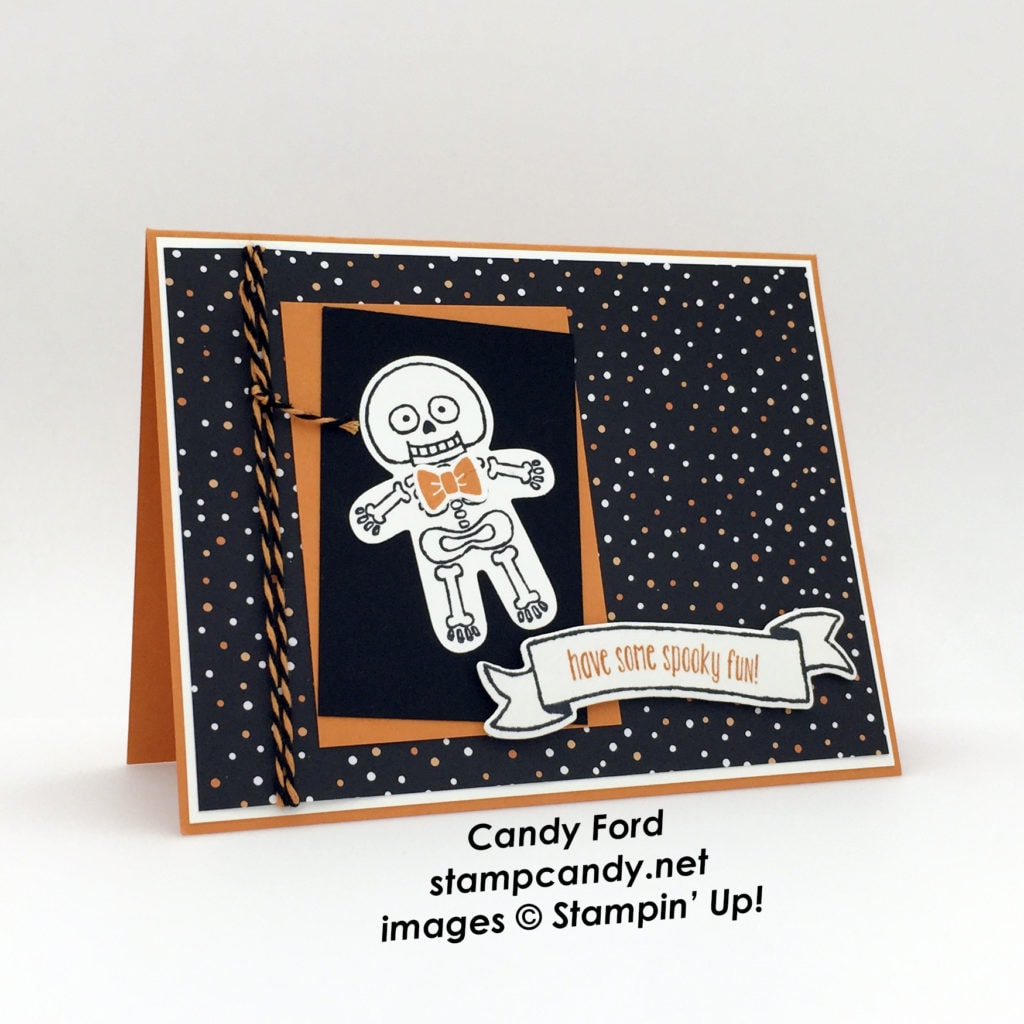
Some skeletons are scary. Some skeletons are funny. This one is cute as a button, and he’s all dressed up to send some fun Halloween greetings.
Here’s how I did it:
The card base is Pumpkin Pie card stock with a layer of Whisper White card stock. I wrapped Pumpkin Pie twine from the Halloween Night Baker’s Twine around a layer of Halloween Night Designer Series Paper, and tied a knot, then glued the DSP to the card front.
I stamped two images from the Cookie Cutter Halloween stamp set: the skeleton in Black Memento ink, and the bow tie in Pumpkin Pie ink, onto Whisper White card stock. I cut the pieces with the Cookie Cutter Builder Punch and glued the bowtie onto the skeleton. I glued the skeleton onto a piece of Basic Black card stock, and glued that onto a piece of Pumpkin Pie card stock, then glued the whole thing to the card front. I didn’t really measure these two pieces of card stock. I just laid the skeleton on the Basic Black piece and trimmed to a good size, then cut the Pumpkin Pie piece a little bigger.
I stamped the banner from the Banners for You stamp set in Black Memento ink onto Whisper White card stock, then stamped the sentiment from the new Spooky Fun stamp set in Pumpkin Pie ink inside the banner. It’s easy to curve the sentiment to match the banner, because it’s photopolymer. I cut the banner with the coordinating die from the Bunch of Banners Framelits Dies, then adhered it to the card with Stampin’ Dimensionals.
Here’s what I used:
Thanks for stopping by today, and Sweet Stamping!

