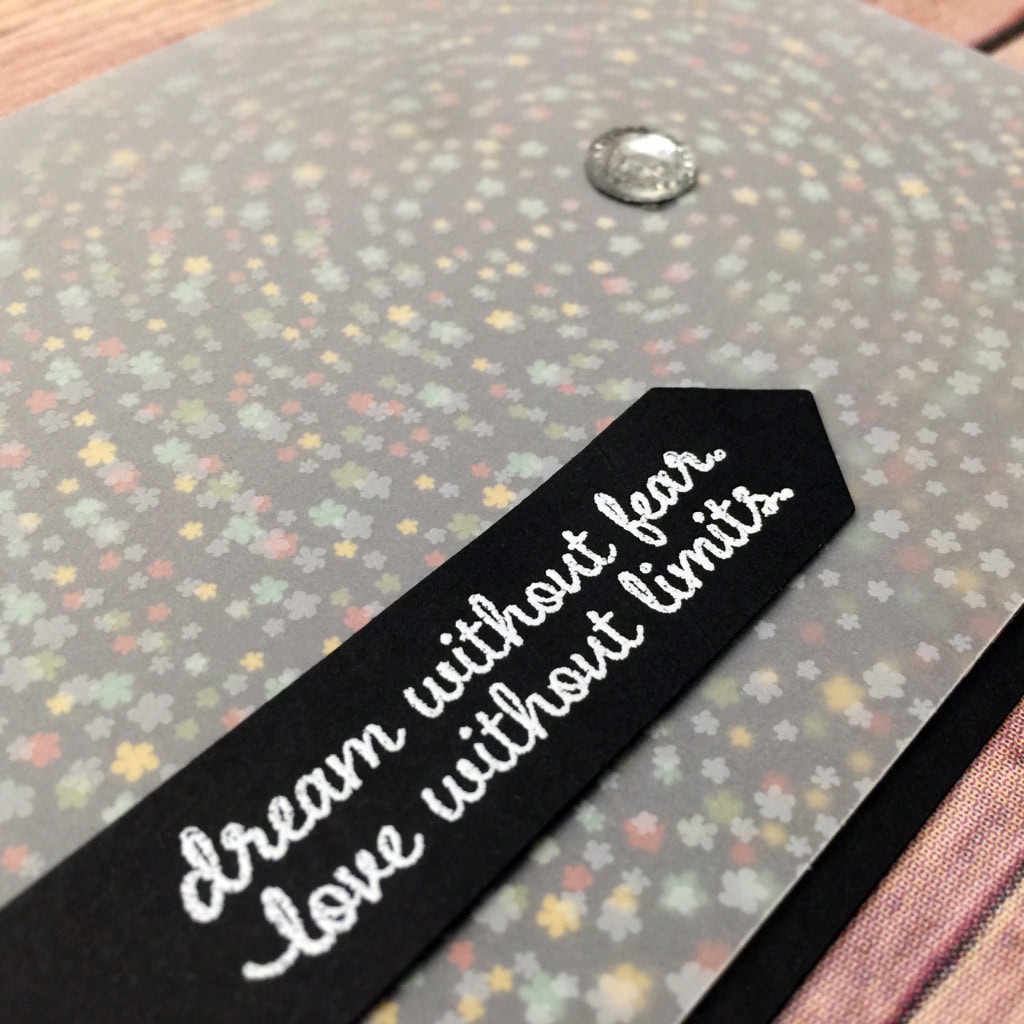
At first glance, this card might look like a swirling vortex of stars in the night sky. Look more closely and you’ll see the stars are actually flowers. I got this affect by layering a piece of Botanical Garden Designer Series Paper with the coordinating piece from Botanical Gardens Designer Vellum Stack. I pressed my fingertip where I wanted the center of the swirl to be, where you see the Iced Rhinestone, then spun the vellum just a tiny bit. The flowers near the center are lined up, but the farther away from the center you get, the more offset the flowers are, giving the illusion of a spinning motion.
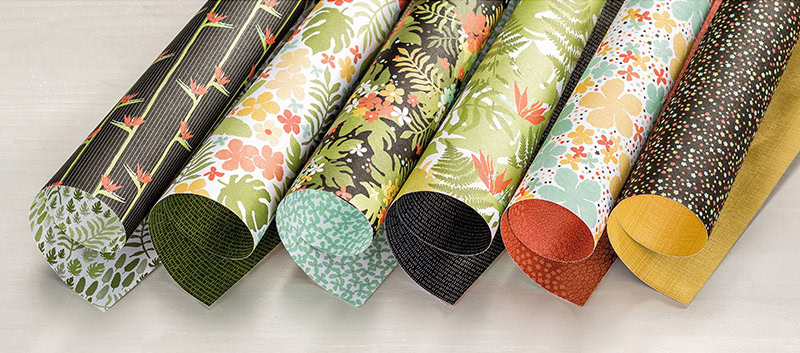
Botanical Gardens Designer Series Paper, Item #140583

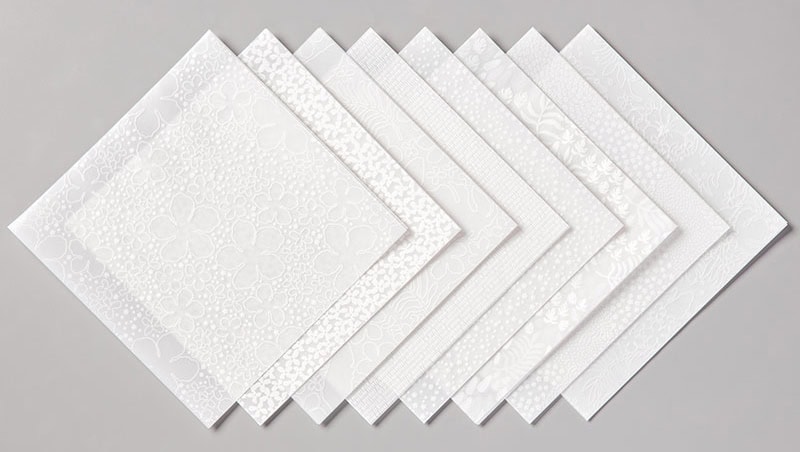
Botanical Gardens Designer Vellum Stack, Item #141019

NOTE 1: Trim the DSP to size, but keep the vellum larger until you’ve spun it to find out where it should go. Then trim the vellum to fit the DSP.
NOTE 2: This vellum is 6″ x 6″ and the DSP is 12″ x 12″. The vellum lines up perfectly with the center of the DSP.
I chose an Iced Rhinestone as a bright, shiny focal point for the center of the swirl. The card base and banner are Basic Black card stock.

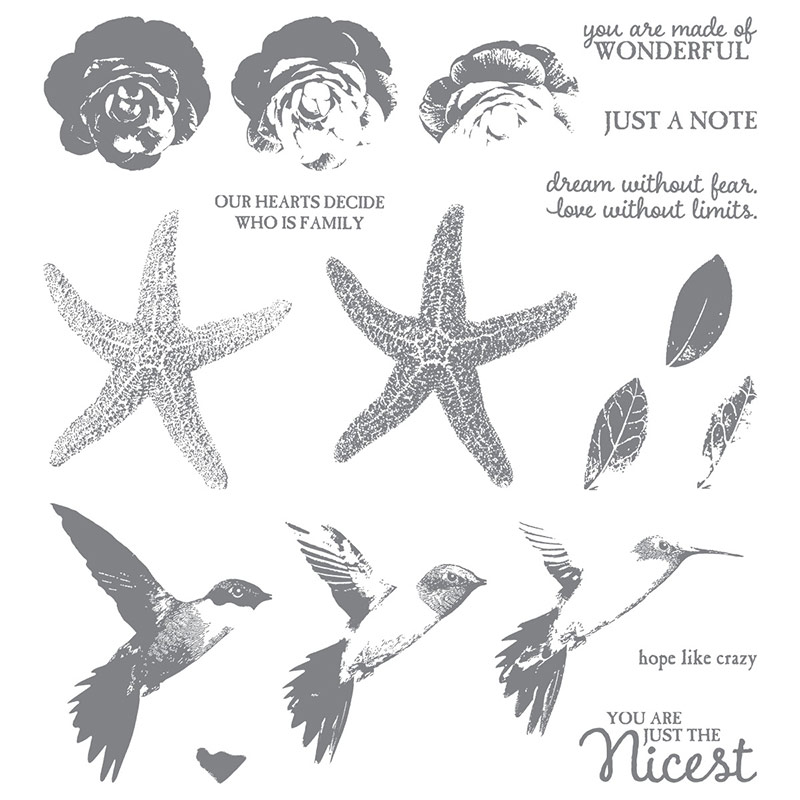
The sentiment, from the Picture Perfect stamp set, seemed perfectly “cosmic” for this particular background. I heat embossed it in white on the Basic Black banner.
I think this would be a great card for anyone who is graduating, marrying, or starting any other new adventure.
NOTE 3: There is always a lot of discussion amongst paper crafters about the best way to adhere vellum so it doesn’t show through. As you can see, there isn’t a lot of covered area on this card where adhesive can be hidden – only under the rhinestone and the banner. I used teeny tiny dots of the Multipurpose Liquid Glue in several spots, making sure they were behind one of the flowers on the vellum. I used such a thin layer of glue that I felt the need to hold the vellum down to the DSP for a moment, until I felt it was dry enough to stay put.
The Botanical Gardens Designer Vellum Stack is available FREE with any $50 order during Sale-a-bration. Get it while you can!
Here’s what I used. Click on the images below to get what you need to make your own version of today’s card.
Built for Free Using: My Stampin Blog
Thanks for stopping by today, and Sweet Stamping!


Wow, that’s awesome…how did you figure that out?
Thanks, Traci! I was lining up the design and discovered it by happy accident!
Brilliant!