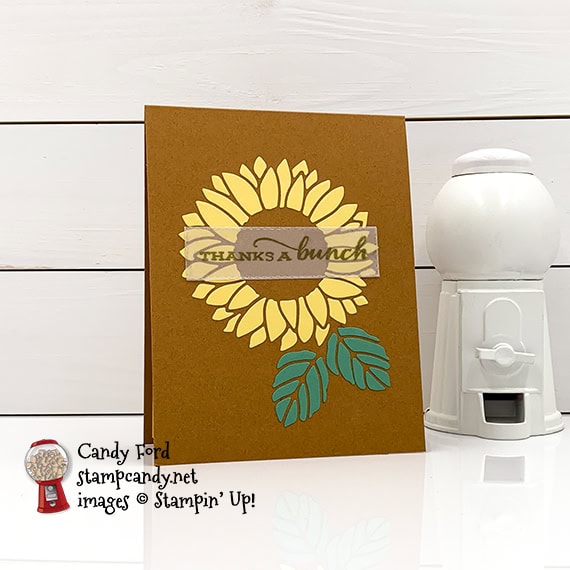
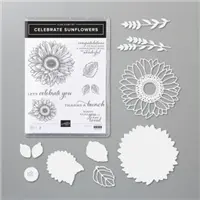
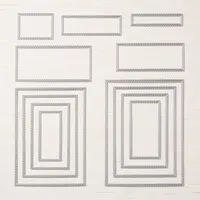
I used the Stitched Rectangles Dies along with the new Celebrate Sunflowers Bundle (Celebrate Sunflowers stamp set & Sunflowers Dies) to make todays thank you card. I glued the rectangular sentiment across the center of the flower. This is another card on which I used Press n Seal plastic wrap to keep all the little die cut pieces in place while I transferred them from the die cut machine to the card.
If you are reading this in email, some photos may appear blurry, or may not appear at all. Please click here to see the post on my blog.
S rectangles rectangles rectangles rectangles rectangles rectangles
Here’s what I made:
You can’t tell in the photo, but the sentiment is heat embossed in gold, so it’s shiny and metallic.
S
Here’s what I did:
Cut and scored with my paper trimmer:
- Cinnamon Cider card stock (CS) cut to 4-1/4″ x 11″, then scored in half at 5-1/2″
- So Saffron CS cut to 4″ x 5-1/4″ for the inside of the card base
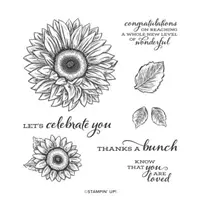
Stamped with the Celebrate Sunflowers stamp set:
- sentiment in Versamark ink onto a scrap of Vellum, then heat embossed in gold
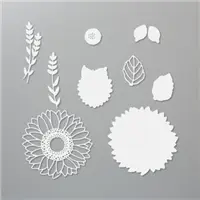
Cut using the Sunflowers Dies:
- detailed sunflower from a scrap of So Saffron CS
- 2 detailed leaves from a scrap of Just Jade CS
- Before lifting the die cut pieces from the die cutting machine, I pressed a piece of Press n Seal plastic wrap over each one so the pieces would stay in place.
Cut using the Stitched Rectangles Dies:
- sentiment
Assembled the card:
- burnished the fold in the card base with a Bone Folder
- glue applied onto the backs of the die cut flower (petals only) then the Press n Seal flipped over and the flower petals glued onto the front of the card base
- slowly and carefully peeled the Press n Seal away from the petals
- glue applied onto the backs of the die cut leaves (inner pieces only) then the Press n Seal flipped over and the leaf pieces glued onto the front of the card base
- slowly and carefully peeled the Press n Seal away from the leaves
- sentiment glued over the flower (I spread glue over the entire back of the vellum so no globs would be visible
- So Saffron CS glued onto the inside of the card base
S
Here are today’s main colors:
You can click on each one to see all the products that come in that color!
S
Here’s what I used:
Click on these images for more details and to purchase. If you are reading this post in email, the product images may not show up. Please click here to see the post on my blog.
Supply List. <— Click for a clickable and printable list of the products!
S
Press n Seal plastic wrap can be found in most grocery stores near the other plastic wraps and plastic bags.
S
Here are some helpful links:
- June Host Code DXD9JX2S – receive free product!
- Shop my online store
- Clearance Rack
- Request a free catalog
- SUBSCRIBE to my weekly newsletter and/or daily blog updates.
- Paper Pumpkin: buy a Prepaid Subscription or subscribe month to month
- Earn Gumball Rewards – receive free products!
- Gift Certificates are available in any U.S. dollar amount from me. Contact me for details.
- Have you shopped from me within the past year? Join my private VIP Facebook group for exclusive project tutorials and more!
- Join my team and enjoy a 20% discount (or more) on all your purchases! You choose $125 in products and pay only $99, and get free shipping! No obligation! No selling required!
S
Thanks for stopping by today, and Sweet Stamping!





I love your beautiful card. Using Press N Seal makes quick work of making it look like a stencil was used. Great job and a great tip. I haven’t used this technique in a while, but you’ve inspired me to try it again. Enjoy your day!