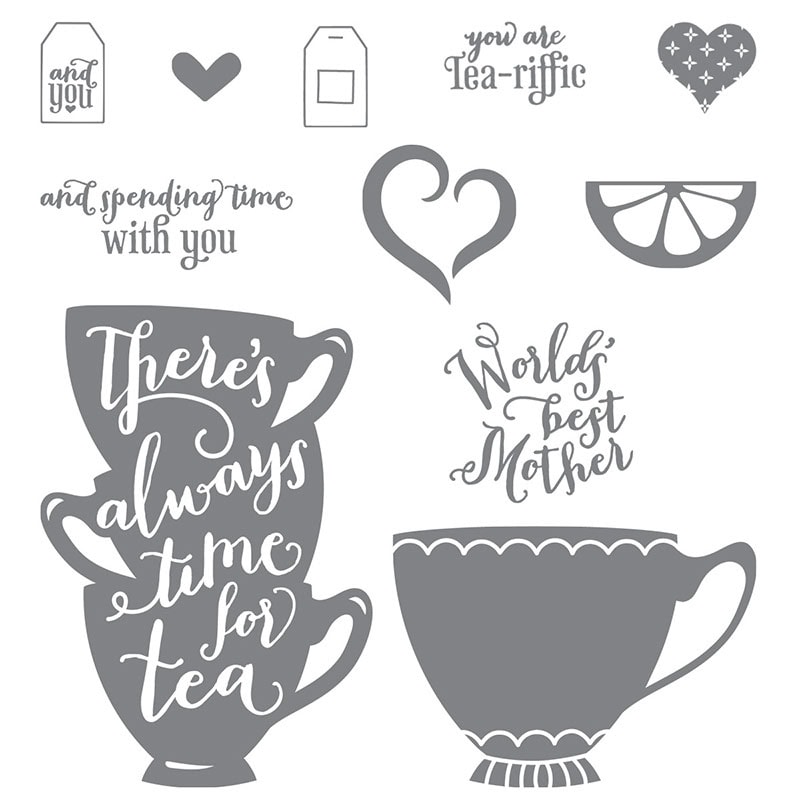
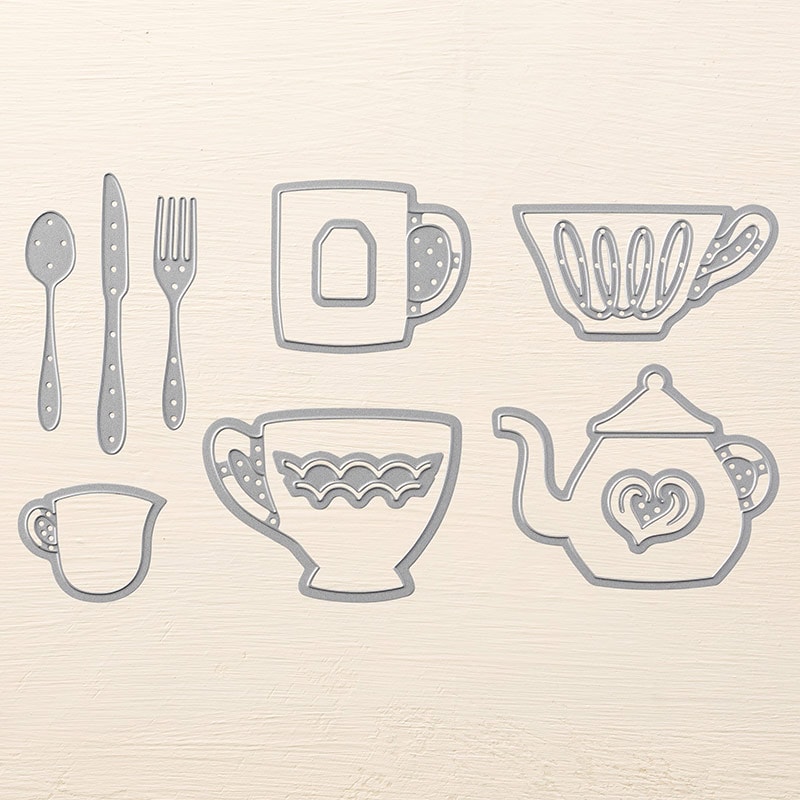
I recently held a Bundle Class using A Nice Cuppa stamp set + Cups & Kettle Framelits Dies bundle.
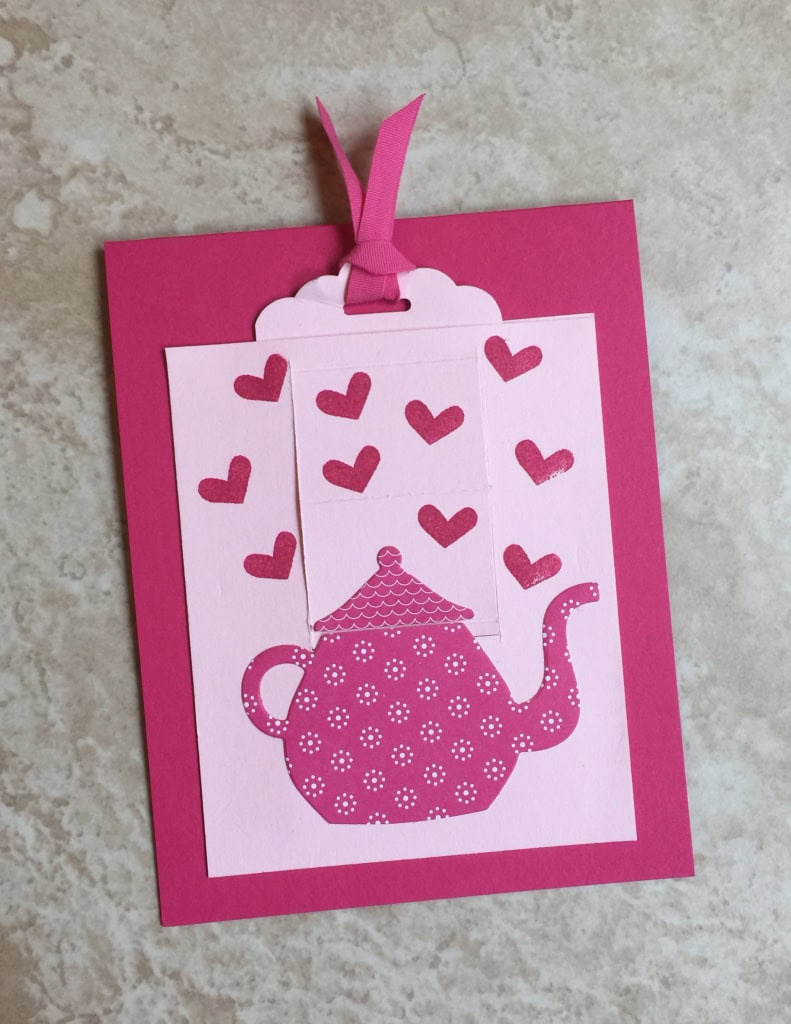
Today I’m sharing one of the projects from that class: a slider card. When you pull the slider up, the lid lifts off the teapot to reveal the sentiment. This example is in Pink Pirouette and Melon Mambo. I CASEd this card from Catherine Carroll at Ideas Inkorporated.

For the slider, cut 1 piece of card stock 4.75 x 2.5. Cut ¼” in from sides, from the top down to ¼” from the bottom. Punch the top with the Scalloped Tag Topper Punch.
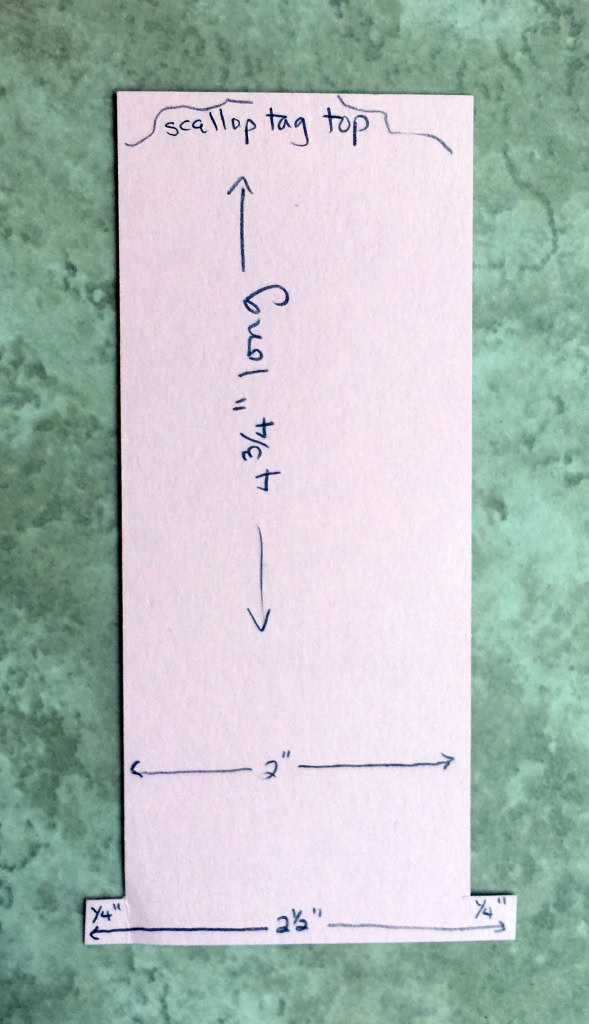
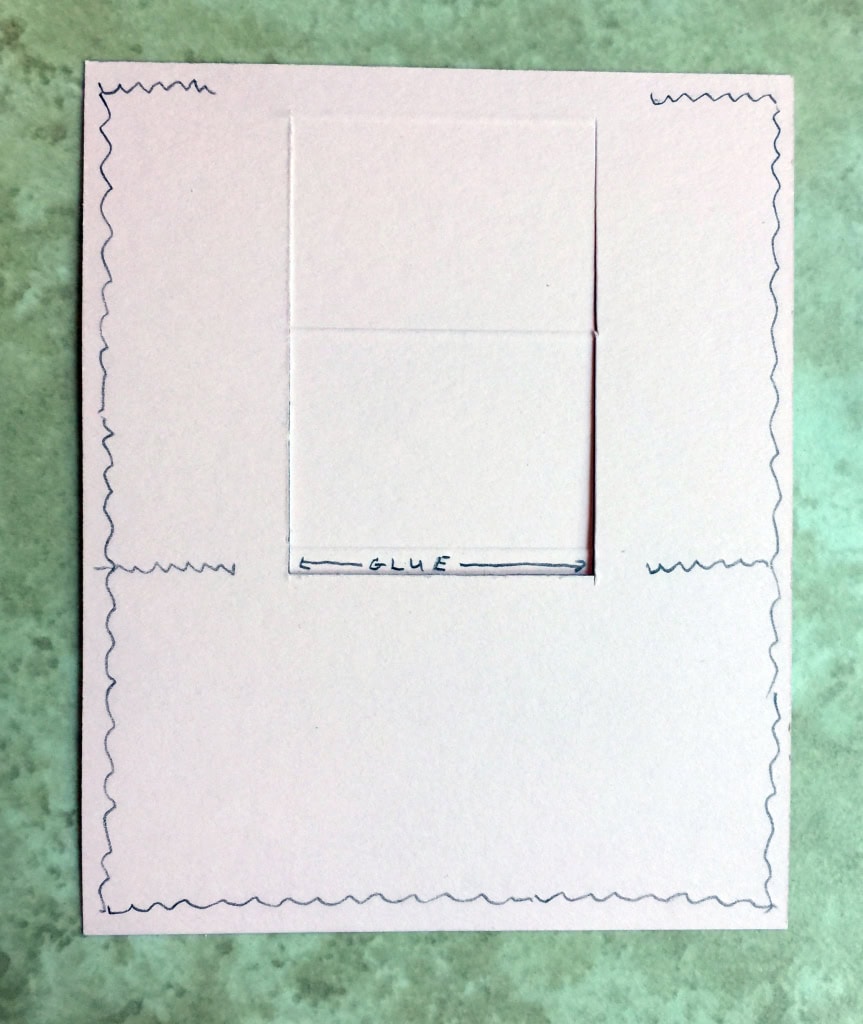
Cut 2 pieces of card stock 3.5 x 4.25 each. Cut one piece from 1/4″ to down to 2-1/2″(1” from each side.) Then cut across this area 2-1/2” down. This creates a flap.
Score across the flap at 1/4”, 1-5/16”, and 2-3/8” from the top. The Stampin’ Trimmer makes all this very easy, since you can trim and score without having to change blades.

Put adhesive along both sides and the bottom. Put glue on the tiny bottom piece of the scored center flap and glue slider in place. Put adhesive on sides beside the bottom of the flap, and along the top as far in as the slider. This is to keep the slider moving up and down, and not side to side, and to keep it from pulling out to far.
Adhere the other (solid) large piece to the back. Be sure you can move the slider up and down.
Stamp on slider bottom area. Here I’ve stamped the heart in the lighter color and the sentiment in the darker color.
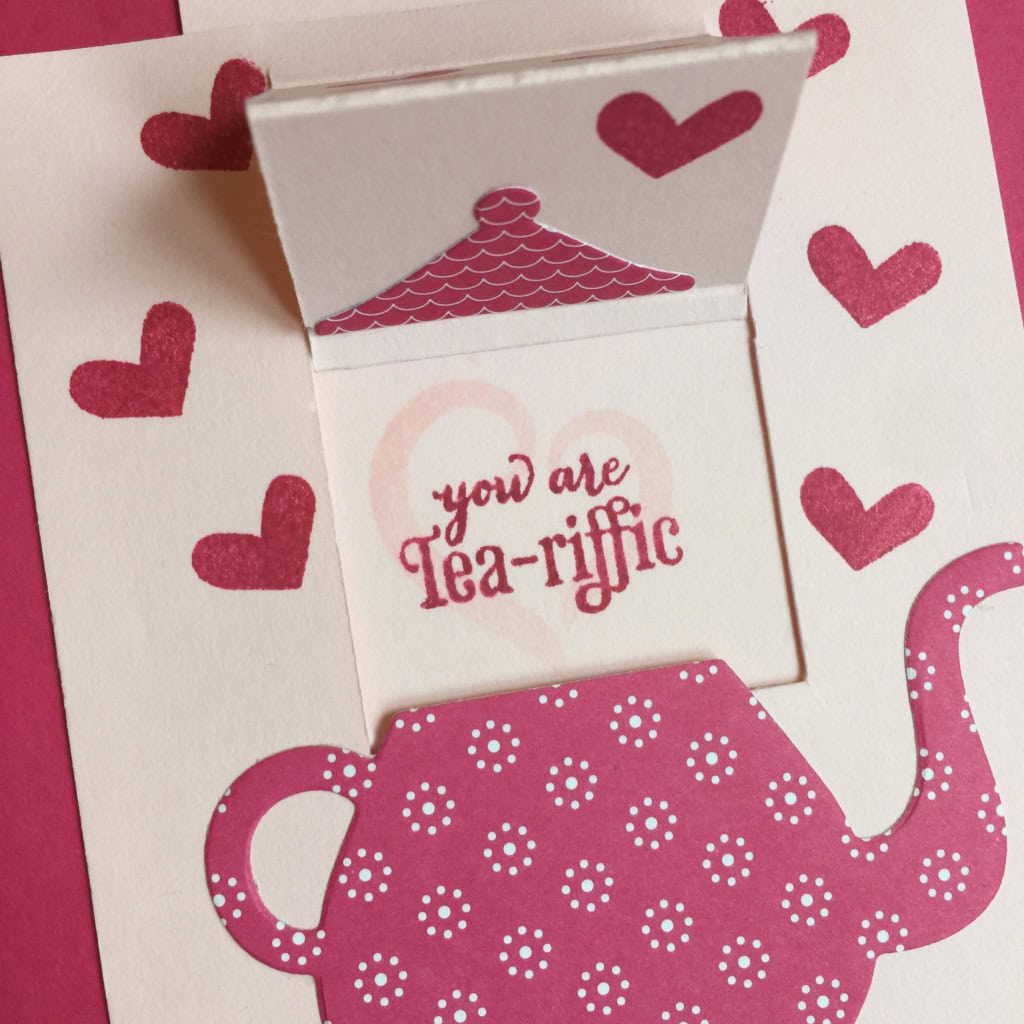
Cut the teapot and lid from Have a Cuppa Designer Series Paper Stack with the Cups & Kettle Framelits Dies. Glue the teapot onto the card and the lid onto the slider, meeting at the bottom score line on the slider. Be careful not to put glue under the very top of the teapot, so it won’t stick to the slider.

Stamp hearts on the card front in Melon Mambo. Tie the ribbon through the tag top. Adhere the whole thing to the front of a Melon Mambo card base. You have the inside of the card base to write a note.
Email me for a free .pdf of these instructions: candy@stampcandy.net.
Here’s what I used:
Please don’t hesitate to ask questions! I love hearing from you!!!
Thanks for stopping by today, and Sweet Stamping!


Candy – this adorable. My nieces would love this. Thanks for sharing.
What a great card, Candy! I know your class had fun making this card!
I love this card Candy and I had so much fun creating it in your class.
What a tea-riffic card. Love it and thanks to Catherine Carroll for designing it and to you for sharing it.
This is such a fun creative card!