Is that a spotted owl, or maybe a speckled sparrow? Nope, this myopic little bird (or stylized chicken?) has to stay home from school because of his itchy spots. He’s been studying his spelling at home though – see the Dictionary stamp background?
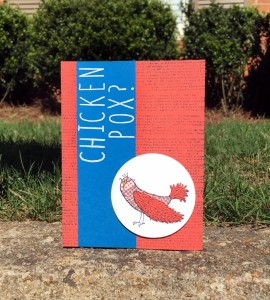
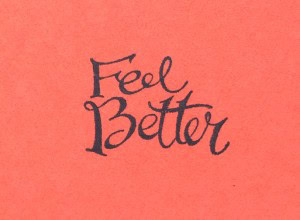
Even with the chicken pox, he’s still pretty sassy, which is why I used a sentiment from the Sassy Salutations stamp set inside the card.
This card has three main components: the bird, the banner, and the background. Here’s how I did all three.
THE BIRD
How did this little guy get his spots? I pieced him together in three layers:
1) I stamped him on a piece of Whisper White card stock, then cut him out with the 2-1/2″ Circle Punch.
2) I stamped him on a piece of Birthday Bash Designer Washi Sheet, then cut his body with Paper Snips (the best paper scissors ever!)
3) I stamped him on a piece of Calypso Coral card stock, then fussy cut his wing and tail with Paper Snips.
I layered the washi sheet body over the white image. Then I adhered the wings and tail over that using Mini Glue Dots – since the washi sheet’s surface is a little slick, I thought I’d better use a really strong adhesive.

Pacific Point, Calypso Coral and Whisper White look like school colors to me. If they aren’t, they should be. Doesn’t he look like he could cheer on the old orange and blue? He could shake his tail feathers like a pompom! Once he’s feeling better, of course.
THE BANNER
The Pacific Point banner was a piece of cake. I rubbed my Embossing Buddy on the card stock. What a life saver this little thing is! It helps prevent the embossing powder from sticking where it shouldn’t. So then I stamped the words using the Skinny Mini Alphabet stamp set and Versamark ink, then heat embossed in white. Done!
Lining up the letters was the most time consuming part. Check back for a tip on how to do that!
THE BACKGROUND
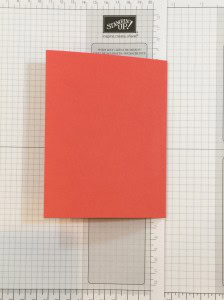
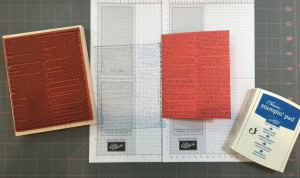
I didn’t want the background to seem too busy or dark, so I stamped off once before stamping the card with Pacific Point ink. Most of the time I stamp on a card front, then attach it to the card base, but here I took the ink right to the base itself. Here’s a tip on how to do that (somewhat) neatly.
Fold over one end of your grid sheet about 1/3 of the way – or whatever kind of paper you’re using to prevent stamping on your table. Tuck one side of the card under the flap, then close the card. Now only one side of the card is exposed and I still have plenty of grid sheet around the card to catch any stray ink.

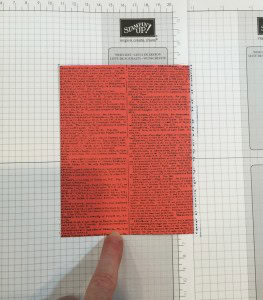
Do you see what I did here? I stamped the back of the card. Now, I could spin the card around and use this as the front, but the image would be upside down. The words are so tiny, probably no one would notice. Or I could make it a trick card that opens on the left. But I decided to spin the whole set up and stamp again on the front of the card. Now it’s stamped on the front and back – because, you know, this little guy is so studious, he uses two dictionaries. Yeah, I did it on purpose. Uh huh. 😉
With the three main components done, the card assembly was super quick. I glued the blue banner onto the card front, then used Stampin’ Dimensionals to adhere the circle.
Here’s what I used:


Thanks for stopping by today, and Sweet Stamping!
