At Stampin’ Up’s recent Leadership gathering in Orlando, CEO Shelli Gardner demonstrated some great techniques. One was how to make feathers out of washi tape. They’re super easy and they look great.
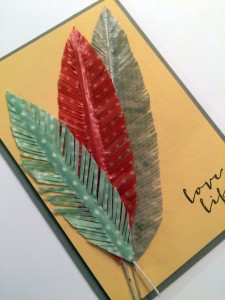
 As soon as I got home, I started making them. After a while I thought I should start thinking of a way to use them. I mean, what am I gonna do with a big pile of washi feathers? That’s when I came up with this card. I wanted to keep it very simple, so the feathers would be the focal point.
Here’s how to make a feather:
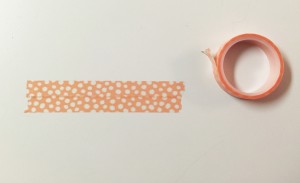
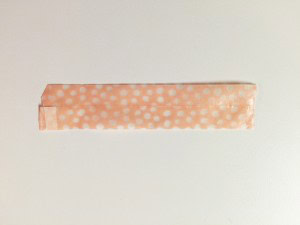
First lay down two pieces of washi tape, as long as you want your feather to be, overlapping the edges slightly. (Alternatively, you could use a piece of a Washi Sheet cut to the size of your feather. Or you could make a small, skinny feather with only one width of washi tape and the thinner baker’s twine for a spine. So many options!) I like to stick them to a slick surface, like my kitchen counter, so they will come up easily.
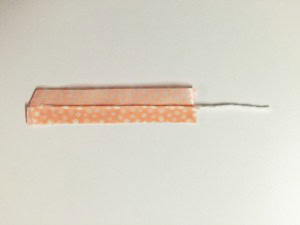
Now flip the whole thing over so it’s sticky side up.
Lay a piece of thick twine along the center for the spine, leaving some extra for the quill.

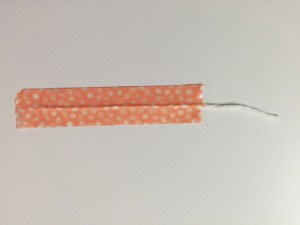
Use two more pieces of washi tape to cover the original, again overlapping slightly.
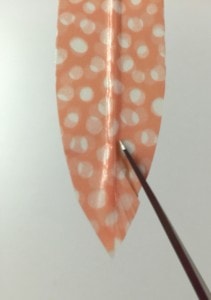
Now cut into a feather shape. It can be long, short, slender, fat, pointy, round – whatever you like.
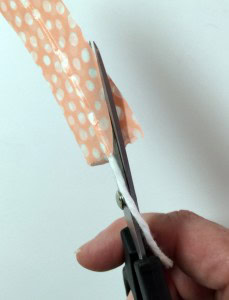

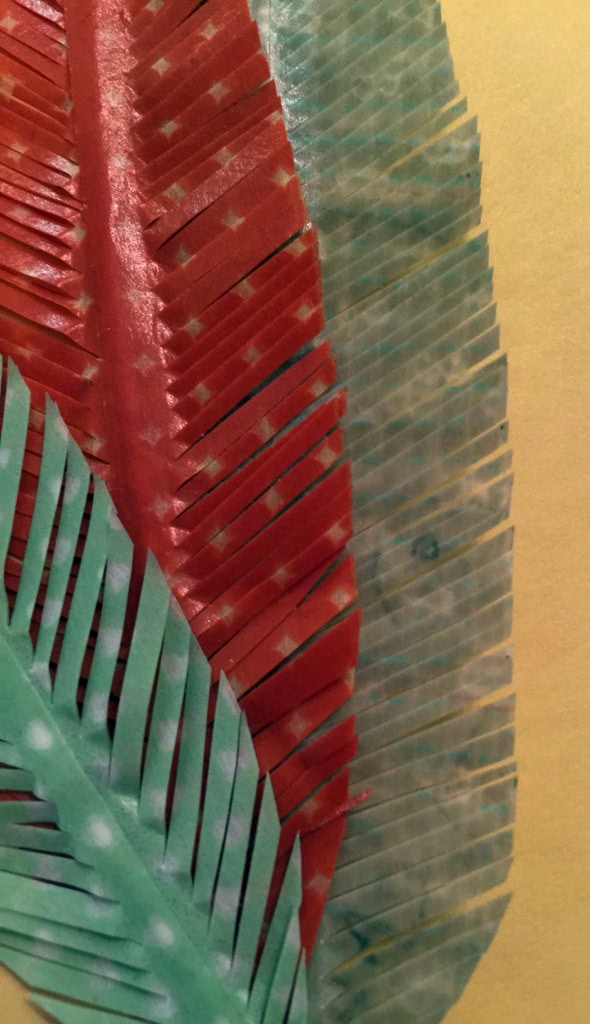
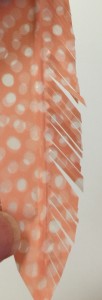
Now take your Paper Snips (good scissors are very important here) and snip, snip, snip along both sides, angling down toward the center (or up toward the center if you’re holding it upside down as I am in these photos.) The closer together the snips, the better.
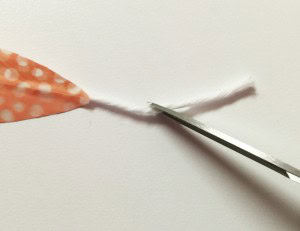
Now trim the quill to the desired length. I like to cut it at an angle to look more realistic.
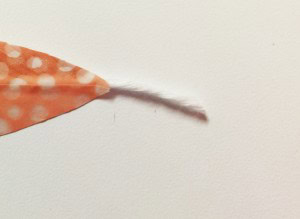
Dirty up the quill just a bit with a Sahara Sand Stampin’ Write Marker.
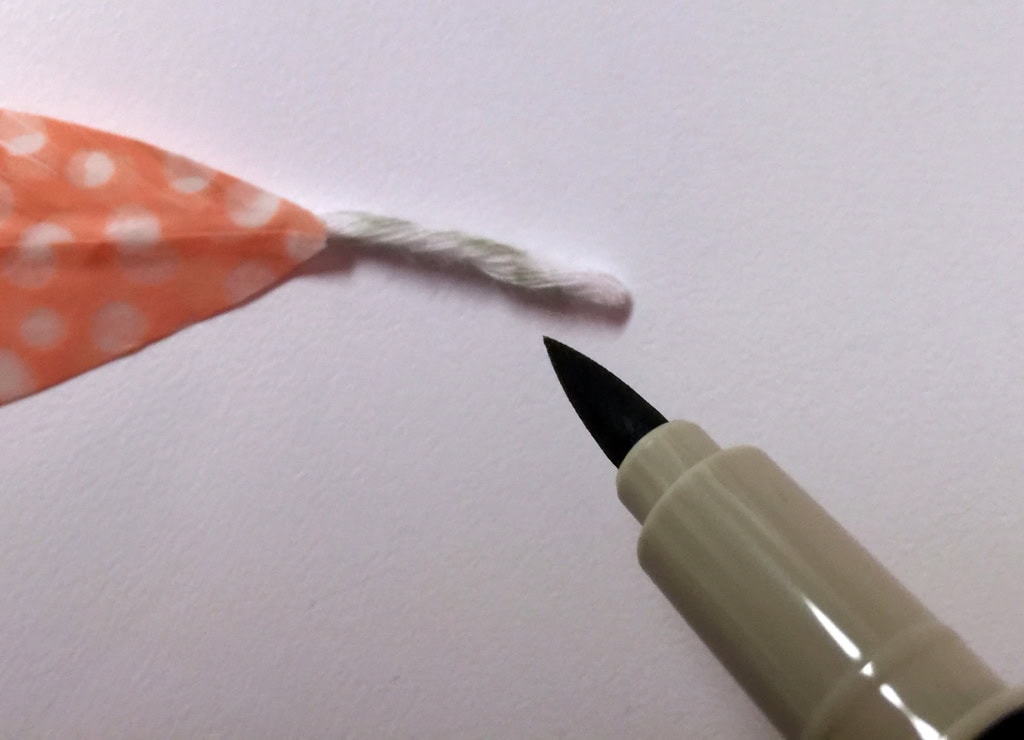
Apply a small amount of Crystal Effects to the quill, then twirl it between your fingers to work it in and make the twine nice and straight. When it dries it will be stiff.

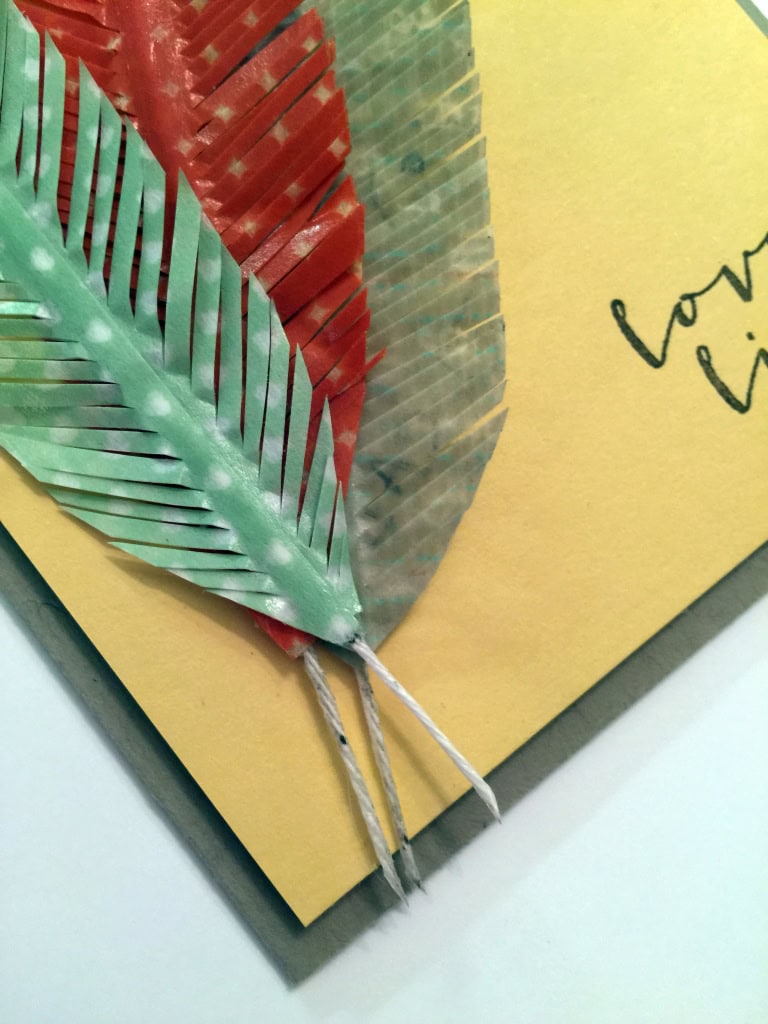
Look at the difference between the green feather on the left and the brown feather on the right. You can see why I prefer the barbs snipped very close together.
I forgot to mark one of the quills with the Sahara Sand marker. You can see the difference it makes.
Once the feather is finished, I like to rub it with my fingers in the “wrong” direction to separate the individual barbs just a bit. I think it looks more realistic that way.
Here’s what I used: