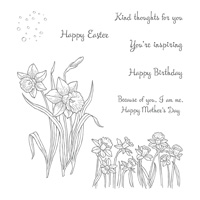
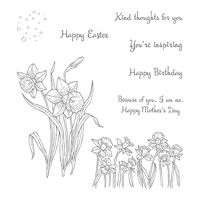
Stampin’ Up!’s web site describes the You’re Inspiring stamp set like this: “A dignified dozen of delicate daffodils for dazzling demonstrations of your devotion.” They do love alliteration. It really is a lovely stamp set, and I used it to make today’s card for Easter.
When I was little, the whole family always gathered at my Aunt Edna’s house for Easter dinner. I was the only child at these dinners. My siblings and cousins were all at least 10 years older, so they were teenagers and didn’t care about hunting for eggs. But I loved it. The driveway to Aunt Edna’s house was lined in jonquils, and they were always thick and blooming at Easter. I always knew there would be at least a few eggs hidden amongst them. To this day, whenever I see jonquils (or daffodils or Narcissus) I always think of those childhood Easters.
S
Here’s what I made:
S
Here’s what I did:
Cut and scored with my Stampin’ Trimmer:
- Granny Apple Green card stock (CS) cut to 5-1/2″ x 8-1/2″, then scored in half at 4-1/4″
- Whisper White CS layer cut to 4″ x 2-3/4″
- Lemon Lime Twist CS layer cut to 3-7/8″ x 2-5/8″
- Whisper White CS cut to 5-1/4″ x 4″ for the inside of the card
Stamped with the You’re Inspiring stamp set:
- daffodils in Granny Apple Green ink onto the Lemon Lime Twist Cs layer
- sentiment in Daffodil Delight ink onto a scrap of Whisper White CS
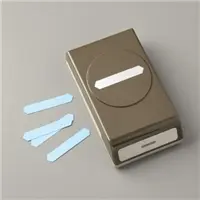
Cut using the Classic Label Punch:
- sentiment
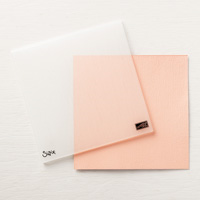
Embossed using the Subtle Dynamic embossing folder:
- the front of the card base
- NOTE: You can emboss a 5-1/2″ x 4-1/4″ piece of Granny Apple Green CS, then glue it onto the front of the card base. I thought it was easier to skip a step and emboss the front of the card base itself.
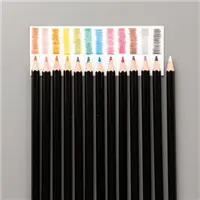
Colored using Watercolor Pencils (dry):
- flowers in Daffodil Delight
- flower centers in Pumpkin Pie
- stems & leaves in Old Olive
- drew three lines along the top, bottom, and both sides of the stamped image in white. I thought about using a ruler, but I think the crooked lines lends a subtle, whimsical quality to the card.
Assembled the card:
- burnished the fold in the card base with a Bone Folder – I did this with the front of the card base facing down, to avoid burnishing away any of the embossing.
- Lemon Lime Twist CS layer glued onto the Whisper White CS layer
- Whisper White CS layer adhered onto the front of the card base using Stampin’ Dimensionals
- sentiment glued onto the Lemon Lime Twist CS layer
- Whisper White CS glued onto the inside of the card base
S
Here are today’s colors:
You can click on each one to see all the products that come in that color!
S
Here’s what I used:
Click on these images for more details and to purchase.
S
Preorder the Vibrant Vases Online Class by April 10:
- Make 6 gorgeous cards at home in your PJs!
- 2 each of 3 designs
- perfect for assorted occasions including love, celebration, and thanks
- You’ll receive all you need to make the cards, including the stamp set, punch, and the precut/prescored card kits PLUS a stamping template for the punch.
- Limited spots available
Click on the image below for details and class options:
S
Here are some helpful links:
- Shop my online store
- Clearance Rack
- NEW Storage by Stampin’ Up!
- SUBSCRIBE to my weekly newsletter and daily blog updates.
- April Host Code G – receive free product!
- Earn Gumball Rewards – receive free products!
- Gift Certificates are available in any U.S. dollar amount from me. Contact me for details.
- Have you shopped from me within the past year? Join my private VIP Facebook group for exclusive project tutorials and more!
- Join my team!
S
Thanks for stopping by today, and Sweet Stamping!


