Nov 29, 2015 | Cards, Challenges, Christmas, CYCI, Holiday |

Here’s this week’s canyoucaseit.com challenge…

…and here’s my project.

From the inspiration photo, I used the colors white, red, and gold, as well as the wood. I also used the small square gift and the pine cone.
This card looks more complicated than it is. Each of the elements – the tree, the gifts stacked up in front of the tree, the pinecone that has fallen to the floor, and the embossed sentiment – is really very simple to make.
The Winter Wishes stamp set has some striking images, mostly ways to get around in winter. For today’s card I chose the three other images from the set: pine bough, pine cone, and sentiment.

For the background, I used the Hardwood stamp on Crumb Cake card stock with Early Espresso ink.
For the tree, I stamped the pine bough many times in Whisper White Craft Ink to give the illusion of a Christmas tree. It was more translucent that I wanted, so I sprinkled on some White Stampin’ Emboss Powder and heat embossed it. Beautiful! It looks like one of those white Christmas trees with “snow” sprayed all over it.
I stamped the pine cone in Early Espresso on a scrap of Kraft card stock, then cut it out with my Paper Snips – the most amazing little paper scissors ever! While I like just the one pine cone that has haphazardly fallen on the floor, I think I’d like to go back and add more. I’d like to see them strewn around the floor and on top of the gifts.
I punched three 1″ squares from Red and Gold Foil Sheets, and attached Gold Cording bows with Glue Dots. (The lighting in the photo makes the two gold gifts look like they’re different colors, but they’re the same.)
I stamped the sentiment on Red Foil Sheet in Versamark ink, then heat embossed in white. It’s very important to use your Embossing buddy, since the powder really likes to cling to the foil sheet. I cut the notches at the ends with the 1″ Square Punch.
I attached all the elements to the card front with Stampin’ Dimensionals. Then I added “lights” to the tree with Cherry Cobbler Dazzling Details.
I added layers of Red and Gold Foil Sheets, and adhered the whole thing to a Whisper White Thick Card Stock base. Done!
Here’s what I used. Click on the images below to get your own so you can make this festive card!
Be sure to check out all the great projects at canyoucaseit.com, and play along with us by entering your own project!
Thanks for stopping by today, and Sweet Stamping!

Nov 22, 2015 | Bags, Challenges, CYCI, Holiday, Sketches |
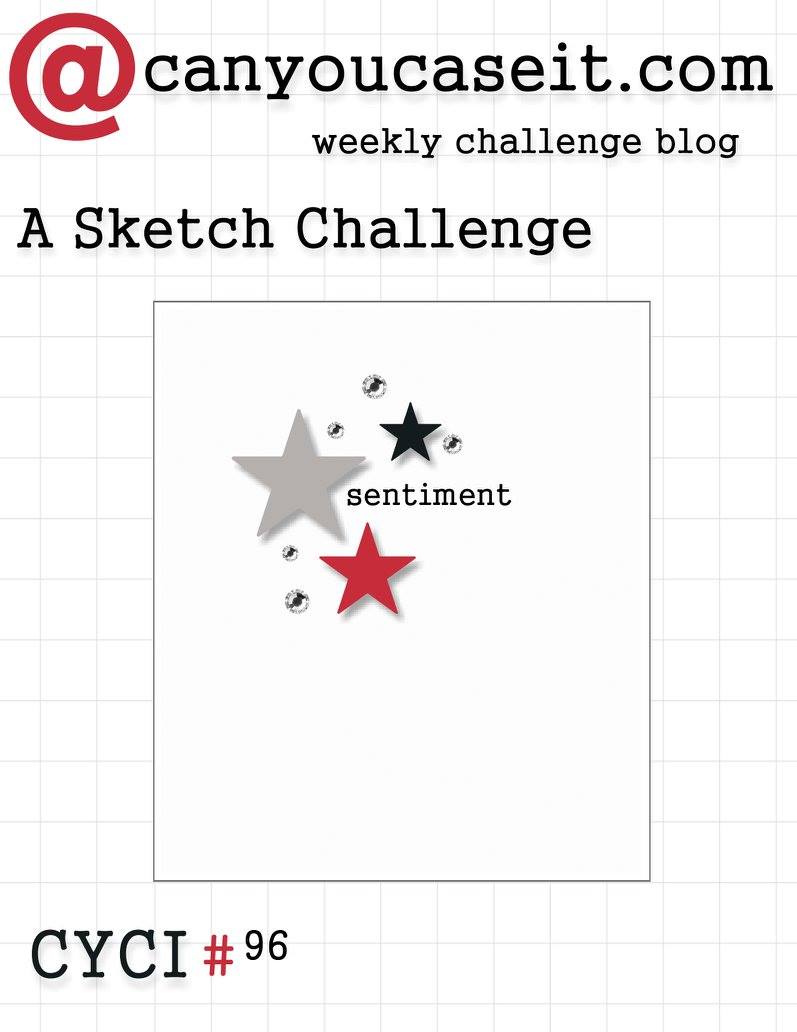
Here’s this week’s CanYouCaseIt.com (CYCI) sketch challenge…

…and here’s my project.
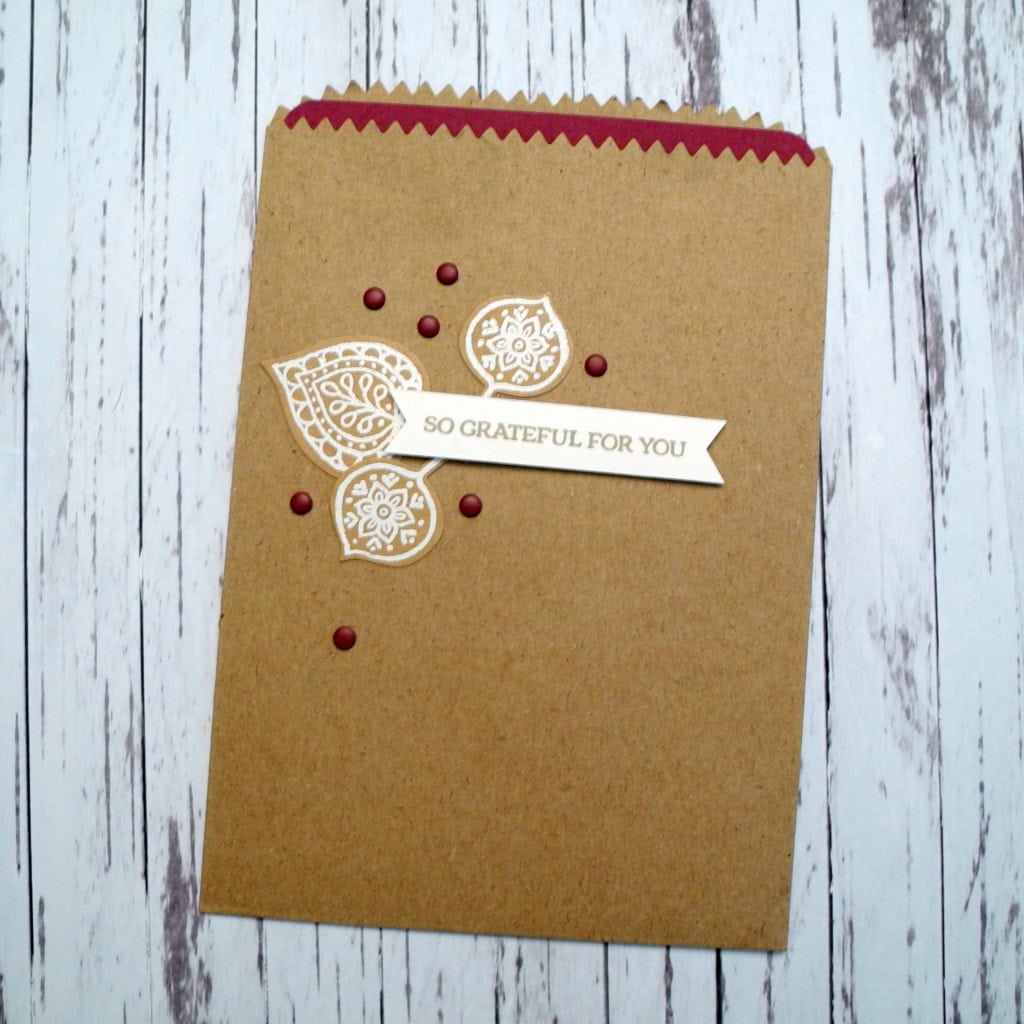
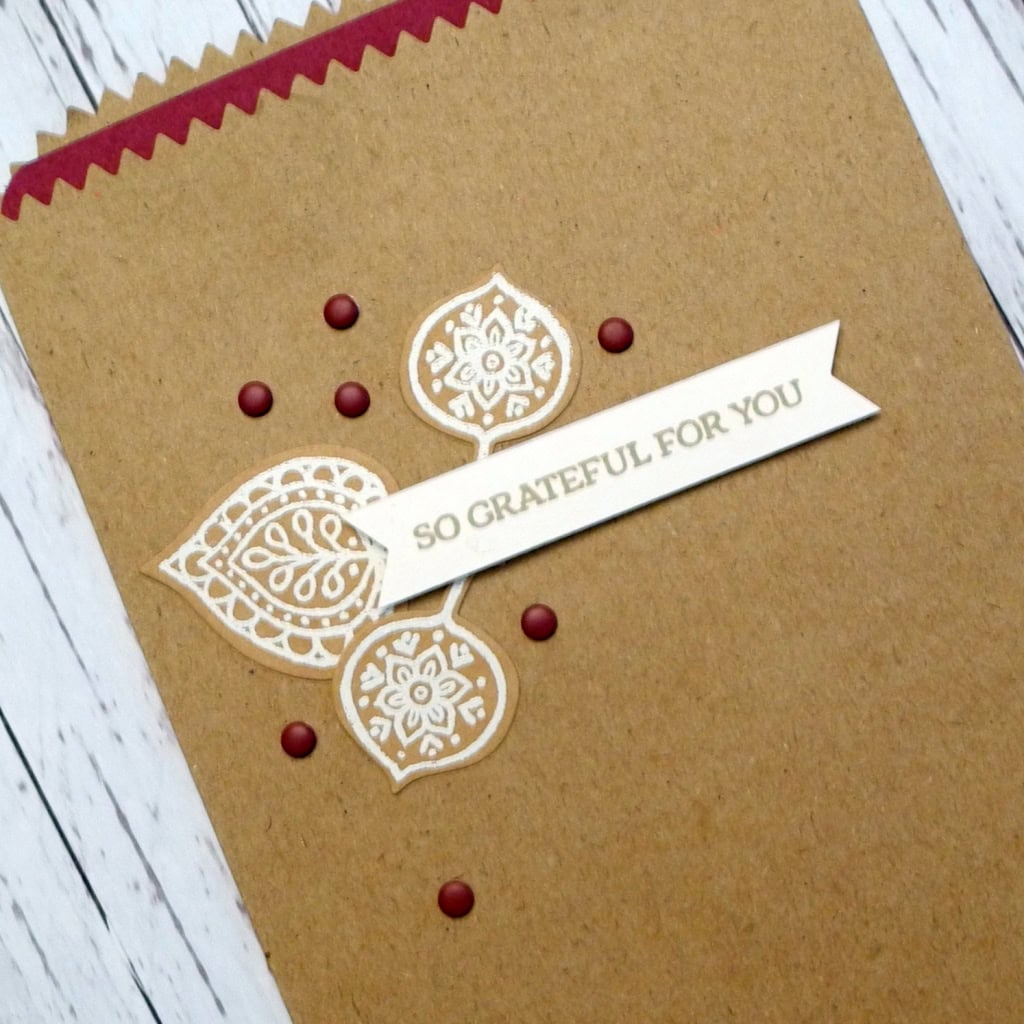
Talk about quick and easy! This little bag took just a few minutes to decorate.
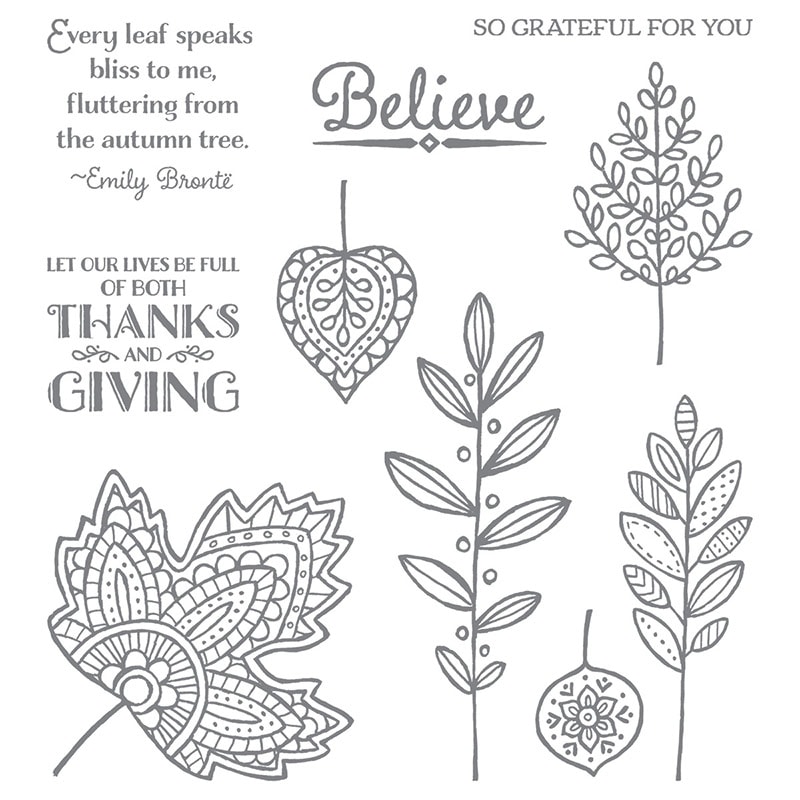
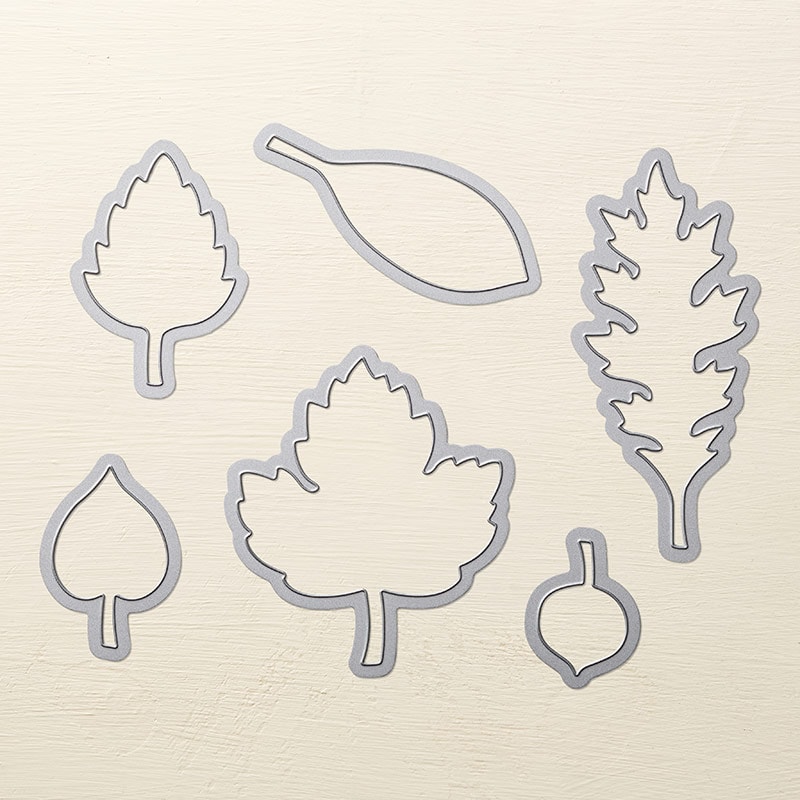
I heat embossed the leaves from the Lighthearted Leaves stamp set in white on Kraft card stock, then cut them out with the Leaflets Framelits Dies. You could also heat emboss them directly onto the bag.
I stamped the sentiment in Crumb Cake on a thin strip Whisper White card stock – easy to do since you can see right through the stamps – then notched the ends with the Banner Triple Punch. You could also use the 1″ Square Punch to cut uniform notches. Or you could just use your paper snips if you’re very good at getting things even, or if you don’t care that they aren’t.
Then it was just a matter of adhering the leaves (I used glue,) the sentiment (Stampin’ Dimensionals,) and Rich Razzleberry Candy Dots (self adhesive.)
I slipped a piece of Rich Razzleberry card stock into the bag for the photo, but you can insert a card or small treats. It’s perfect for Thanksgiving cards and gifts. Maybe put one at each place setting on Thanksgiving Day.
Here’s what I used. Click on the images below to get your own today so you can make this super simple bag!
Be sure to check out all the great projects at canyoucaseit.com this week! And play along with us!!!
Thanks for stopping by today, and Sweet Stamping!
Nov 15, 2015 | Cards, Challenges, Christmas, Color Palette, CYCI, Holiday, Techniques |
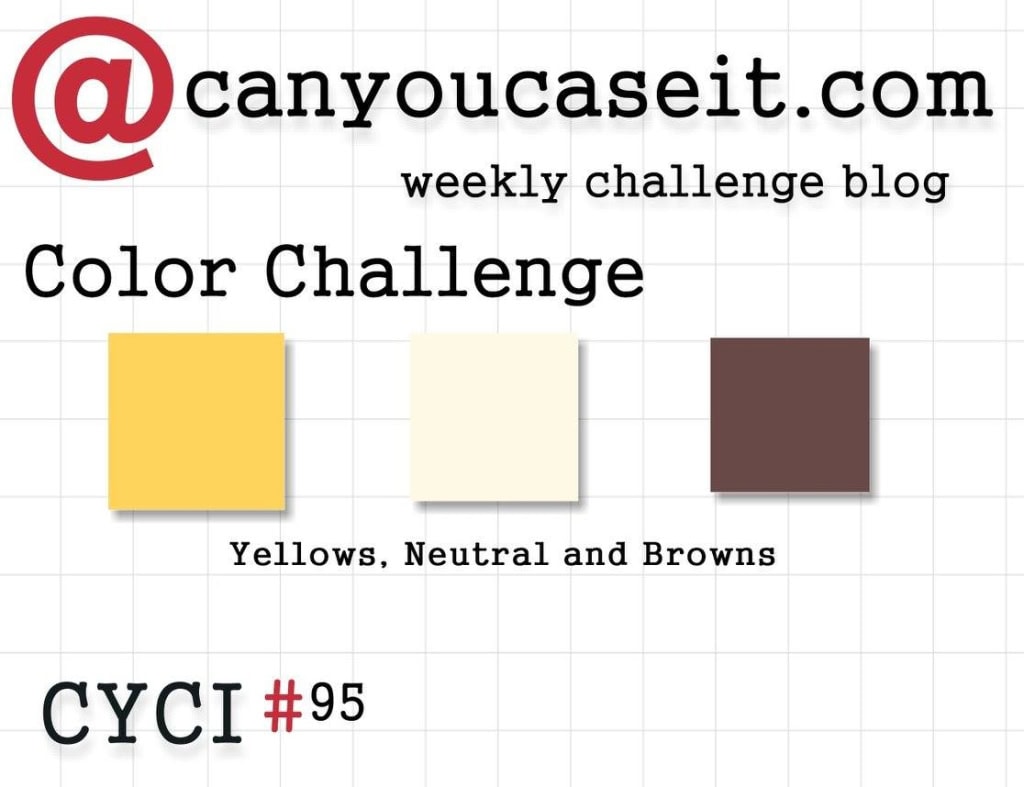
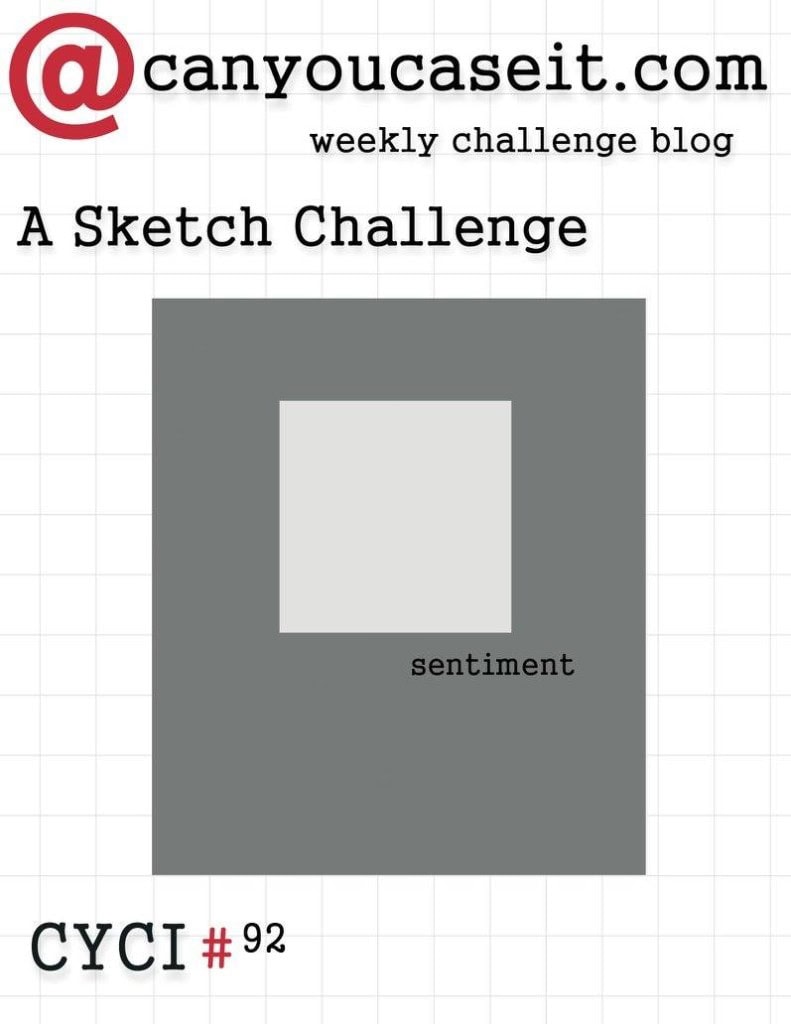
 Here is this week’s CanYouCaseIt.com color challenge:
  And here is my card:
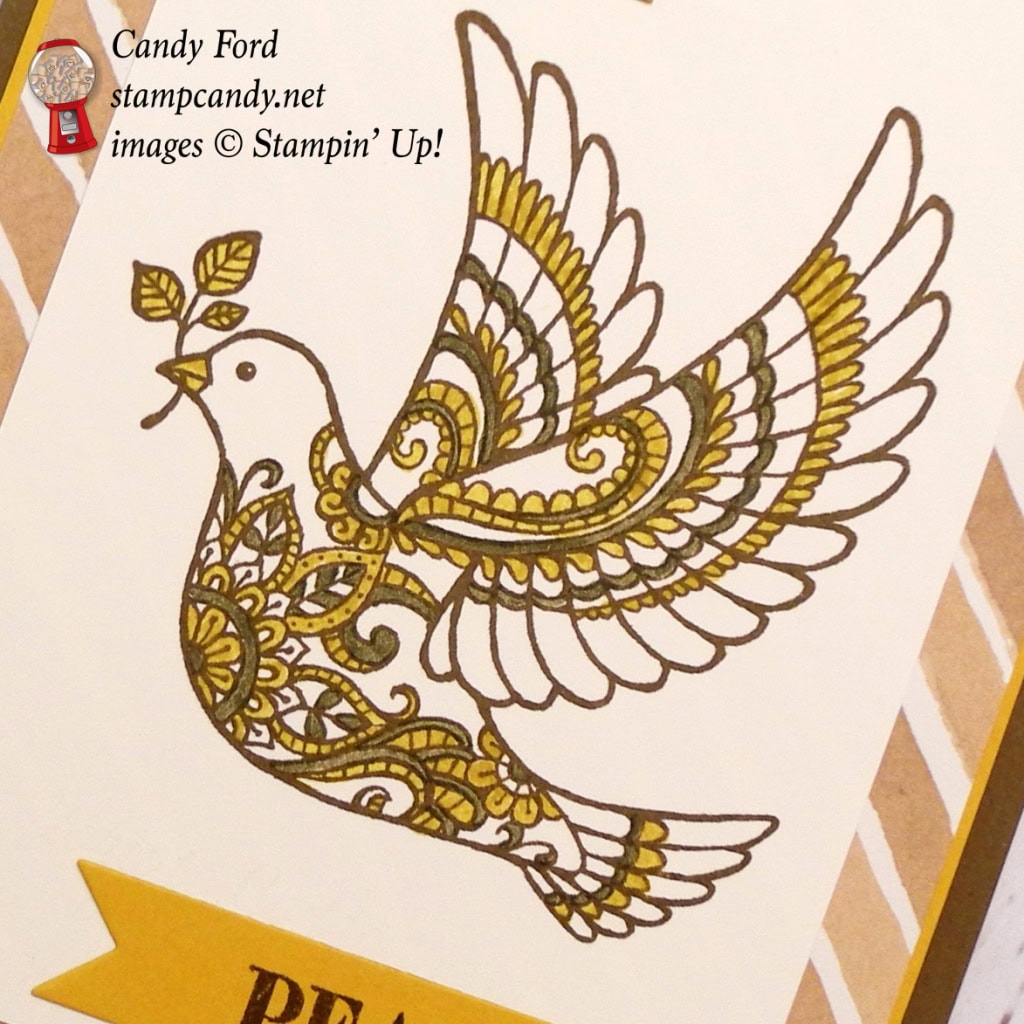
 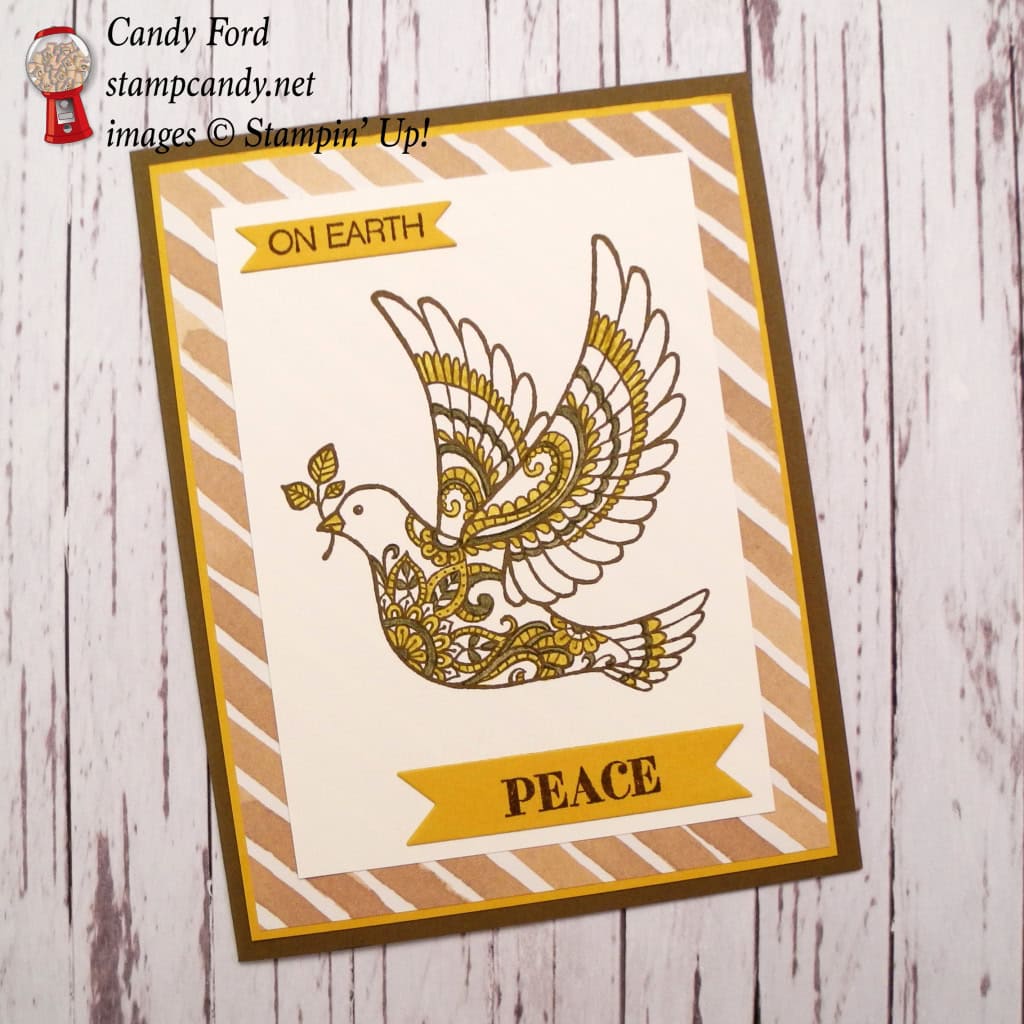 At first I was going to make an Autumn themed card using these colors, but I had the Dove of Peace stamp out already for another project, so I decided to use that. Yes, I’m that lazy – I didn’t want to get out of my chair and walk over to the shelf, which is a whole three feet away, to pick another stamp set. Actually it wasn’t the movement I dreaded, but deciding which stamp set to use. Do you ever feel like that, like making one more decision in your day will make your brain explode? So at this point, the stamp and the colors were already decided for me. All I had to do was put it together.

This stamp is so versatile. You can color it any way you want and it still looks like the proverbial peace dove. Who would have thought a Christmas card could be Hello Honey and Soft Suede? Masking Technique: the Dove of Peace stamp has a sentiment at the bottom which I chose to cover with a post-it note before inking up the stamp. I did use part of the phrase “on earth peace” but stamped it using the Holly Jolly Greetings stamp set:
I stamped the sentiments and the dove in Soft Suede. Then I colored the dove with Hello Honey and Soft Suede Stampin’ Write Markers – being very careful not to smear the ink from the stamped image. I cut the sentiments with the Bitty Banners Framelits Dies, and glued the whole thing together. So quick and easy! The coloring was the most time consuming part, and that didn’t take long at all.
Never think you have to use Stampin’ Up’s Designer Series Papers as they are presented in the catalog. This piece is from English Garden, a very Spring/Summer themed set, but the Soft Suede and Whisper White stripes are perfect for this Christmas card.
I don’t usually do this, but looking back now, I think I’d like to add another layer of Soft Suede between the DSP and the stamped image, with just a tiny border showing. I think the image would pop more. But since I’m sitting in an airport as I write this, and don’t have the card with me, I can’t do that right now. So for now, you’ll just have to squint at the photo and imagine a tiny brown border around the center panel. See it? Isn’t that better?
By the way, the Holly Jolly Greetings stamp set is available in a bundle with the Christmas Greetings Thinlits Dies (peace, jolly, merry.) Save 15% on both when you buy the bundle!

Here’s what I used. Click on the images below to get your own!
Thanks for stopping by today, and Sweet Stamping!
Nov 1, 2015 | Cards, Challenges, CYCI |

This week’s CanYouCaseIt.com challenge is a designer’s choice in the theme of Fall.

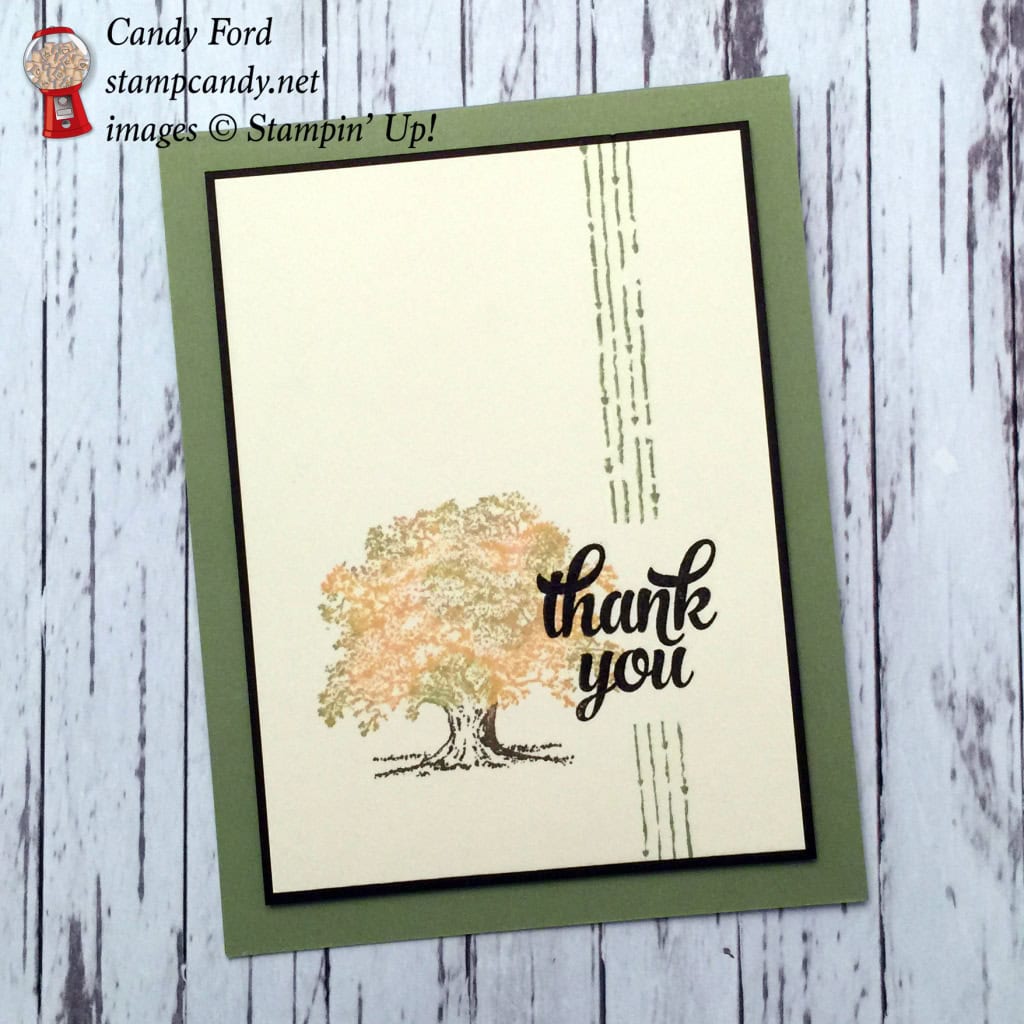
While I adore the rich Autumnal colors so prevelant this time of year, I decided to try something a little different for this card. Instead of the deeper yellows, green, and reds, I used much softer colors: So Saffron, Pear Pizzazz, and Blushing Bride.
The Lovely As a Tree stamp set is perfect for this card. I inked the foliage part of the tree with the So Saffron Classic Stampin’ Pad; then I used a Sponge Dauber to apply Blushing Bride, then Pear Pizzazz. I colored in the tree trunk with a Soft Suede Stampin’ Write Marker. Then I huffed and I puffed, and stamped the image on Very Vanilla card stock.

I stamped the Early Espresso sentiment, from the Tin of Cards stamp set, overlapping the tree.

I stamped the arrows, from the Chalk Lines stamp set, twice in Pear Pizzazz – once above the sentiment and once below – to create the illusion of long continuous lines that are simply broken up by the sentiment.

And finally, I matted the stamped piece with Soft Suede, then adhered it with Stampin’ Dimensionals to the Pear Pizzazz card base.
Here’s what I used today. Click on the images to buy these products so you can make your own version of this softly Autumnal card!
Thanks for stopping by today, and Sweet Stamping!
Oct 25, 2015 | Cards, Challenges, Christmas, CYCI, Holiday, Sketches |

Here is this week’s CanYouCaseIt sketch challenge:
And here is my card:
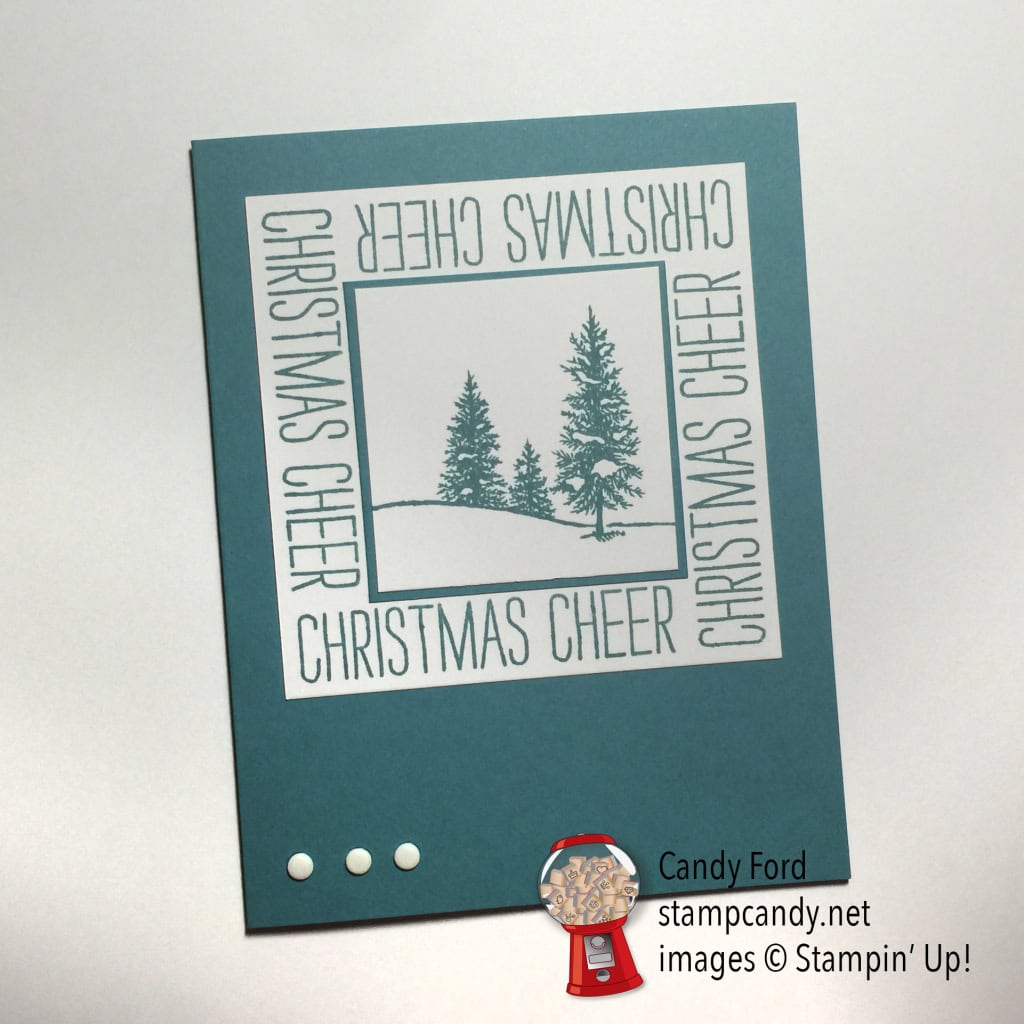
I love the simplicity of this week’s sketch. Just one block on the card front with a sentiment. I started looking through my stamp sets for just the right thing. First I came upon the sentiment from the Cheer A;; Year stamp set. The crisp, clean lettering fits the simplicity of the sketch. I started playing around with it, then had the idea to stamp it “in the round” – or maybe it should be “in the square.”
Then I needed something for the center. I tried several images before settling on this peaceful, snowy scene from the Happy Scenes stamp.
Since my sentiment is within the block, I needed something else to balance the design. Very Vanilla Candy Dots were just the right thing. Usually I would put the Dots on the right side of the card, but here they seemed more balanced on the left, perhaps because the trees are toward the right. How did I find just the right place? I cut a strip of three Dots from the package and moved them around the card until it felt right. This is a good time to use Brian King’s patented Squinting Technique (I owe him a nickel now.)
I was very tempted to add just a tiny pop of Real Red somewhere, but I resisted. Again, I wanted to keep with the simplicity of the sketch. But some time I may add a tiny red bird in one of the trees.
For these particular images to line up just right, here are the measurements I used for the panels: 2-1/8″ x 2-1/8″ Very Vanilla; 2-1/4″ x 2-1/4″ Lost Lagoon; 3-1/2″ x 3-1/2″ Very Vanilla. You’ll need to experiment if you use other images. For example, the largest Very Vanilla piece is the length of the sentiment plus the height of the sentiment plus just a tinch. I added enough to make it a nice even 3-1/2″.
(Tinch is a Southern term. It’s a cross between a touch and a pinch. It’s usually pronounced “teench” or “taynch.”)
Here’s what I used:
Be sure to check out the other projects at canyoucaseit.com.
Thanks for stopping by today, and Sweet Stamping!
Oct 11, 2015 | Challenges, CYCI, Food, Halloween, Holiday |
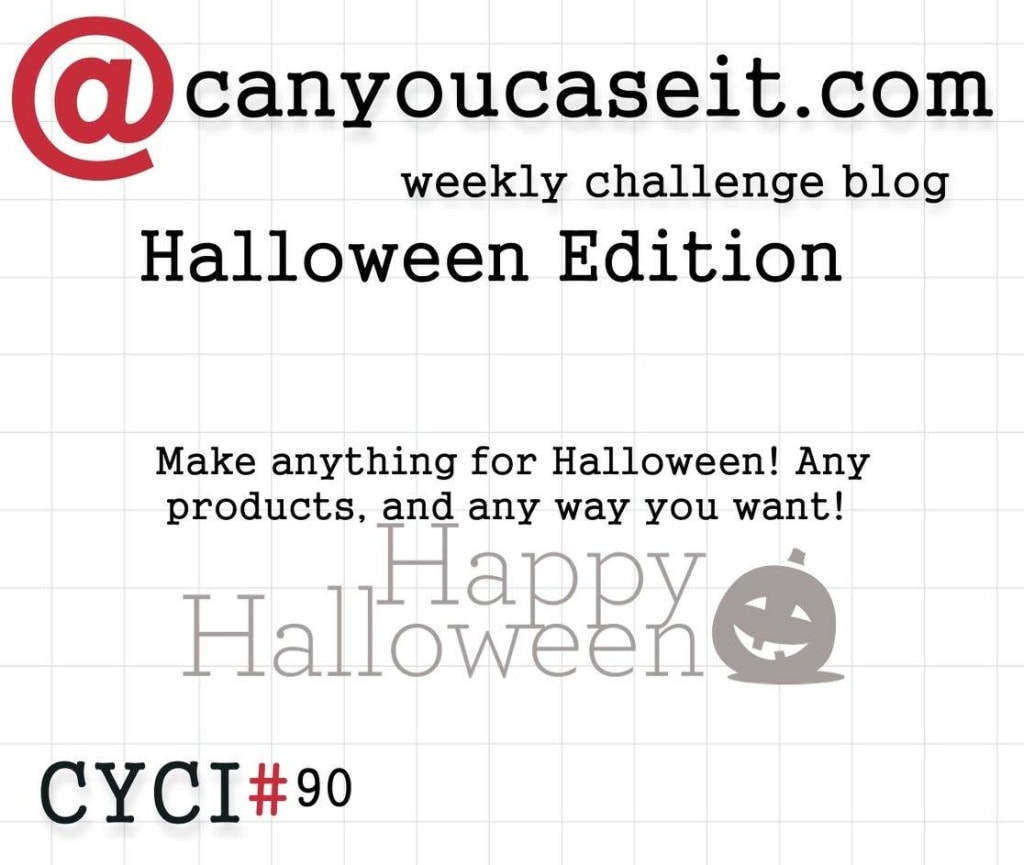
This week at CanYouCaseIt.com, we have a themed challenge:
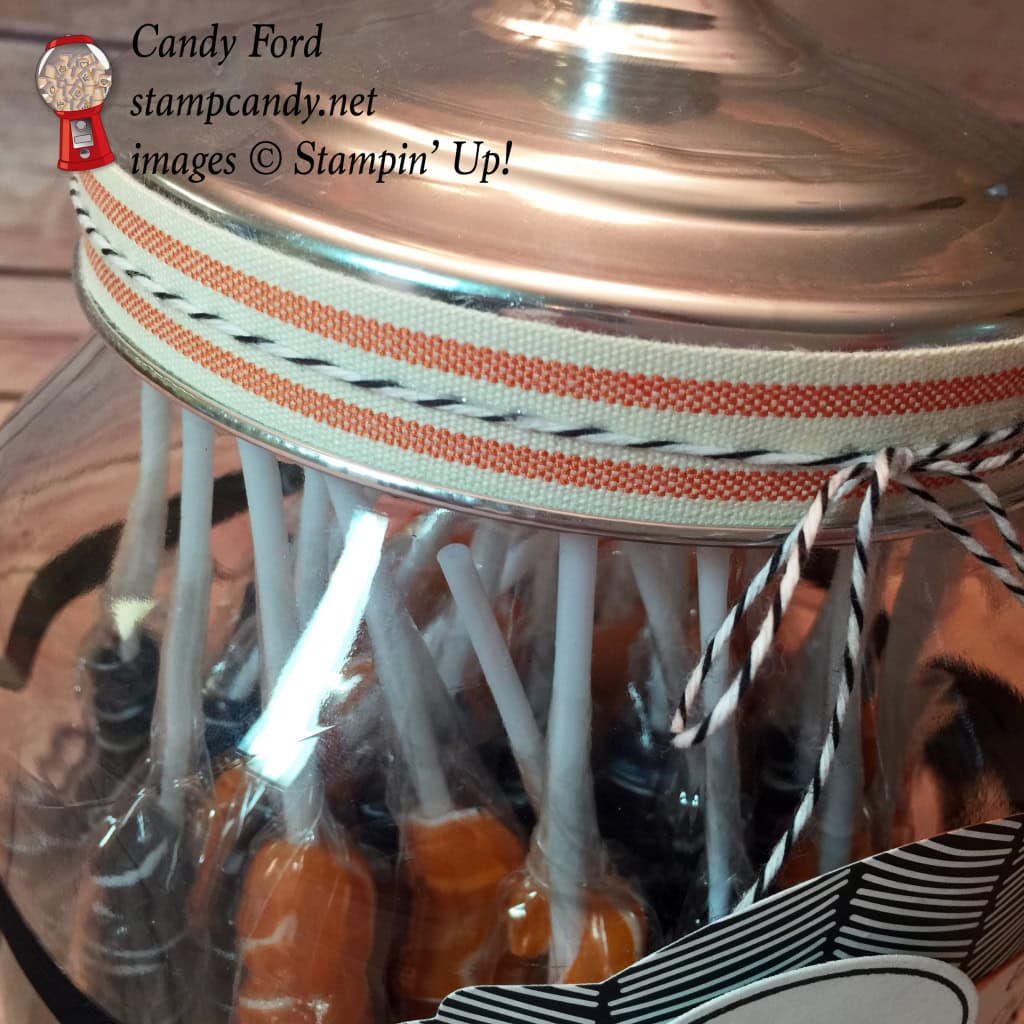
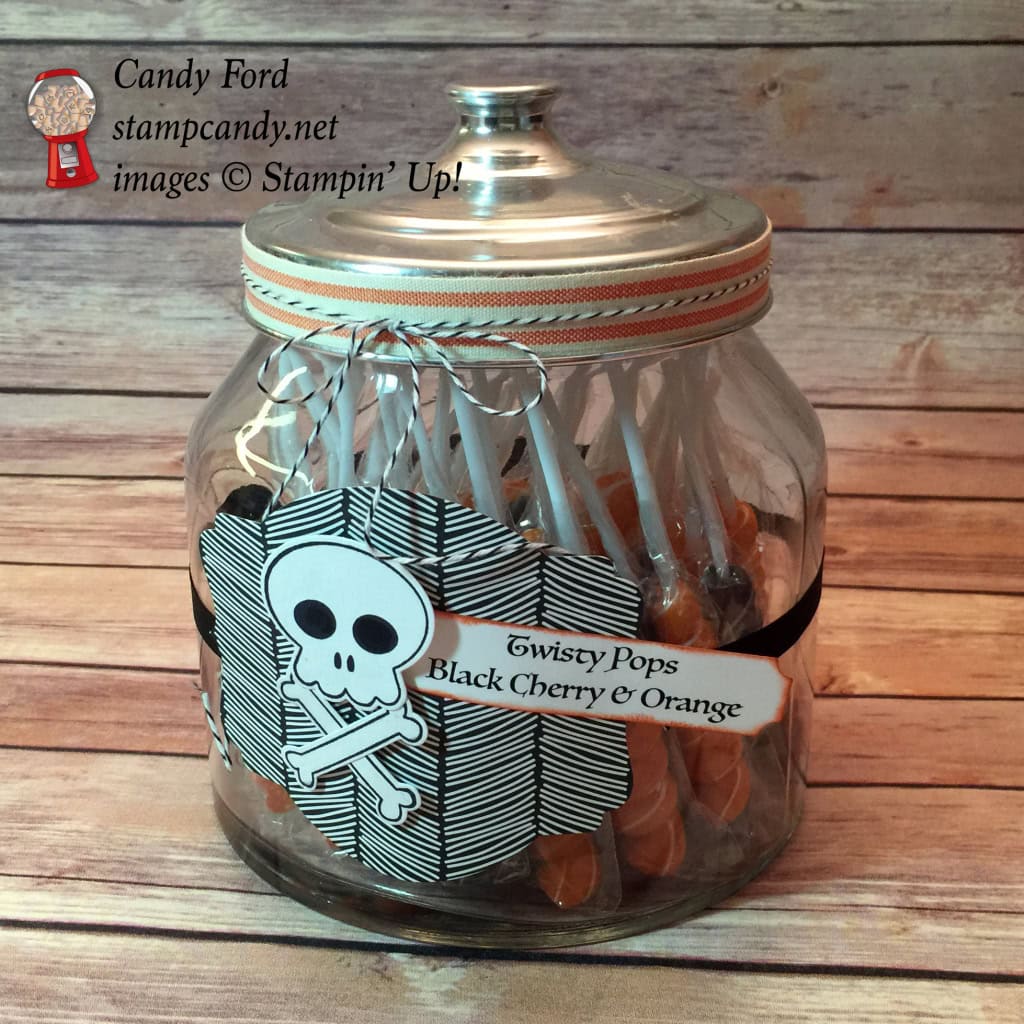
I was asked to do a Halloween presentation at the World Card Making Day event I attended last weekend. Today I’m sharing one of the projects I made for that.
I already had this big jar with a metal lid. I filled it with black and orange Twisty Pops, then decorated it with ribbon, baker’s twine, and a label made from Everyday Chic Designer Series Paper, Howl-o-ween Treat stamp set, Boo To You Framelits Dies, Deco Labels Collection Framelits Dies, and Project Life Cards & Labels Framelits Dies.
For the words, I ran Whisper White card stock through my printer. The font is Luminari. I used a Sponge Dauber to ink the edges in Tangelo Twist.
I chose this piece of DSP because I think it looks “boney” behind the skull and crossbones.
I used a tiny bit of Fast Fuse adhesive to hold the ribbon in place around the lid. I used a skinny line of Multipurpose Liquid Glue to hold the twine in place on the ribbon.
Be sure to check out all the other projects at canyoucaseit.com!
Here’s what I used:
Be sure to check out the Weekly Deals…
…and the Clearance Rack.
___________________________________
New Class!
Come to my Nutty Notecards Class
Oct 30 at 6:30 PM
You’ll make 4 notecards and matching envelopes, and an adorable box to keep them in!
PLUS
You get to take home the Acorny Thank You stamp set, the Acorn Punch, and the Into the Woods Designer Series Paper pack! All this for only $45!
Email me today for payment information: candy@stampcandy.net.
Hurry! Seating is limited!
___________________________________
I love hearing from you! Please leave your questions and comments below.
Thanks for stopping by today, and Sweet Stamping!