Apr 15, 2016 | Cards, Occasions |

Today I’m excited to share another card made by my very talented team member, Judy Newsome. I’ve posted several of her projects lately because 1) she let’s me and 2) I love her aesthetic. She has a great eye for design and color.
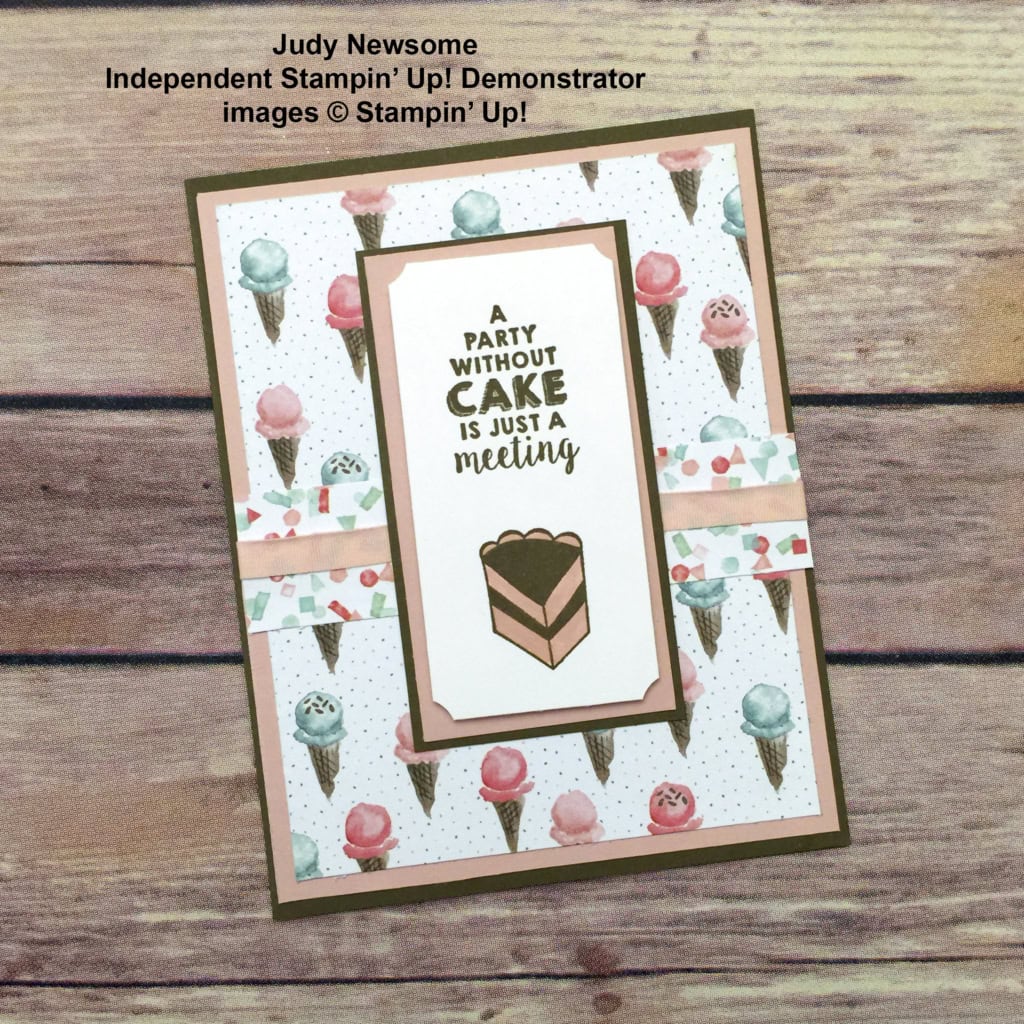
This card features the Birthday Bouquet Designer Series Paper (you know how much I love that stuff!) and the Party Wishes stamp set.
The card base is Soft Suede card stock with a Blushing Bride layer, then a DSP layer on top of that.
The horizontal strip is a piece of the DSP with a piece of Blushing Bride 1/4″ Cotton Ribbon. The ribbon is wrapped around to the back of the Blushing Bride card stock piece before it’s glued to the card base.
The images are stamped in Soft Suede onto Whisper White card stock, then the cake is colored in with a Blushing Bride Stampin’ Write Marker. The corners are snipped with the 1/2″ Circle Punch (basically the reverse of the Project Life Corner Punch) then it’s attached to the Blushing Bride mat with Stampin’ Dimensionals, then glued to the Soft Suede mat.
Here’s what she used:
Thanks for stopping by today, and Sweet Stamping!

Apr 14, 2016 | Classes, Occasions, Scrapbooking |
Today I’m sharing the fourth and final project from the Birthday bouquet class. You can see the previous three projects here, here, and here.
Since most of the group were scrapbookers, we used many of the same supplies to create this lovely traditional scrapbook page.
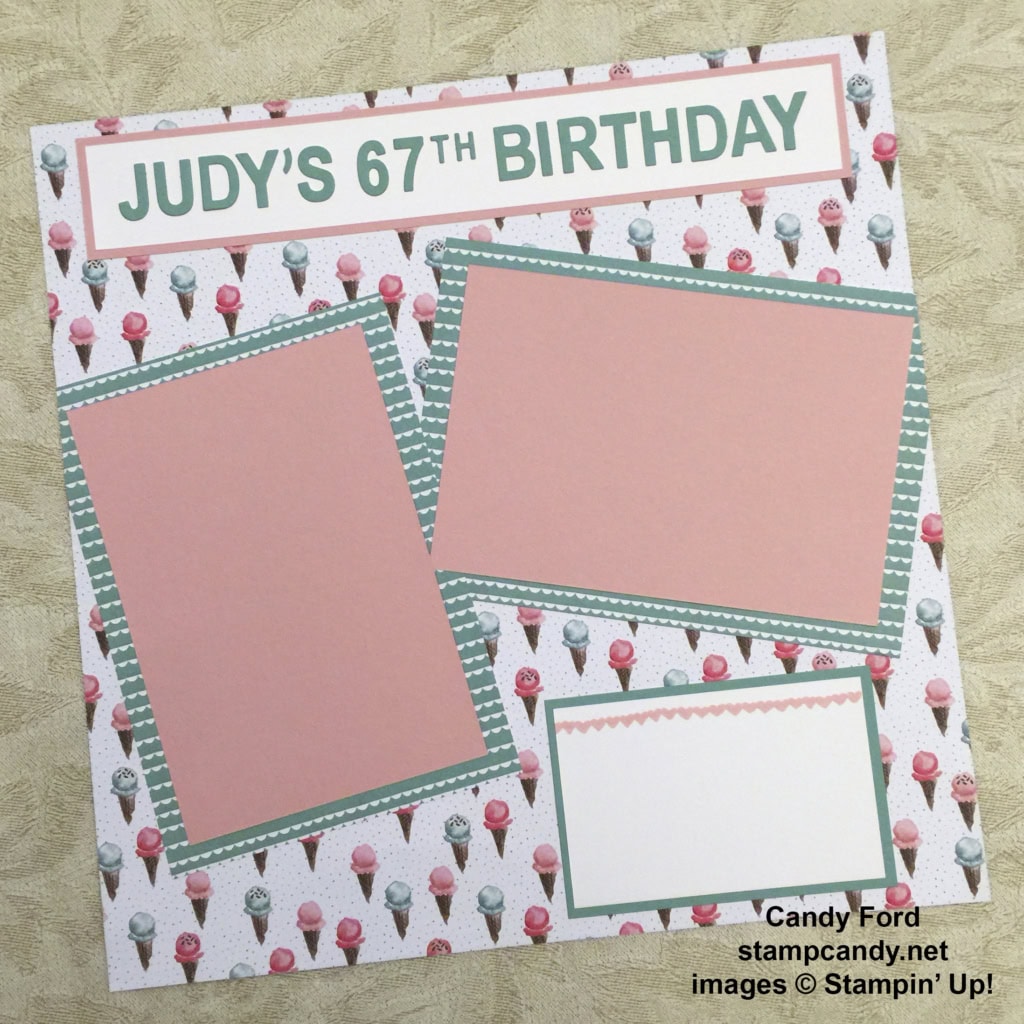
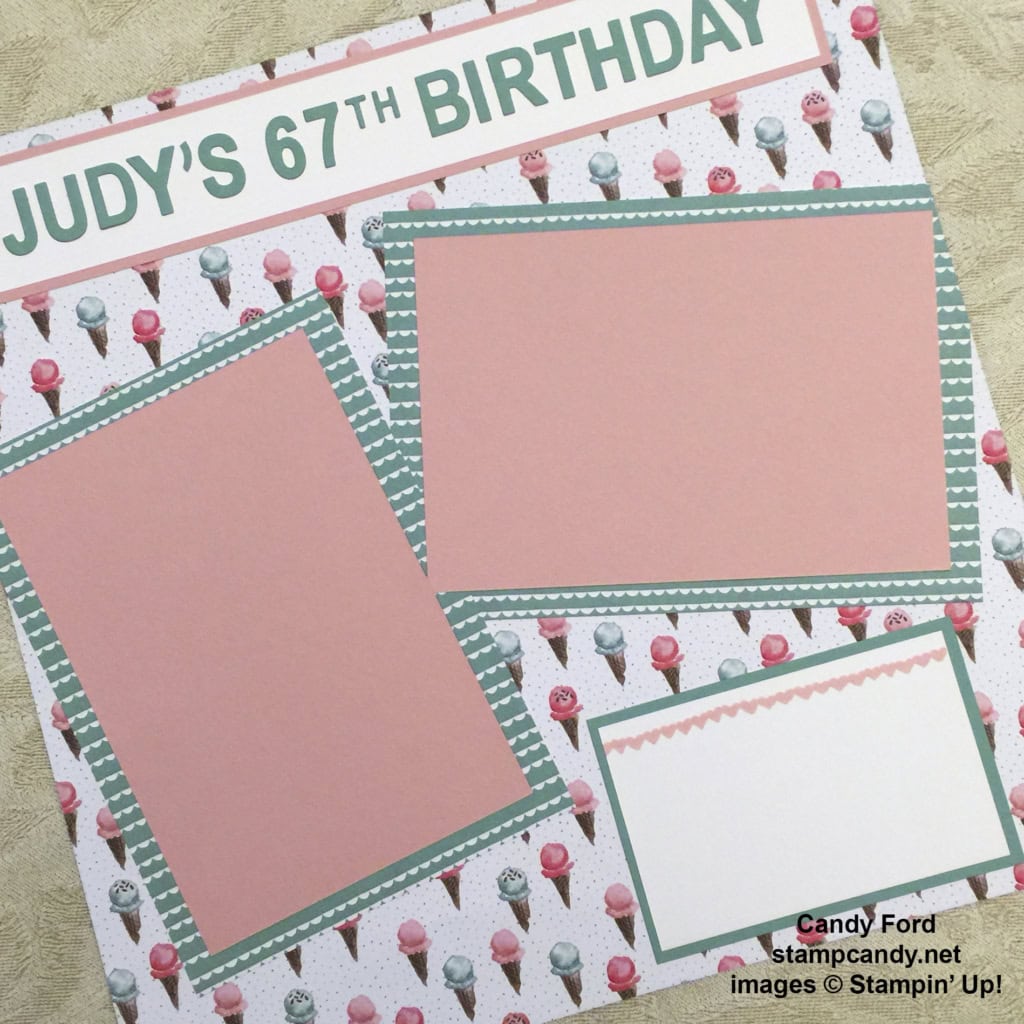
The background is a piece of Birthday Bouquet Designer Series Paper. This is one of my personal favorites from this DSP. The little ice cream cones are so pretty. And the colors in this set are sweet and soothing and beautiful. And with such spectacular paper, there’s no need to add a lot of “doodahs” to fancy up the page.
For the title, we cut Mint Macaron card stock with the Little Letters Thinlits and the Little Numbers Thinlits Dies. We adhered the pieces onto a strip of Whisper White card stock and matted it with Blushing Bride card stock.
For the photo mats, we cut Blushing Bride card stock to 4-1/4″ x 6-1/4″, then matted that with a different pattern from the DSP cut to 5″ x 7″. A few things about the mats: 1) They went past the edge of the 12″ x 12″ page a little, so we trimmed off the excess. 2) They also overlapped in the center, so we made sure the Blushing Bride pieces were on the top of all the DSP pieces. The DSP of the right one goes under the DSP of the left one, but the card stock of the right one goes over the DSP of the left one. So the paper “sandwich” at the overlap is (bottom to top) right DSP, left DSP, right card stock, left cardstock. 3) This DSP pattern has a definite direction, so we cut one piece vertically and the other one horizontally, so the patterns are going in the same direction.
For the journaling panel, we stamped the line of hearts from the Birthday Blooms stamp set in Blushing Bride onto Whisper White card stock. We matted it with Mint Macaron card stock.
Now all that’s left to do is to add two photos and some journaling. And wouldn’t the journaling look great written with the Mint Macaron Stampin’ Write Marker?
Of course, you can also use these same supplies with your Project Life pages. Check out the great Project Life by Stampin’ Up! products here. They are the Project Life products you love, but in the Stampin’ Up! colors, so all your other Stampin’ Up! products will match perfectly!
Here’s what we used:
Thanks for stopping by today, and Sweet Stamping!
Apr 13, 2016 | Bags, Boxes, Classes, Occasions |
Today I’m sharing the third project we made in the Birthday Bouquet class. You can see the first two here and here.
These sour cream containers are adorable, and they’re super quick and easy to make. We started with a 6″ x 6″ piece of Birthday Bouquet Designer Series Paper. We put adhesive along the top and bottom edges and along one side edge, then rolled it to make a tube, adhering the sides – I prefer Fast Fuse for this because it’s very strong. We pinched the bottom closed so it was flat.
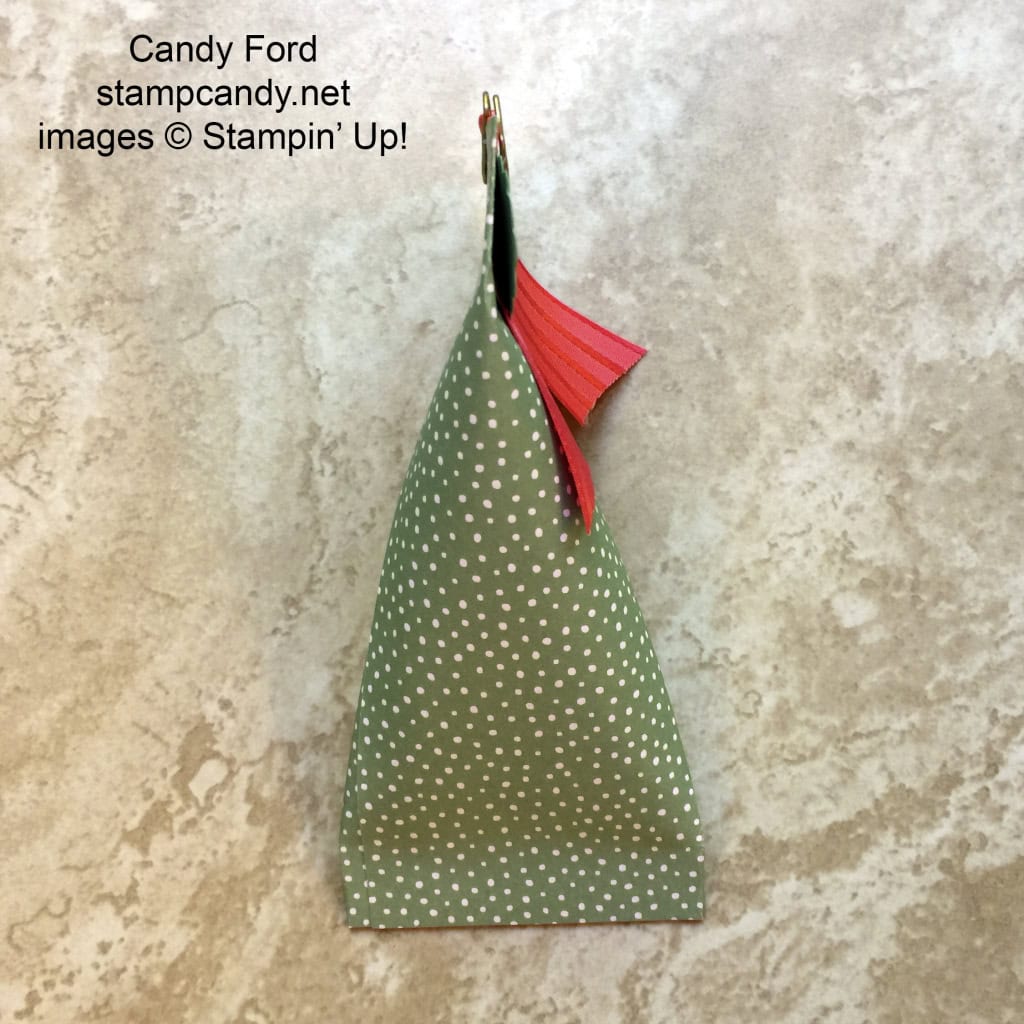
At this point we put our goodies inside the container, careful not to get them stuck on the adhesive around the inside top edge. Then we pinched the top closed so it was flat and perpendicular to the bottom.
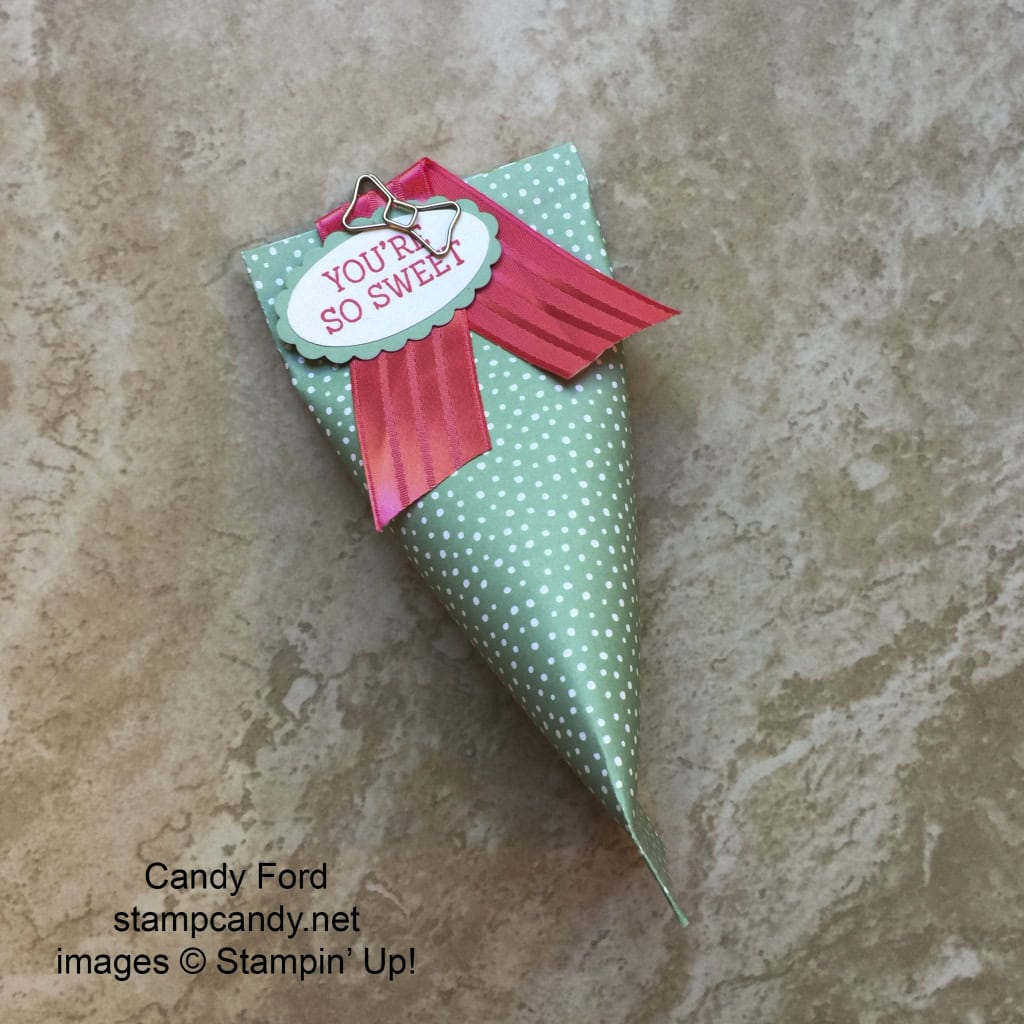
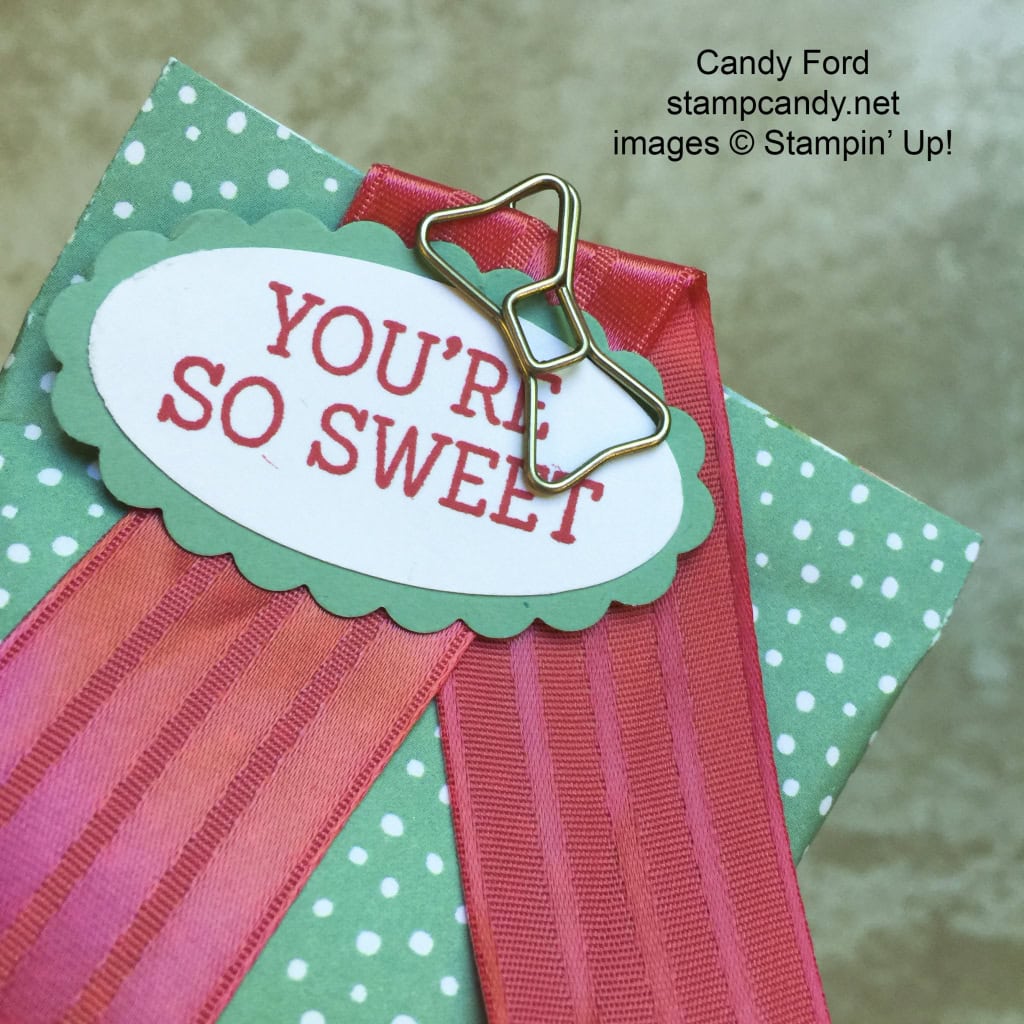
For the tag, we stamped the sentiment from the Honeycomb Happiness stamp set in Watermelon Wonder onto Whisper White card stock, then cut it with the Large Oval Punch. We cut a piece of Mint Macaron card stock with the Scallop Oval Punch, then glued the two pieces together.
We attached the tag and a piece of Watermelon Wonder 1″ Stitched Satin Ribbon with a Bow Paper Clip Embellishment.
Here’s a side view.
Here’s what we used:
Thanks for stopping by today, and Sweet Stamping!
Apr 12, 2016 | Cards, Classes, Occasions |
Yesterday I shared with you a Mini Treat Bag we made in a class for Kimberly Laidley and her friends. You can see that post here. Today I’m sharing the card that goes in that bag.
We again used the Birthday Bouquet Designer Series Paper, and the colors for the entire card came from that.
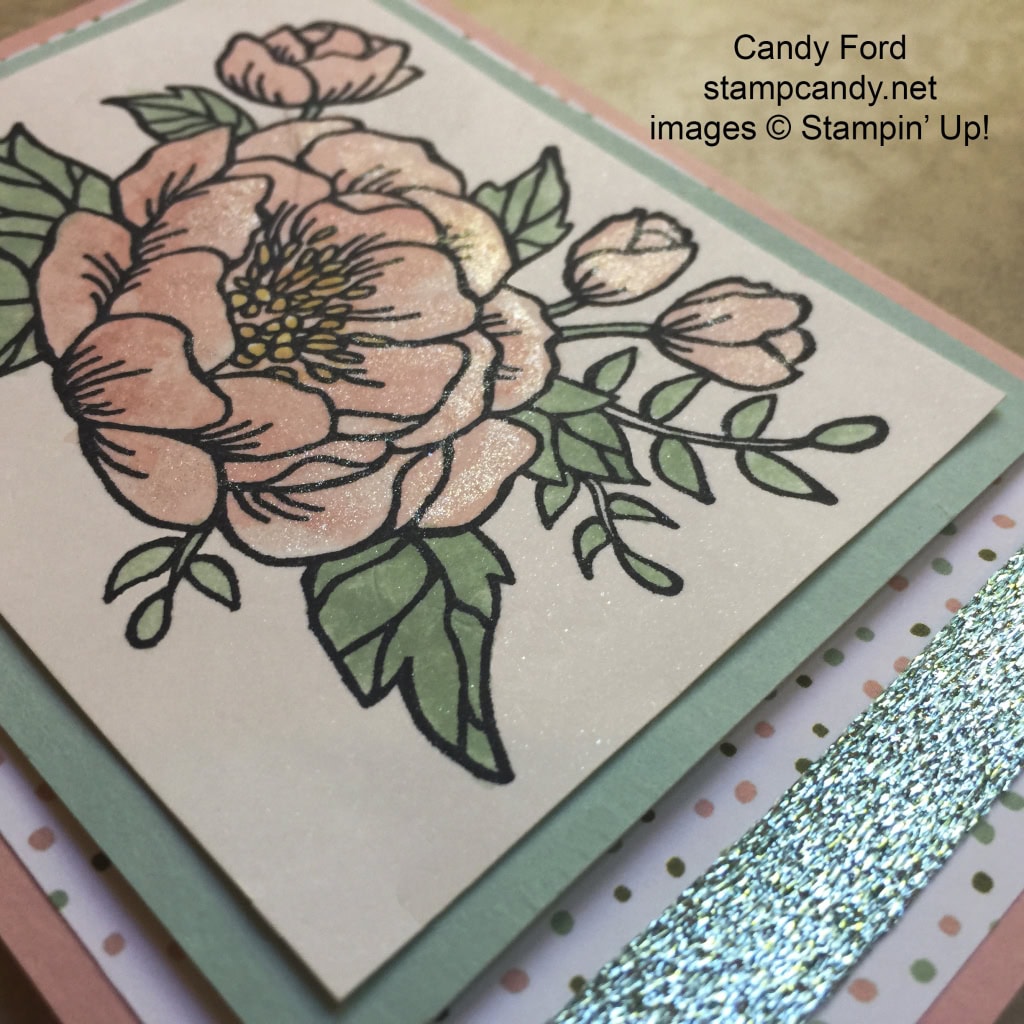
The card base is Blushing Bride card stock. On top of that, here is a layer of the DSP with a piece of Pool Party Glitter Ribbon wrapped around one end. The photo at the top of this post is a better representation of the ribbon color that the one below. The sparkly ribbon reflects different colors of light in the different angles of these two photos.
This ribbon is called Glitter Ribbon, but it isn’t messy like some other glittery items. It’s really more like it’s woven in metallic threads. It’s very easy to work with, and did I mention no mess?
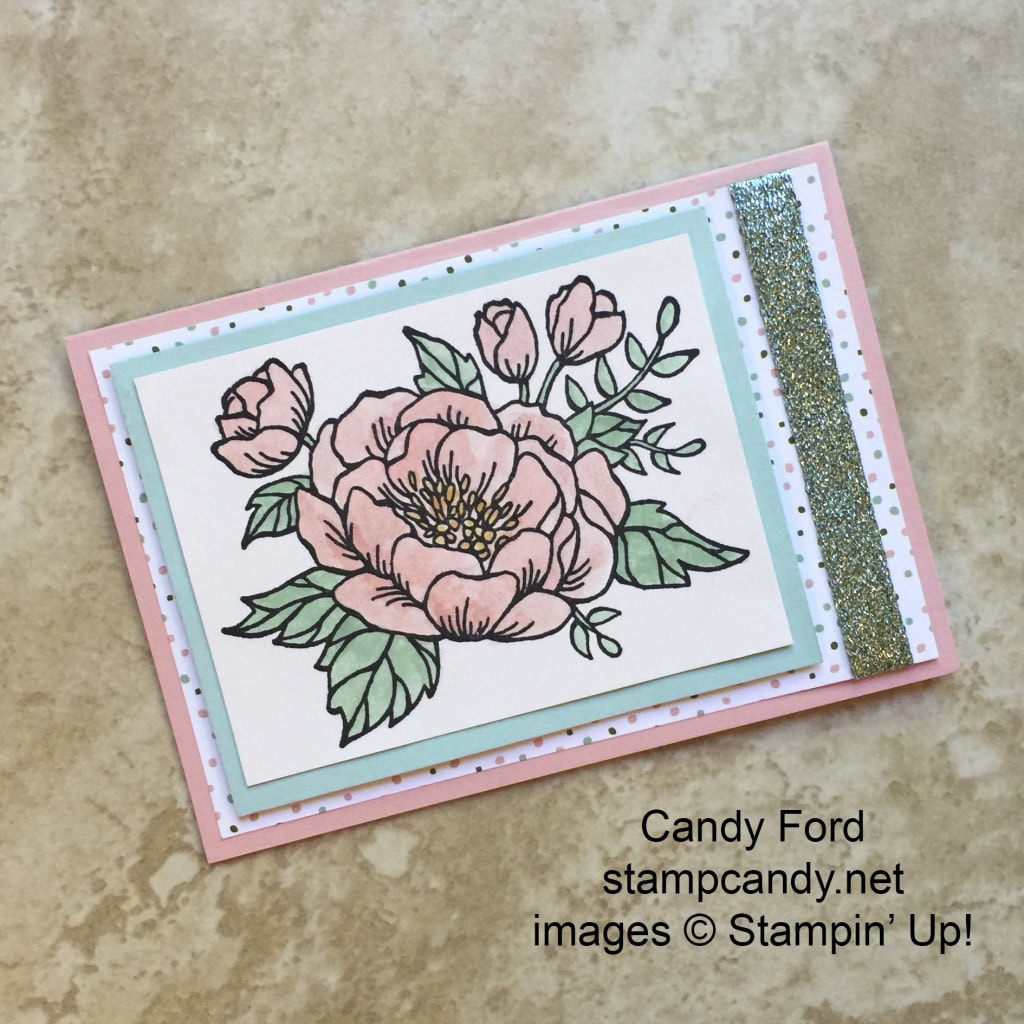
We stamped the image from the Birthday Blooms stamp set in Basic Black Archival Ink onto Shimmer White card stock. We then used an Aqua Painter to color in the image with Blushing Bride and Mint Macaron inks. We colored the flower center with a Daffodil Delight Stampin’ Write Marker. We went over the flower petals with a Clear Wink of Stella Glitter Brush, which also shows up better in the top photo.
We matted this with a piece of Pool Party card stock, and attached it to the card with Stampin Dimensionals.
We stamped the sentiment in Pool Party ink onto a piece of Whisper White card stock and glued it to the card’s interior.
Here’s what we used:
Thanks for stopping by today, and Sweet Stamping!
Apr 11, 2016 | Bags, Occasions |
My team member Kimberly Laidley had some friends visiting from out of town this weekend. She helped me design some projects for a private class for them. We used the Birthday Bouquet Designer Series Paper, which has to be one of my favorite DSP sets that Stampin’ Up! has offered. The colors, the patterns, everything about it is just lovely.
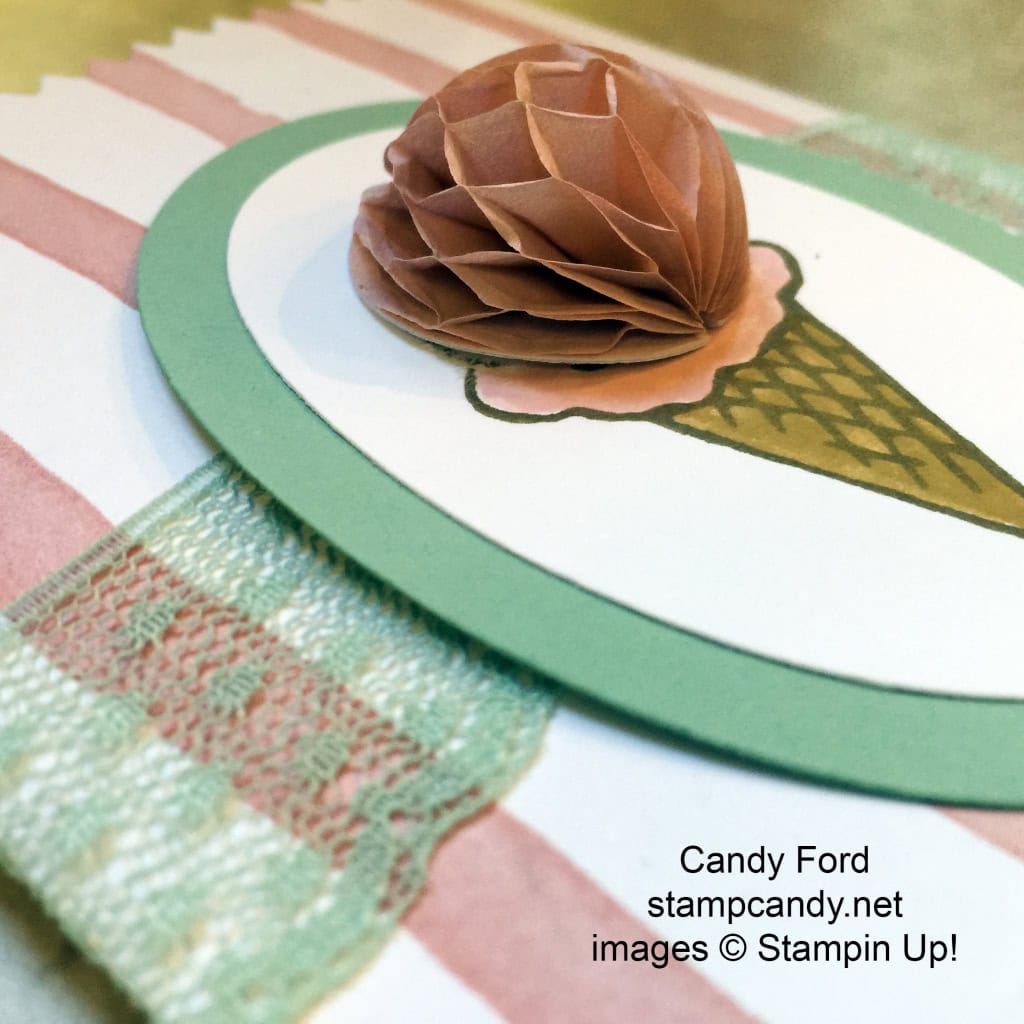
Today I’m sharing the Mini Treat Bag from the class. The bag itself is cut with the Mini Treat Bag Thinlits. It has a belly band of Mint Macaron 1″ Lace Trim, which overlaps on the front of the bag so it’s covered by the oval pieces.
The stamped ice cream cone image is from the Honeycomb Happiness stamp set. I stamped it in Soft Suede onto Whisper White Paper, then colored it with Delightful Dijon and Blushing Bride Stampin’ Write Markers. I added a Blushing Bride Honeycomb Embellishment for some dimension.
I cut the stamped piece, and the Mint Macaron mat, with the Ovals Collection Framelits.

Here is a photo of the bag with the matching card inside. Check back to see the card!

Here’s what I used:
Thanks for stopping by today, and Sweet Stamping!
Apr 9, 2016 | Cards, Occasions |

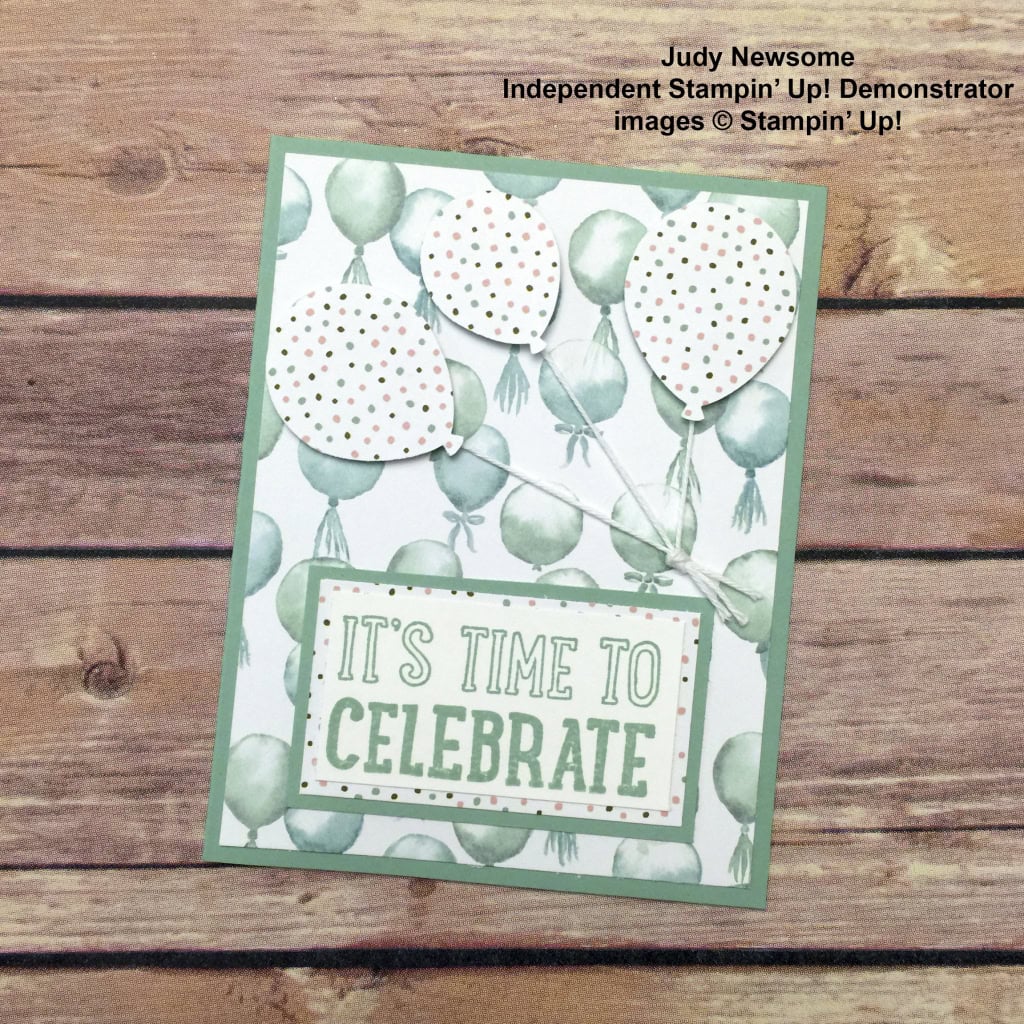
I’m excited to share another great project from Judy Newsome. Judy is an Independent Stampin’ Up! Demonstrator in LaFayette, GA. She is also one of my Candy Hearts team members. And did I mention she’s my big sister? It’s thrilling to have such a talented sister to draw inspiration from.
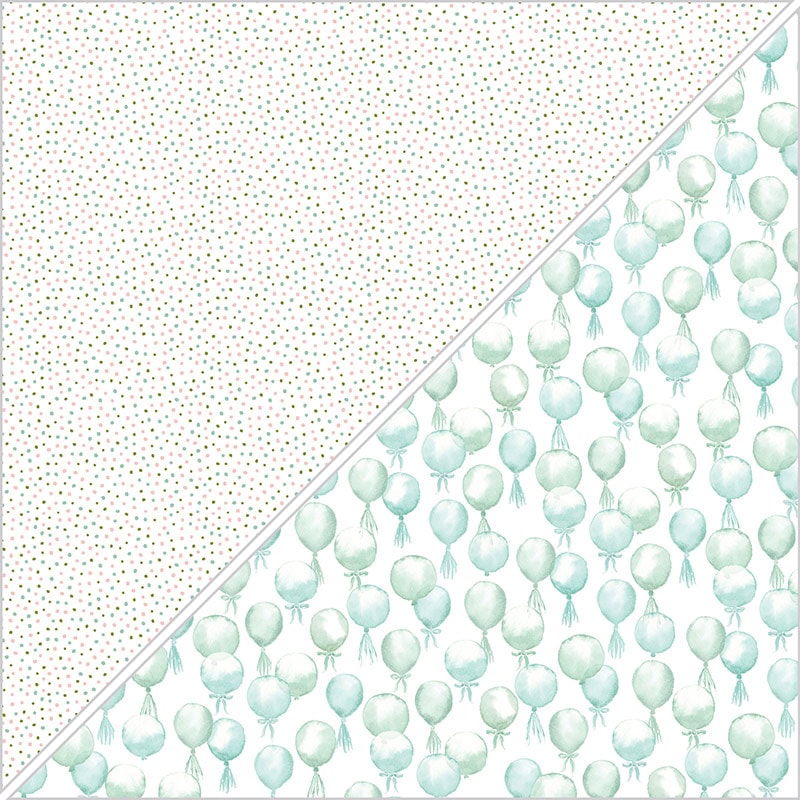
The card base is Mint Macaron card stock, as is the solid mat around the sentiment. All the patterned papers are from the Birthday Bouquet Designer Series Paper set, which has to be one of my favorites DSPs ever! The two patterns she used are actually reverse sides of the same sheet.

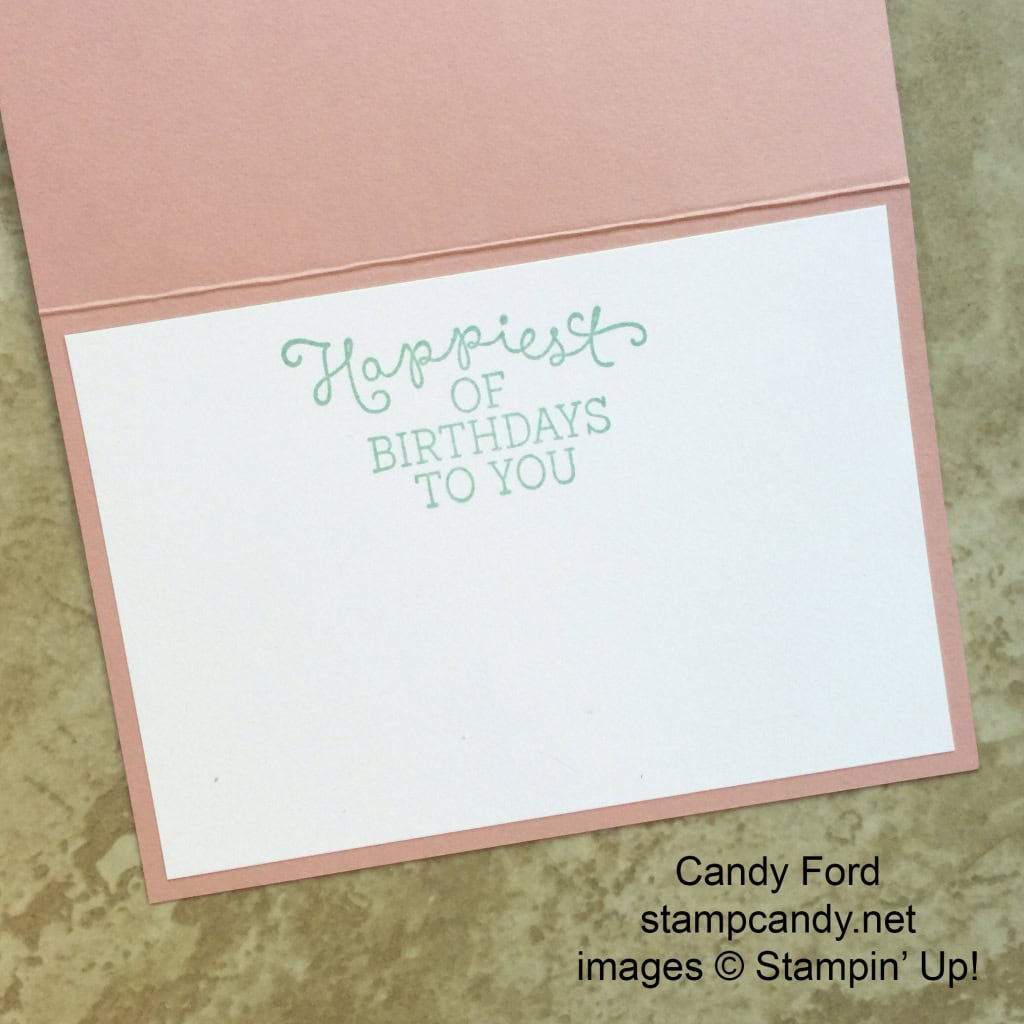
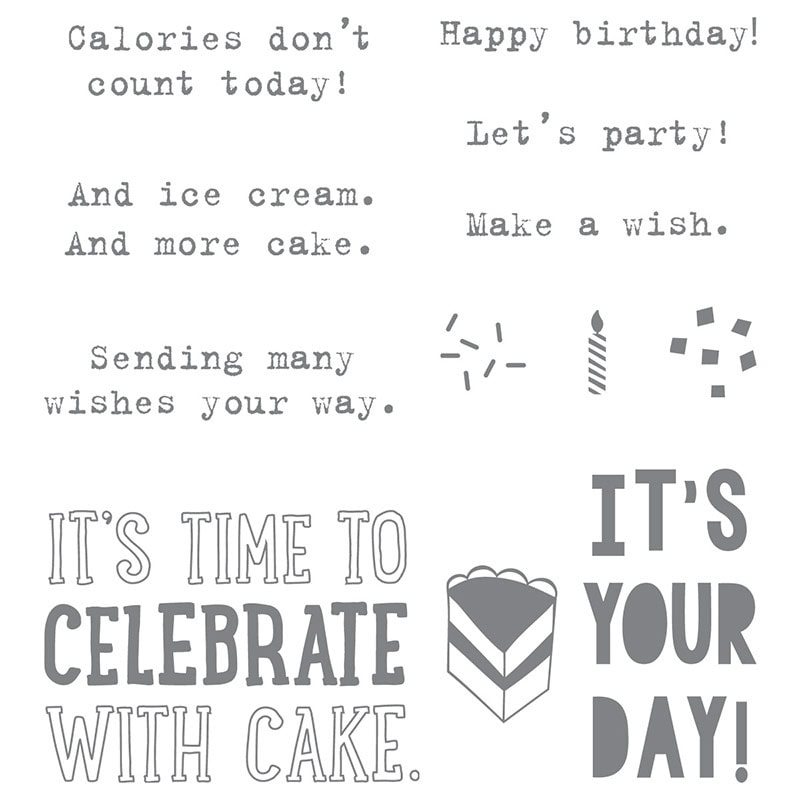
She stamped the sentiment from the Party With Cake stamp set in Mint Macaron on Whisper White card stock. The stamp says “It’s Time To Celebrate With Cake,” but she only inked up the first two lines.
She cut the balloons with the Balloon Bouquet Punch and tied them with Whisper White Baker’s Twine. She attached the balloons with Stampin’ Dimensionals, and the knot in the twine with a Glue Dot. Everything else is glued.
Thanks for stopping by today, and Sweet Stamping!

