
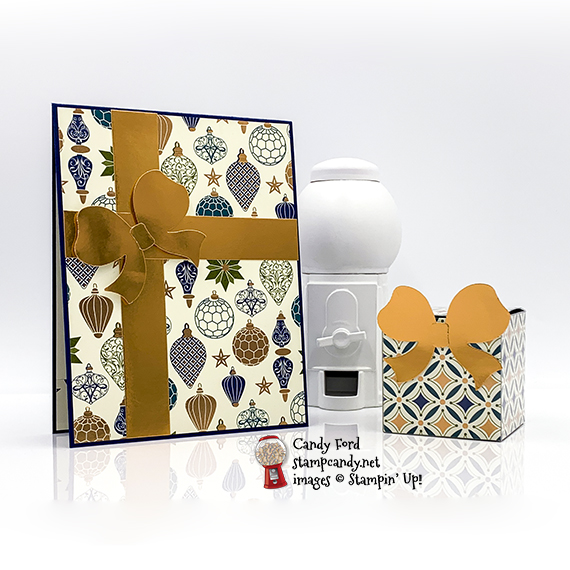
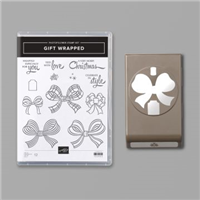
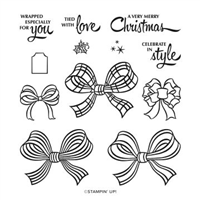
Welcome to the November 2020 OSAT Blog Hop! This month’s theme is Glad Tidings We Bring, so we’re featuring Christmas projects. I used the Gift Wrapped Bundle (Gift Wrapped stamp set ad Gift Bow Builder Punch) and Brightly Gleaming Designer Series Paper to create a Christmas card and Tiny Treat/Gift Box.
Be sure to hop all the way around to all the stops to see all the wonderful Christmas projects this team has created for you today!
If you are reading this in email, some photos may appear blurry, or may not appear at all. Please click here to see the post on my blog.
S November 2020 OSAT November 2020 OSAT November 2020 OSAT
Here’s what I made:

S
Here’s what I did:
Cut and scored with my paper trimmer:
- Night of Navy card stock (CS) cut to 4-1/4″ x 11″, then scored in half at 5-1/2″
- Brightly Gleaming Designer Series Paper (DSP) layer cut to 4-1/8″ x 5-3/8″
- DSP cut to 8-1/2″ x 2″, then scored at 2″, 4″, 6″, and 8″
- DSP cut to 2″ x 6″, then scored at 2″ and 4″
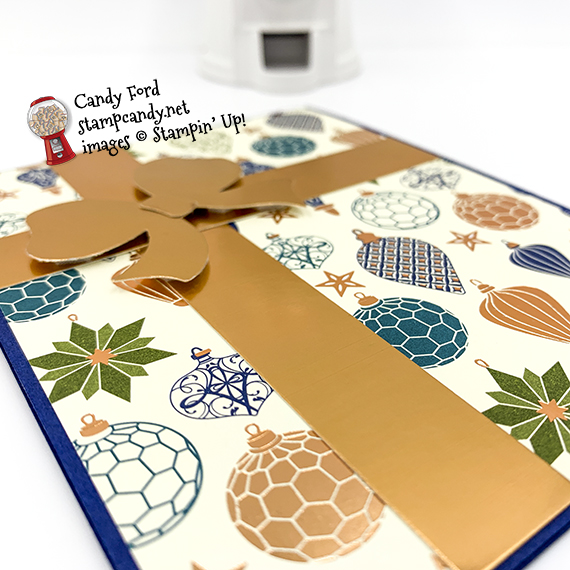
- Copper Foil strips cut to 3/4″ x 4-1/8″ and 3/4″ x 5-3/8″
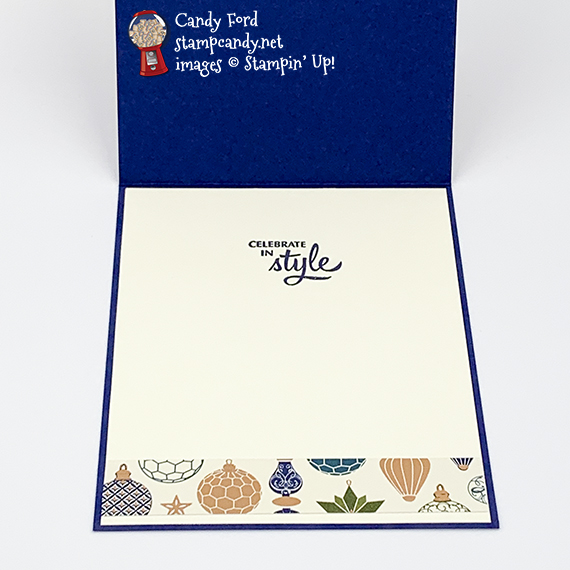
- Very Vanilla CS cut to 4-1/8″ x 5-3/8″ for the inside of the card base
- DSP strip cut to 4-1/8″ x 3/4″
Stamped with the Gift Wrapped stamp set:
- sentiment in Night of Navy ink onto the Very Vanilla CS for the inside
Cut using the Gift Bow Builder Punch:
- 2 bows and “knots” from a scrap of Copper Foil Sheet
Assembled the card:
- burnished the fold in the card base with a Bone Folder
- DSP layer glued onto the front of the card base
- 2 Copper Foil strips adhered onto the DSP layer using Stampin’ Seal+
- a punched knot adhered onto a punched bow using Stampin’ Seal+
- punched bow adhered over the intersection of the foil strips using Stampin’ Dimensionals
- Very Vanilla CS glued onto the inside of the card base
- 3/4″ DSP strip glued onto the Very Vanilla CS, near the bottom
Assembled the box:
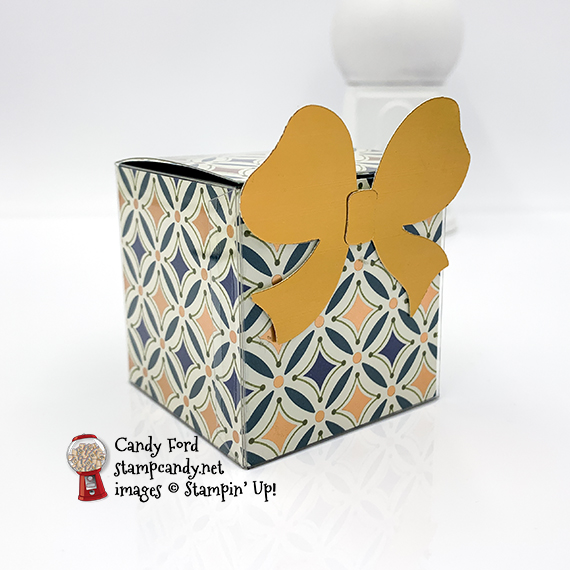
- burnished the folds in a Clear Tiny Treat Box with a Bone Folder, and folded to assemble
- burnished the folds in the two 2″ DSP strips
- longer DSP put into the box to line all four sides
- shorter DSP put into the box to line the bottom, back side, and top
- gift or treats put into the box and closed the lid
- second knot adhered onto the second punched bow using Stampin’ Seal+
- bow adhered onto the front of the box using Stampin’ Seal+
S
Here’s the November 2020 OSAT Blog Hop:
S
Here are today’s main colors:
You can click on each one to see all the products that come in that color!
S
Here’s what I used:
Click on these images for more details and to purchase. If you are reading this post in email, the product images may not show up. Please click here to see the post on my blog.


Supply List. <— Click for a clickable and printable list of the products!
S
Here’s the new Curvy Celebrations offering:
Click the image below to see it in my online store

S
Here are some helpful links:
- November Host Code T9TNBY67 – receive free product!
- Shop my online store
- Shop the new Curvy Celebrations products – available only through January 4
- Clearance Rack
- Request a free catalog
- SUBSCRIBE to my weekly newsletter and/or daily blog updates.
- Paper Pumpkin: buy a Prepaid Subscription or subscribe month to month
- Earn Gumball Rewards – receive free products!
- Gift Certificates are available in any U.S. dollar amount from me. Contact me for details.
- Have you shopped from me within the past year? Join my private VIP Facebook group for exclusive project tutorials and more!
- Join my team and enjoy a 20% discount (or more) on all your purchases! You choose $125 in products and pay only $99, and get free shipping! No obligation! No selling required!
S
Thanks for stopping by today, and Sweet Stamping!

