Today I’m sharing the fourth and final project from the Birthday bouquet class. You can see the previous three projects here, here, and here.
Since most of the group were scrapbookers, we used many of the same supplies to create this lovely traditional scrapbook page.
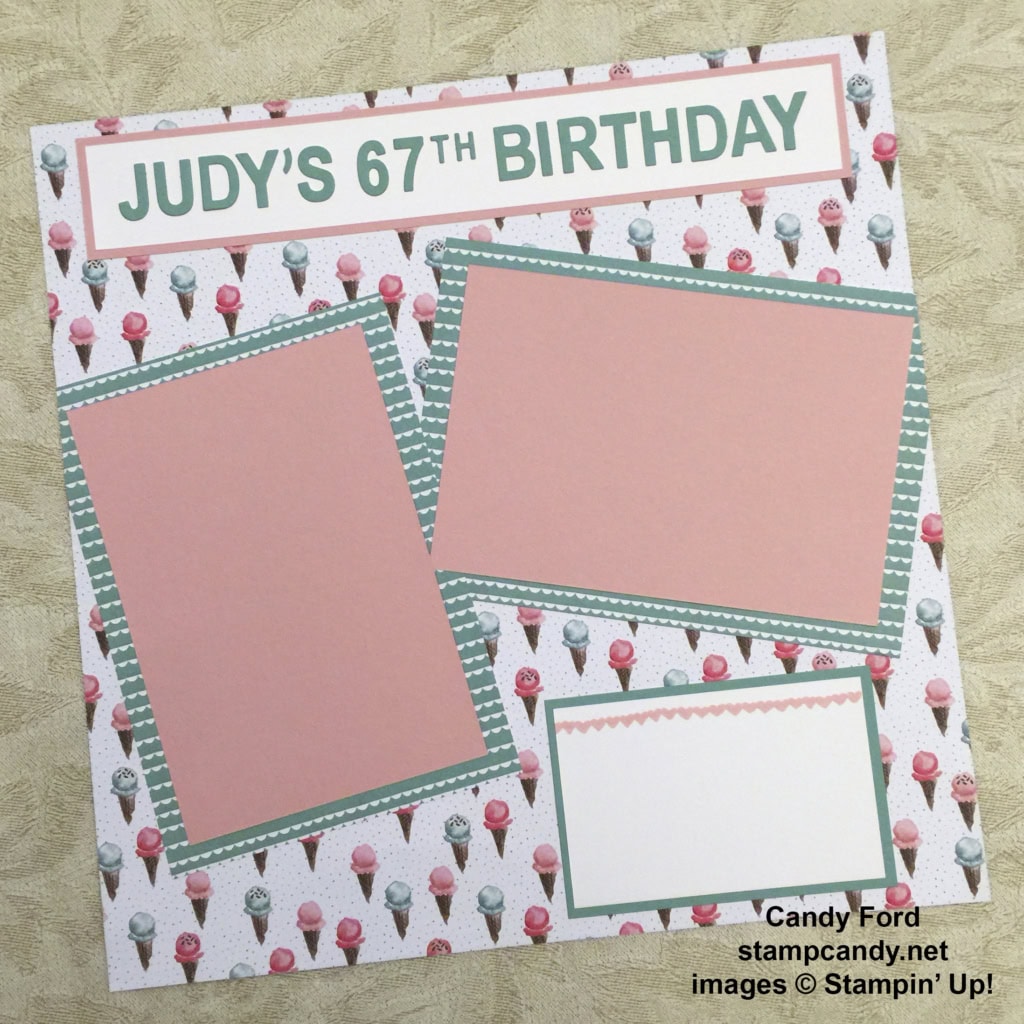
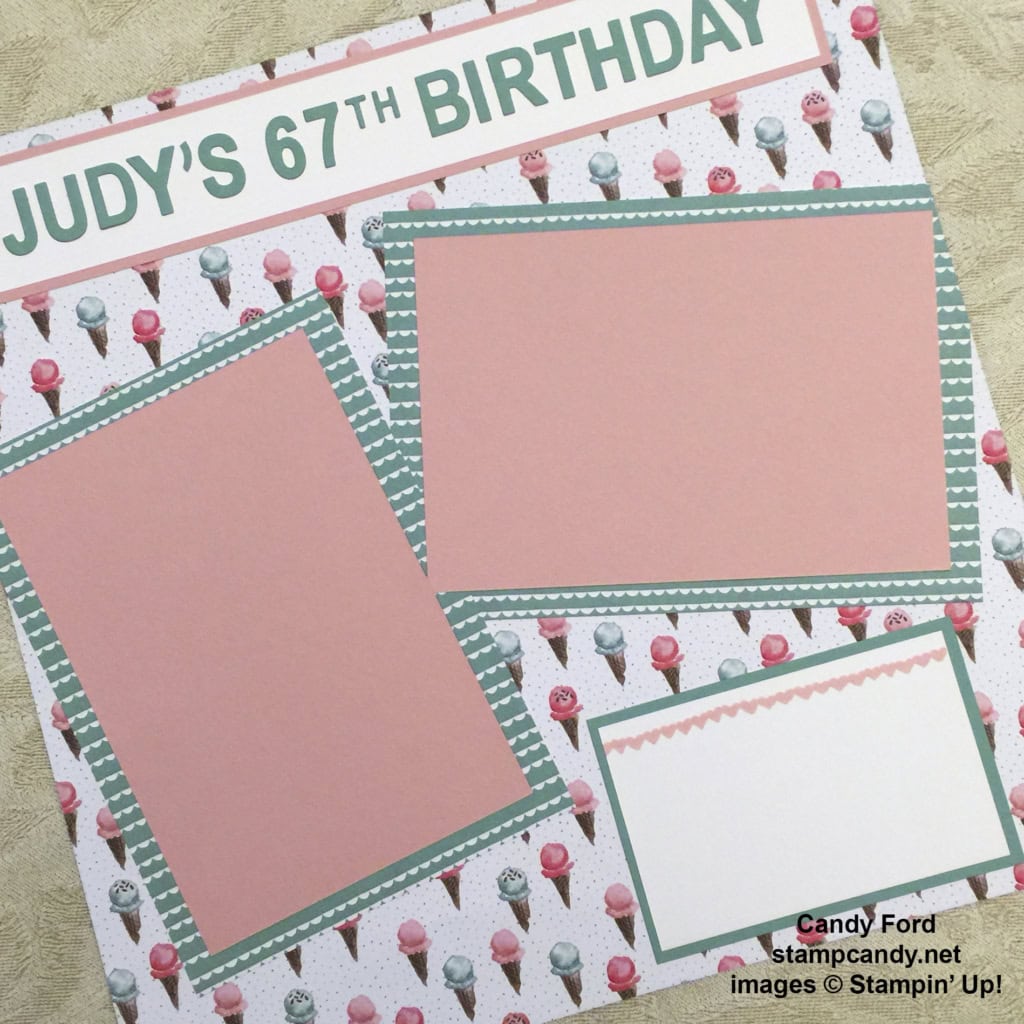
The background is a piece of Birthday Bouquet Designer Series Paper. This is one of my personal favorites from this DSP. The little ice cream cones are so pretty. And the colors in this set are sweet and soothing and beautiful. And with such spectacular paper, there’s no need to add a lot of “doodahs” to fancy up the page.
For the title, we cut Mint Macaron card stock with the Little Letters Thinlits and the Little Numbers Thinlits Dies. We adhered the pieces onto a strip of Whisper White card stock and matted it with Blushing Bride card stock.
For the photo mats, we cut Blushing Bride card stock to 4-1/4″ x 6-1/4″, then matted that with a different pattern from the DSP cut to 5″ x 7″. A few things about the mats: 1) They went past the edge of the 12″ x 12″ page a little, so we trimmed off the excess. 2) They also overlapped in the center, so we made sure the Blushing Bride pieces were on the top of all the DSP pieces. The DSP of the right one goes under the DSP of the left one, but the card stock of the right one goes over the DSP of the left one. So the paper “sandwich” at the overlap is (bottom to top) right DSP, left DSP, right card stock, left cardstock. 3) This DSP pattern has a definite direction, so we cut one piece vertically and the other one horizontally, so the patterns are going in the same direction.
For the journaling panel, we stamped the line of hearts from the Birthday Blooms stamp set in Blushing Bride onto Whisper White card stock. We matted it with Mint Macaron card stock.
Now all that’s left to do is to add two photos and some journaling. And wouldn’t the journaling look great written with the Mint Macaron Stampin’ Write Marker?
Of course, you can also use these same supplies with your Project Life pages. Check out the great Project Life by Stampin’ Up! products here. They are the Project Life products you love, but in the Stampin’ Up! colors, so all your other Stampin’ Up! products will match perfectly!
Here’s what we used:
Thanks for stopping by today, and Sweet Stamping!


I love it! I love these ice cream cones for a backdrop. I adore how the frames are cut off on the edges, but the pink spot for the pictures is not. Judy? 67? Is that right? Are you sure it’s not 47?
Love you Brian.