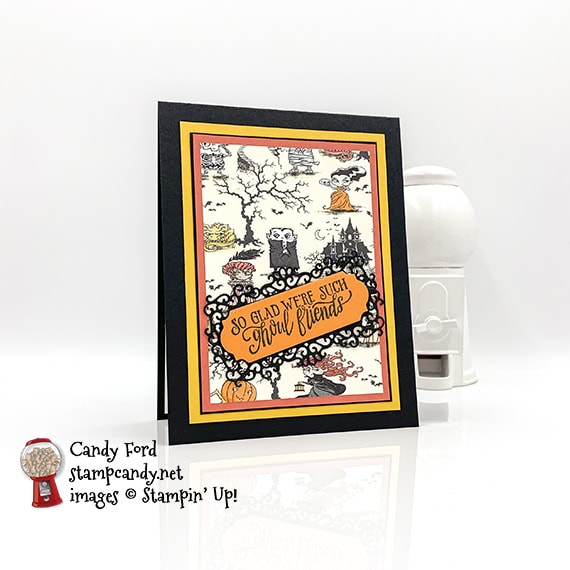
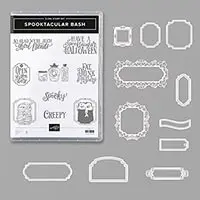
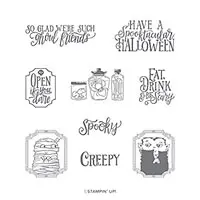
Today’s card is one of the Make & Take projects I made for our August Candy Hearts team meeting. It features some products from the new Monster Bash Suite: the Spooktakular Bash Bundle (Spooktacular Bash stamp set and Ornate Frames Dies) and Monster Bash Designer Series Paper (DSP.) The DSP has some great spooky images, without being too creepy for kids. If you know anything about me, you should know that I’m a Halloween nut. My husband and I host a costume party every year. And I love this suite!
S
Here’s what I made:
Here’s what I did:
Products in italics will be available beginning September 4, 2019.
Cut and scored with my paper trimmer:
- Basic Black card stock (CS) cut to 4-1/4″ x 11″, then scored in half at 5-1/2″
- Crushed Curry CS layer cut to 3-5/8″ x 4-7/8″
- Basic Black CS layer cut to 3-5/16″ x 4-9/16″
- Terracotta Tile CS layer cut to 3-1/4″ x 4-1/2″
- Monster Bash Designer Series Paper (DSP) layer cut to 3″ x 4-1/4″
- Whisper White CS cut to 4″ x 5-1/4″ for the inside of the card base
Stamped with the Halloween Bash stamp set:
- outer sentiment in black ink onto a scrap of Pumpkin Pie CS
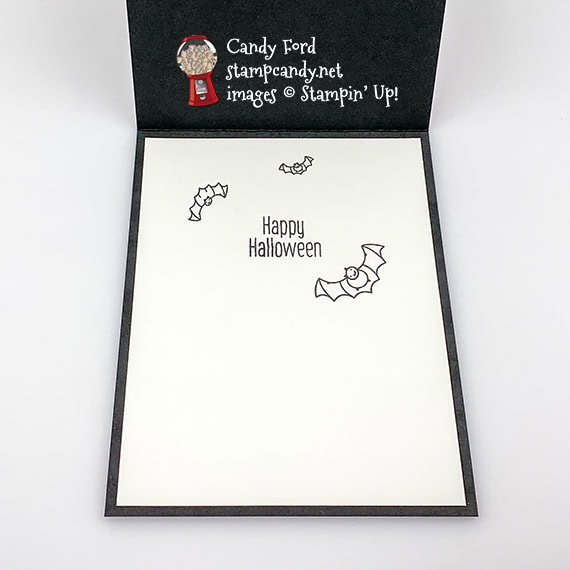
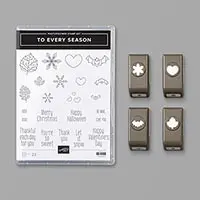
Stamped with the To Every Season stamp set:
- inner sentiment and 3 bats in black ink onto the Whisper White CS for the inside of the card base
Cut using the Ornate Frames Dies:
- outer sentiment
- ornate piece from a scrap of Basic Black CS
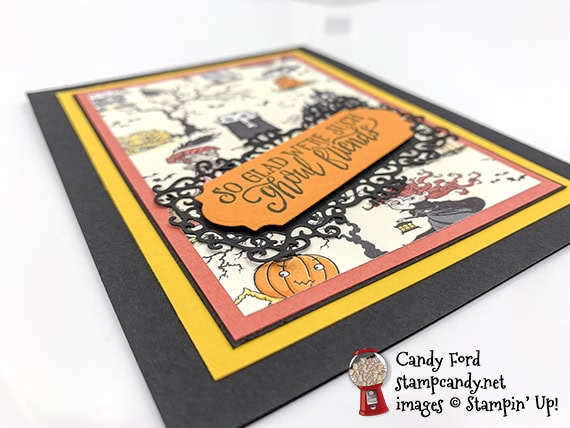
Assembled the card:
- burnished the fold in the card base with a Bone Folder
- Crushed Curry CS layer glued onto the front of the card base
- Basic Black CS layer glued onto the Crushed Curry CS layer
- Terracotta Tile CS layer glued onto the Basic Black CS layer
- DSP layer glued onto the Terracotta Tile CS layer
- outer sentiment adhered onto the Basic Black ornate die cut using Black Stampin’ Dimensionals
- Basic Black ornate die cut glued onto the DSP layer
- Whisper White CS glued onto the inside of the card base
S
Here are today’s colors:
You can click on each one to see all the products that come in that color!
S
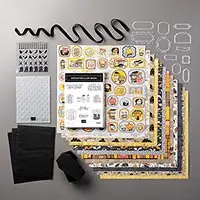
Here’s what I used:
Click on these images for more details and to purchase.


Supply List <– Click here for a clickable and printable list!S
Preorder the Pretty Petals Online Class by September 5:
- Make 6 cards at home in your PJs!
- 2 each of 3 designs
- Features the Pretty Petals Suite on pages 72-74 of the 2019-2020 Annual Catalog
- I’ve done the trimming and scoring for you!
- You’ll receive all you need to make the cards, including the stamp set, dies, embossing folder, pre-cut card kits, and 6 Very Vanilla envelopes.
- Full detailed instructions
- Limited spots available
Click on the image below for details and class options, or copy and paste this link into your browser: https://stampcandy.net/online-classes/pretty-petals-class-preorder/

S
Here are some helpful links:
- Shop my online store
- Clearance Rack
- SUBSCRIBE to my weekly newsletter and daily blog updates.
- August Host Code CS3BJYVY – receive free product!
- September Host Code 6TNW9P6Z (Begin using this code tonight at midnight MT, 1am CT, 2am, ET, 11pm PT)
- Paper Pumpkin: buy a Prepaid Subscription or subscribe month to month
- Earn Gumball Rewards – receive free products!
- Gift Certificates are available in any U.S. dollar amount from me. Contact me for details.
- Have you shopped from me within the past year? Join my private VIP Facebook group for exclusive project tutorials and more!
- Join my team and enjoy a 20% discount (or more) on all your purchases! If you join by August 31 you’ll receive and extra $30 of free products in your Starter Kit! You choose $155 in products and pay only $99, and get free shipping! No obligation! No selling required!
S
Thanks for stopping by today, and Sweet Stamping!

