As I continue to work on my new stamping studio, I want to share some organizational tips I’ve learned.
I love using sponges and daubers to add subtle color and shading to a project. I’ve been wondering about the best way to store them. After seeing the solutions several other folks have come up with, this is what I decided to do. My main inspiration for this is Brian King, who organizes his much like this.
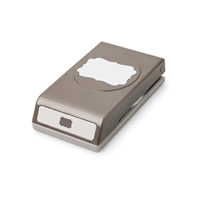
First I used Craft scissors to cut each Stampin’ Sponge into eight wedges. Then I used the Decorative Label Punch to create the handles from each color of card stock. I folded the punched pieces in half and stapled them onto the sponge wedges.
Each dauber got a white label, which I then covered with “magic” tape.

I’m using clear plastic organizers with 18 sections. Each section got a clear label.

It took three of the organizers to hold all the Stampin’ Up colors.

I stacked the organizers…

…and put them in one of the Ikea Kallax drawers. They fit great with room for spare sponges.
Here’s what I used:
In case you’re wondering which organizers I used, here’s the label. I ordered them from Amazon.com.

My label maker is the DYMO LetraTag. I used the Small font for the organizer sections and the Extra Small font for the Sponge Daubers. Though I’m sure any label maker will work just fine.
Thanks for stopping by today, and Sweet Stamping!


