It’s time for the A Paper Pumpkin Thing Blog Hop for May! I aways love this time, because I get to take something predesigned and put my spin on it. This month’s kit is called Manly Moments and includes the makings for cards with manly hues of greens and browns. I’ve made a birthday card and small gift holder, perfect for a manly man. Be sure to check out all the stops on the hop, because you don’t want to miss any of the great alternate projects made by this group.
Here’s what I made:
I tucked a little extra “green” into the gift holder:
Here’s what I did:
Cut and scored with my Stampin’ Trimmer:
- a 4-1/8″ x 1/2″ strip of plaid paper from the inside of an envelope
- a 1″ x 1-1/2″ piece of the same plaid paper
- a 1″ x 7″ strip of wood paper from the inside of a different envelope, then scored down the length 1/4″ from each side, and across the strip at 3-1/2″
- four piece of Mossy Meadow card stock (CS) to 2″ x 4-1/4″
Stamped with the Manly Moments stamp set:
- stamped “happy” and “birthday” in Mossy Meadow ink onto a shield
- stamped the lines in Shaded Spruce ink onto the same shield
- stamped “for all you do” in Mossy Meadow ink onto a white banner
Cut using Paper Snips
- notched the ends of the Plaid strip (or you could use the Banner Triple Punch)
- snipped lots of little cuts along each long side the wood paper strip, only to the score line on each side
- used a shield as a guide to cut the ends of the 4 Mossy Meadow CS pieces to fit inside the holder
- cut other end of the 4 Mossy Meadow CS pieces about 2″ down to “shred” it (or you could use your paper trimmer to cut every 1/8″, or you could use fringe scissors if you have them)
Created the forest on the front of the Soft Sea Foam card base:
- used the negative space of a tree die cut and sponge daubers to color each “layer”
- used Mossy Meadow, Shaded Spruce, Pear Pizzazz, Old Olive, Granny Apple Green, Garden Green, and Tranquil Tide inks
- started at the top and worked my way down
Assembled the card:
- adhered a mountain die cut to the bottom of the front of the card base
- glued the notched plaid strip to the card base
- adhered the stamped shield over the plaid strip using Stampin’ Dimensionals
Assembled the holder:
- glued one snipped side of the wood paper strip to the back edges of a shield, starting with the crosswise score line at the bottom tip of the shield.
- glued the other snipped side to another shield, the same way
- snip off any extra wood paper at the top, or fold it inside and glue it in place
- glued the 1″ x 1-1\2″ plaid paper to the front shield
- glued the stamped banner over the plaid paper piece. I should have adhered it with Stampin’ Dimensionals, but I wasn’t thinking and glued it down flat.
- crinkled the shredded parts of the Mossy Meadow CS, then stuffed them into the box
- inserted some folded money in between the Mossy Meadow CS pieces in the holder
Here’s the hop:
_______________________________________________________________________________________________________________________________________________________
ORDER NOW!
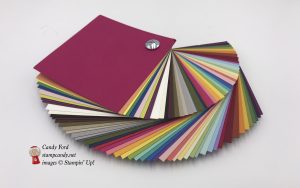
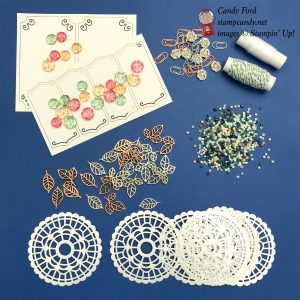
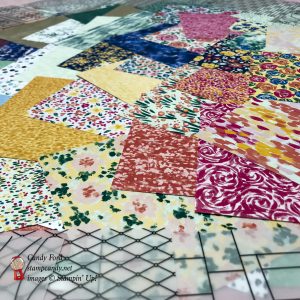
Swatch Books & Paper Shares
Order TODAY to receive them early- to mid-June. Click here for details and to order!
_______________________________________________________________________________________________________________________________________________________
Today is the last day to take advantage of these offers:
- Share What You Love Early Release Bundles
- Retiring products available through May 31 or while supplies last.
- May Host Code SWA494STR
- Get my FREE Gift for May
Here’s some more information you should check out:
- Shop my online store
- Shop the Clearance Rack
- Join my team
- SUBSCRIBE to my weekly newsletter and daily blog updates
- Earn Gumball Rewards
- Gift Certificates are available in any U.S. dollar amount from me. Contact me for details.
Thanks for stopping by today, and Sweet Stamping!


Wow, you created quite the treescape on the front of that card…looks amazing! Your projects are all about the “green” this month, eh? Lol! Thanks for sharing 😀
Gorgeous, Candy!
Thanks, Jenny!
So cute!
Thanks, Karen!
How clever and unique!
Thanks, Rachel!
I’ll take that gift holder with the extra green any day! Thanks for sharing your alternatives Candy!