Jun 28, 2015 | Blog Candy, Techniques |
Recently I made an envelope with a striped piece of Envelope Paper, but the stripes were vertical instead of horizontal. You can see that post here. Today I’m showing you how to do that. These measurements are for the basic envelope for a 4-1/4″ x 5-1/2″ card.
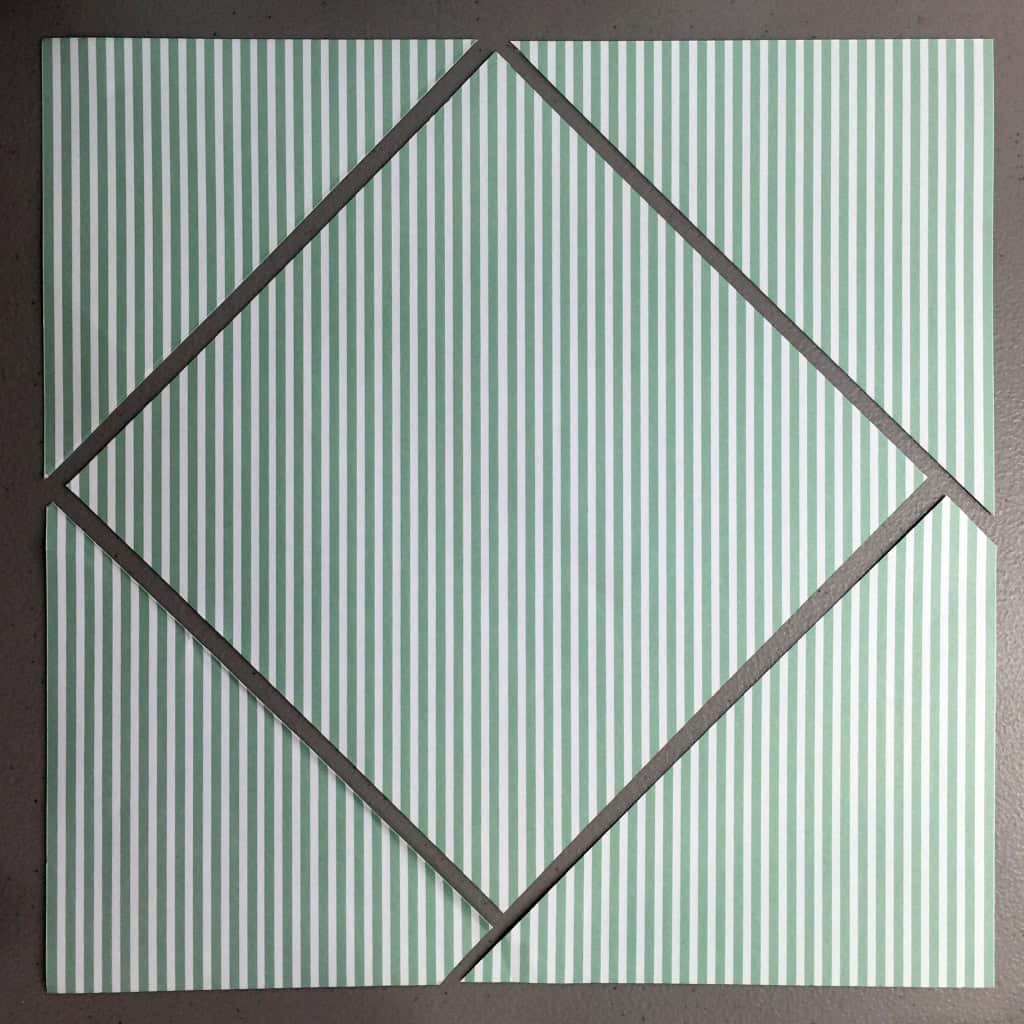
First find the half way line from one corner to the opposite corner. Then measure 4″ to each side and cut parallel to the half way line. (You can draw the lines with a pencil, then erase later, if you want.) Now cut to 8″ x 8″.

Now you have an 8″ x 8″ piece of paper with vertical stripes (or horizontal, depending on how you want to make the envelope) to use on your Envelope Punch Board.
Another way to do this would be to cut an 8″ x 8″ pattern and lay it on top of the Envelope Paper, then trace/cut around it.
Here’s what I used:
BLOG CANDY
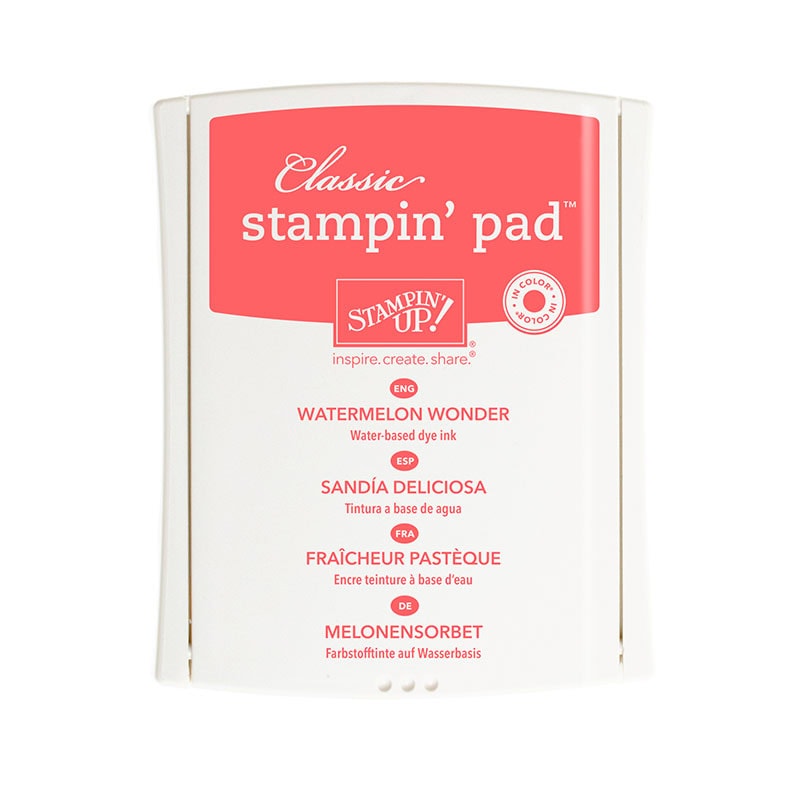
It’s been a while since I gave away any blog candy, so here’s a really good one. Comment below this post and tell me your favorite color combo in the new In Colors. Mine is currently Mint Macaron and Tip Top Taupe. Each person who comments will be entered once in the drawing for this:

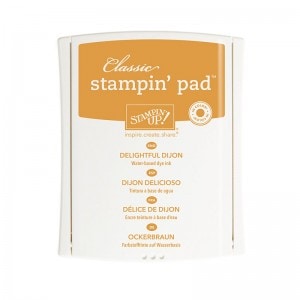
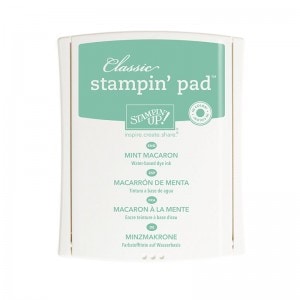
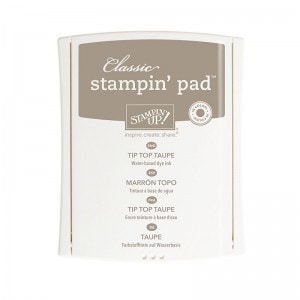
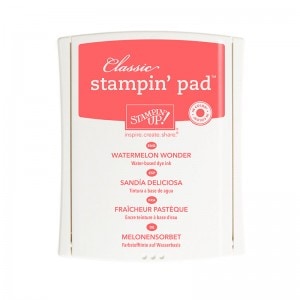
Yes, that’s right! Classic Stampin’ Pads in all five of the new In Colors!
Be sure to comment by Monday at midnight. I’ll announce the winner on Tuesday.
Thanks for stopping by today, and Sweet Stamping!
Dec 15, 2014 | Blog Candy |
Congratulations, Linda! You won the Blog Candy! You have until midnight EST Tuesday, 16 December, to email your shipping address to me at candy@stampcandy.net. Then I’ll get in in the mail to you!
Linda won the Teeny Tiny Wishes Clear Mount Stamp Set & coordinating Word Window Punch!

Linda said,”The Many Merry Stars project kit was a great hostess gift for Thanksgiving. After dinner, I sat with the kids for a couple of hours making stars. The glitter stars were a big hit.”
Thanks to everyone who participated in the drawing. Keep coming back for more chances to win (and to learn cool stuff about stamping, too.)
Sweet Stamping!
Dec 13, 2014 | Blog Candy, Christmas, New Products |
The Question: I have been having a lot of fun using all my new products from the Holiday Catalog and Supplement. What are your favorite new Stampin’ Up! holiday products? Tell me below in the comment section to be entered in the drawing for this Blog Candy:
The Stuff: These two items aren’t from the Holiday Catalog, but no card maker should be without them! The Teeny Tiny Wishes Stamp Set (offered here in Clear Mount) and the Word Window Punch were made for each other…..Literally. The punch shape perfectly fits each of the 24 sentiments in the stamp set.
The Timeline: You have until tomorrow night (Sunday, 14 December) at midnight EST to comment – one comment per person, please. I’ll post the winner’s name on Monday the 15th (I use random.org to choose.) The winner will then have until Tuesday night (the 16th) at midnight EST to send their mailing address to me at candy@stampcandy.net.
Good luck!
Thanks for stopping by today, and as always, Sweet Stamping!
Nov 19, 2014 | Blog Candy |
This was scheduled to post Nov 18 at 5:00am EST. Some sort of blog hiccup? So sorry to keep you waiting in suspense.
Congratulations to Mary Green, winner of this great Blog Candy!
Mary, please email me from your email address to my email address (candy@stampcandy.net) and include your mailing address so I can mail it to you from my mailing address to your mailing address. (I just wanted to see how many times could I use the word mail in one sentence.)
Thanks to everyone who entered for a chance to win! Keep following this blog for more give aways and paper crafting ideas.
Sweet Stamping!
Nov 15, 2014 | Blog Candy, Christmas, Decor |
Geodesic, adjective, of, relating to, or denoting the shortest possible line between two points on a sphere or other curved surface.
I’m still in an ornament making mood. It’s been years since I made any of the Geodesics, so I thought I’d give it a go. After a couple of practice runs, to remember how, I now feel I could crank these out pretty quickly and neatly.
You can tell the one on the right was my first one – the points don’t all come together as neatly as on the other one. Neither is perfect, but hey, they’re hand made. The imperfections in our crafts are what make them ours.

The template is simple – it’s just a circle with an equilateral triangle inside.

Cut 20 circles of the same size: 5 for the top, 5 for the bottom, and 10 for the middle. Fold in the three sides of each circle. I used the 1-3/8″ Circle Punch to cut mine. This made ornaments approximately 2-1/2″ wide. Obviously, larger circles would yield a larger ornament. I laid the template on top of each circle and used that as a guide to fold.

By the way, you know all those little paper scraps you’ve been holding onto just in case they would come in handy someday? Well, today’s the day! This is a great way to use them.
Multipurpose Liquid Glue is perfect for gluing the pieces together. Line up the sides, then pinch together while pressing on the table to keep everything straight. The glue sets quickly, so this just takes a few seconds per circle. (Yes, I know I need a manicure.)

First glue 5 circles together so that all 5 share a point. Then glue together another 5 the same way. These will be the top and bottom of the ornament.

TIP: Make a loop with your ribbon/twine and tie a knot at the end. Just before you glue together the last two circles of the ornament top, put the knot end inside the point with the loop end hanging out. Then add a dab of glue to the inside of the point to make sure the hanger doesn’t pull out. You can do this to the bottom as well, if you want something dangling from the bottom of the ornament.

Glue together the remaining ten circles in a line. The glued sides should make a zig zag.

Glue together the two ends to create the “belly band” of the ornament.
 Now glue the top onto the belly band. Repeat with the bottom.
 Et voila! You have a beautiful ornament that looks like it took much more time and effort than it really did.
I know my instructions are probably as clear as mud. I hope the photos help. Please let me know if you have any questions at all.


Here’s what I used:
THERE’S STILL TIME TO ENTER! If you haven’t yet entered to win the current blog candy, all you have to do is comment on yesterday’s post. Click here for details. The earlier you comment, the more chances you have to win. Tell your friends! Tell your family!! Tell everyone!!! The more people who comment, the more chances you have to win. Thanks for stopping by today, and Sweet Stamping!
Nov 14, 2014 | Blog Candy |
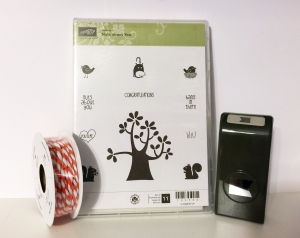
Everyone loves free stuff, right? Now you have the chance to win this great blog candy: White & Tangerine Tango Two-Tone Trim AND Nuts About You Hostess stamp set (11 stamps!) in clear mount AND Banner Punch! (It’s all brand new – I removed packaging for the photo.)
Here’s the trick. The earlier you comment on this post, the more chances you’ll have to win. The last person to post will have their name entered in the drawing once. The next to last person to post will have their name entered twice. Etc. The first person to comment will have their name entered as many times as there are people who commented!
So comment now!
And tell your friends! The more people who post after you, the more chances you’ll have to win!
All comments must be posted by 11pm EST Nov 17. I will announce the winner on Nov 18.
I will ship this free anywhere in the US.
Thanks for stopping by today, and Sweet Stamping!