Apr 29, 2016 | Bags, Boxes, Cards, Food, Gifts, Occasions, Swaps |
Today I’m sharing with you more of the items I received in the 3D Treat Swap. You can see my other posts about it here and here.
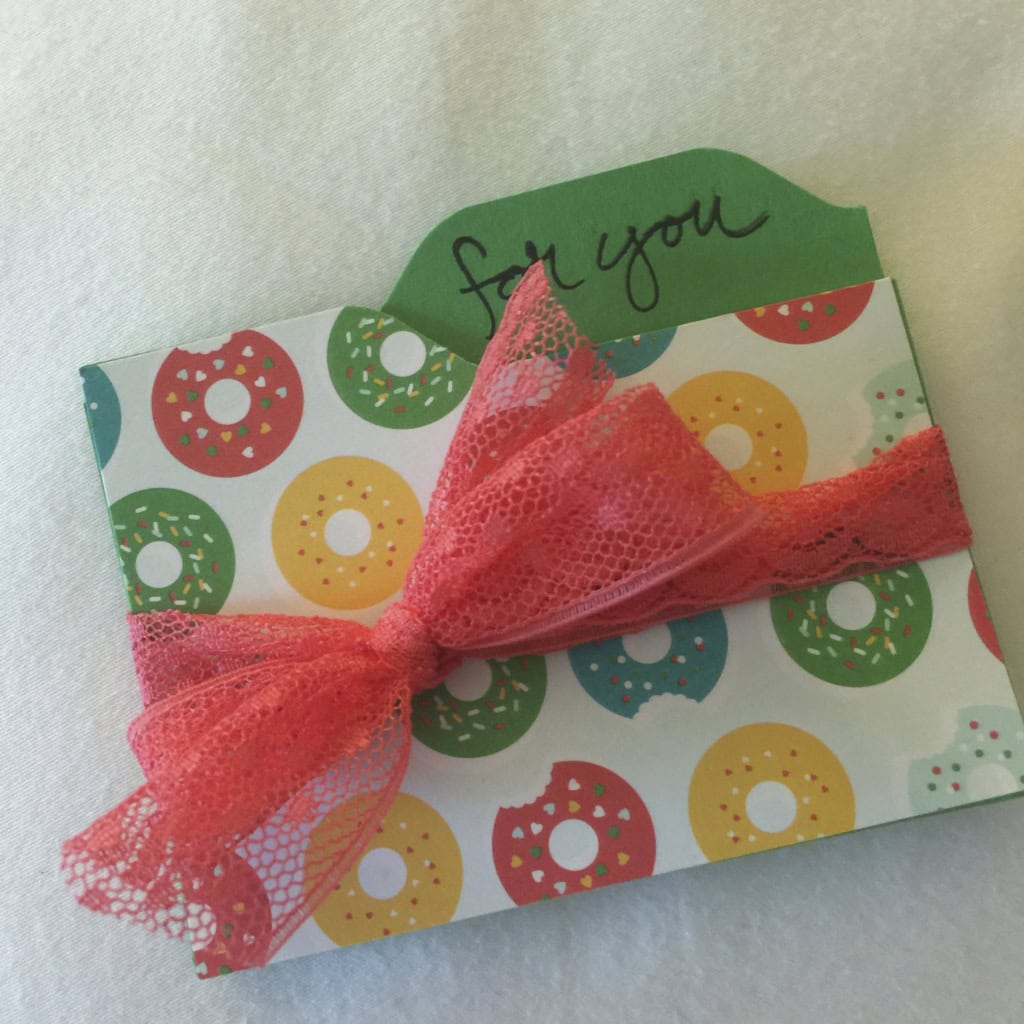
made by Julie Davidse
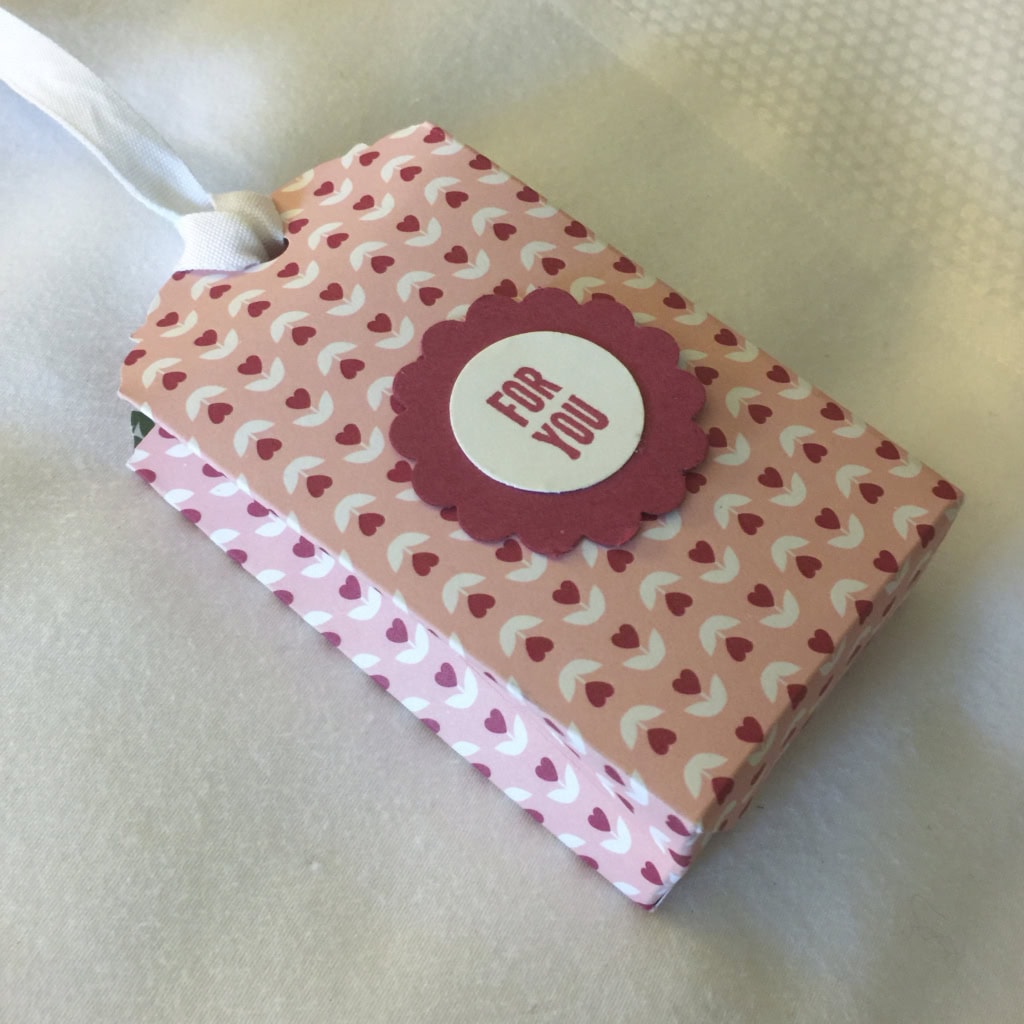
made by Deb Reeder
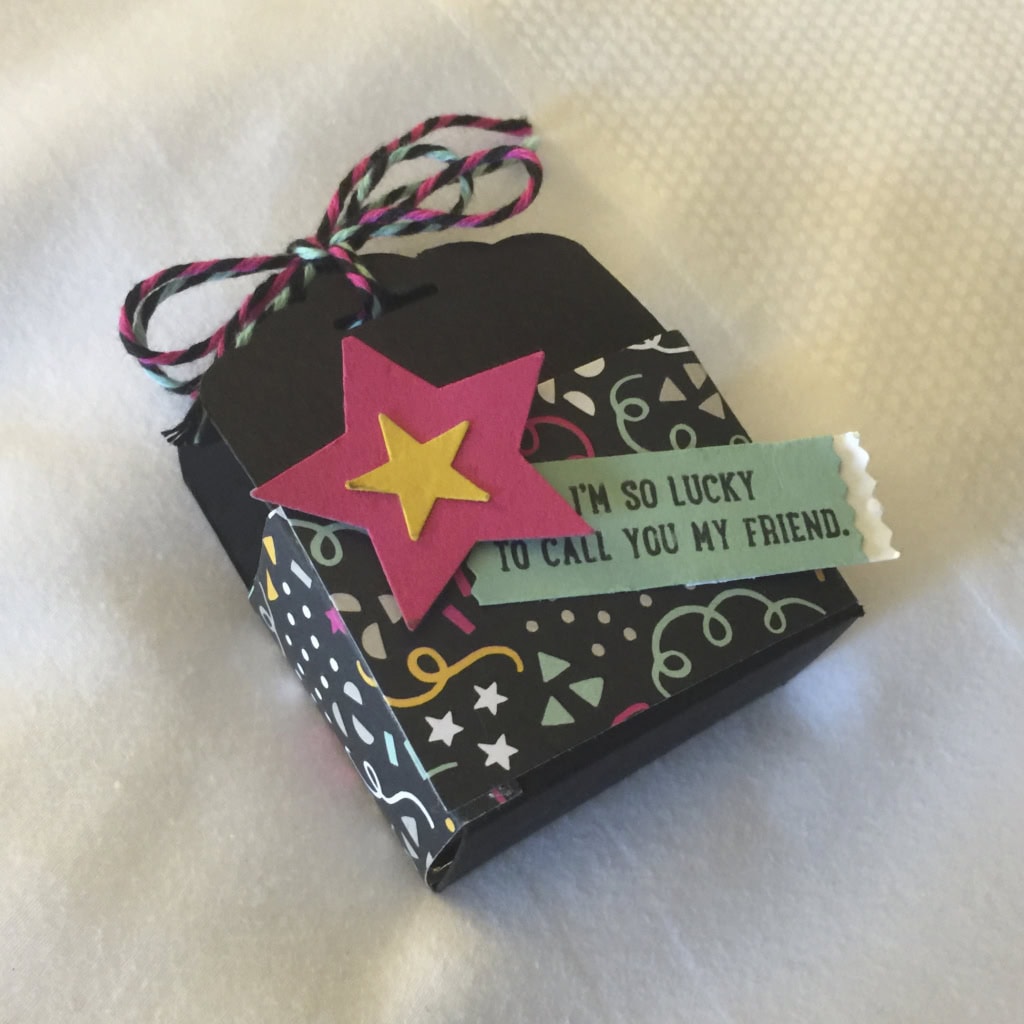
made by Teresa Granary
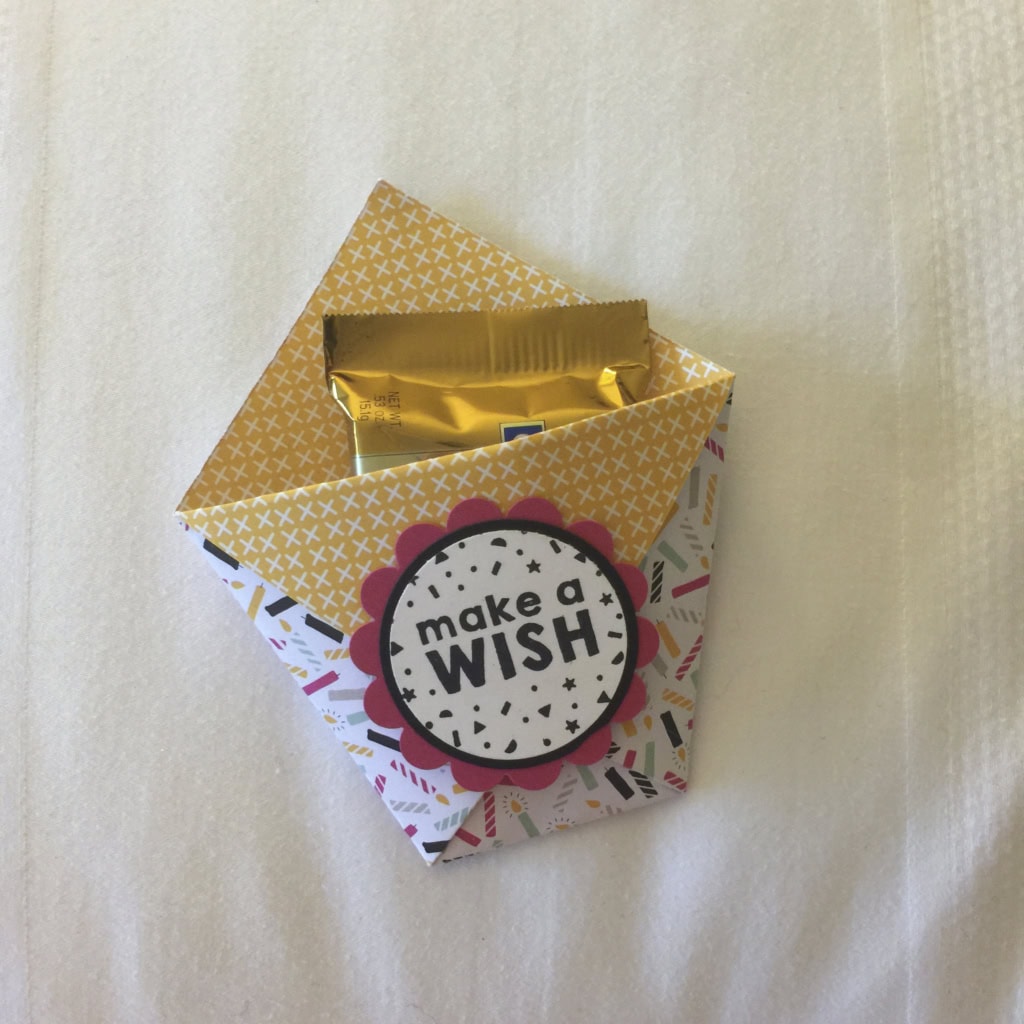
made by Fran Kennedy
made by Karen Oster
made by Rae Ann
made by Cindy Schuster
Thanks for stopping by today, and Sweet Stamping!

Apr 28, 2016 | Bags, Boxes, Food, Gifts, Swaps |
Yesterday I shared with you my project for the 3D Dinner & Swap in Salt Lake City. You can see that post here. Today I’m excited to show you some of the amazing projects I received in the swap.
Karen Oster made this sweet little bag containing a bag of Hershey Kisses.


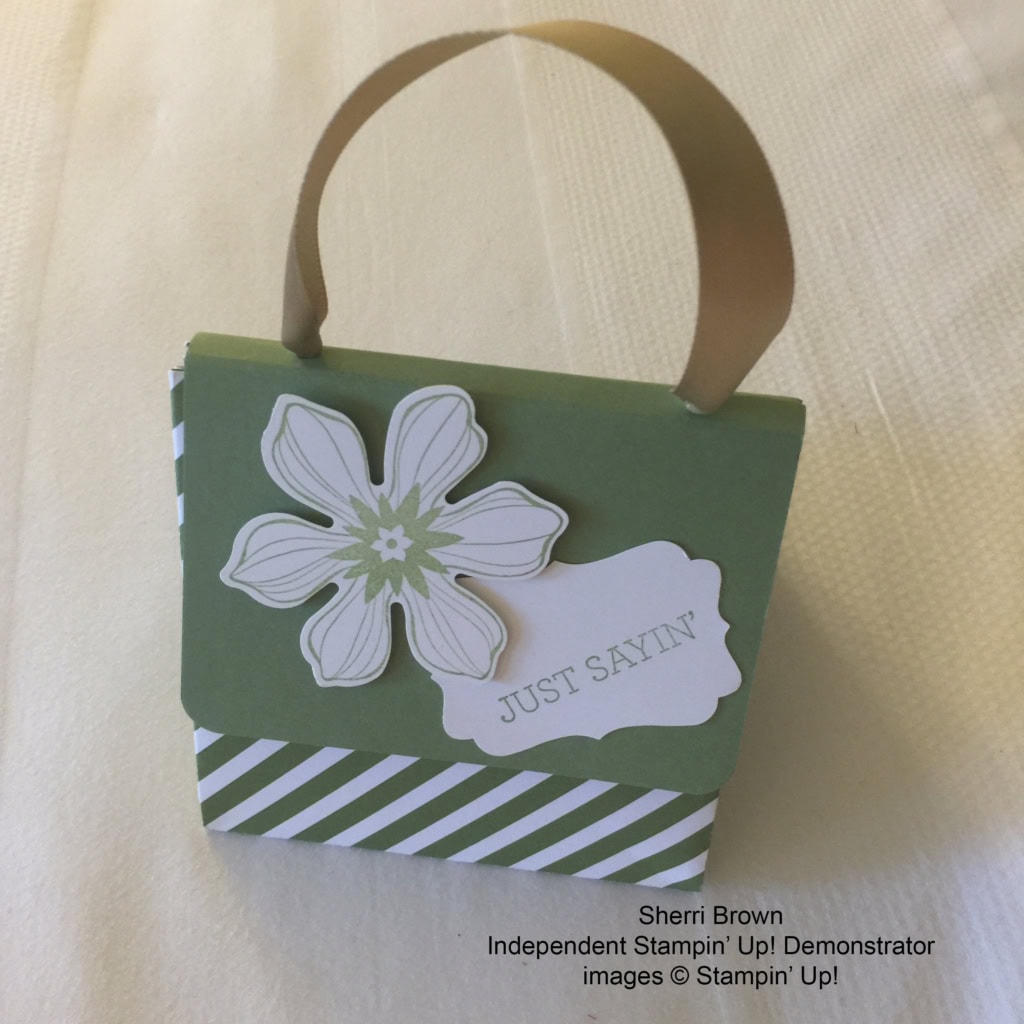
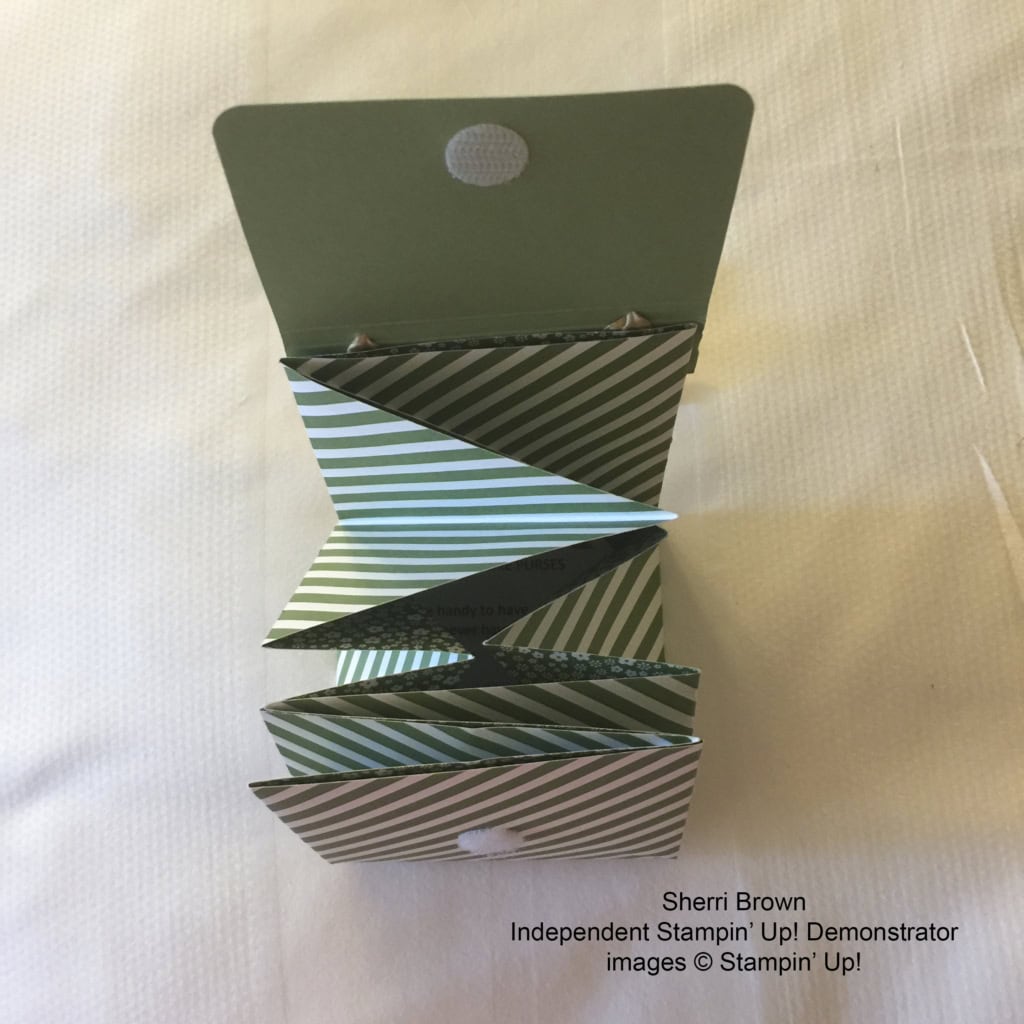
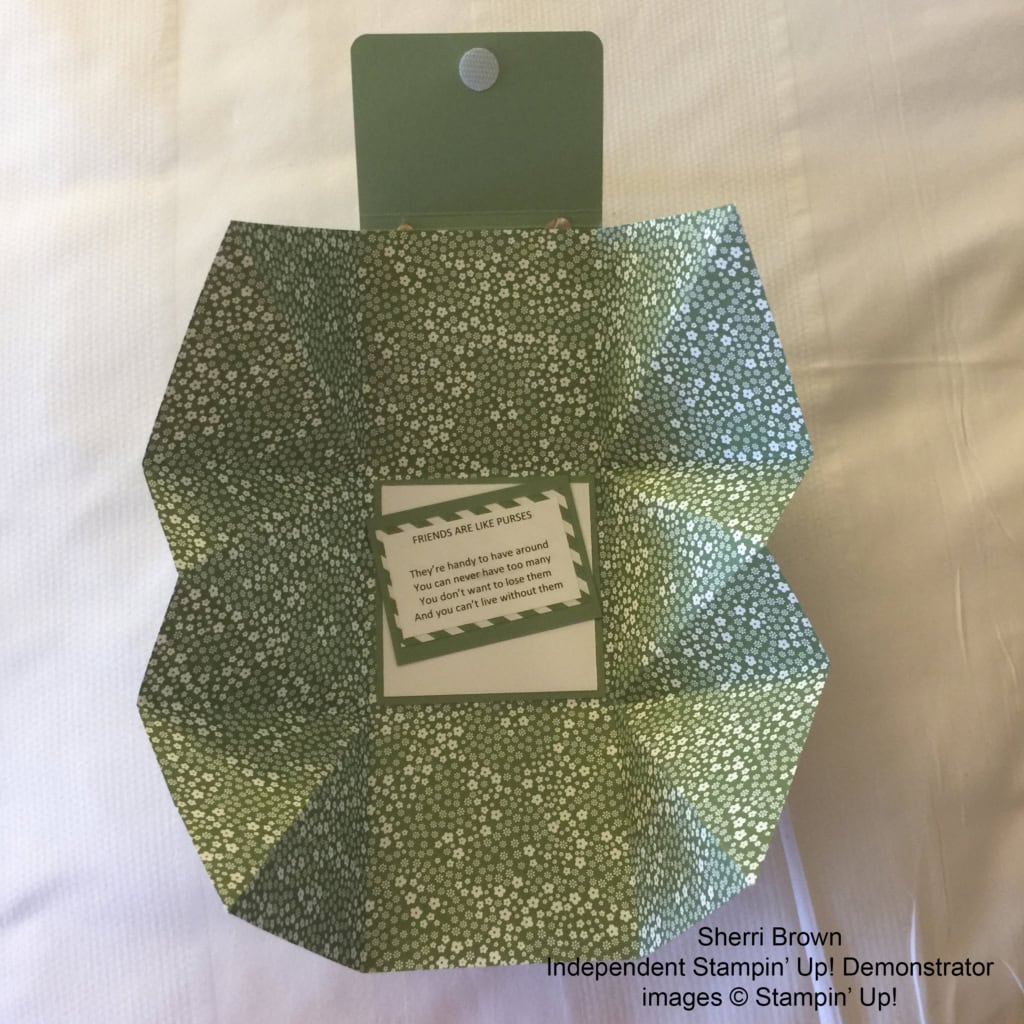
This adorable purse made by Sherri Brown opens up completely. It’s a 12″ x 12″ sheet of Designer Series Paper, scored and folded. She added a Velcro dot to keep it closed.
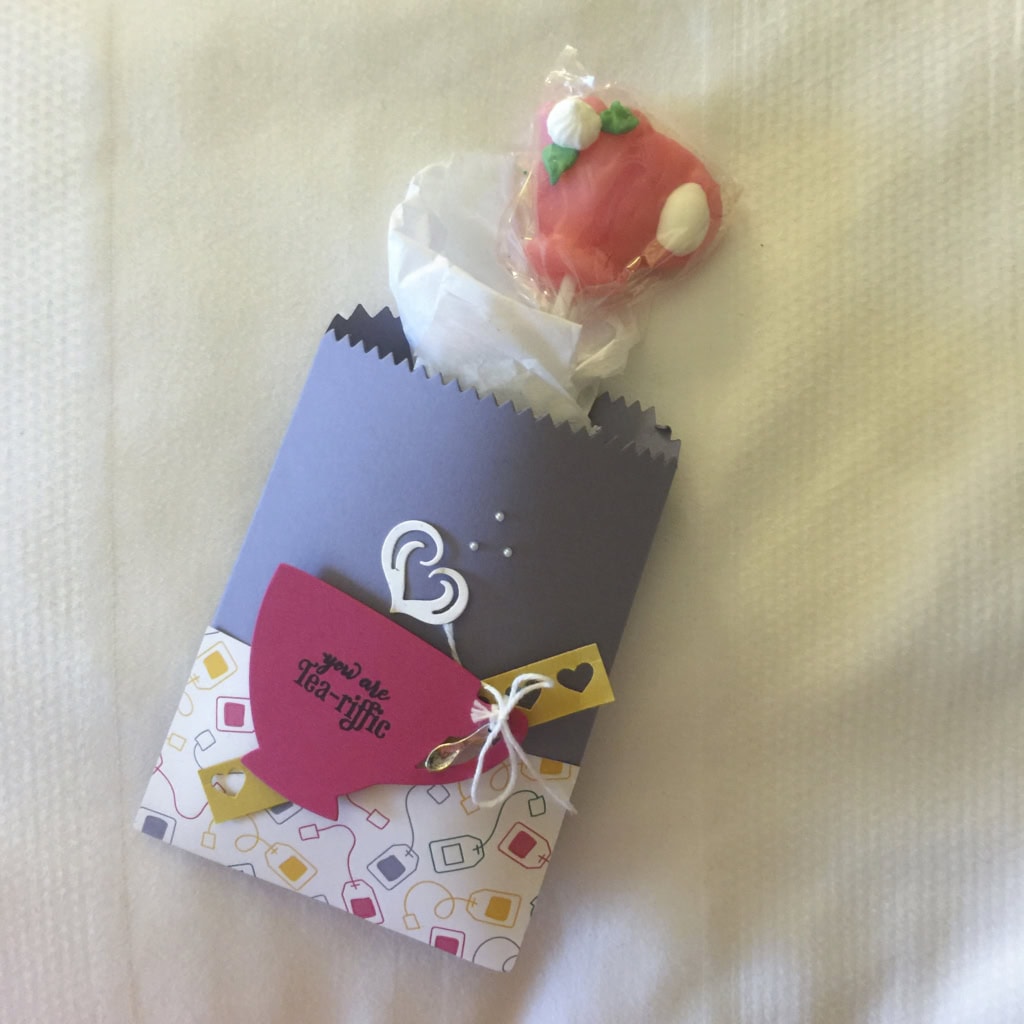
This sweet Mini Treat Bag made by Brenda Bierens contained a teapot shaped lollipop and some little candies with teapots on the wrappers.

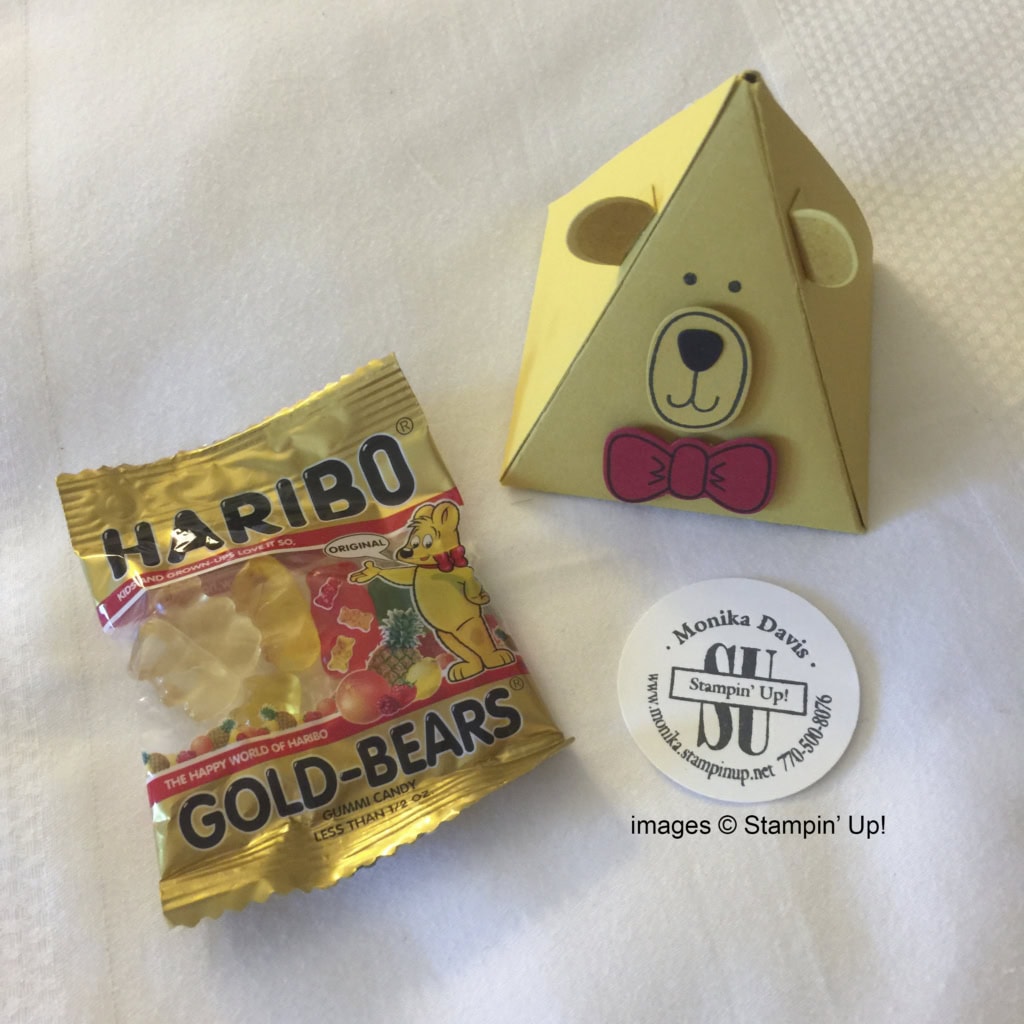
Monika Davis’ little bear box contained a bag of tiny gummy bears. Isn’t it adorable?


Debbie Callon’s cellophane bag is adhered to the inside of the folded card stock.


Diane Squires made this Kraft Tag a Bag folded in half to make an extra pocket. There were chocolates in the back pocket and a card in the front.


Penny Nelson’s little bag contains a tag that is folded on the end so it will pull out a gift card.


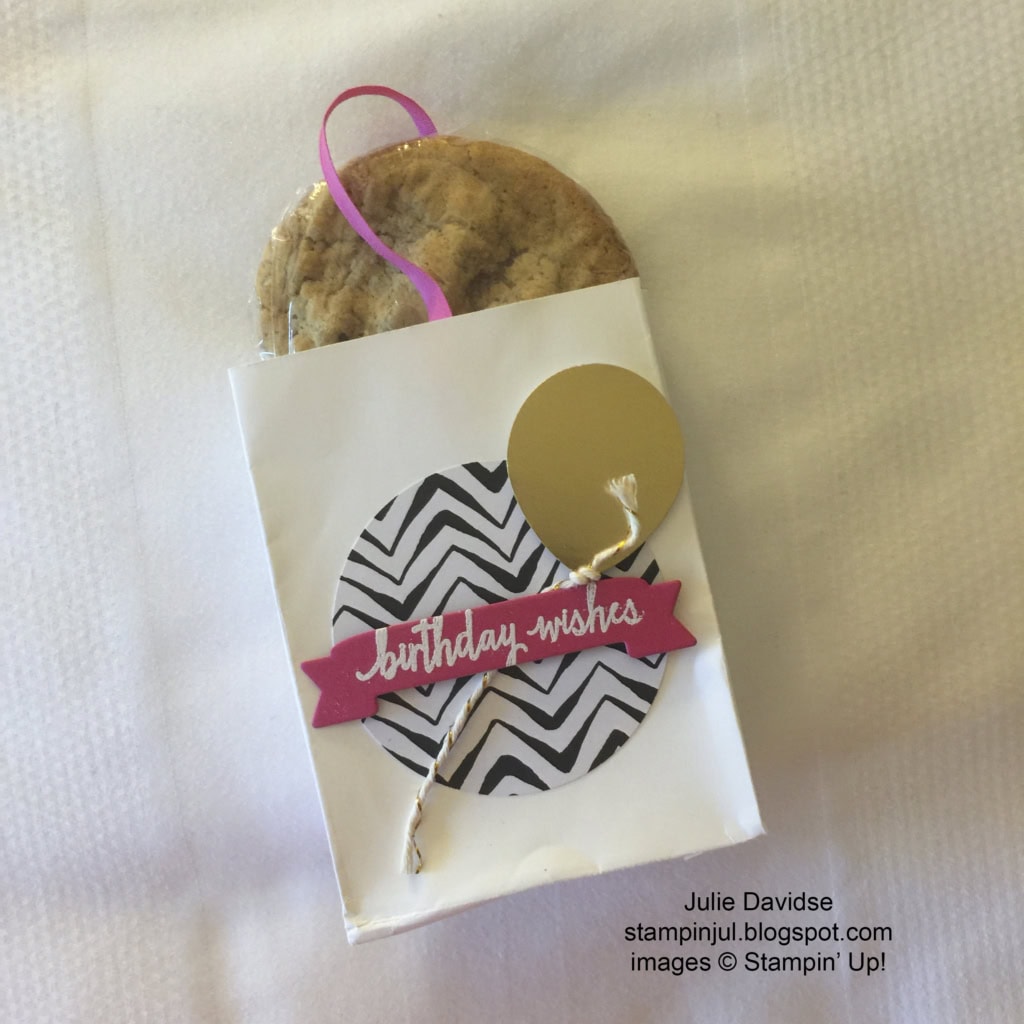
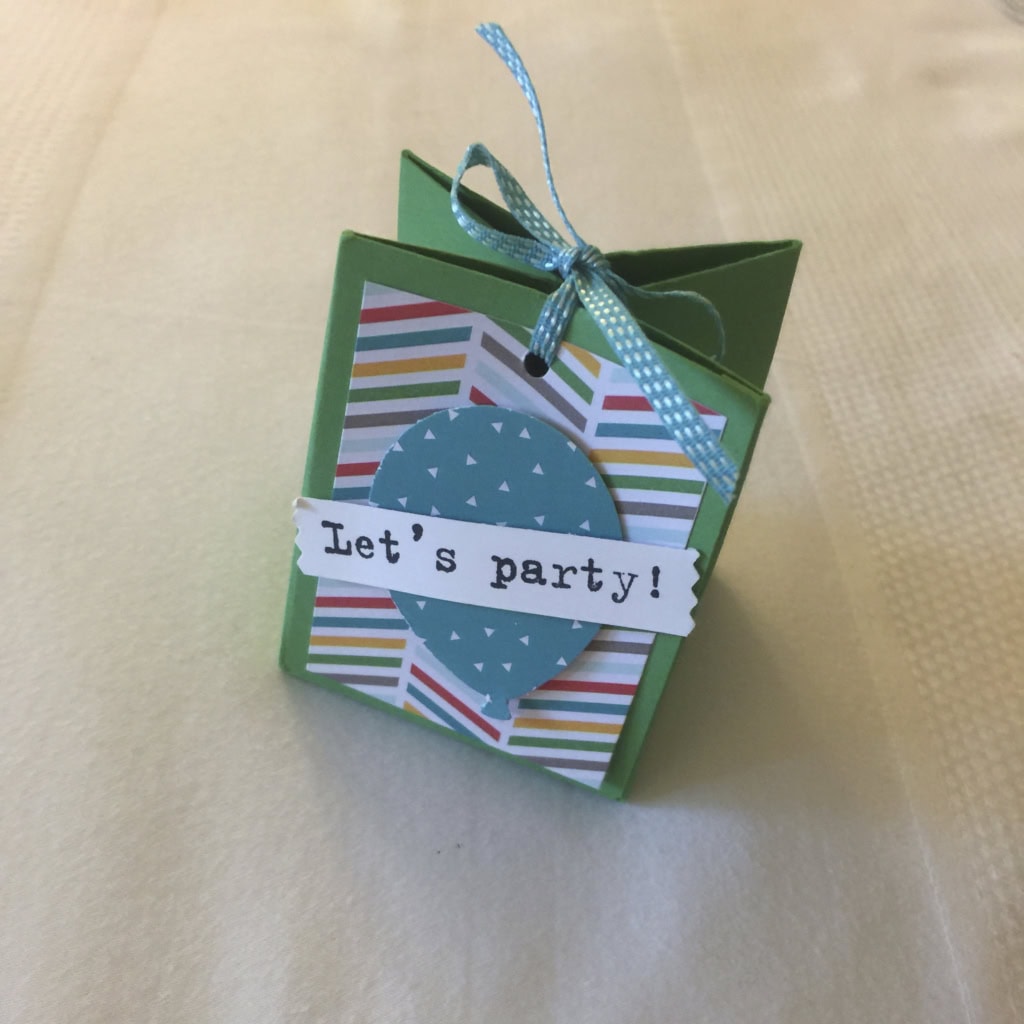
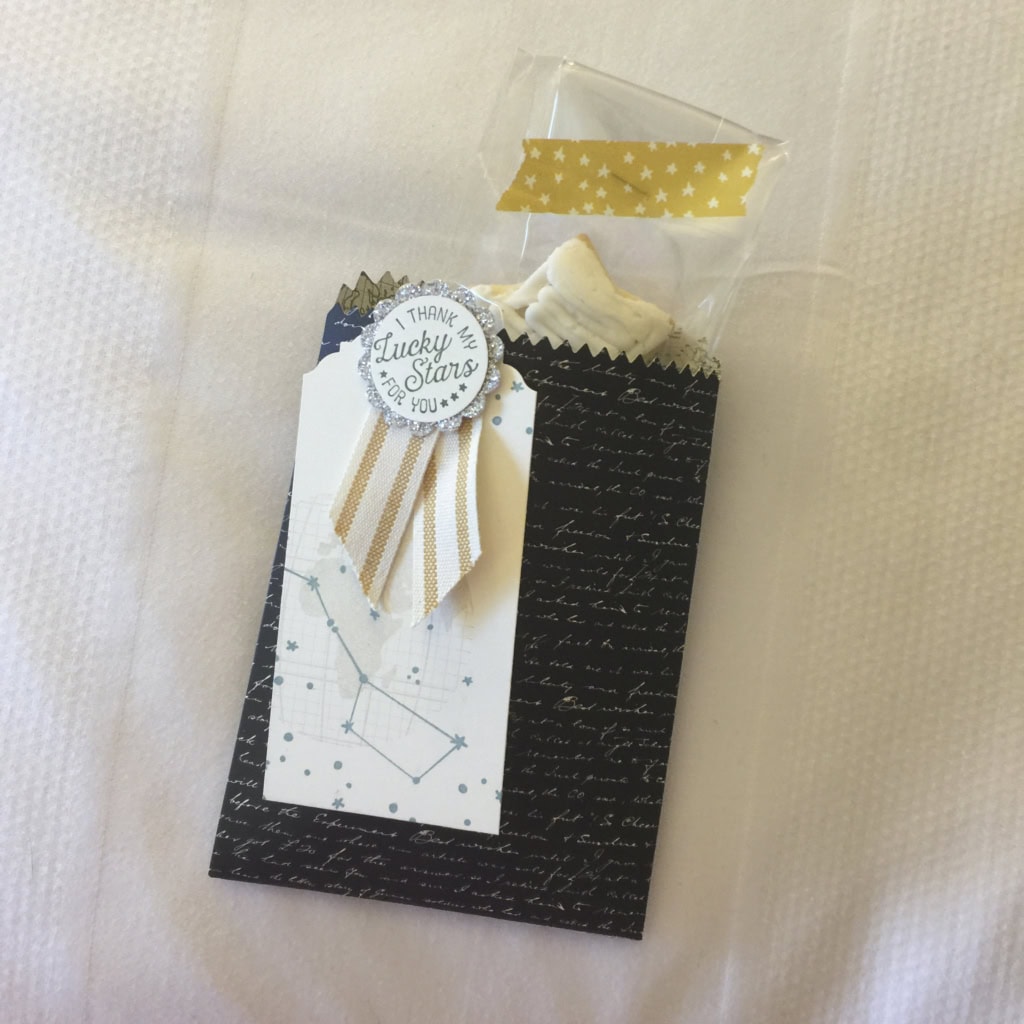
Jeanna Kay made this cute little bag and tag using the Going Places suite of products. The star-shaped cookies are the perfect accompaniment.

I wanted to be sure you saw all four sides of Elaine Laycock’s Curvy Keepsake Box, since they’re all decorated differently.


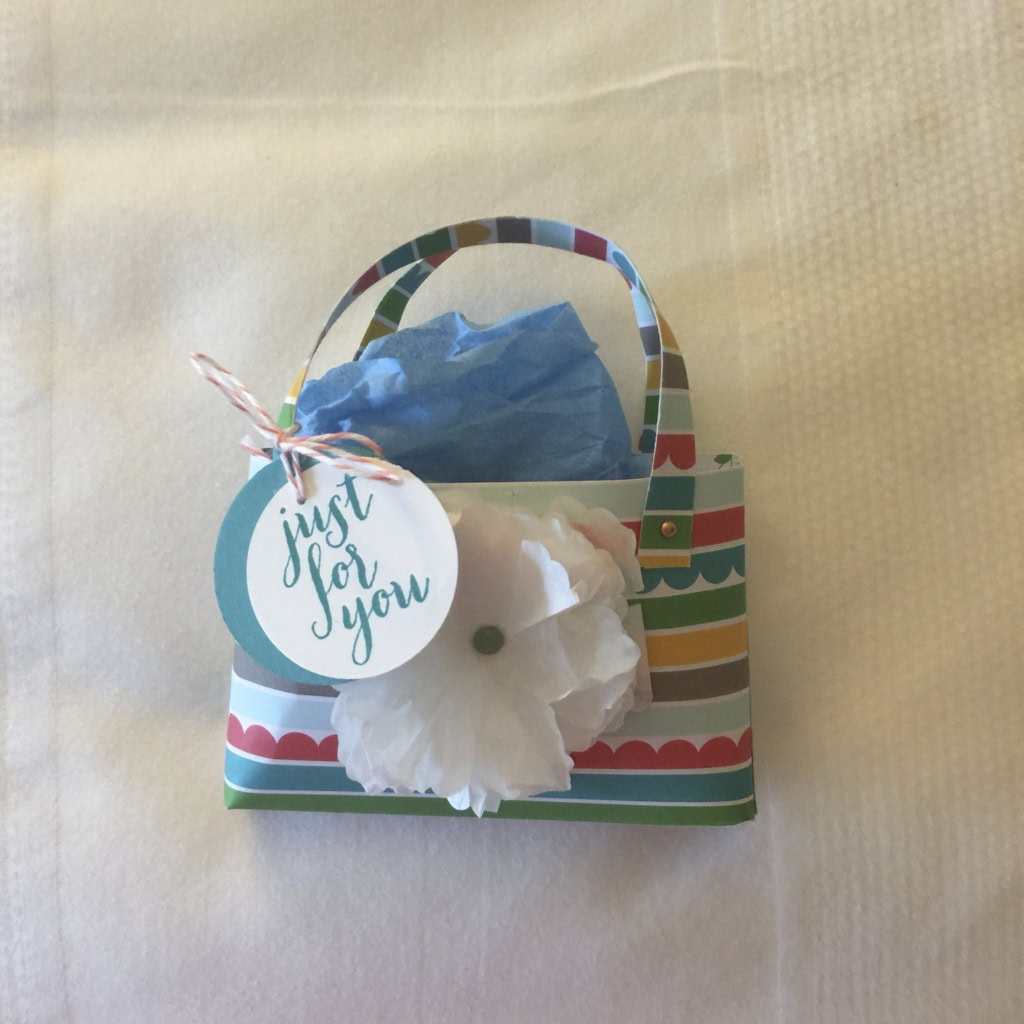
This sweet little shopping bag made by Yvonne Sutton contained earrings made with the Botanical Garden Jewels.


Check back to see more swap items I received!
Thanks for stopping by today, and Sweet Stamping!
Apr 27, 2016 | Boxes, Retiring Products, Swaps |
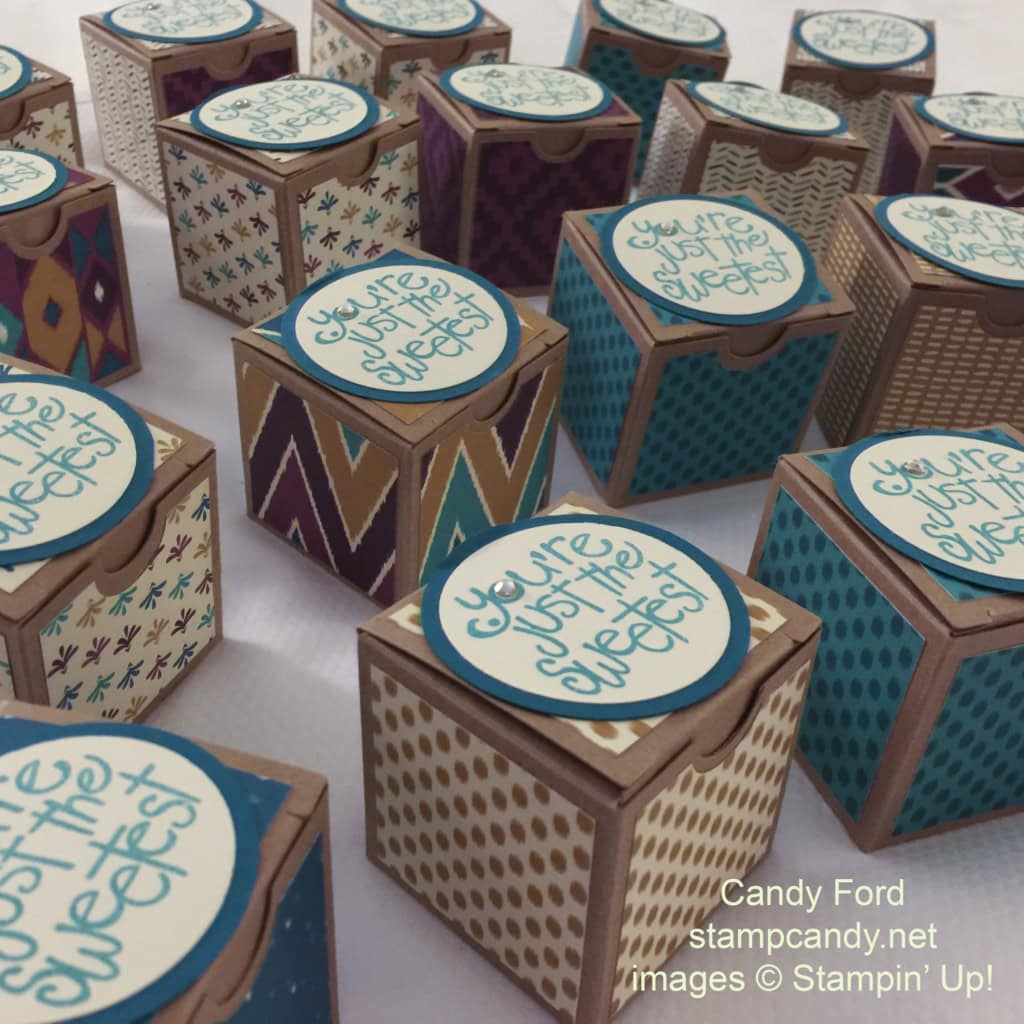
Recently I attended Stampin’ Up’s OnStage Live event in Salt Lake City. I participated in a couple of organized swaps. The first one was a Dinner & Swap organized by Monika Davis at Red Rock Brewing Co. Here’s what I made. (These photos were taken in my hotel room on the bed.)

I decorated the boxes beforehand, but I left them flat and waited until I got to SLC to assemble and fill them. I was afraid they would get damaged on the trip there if I assembled them before packing them.

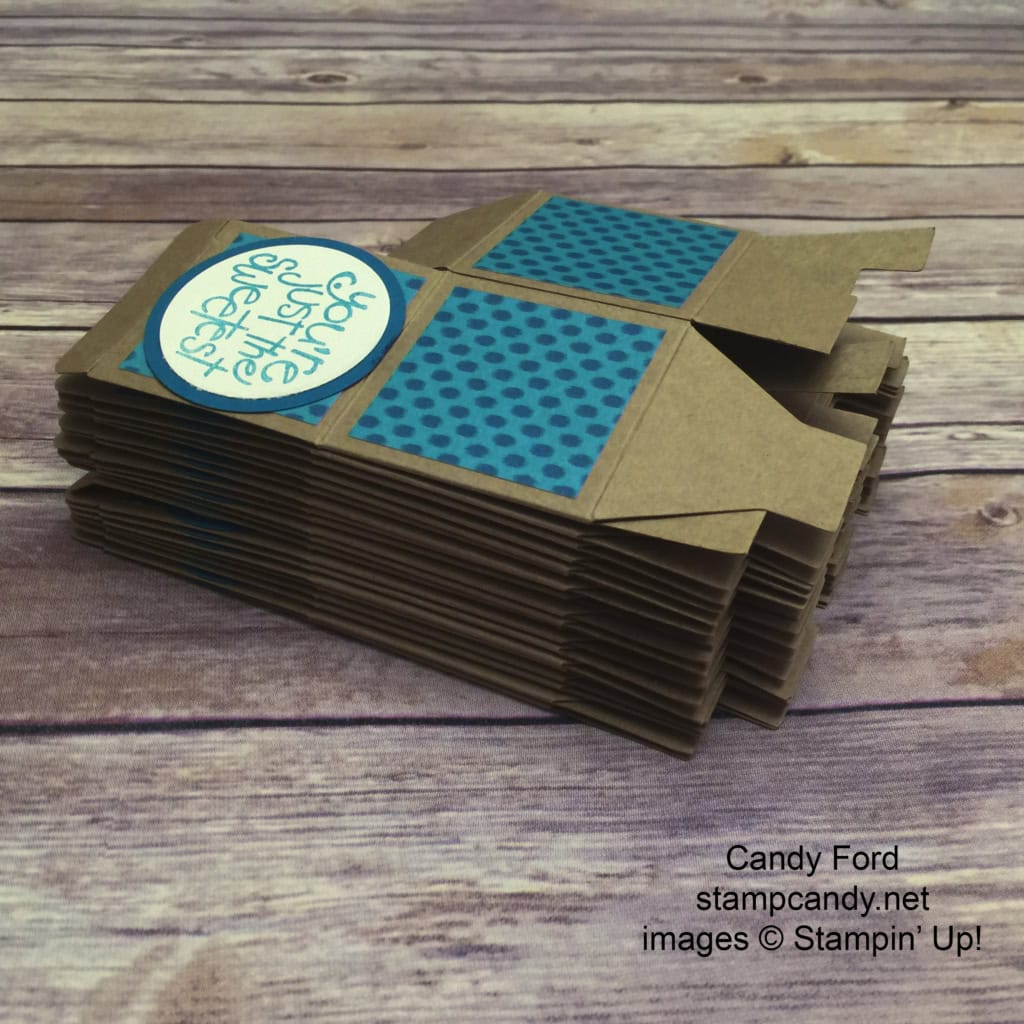
Of course, I did have to put one together so see how many candies I should put in each one, but I flattened it again for travel.

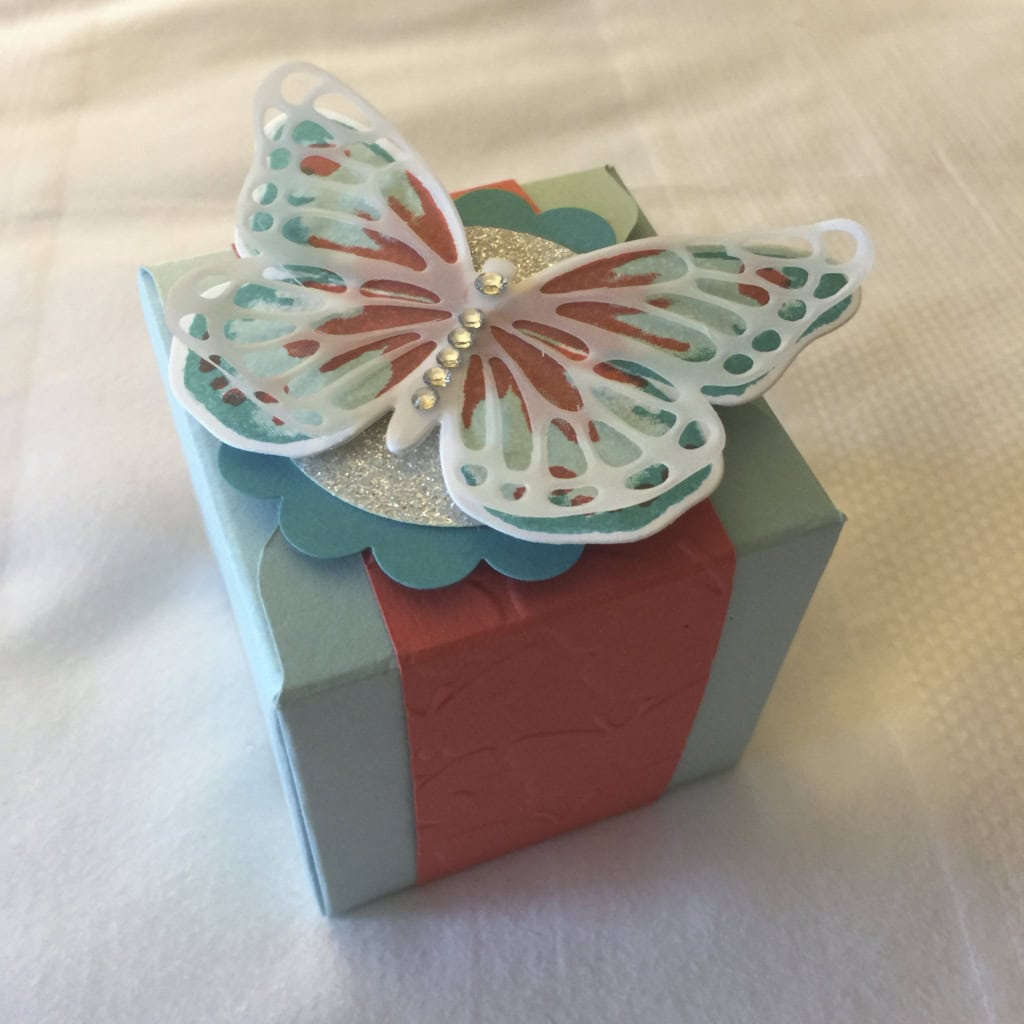
For each Tiny Treat Box, I cut six 1-3/4″ squares of Bohemian Designer Series Paper. I punched a half circle out of the top of one piece with the 3/4″ Circle Punch to accommodate the round finger notch in the front panel of the box. I glued the pieces onto the boxes.
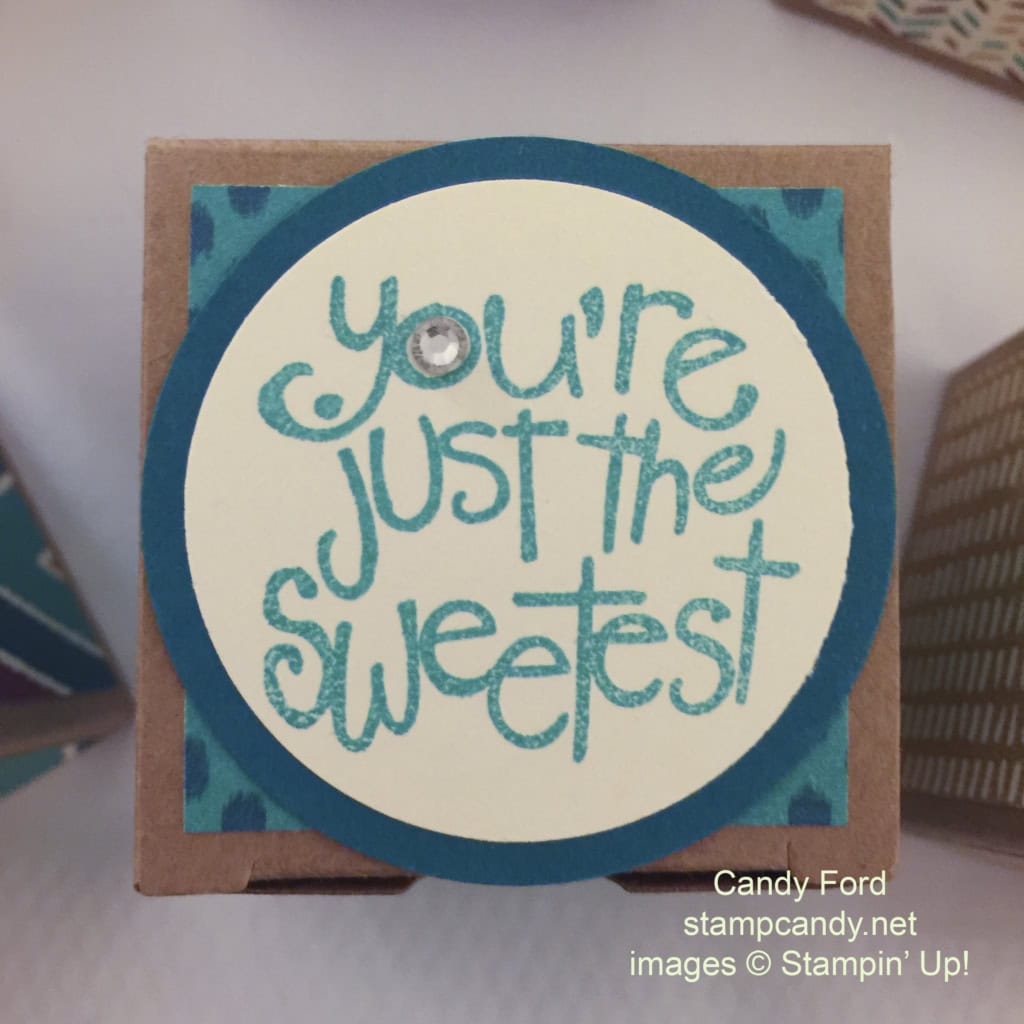
I stamped the sentiment from the Apple of My Eye stamp set in Bermuda Bay ink onto Very Vanilla card stock, then cut it with the 1-3/4″ Circle Punch. I glued that onto a piece of Island Indigo card stock I cut with the 2″ Circle Punch, then I glued the whole thing onto the top of the box. I wanted to use Stampin’ Dimensionals here, but was concerned about them getting smushed in my suitcase, so I opted for glue. Once I got to Salt Lake City, I added a Rhinestone Basic Jewel to the O in You’re.
I filled the boxes with assorted chocolates, including Dove Promises in Dark Chocolate, Dark Chocolate with Mint, and Dark Chocolate with Sea Salt Caramel, as well as assorted Hershey Nuggets.
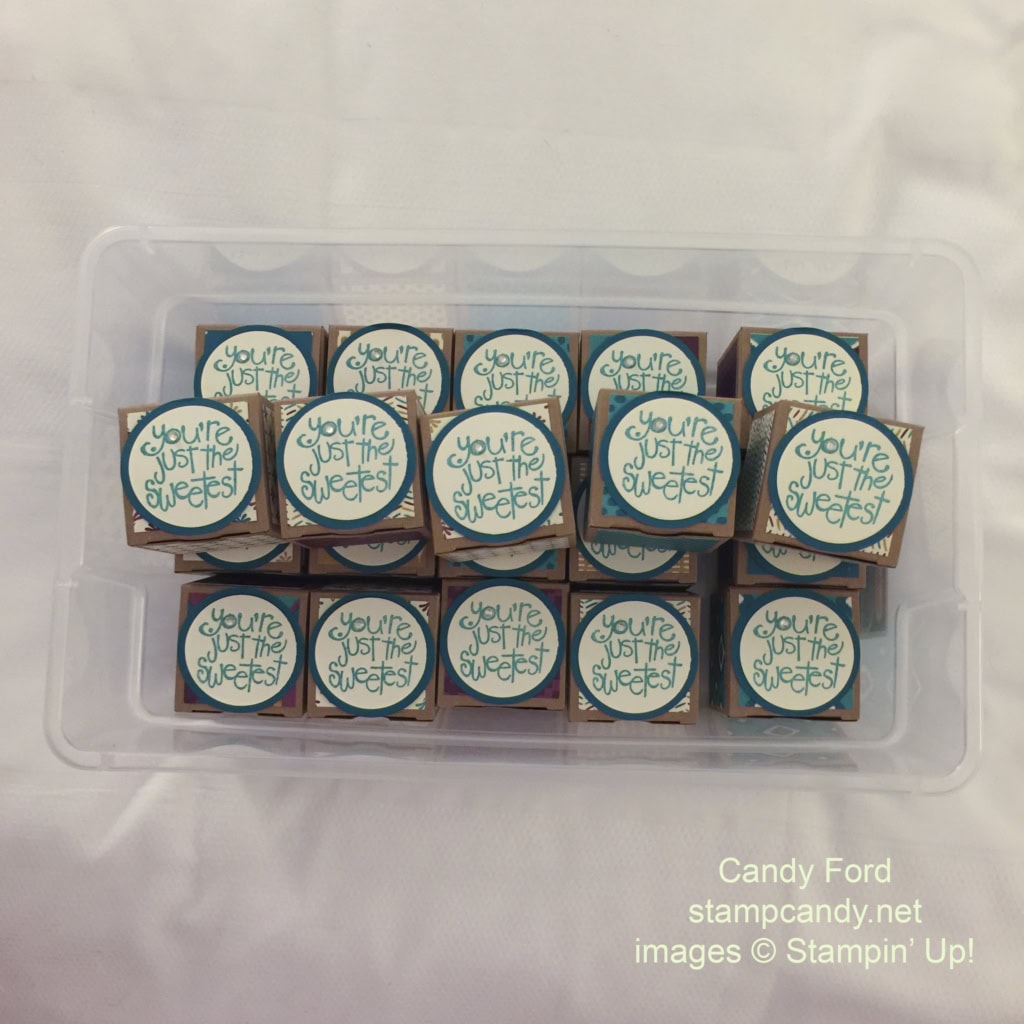
Here are my treat boxes filled and ready to take to the swap. A plastic shoe box was just the right size, and even would have held 10 more!

Check back to see the wonderful 3D items I received in this swap!
Here’s what I used:
Several of the products I used on these boxes will retire soon. Be sure to check out the retiring products in my online store A.S.A.P. Most are available only while supplies last, so hurry and get what you want before they’re gone!
Thanks for stopping by today, and Sweet Stamping!
Apr 13, 2016 | Bags, Boxes, Classes, Occasions |
Today I’m sharing the third project we made in the Birthday Bouquet class. You can see the first two here and here.
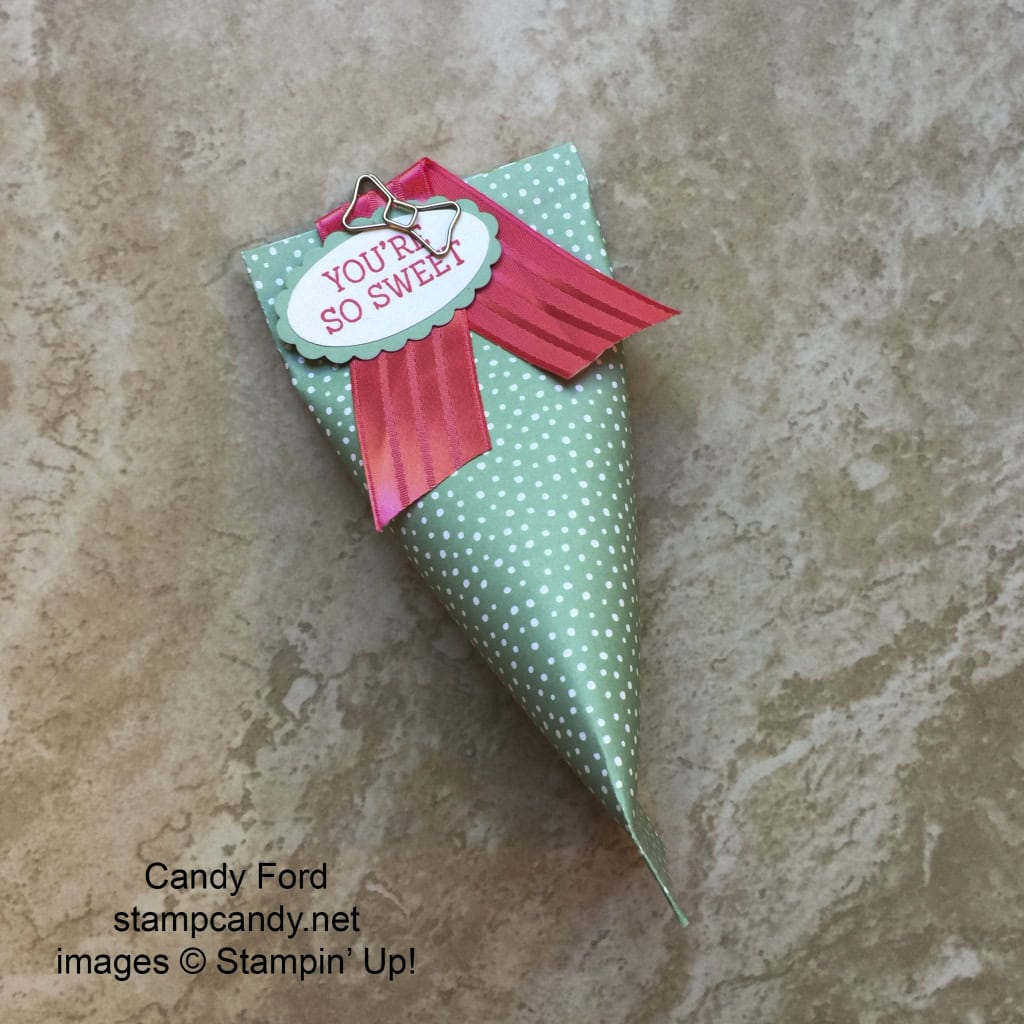
These sour cream containers are adorable, and they’re super quick and easy to make. We started with a 6″ x 6″ piece of Birthday Bouquet Designer Series Paper. We put adhesive along the top and bottom edges and along one side edge, then rolled it to make a tube, adhering the sides – I prefer Fast Fuse for this because it’s very strong. We pinched the bottom closed so it was flat.
At this point we put our goodies inside the container, careful not to get them stuck on the adhesive around the inside top edge. Then we pinched the top closed so it was flat and perpendicular to the bottom.
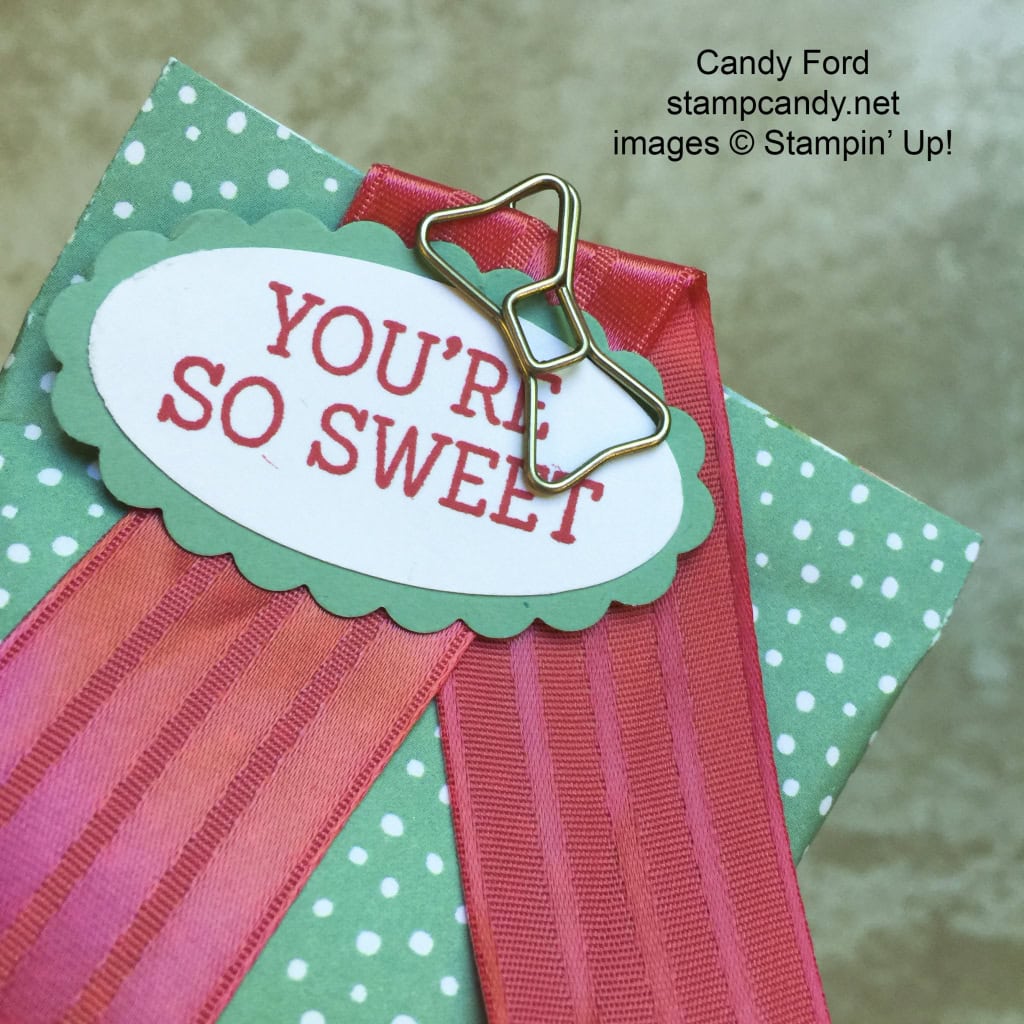
For the tag, we stamped the sentiment from the Honeycomb Happiness stamp set in Watermelon Wonder onto Whisper White card stock, then cut it with the Large Oval Punch. We cut a piece of Mint Macaron card stock with the Scallop Oval Punch, then glued the two pieces together.
We attached the tag and a piece of Watermelon Wonder 1″ Stitched Satin Ribbon with a Bow Paper Clip Embellishment.
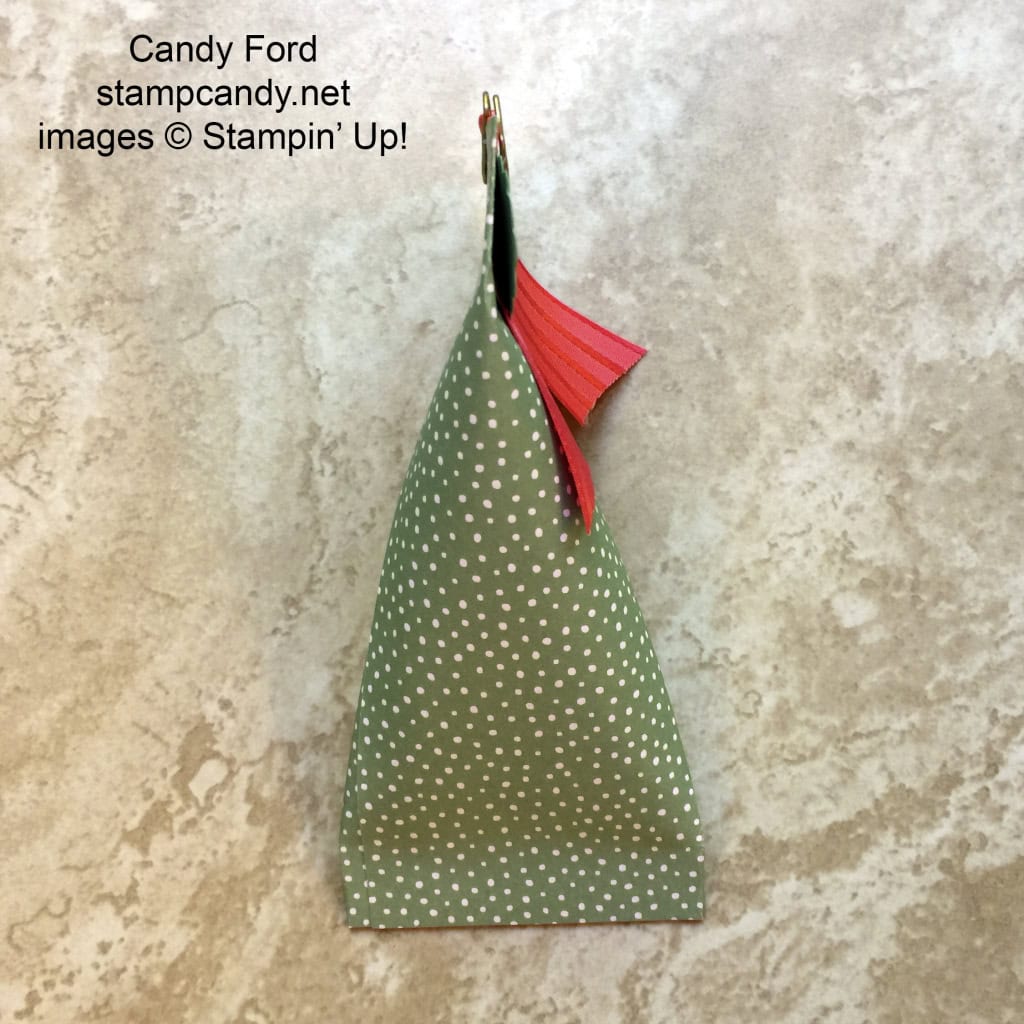
Here’s a side view.
Here’s what we used:
Thanks for stopping by today, and Sweet Stamping!
Apr 7, 2016 | Bags, Boxes, Classes, Occasions |
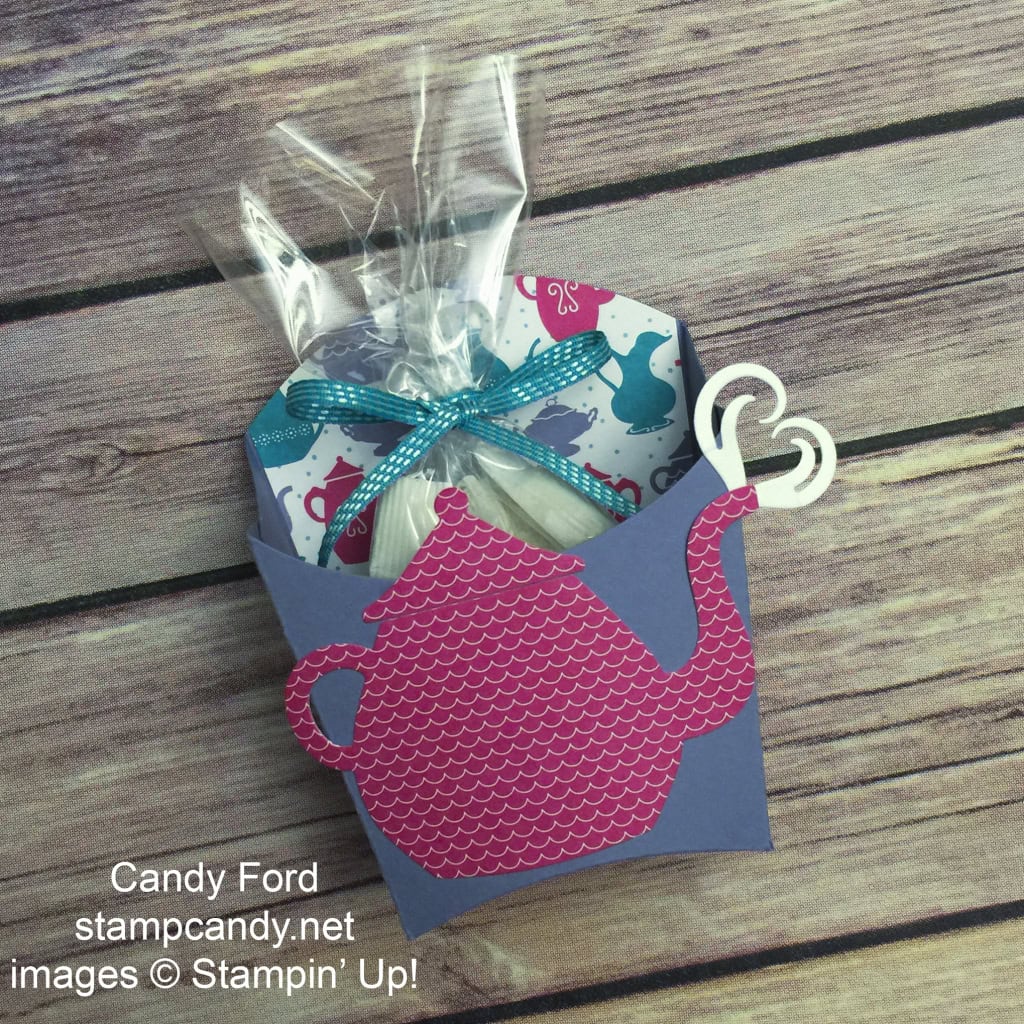
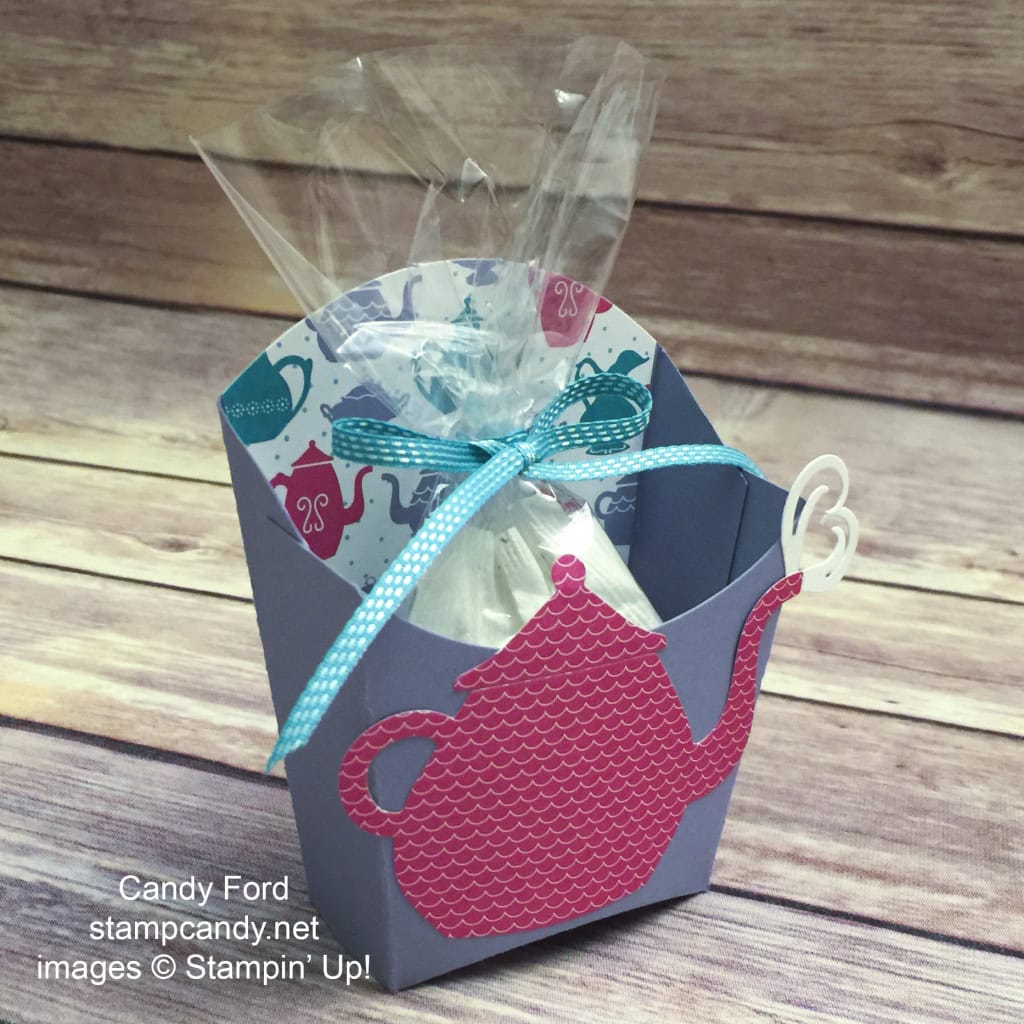
Today I’m sharing the fourth and final project from my A Nice Cuppa Bundle Class. It’s a Fry Box holding a treat of herbal tea bags.
I cut the box from Wisteria Wonder card stock with the Fry Box Bigz L Die, then assembled it with Multipurpose Liquid Glue.
I cut a piece of Have a Cuppa Designer Series Paper with the same die, trimmed it, and glued it into the box.
I cut the teapot from another piece of Have a Cuppa DSP, and the heart from Whisper White card stock, using the Cups & Kettle Framelits Dies. I glued the pieces onto the front of the box.
I put some herbal tea bags in a 4×6 Cellophane Bag and tied it with a piece of Bermuda Bay 1/8″ Stitched Ribbon.
Here’s what I used:
Thanks for stopping by today, and Sweet Stamping!
Mar 19, 2016 | Bags, Boxes, Cards, Challenges, Occasions, Sale-A-Bration |

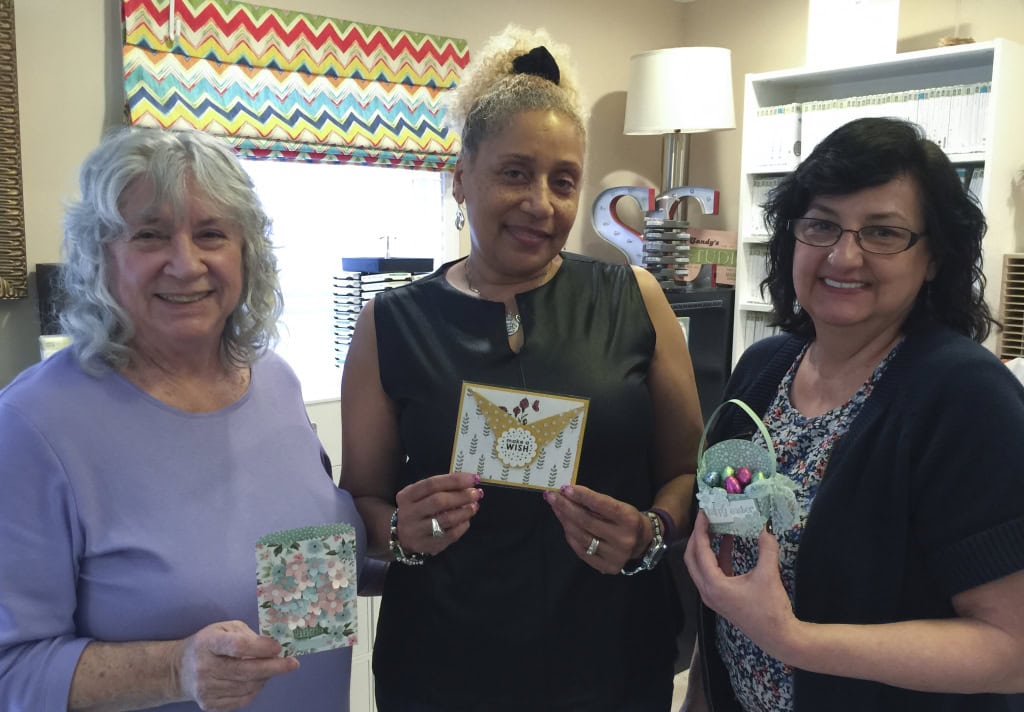
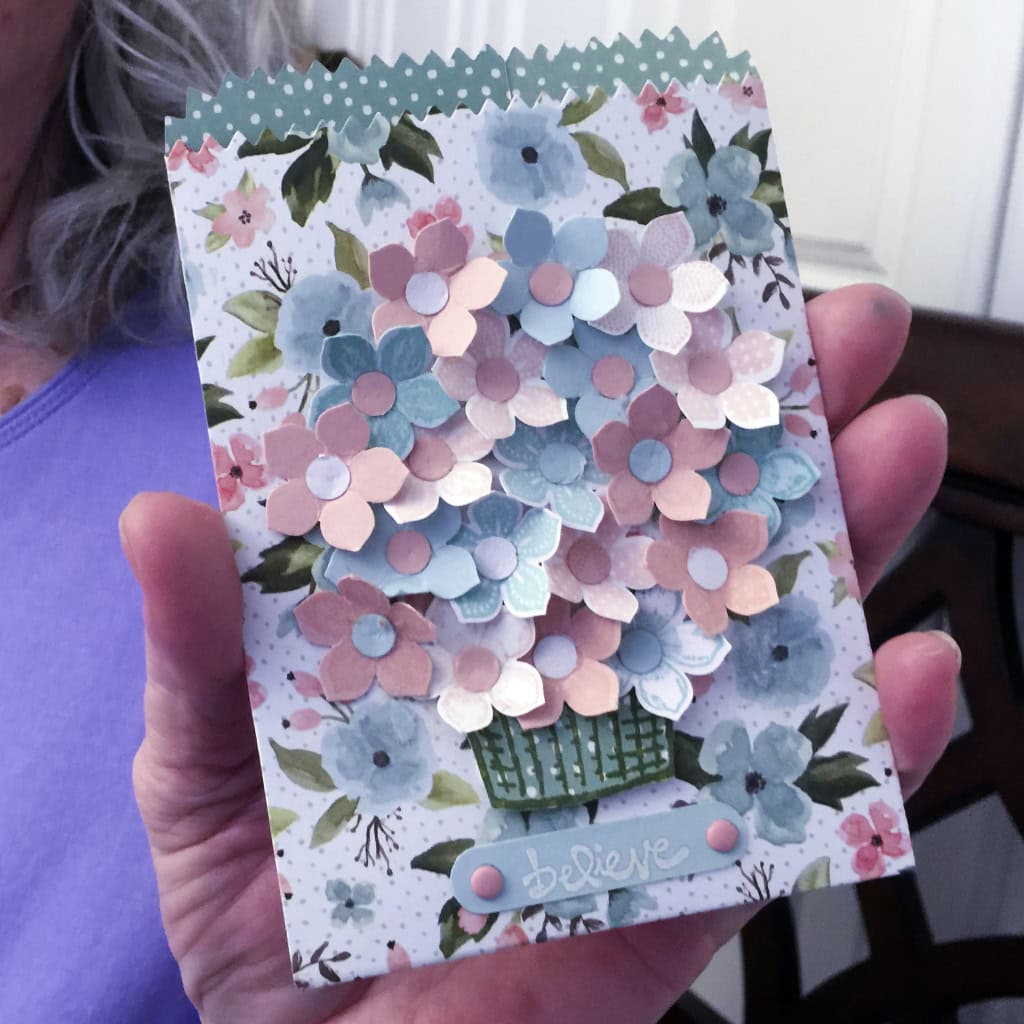
Yesterday I told you about our March Candy Hearts team meeting. You can see that post here. Today I’m sharing the Creative Challenge entries with you. March’s challenge was to create something with FLOWERS.
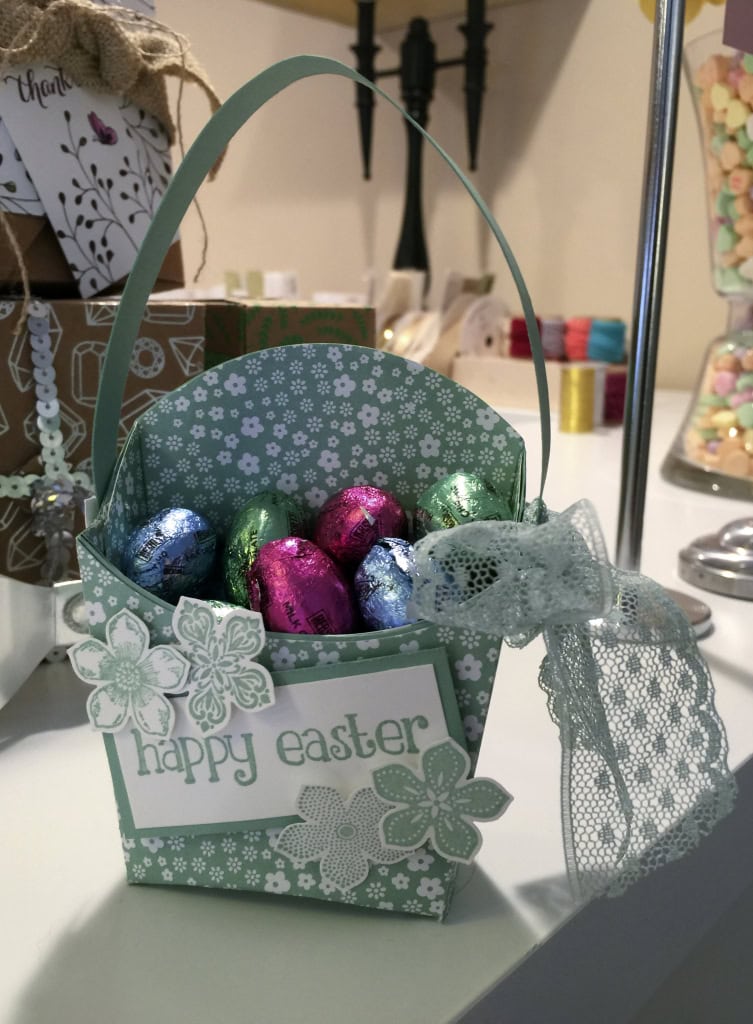
Debbie created an Easter Basket by attaching a long handle to a Fry Box that she covered with Designer Series Paper.The flowers are from Petite Petals.

Judy used the Mini Treat Bag Framelits Dies to cut Birthday Bouquet DSP. She covered the bag in Petite Petals flowers and a basket from the Sprinkles of Life stamp set. Her entry won her the Flower Patch stamp set.
Tamara made a card with coordinating Sale-a-bration items: Wildflower Fields DSP and Flowering Fields stamp set.
I have such a talented team! Wouldn’t you like to come play with us? Just buy the Starter Kit! Until March 31 it’s just $99 and you get to choose $155 in product plus you get free shipping! After that you get at least a 20% discount on all your orders. Click here for more information and to join now!
Thanks for stopping by today, and Sweet Stamping!