Feb 24, 2016 | Bags, Cards, Challenges, Deals, Events, Parties, Sale-A-Bration, Sales, Swaps |
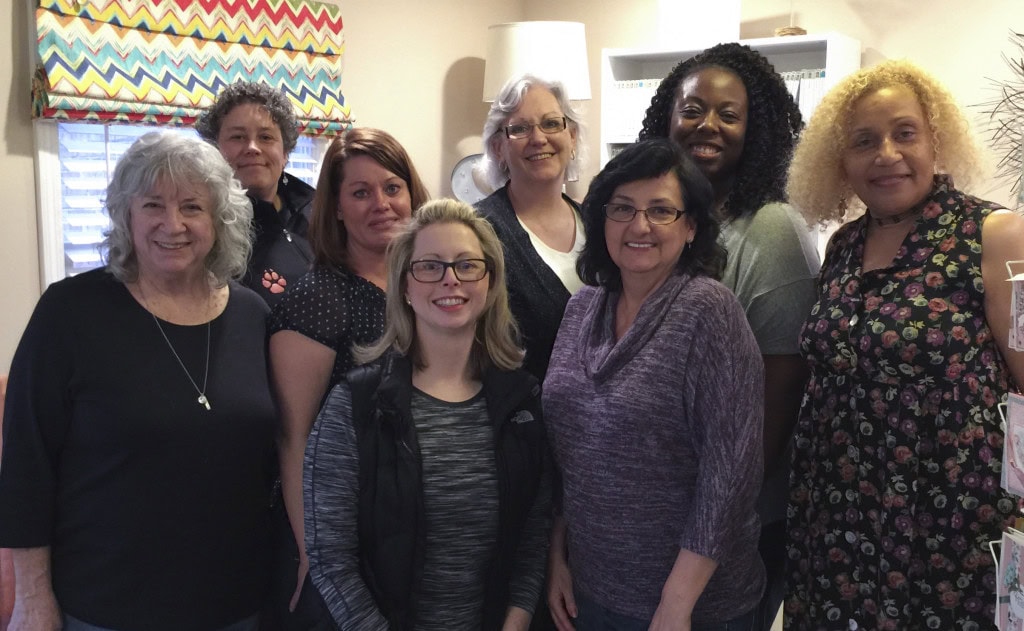
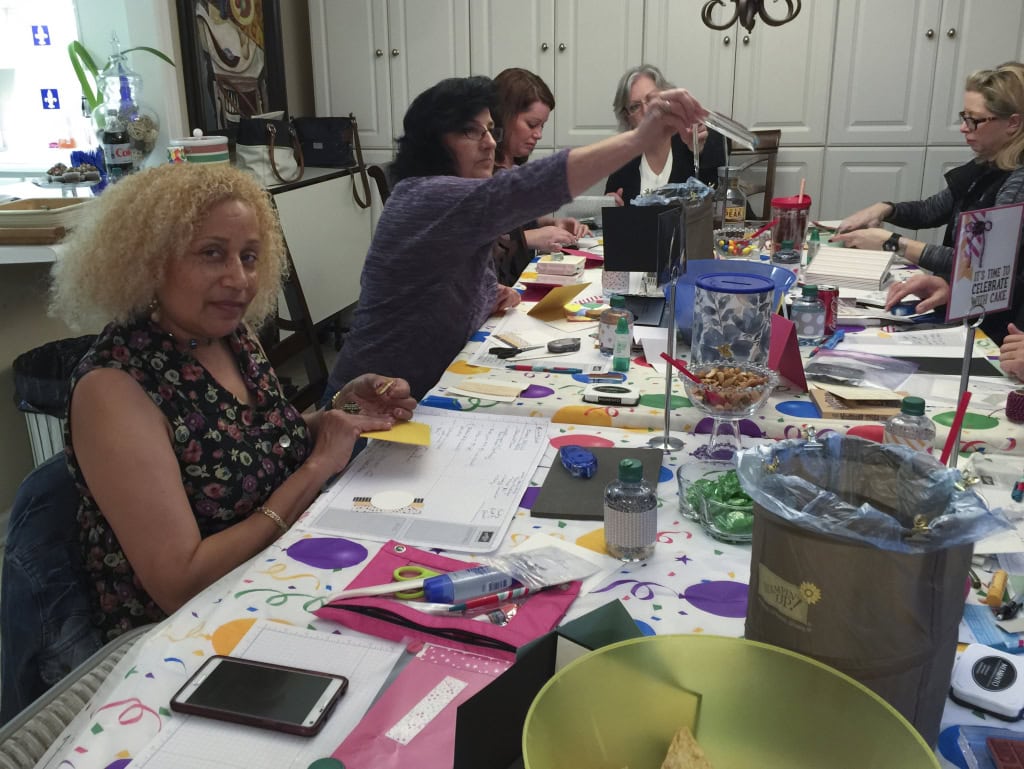
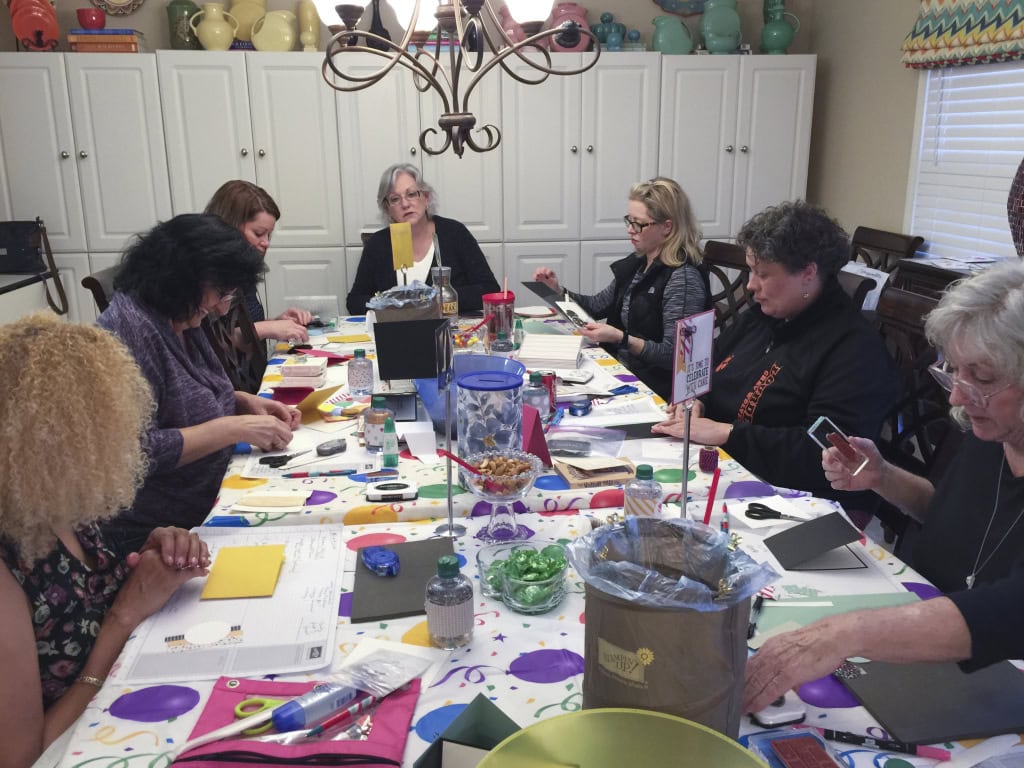
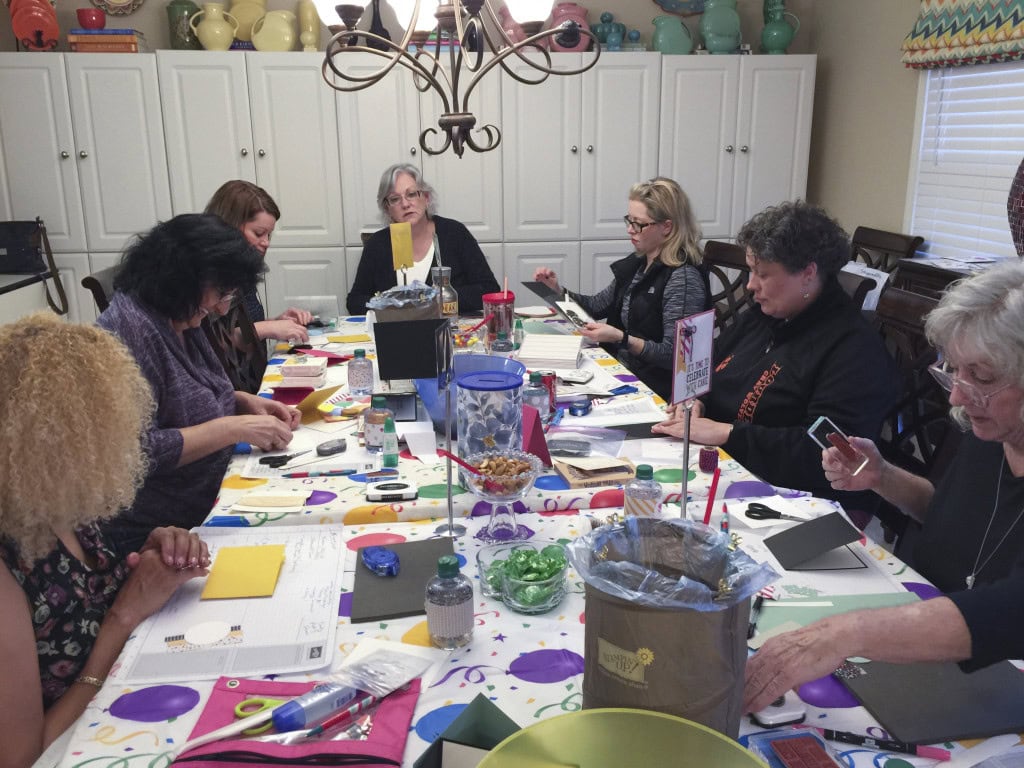
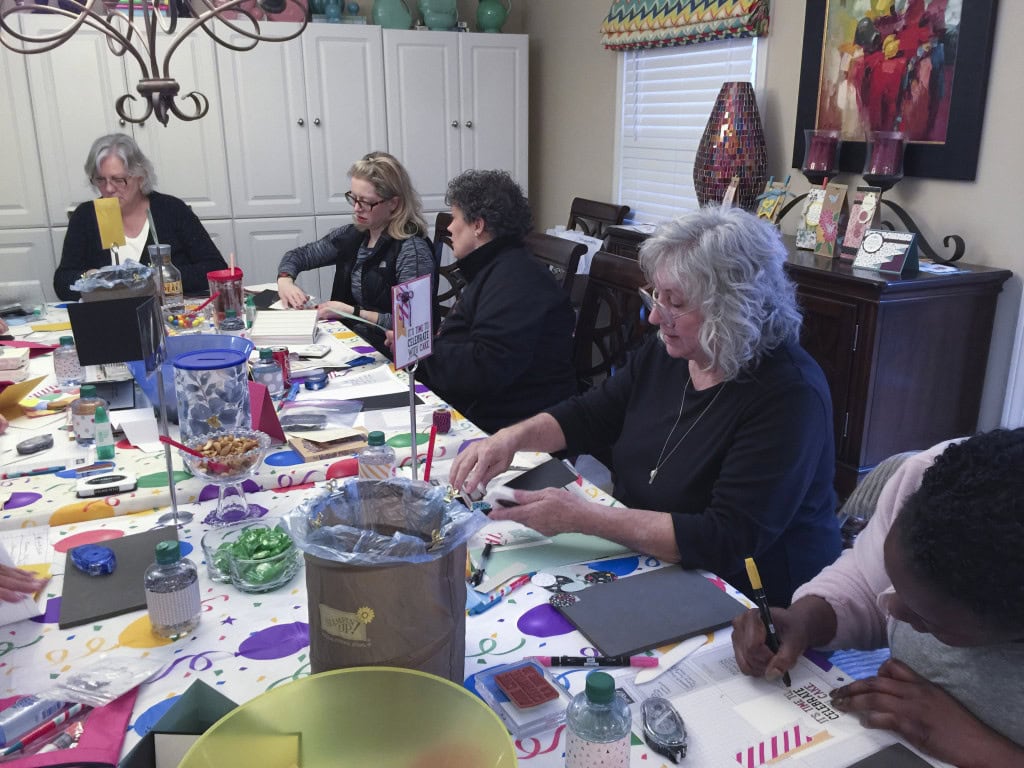
l-r: Judy Newsome, Sam Wills, Kim Laidley, Missy Wiedeman, Linda Krueger, Debbie Catlett, Donica Williams, Tamara Burton
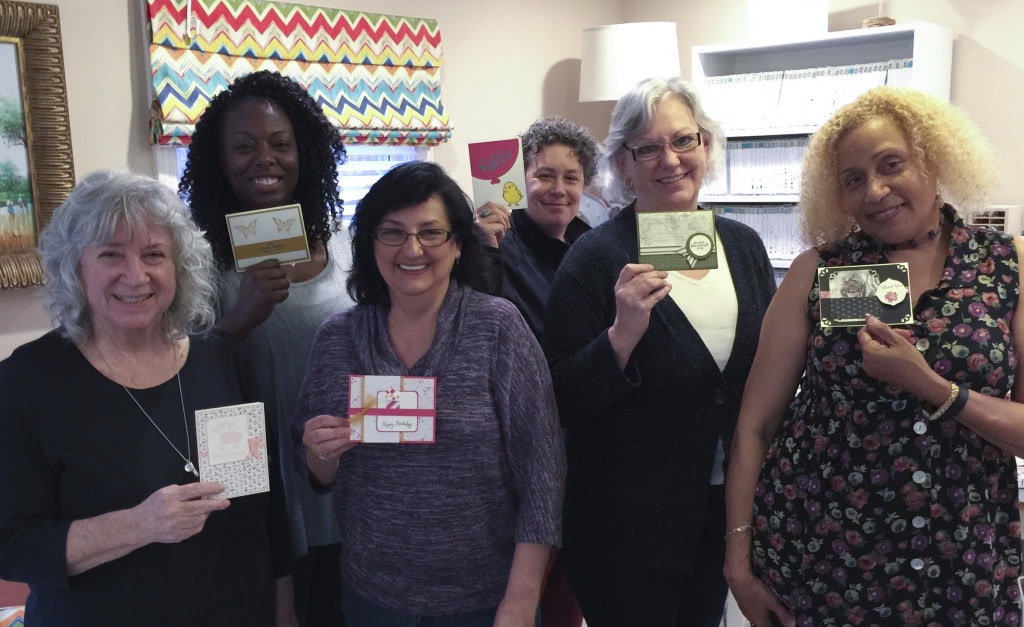
l-r: Judy Newsome, Donica Williams, Debbie Catlett, Sam Wills, Linda Krueger, and Tamara Burton participated in the February Card Swap. What a talented group of stampers!
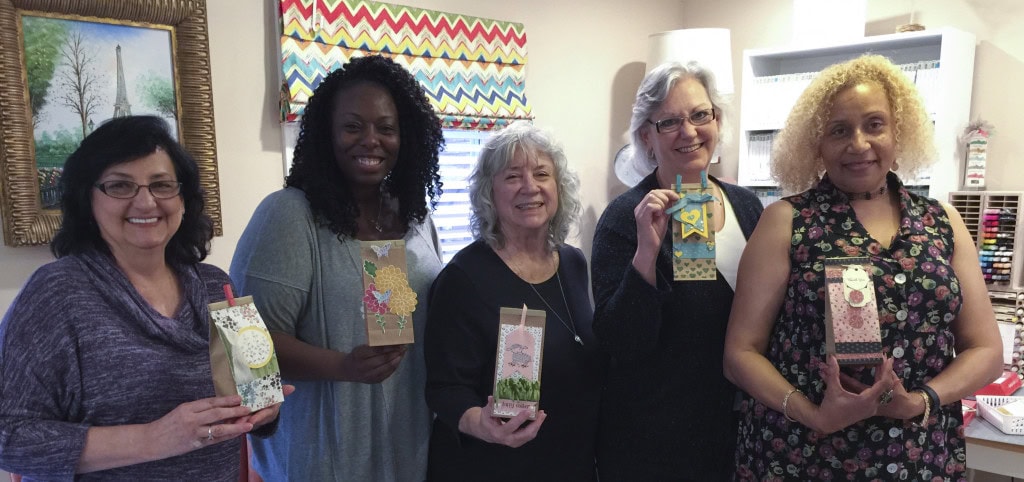
l-r: Debbie, Donica, Judy, Linda, and Tamara completed this month’s Creative Challenge – decorating a Petite Cafe Bag. They all did a great job. Everyone present voted on their favorite, and the winner received a package of Petite Cafe Bags! Congratulations, Judy!
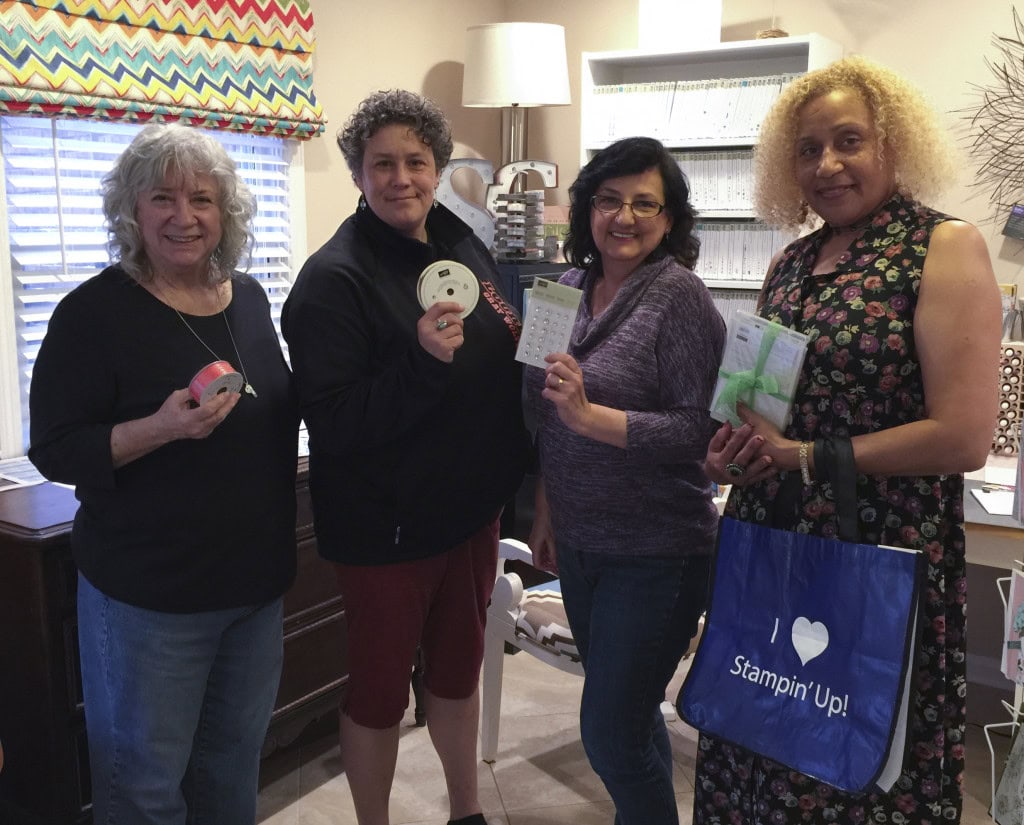
Prize drawing tickets were awarded according to performance and participation. These are the lucky prize winners at the February meeting, l-r: Judy won a roll of Watermelon Wonder 1″ Stitched Satin Ribbon; Sam won a roll of 1-1/4″ Burlap ribbon; Debbie won a pack of Iced Rhinestones; Tamara won a tote bag AND the big prize this month, the Bloomin’ Love Bundle! Congratulations, Ladies!
Here are a few action shots I got while everyone was working on this month’s Make & Takes – 4 birthday cards. Check back for more details on all the projects.


Would you like to join in the fun? Buy the Starter Kit! Now through March 31, you get $155 in product of your choice for only $99 AND Free shipping! That’s a savings of 42%! It’s by far the best deal Stampin’ Up! offers.
- No risk – no obligation.
- Get a 20+% discount on all future orders.
- You never have to sell a thing.
- Join a fun community of stampers.
- If you join now, you have until the end of July to purchase/sell $300 and renew for the next quarter. If you don’t reach the $300, you simply drop. No fee, no penalty of any kind.
- This is the best way to stock up on all the great products on your wish list.
- Click on “Be a Candy Heart” on the menu above for more information or to buy the Starter Kit.
- I’m always more than happy to answer any questions you might have: candy@stampcandy.net or 404-661-5222
- Through March 31, you receive an extra $30 in free product when you buy the Starter Kit. Beginning April 1, you will receive $125 in product for $99 and free shipping. Still a great deal, but why miss out on the extra $30?
Check out the new Weekly Deals! Save 25% on these items through Monday, February 29!
Thanks for stopping by today, and Sweet Stamping!

Feb 21, 2016 | Cards, Challenges, CYCI, Occasions |
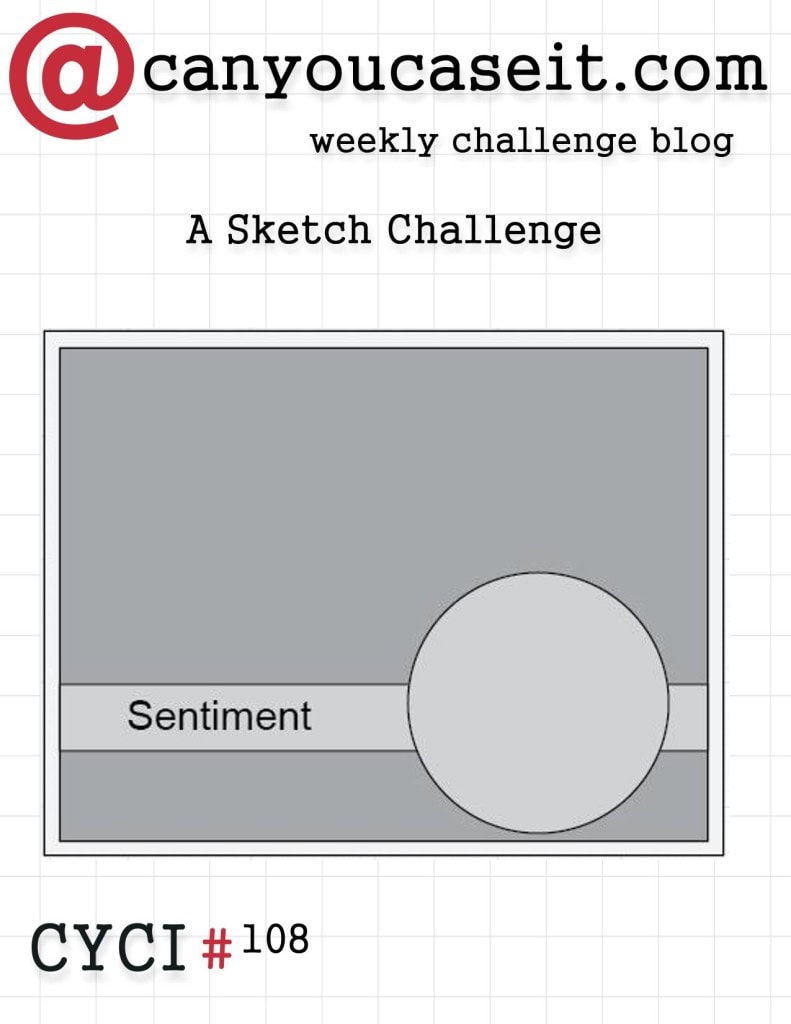
I try to stay organized and ahead of the game, but sometimes (okay, most times) I lose track. I had to have this post ready by Friday night so the organizer of canyoucaseit.com, Eva Bussom, could get everything set up for the challenge post. Pretty late Friday evening I realized I hadn’t made a card for this week’s challenge. First I panicked, as one does. Then I thought to look through the cards I’ve made but haven’t gotten around to posting yet. Voila! This card that I made at the Rising Star Retreat in Utah fit the sketch to a tee. Problem solved. Well, except for actually getting the post done. Which, obviously, I did, if you’re reading this.
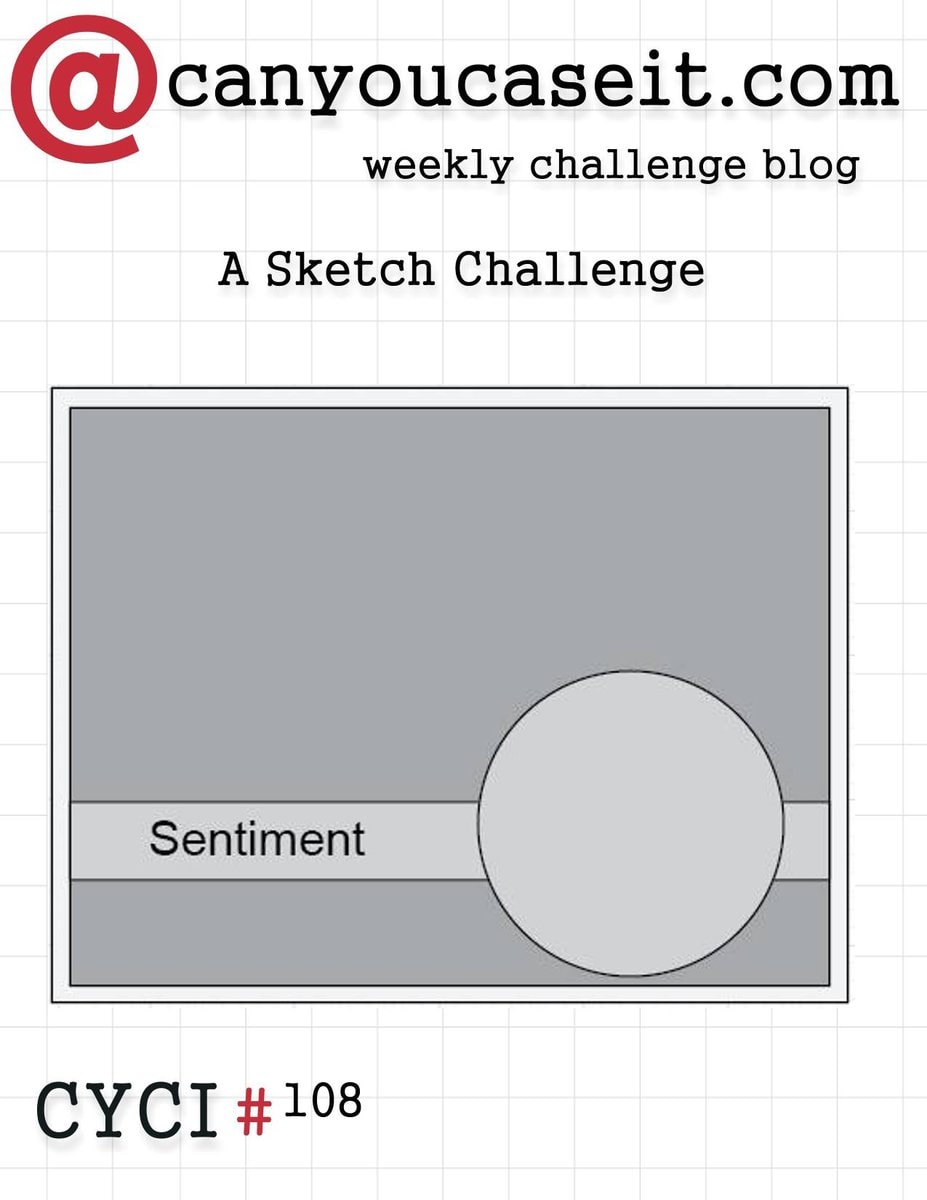
Here is this week’s sketch challenge…
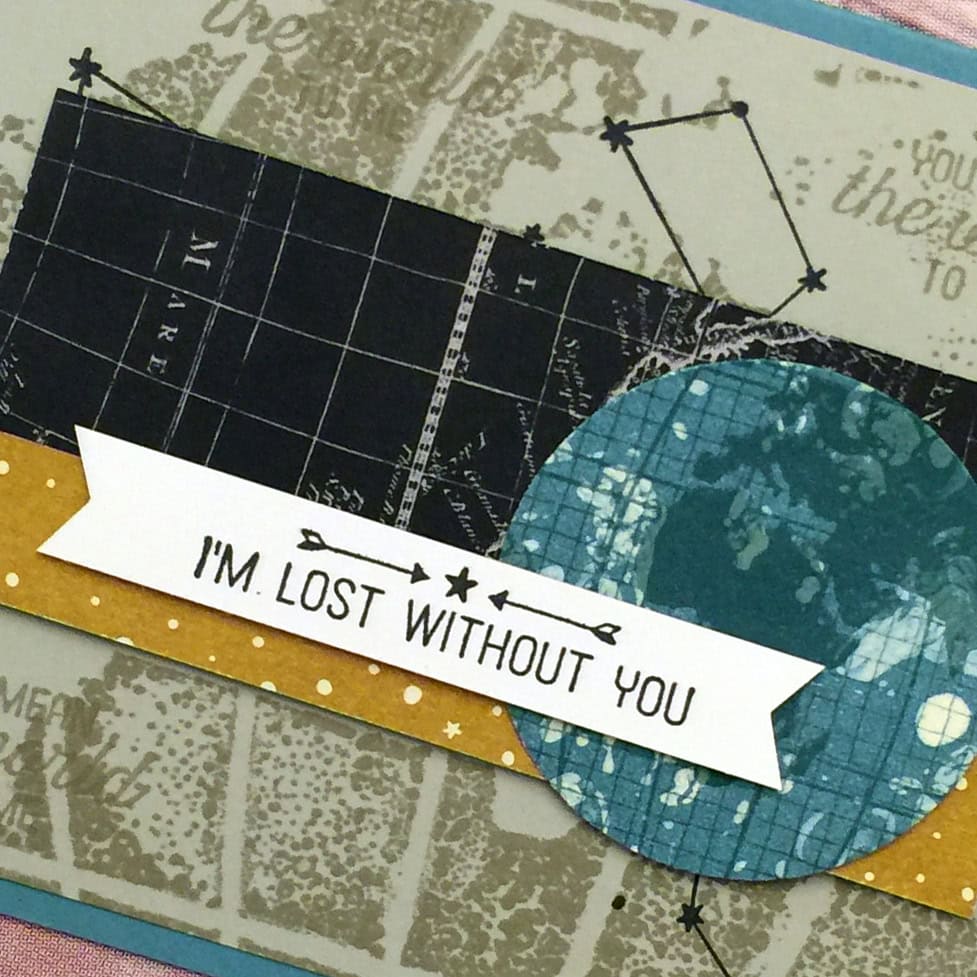
…and here’s my card.
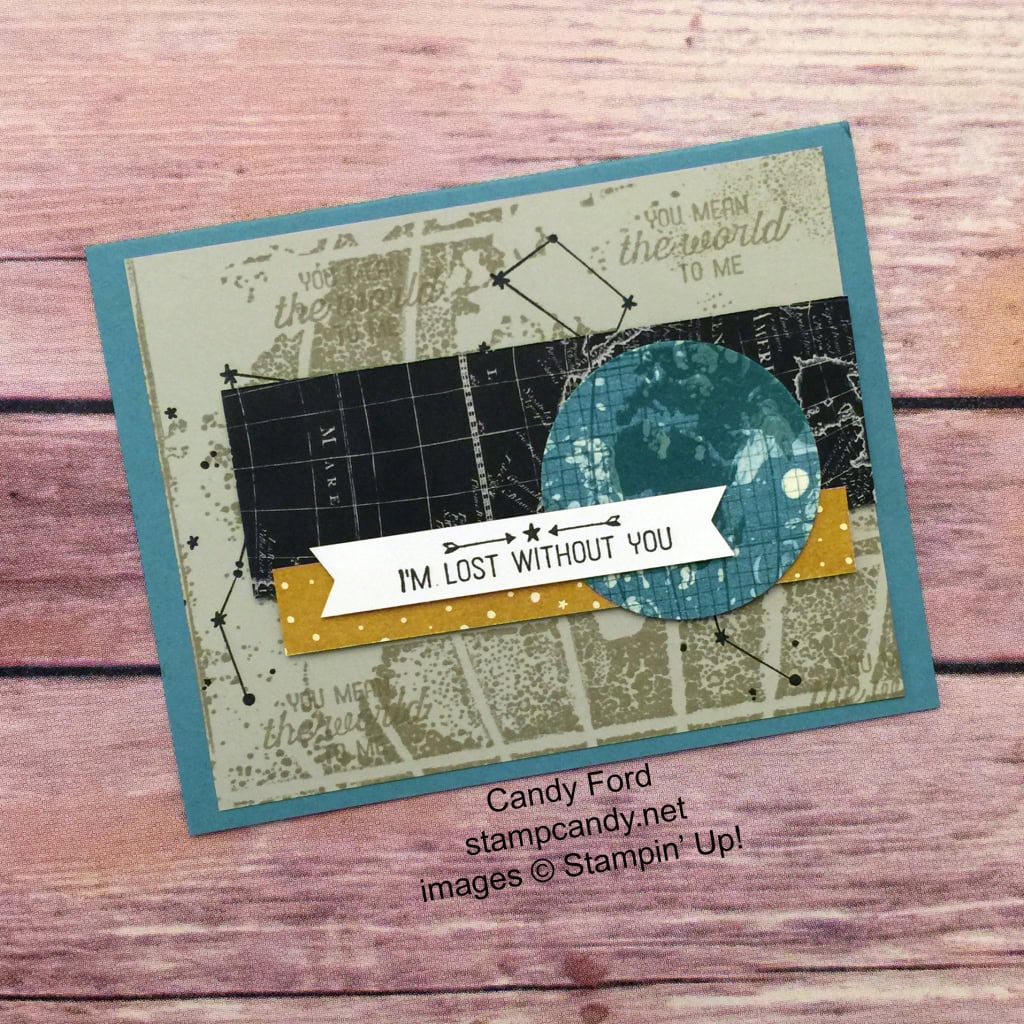
This card showcases the Going Places suite of products in the 2016 Occasions catalog.
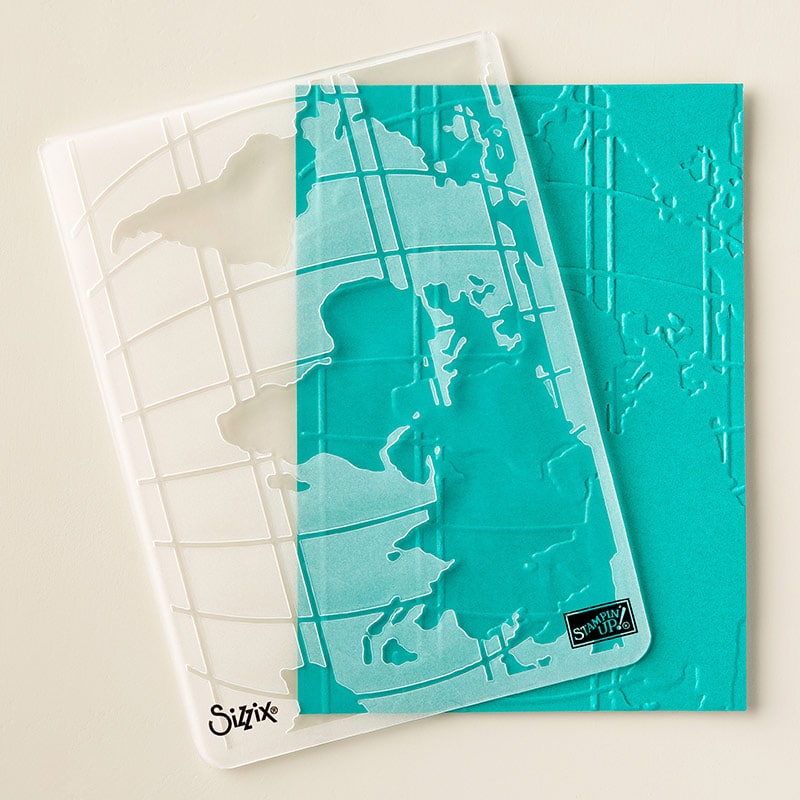
The card base is Lost Lagoon card stock. The next layer is Sahara Sand CS that I stamped by inking up the World Traveler embossing folder with Sahara Sand ink, putting the CS inside, and rubbing it with my hand. It isn’t embossed, only stamped. The hand rubbing is what gives it the worn look, since I didn’t use enough pressure to transfer the ink in some places.
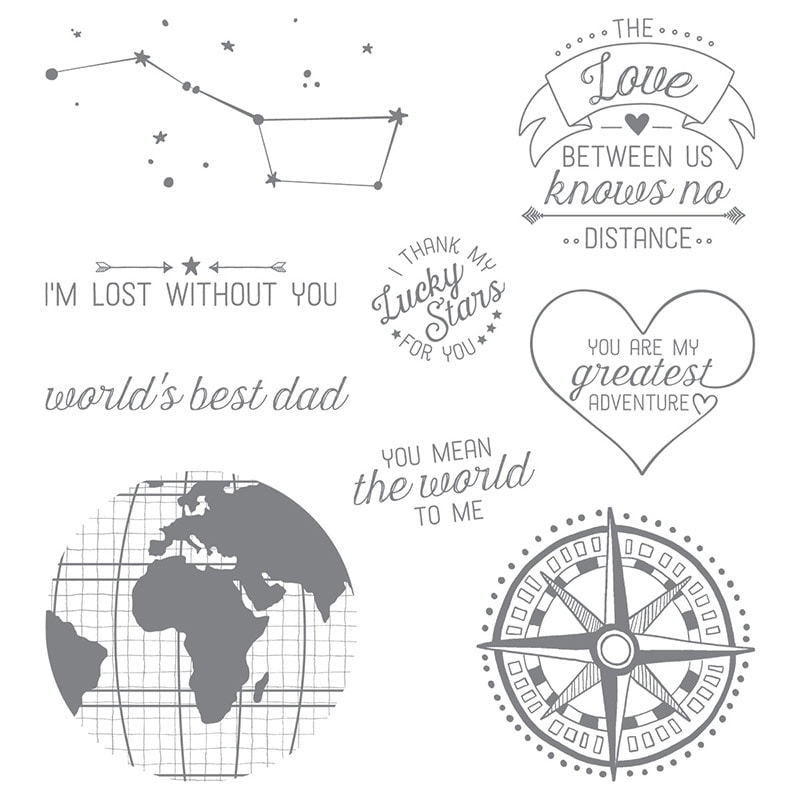
I also stamped this layer with the constellation stamp from the Going Global stamp set in Archival Basic Black ink, and with the You Mean the World to Me stamp in Sahara Sand ink.
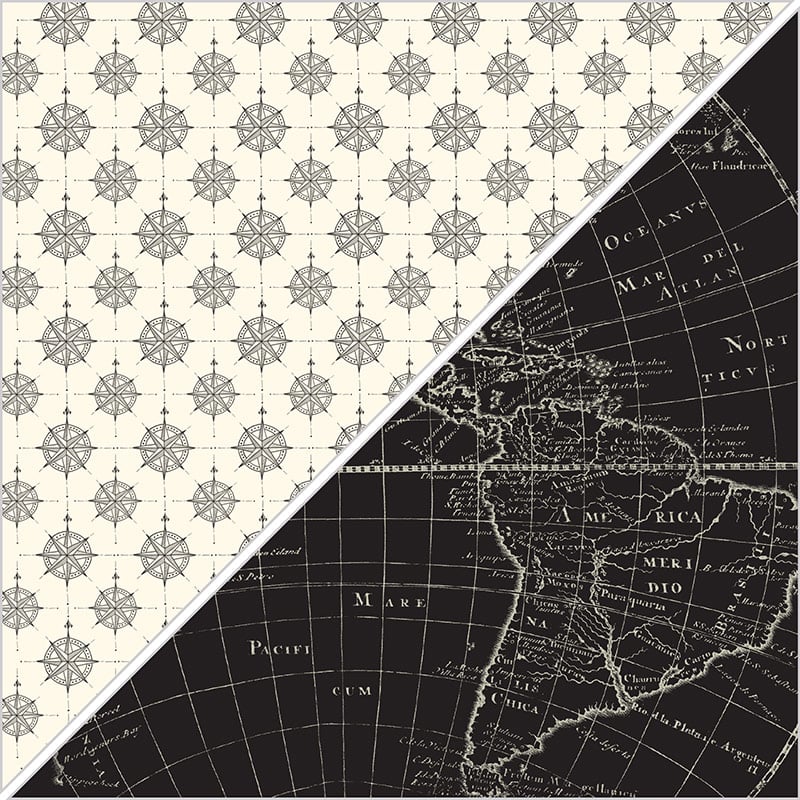
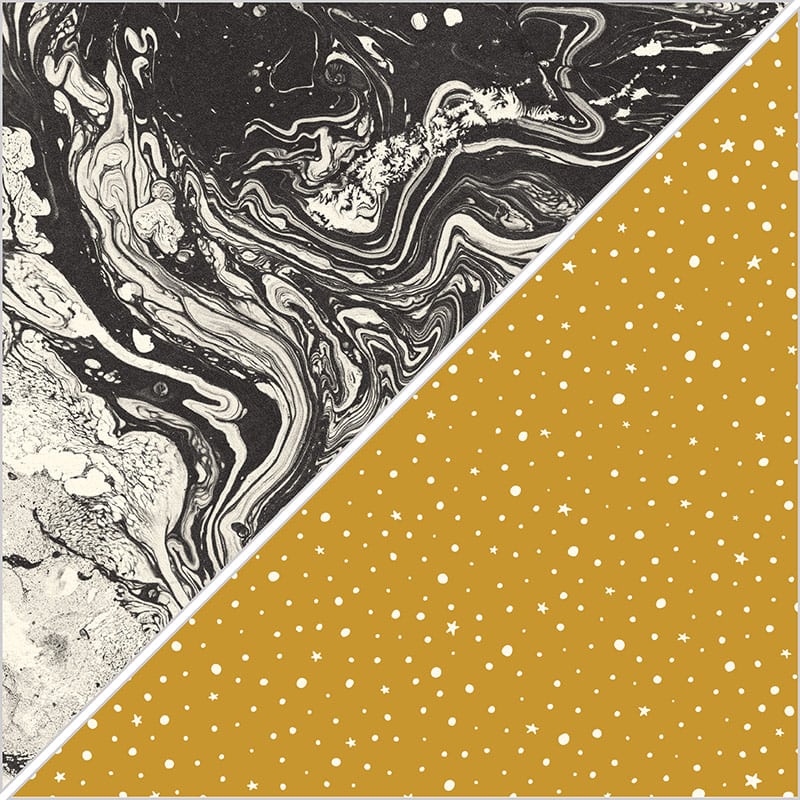
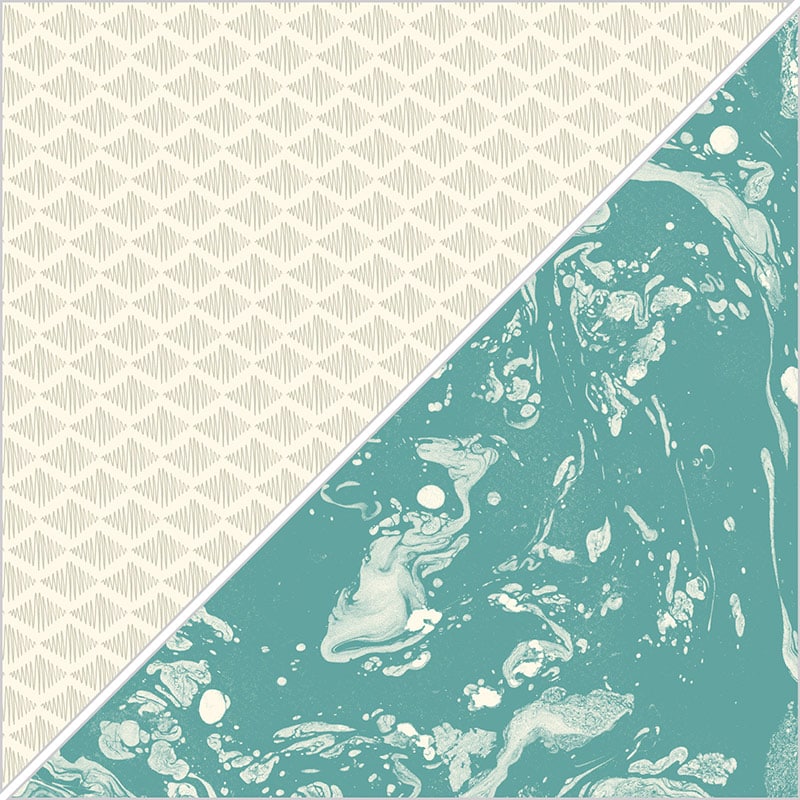
The three pieces of Designer Series Paper are from the Going Places DSP stack. I stamped the globe in Lost Lagoon ink directly onto the DSP and cut it with the 2″ Circle Punch. The two DSP strips are adhered with Stampin’ Dimensionals, and the globe is glued onto them.
I stamped the main sentiment with Basic Black on a strip of Very Vanilla CS, then notched the ends with the Banner Triple Punch. I adhered it to the DSP pieces with Stampin’ Dimensionals.
Here’s what I used:
Be sure to check out all the great projects at canyoucaseit.com this week, and play along with us by posting your own project!
Thanks for stopping by today, and Sweet Stamping!
Feb 14, 2016 | Cards, Challenges, Color Palette, CYCI |
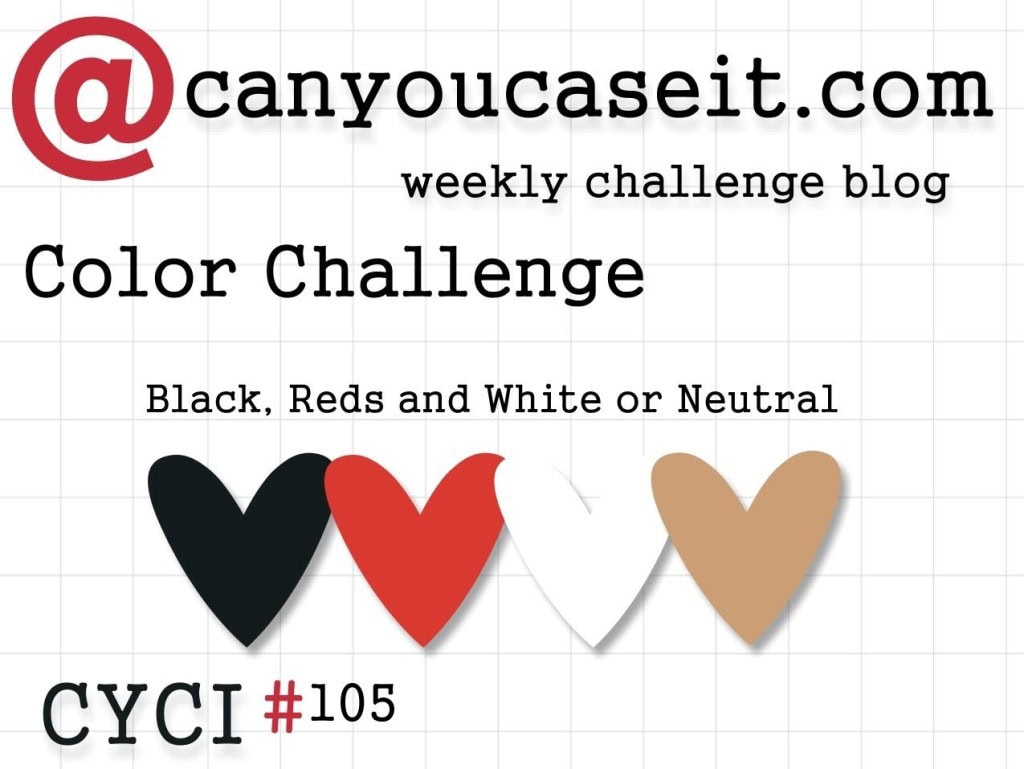
CYCI has a new color challenge this week:
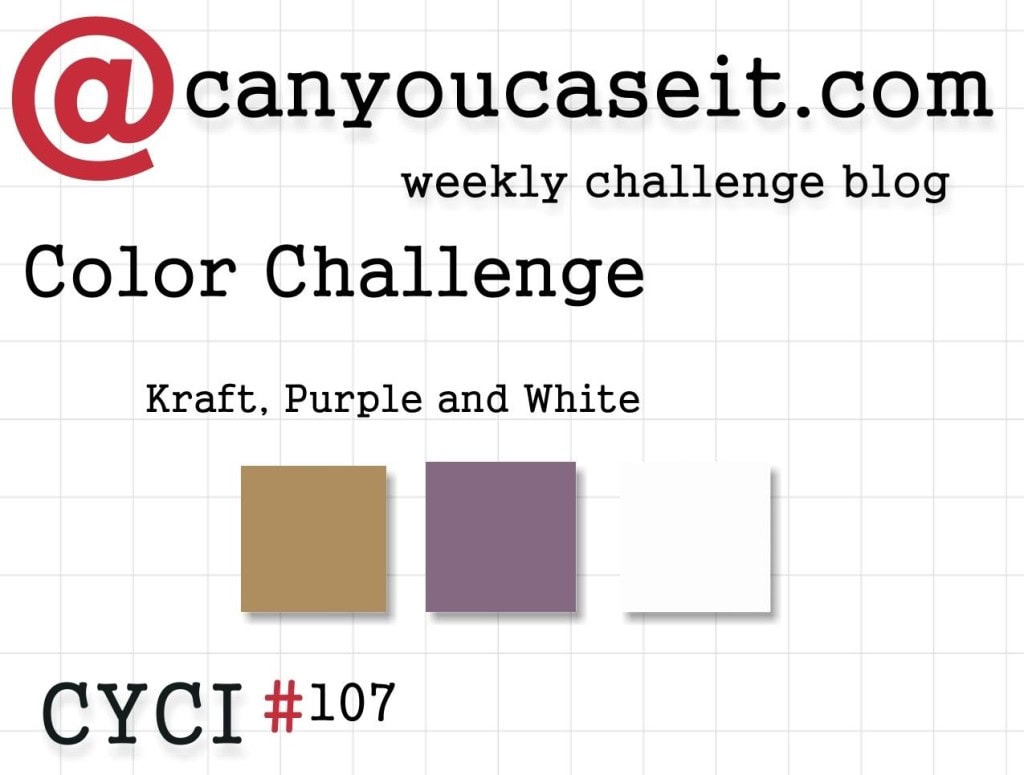
Here’s what I made using these colors:
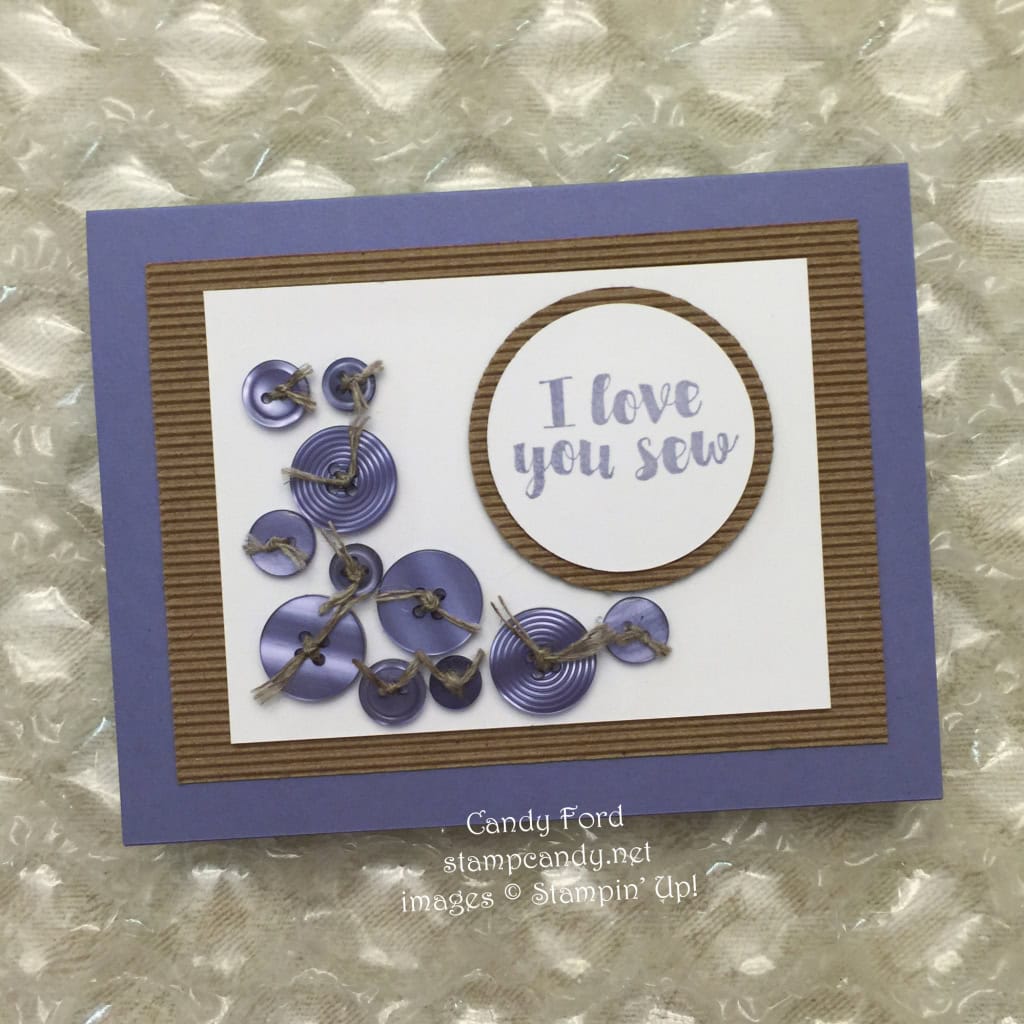
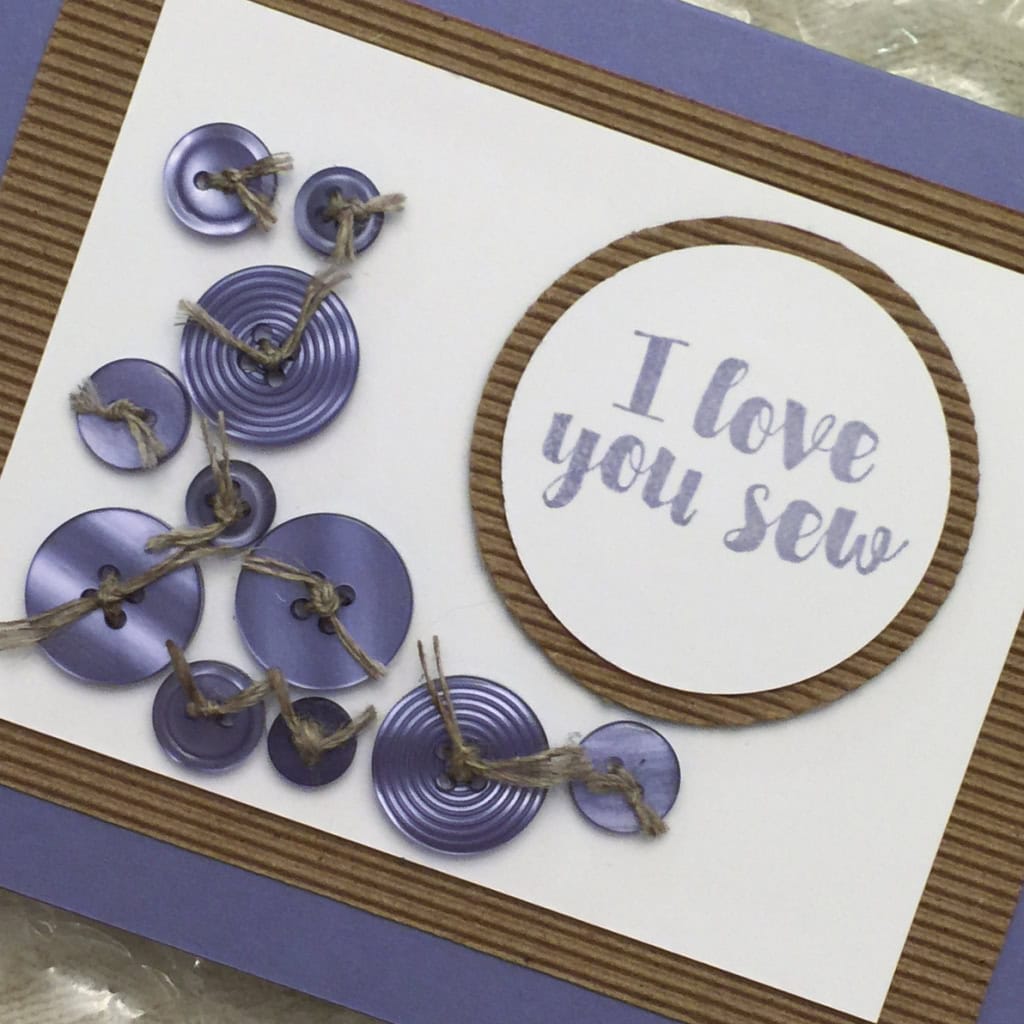
The card base is Wisteria Wonder card stock. I used Kraft Corrugated Paper to mat the Whisper White CS pieces.
I stamped the sentiment from the Love You Sew stamp set (available to purchase with Stampin’ Rewards through May 31) in Wisteria Wonder on Whisper White, then cut it with the 1-3/4″ Circle Punch. I cut the corrugated mat with the 2″ Circle Punch. I glued the two circles together, then attached them to the card front with Stampin’ Dimensionals.
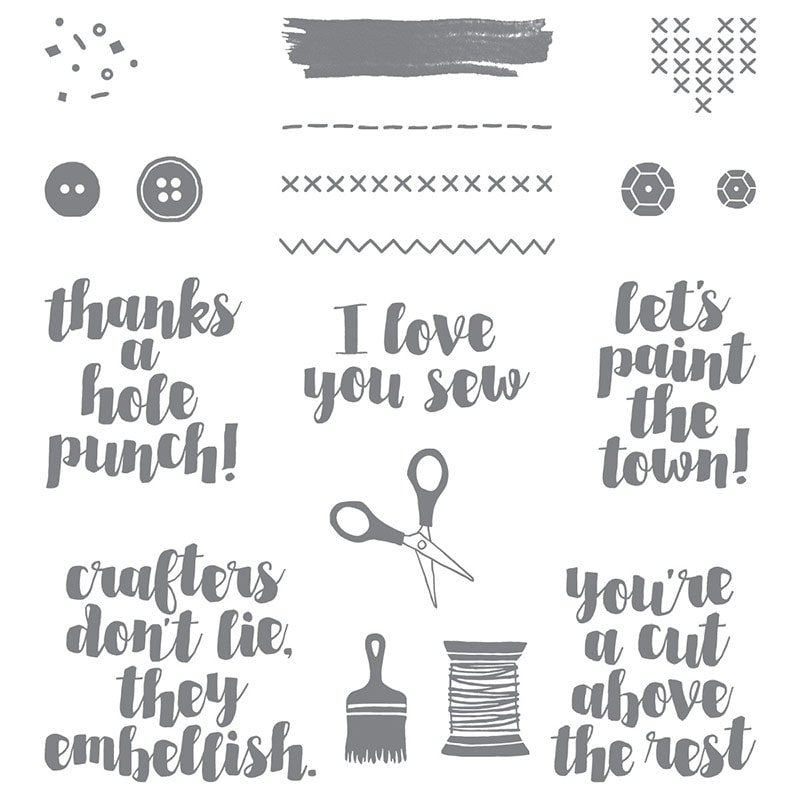
Love You Sew – stampcandy.net
I tied Linen Thread onto some Wisteria Wonder buttons, then attached them with Glue Dots to the card front.
Be sure to check out all the great projects this week at canyoucaseit.com. and play along with us by posting your own entries!
Here’s what I used for this card. Click on the images below to get what you need to make your own!
Thanks for stopping by today, and Sweet Stamping!
Feb 7, 2016 | Cards, Challenges, CYCI, Occasions, Sketches |

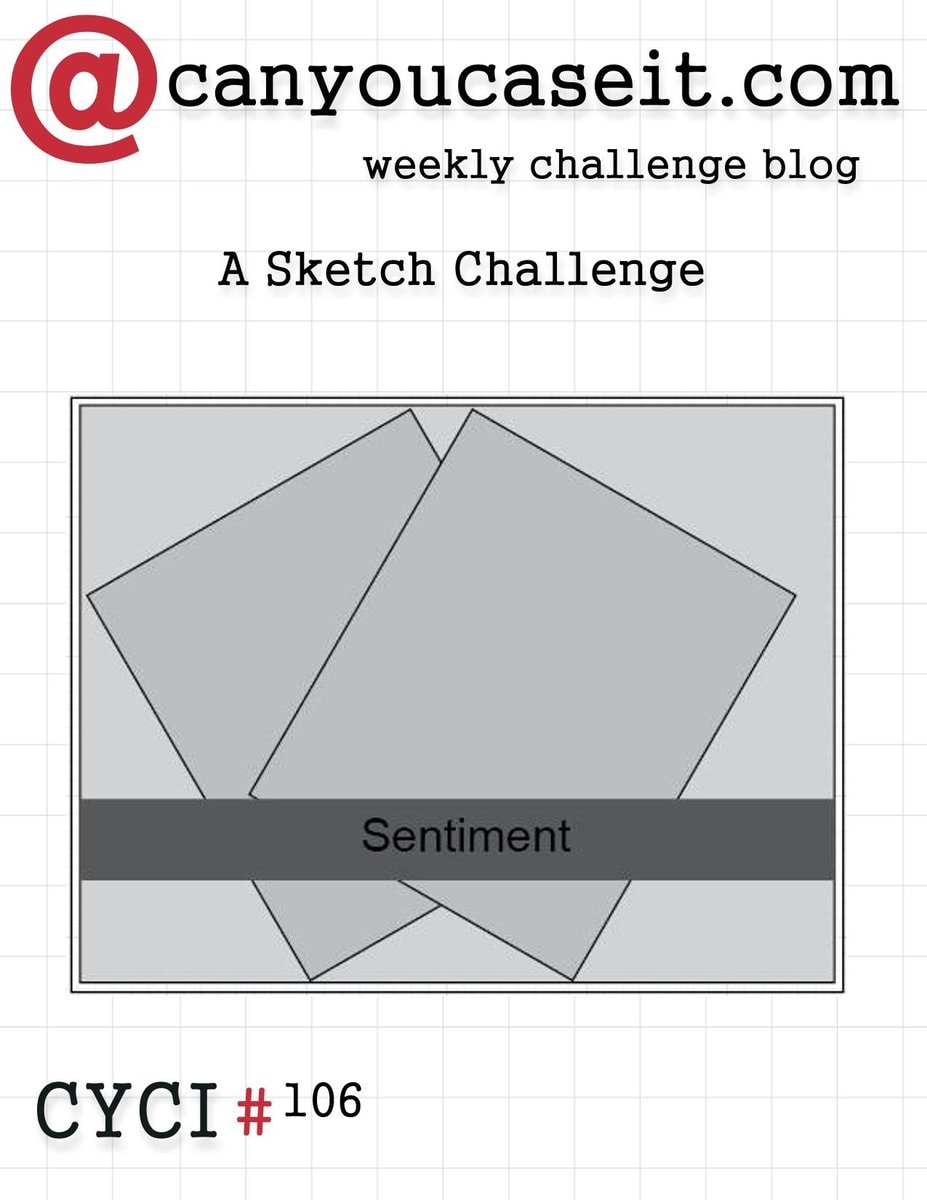
It’s time for another sketch challenge from CYCI! Go to canyoucaseit.com to see the other projects and to play along with us by posting your own project! Here is this week’s challenge…

…and here is my card.

The Picture Perfect stamp set has four different multi-step images: a 3 step flower, a 2 step starfish, a three step leaf, and a 4 step hummingbird. The see through photopolymer stamps make lining up the images a snap.
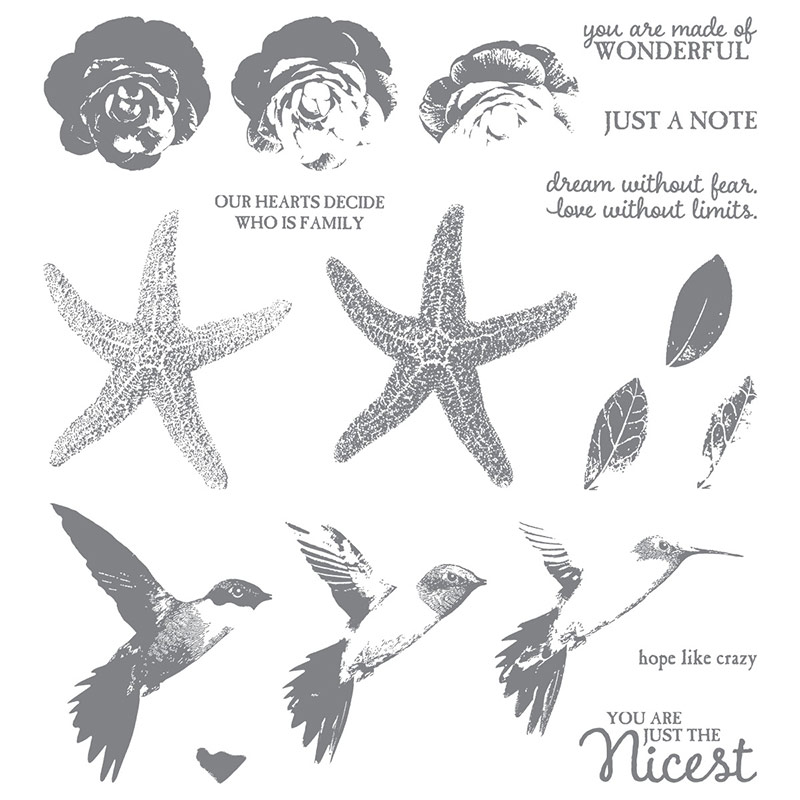
Picture Perfect Photopolymer Stamp Set 140520
For today’s card, I’ve used the starfish. On Very Vanilla card stock, I stamped the heavier image, seen on the right in the above image, in Hello Honey. Then I stamped the lighter, more detailed image in Soft Suede over the top of the first one. I did this twice, then used my Paper Snips to cut out the two starfish.
I stamped the sentiment from the same stamp set in Pacific Point on a strip of Very Vanilla card stock.
The fish and coral are from the By the Tide stamp set in the Annual catalog. It’s available in wood mount and clear mount.

By the Tide: Clear Mount 129120, Wood Mount 131910
On the front panel of Pool Party, I stamped the fish in Pacific Point and the coral in, you guessed it, Calypso Coral. I went over the fish with the Clear Wink of Stella Brush to give them a little shimmer. It also made the Pacific Point ink bleed slightly, to make the them stand out from the surrounding water.

Wink of Stella shimmer on the fish
I attached the starfish with Stampin’ Dimensionals that I cut into skinny pieces. Then I glued the front panel to a Pacific Point card stock layer, and glued that to the Calypso Coral card base.
Here’s what I used. Click on the images below to get what you need to make your own version of today’s project!
Thanks for stopping by today, and Sweet Stamping!
Jan 31, 2016 | Cards, Challenges, Color Palette, CYCI |
It’s time for a new CYCI Color Challenge! Be sure to check out all the great projects, and play along with us by posting your own project, at canyoucaseit.com!
Here are this week’s colors…
… and here is my card.
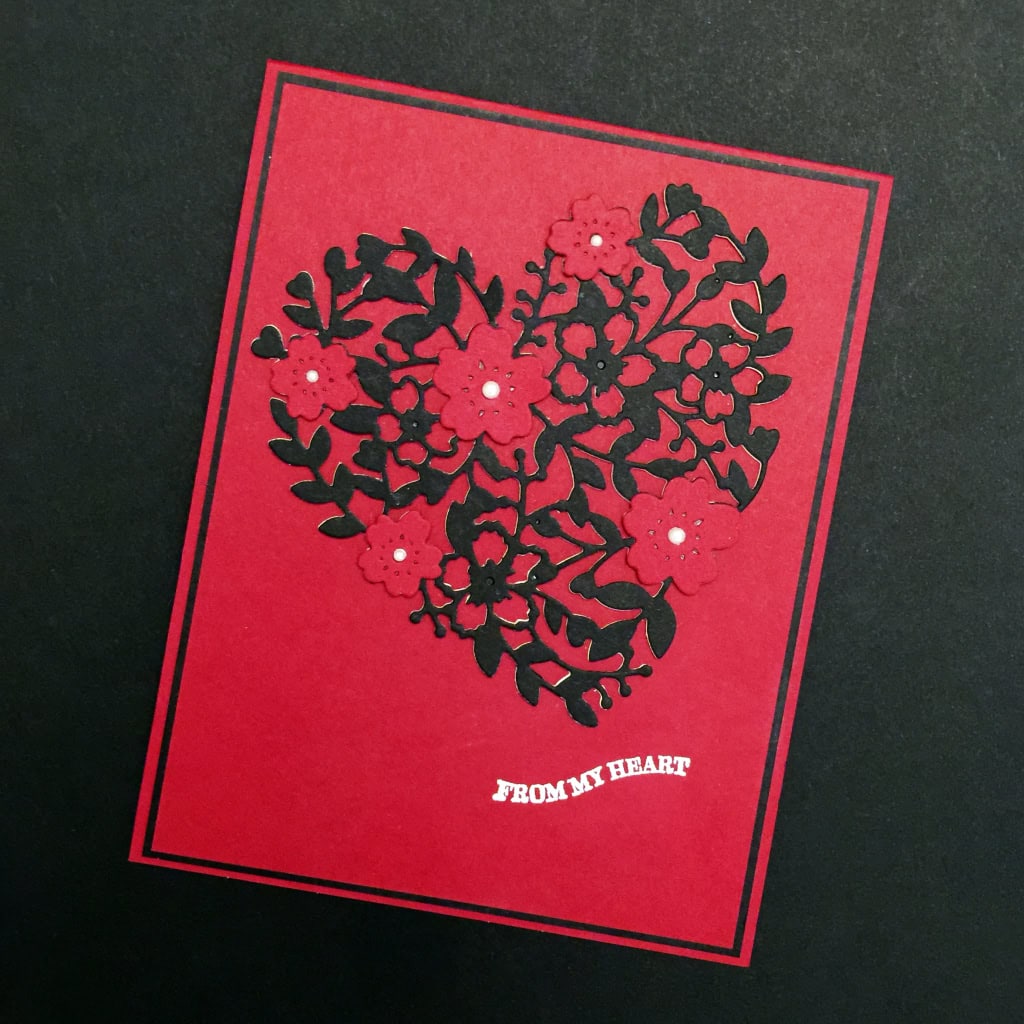
This past Tuesday I held a Bloomin’ Love Bundle Class. I designed four different projects for the class: a cute kiddie one, a sweet feminine one, a clean masculine one, and this rather sexy bordello inspired one.
When I was designing these projects, I thought I was so clever to come up with this one. Then later I realized I didn’t come up with this one at all. I had seen it before. My fellow demonstrator, Julie DiMatteo, created a card like this, except in Watermelon Wonder instead of Cherry Cobbler, and posted it to one of our demo Facebook pages. I had seen it, then forgotten that I had seen it. But the design stuck with me. So today I’m sharing a card I thought I designed, but actually CASEd from the Paper Pixie.
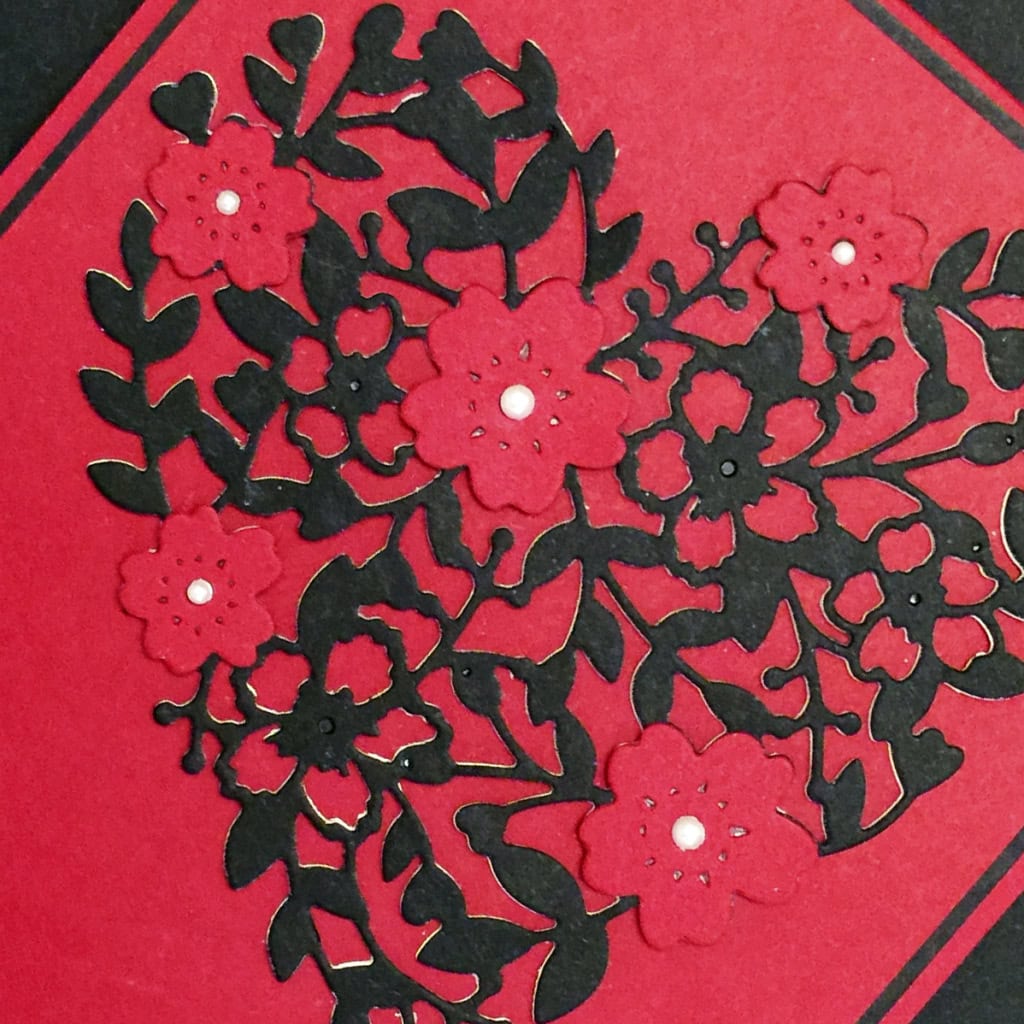
This version is Basic Black and Cherry Cobbler card stock, with Pearl Basic Jewels and a white heat embossed sentiment. For my example here, I cut another floral heart from Whisper White CS and glued it under the Basic Black one, thinking it would add an interesting dimension. I tried it directly under the black heart and offset to different degrees, but I didn’t particularly like it, so I deleted that step from the class kits. You can see just a little of the white peeking out in the photo above, so please just squint and pretend it isn’t there!
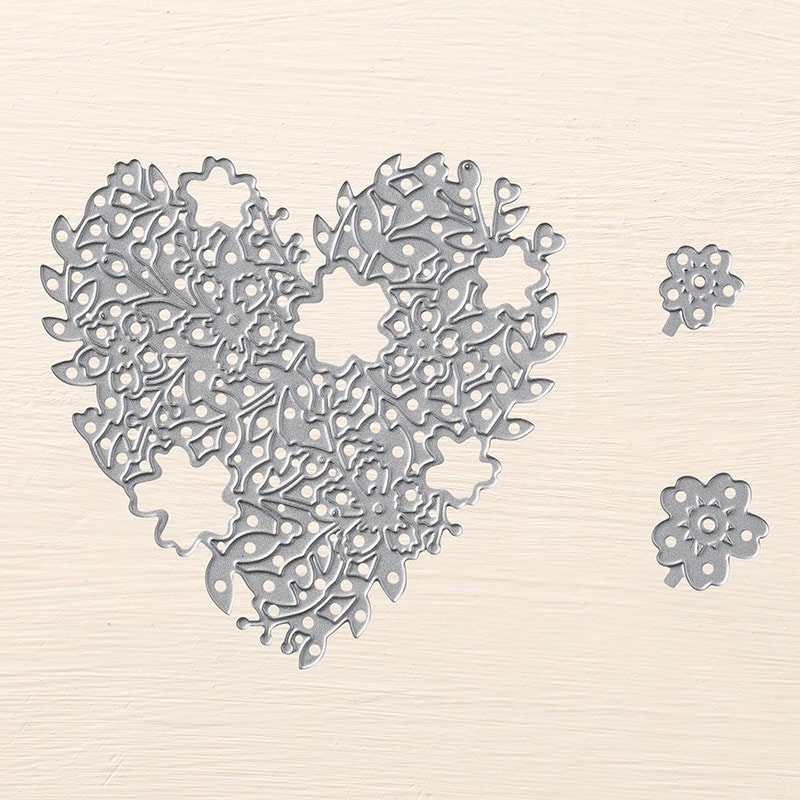
I cut one heart, 2 larger flowers, and 3 smaller flowers, using the Bloomin’ Hearts Thinlits Dies. This heart is a very intricate die. I highly recommend using the Precision Base Plate with the Magnetic Platform, and running it back and forth through the Big Shot a few times…
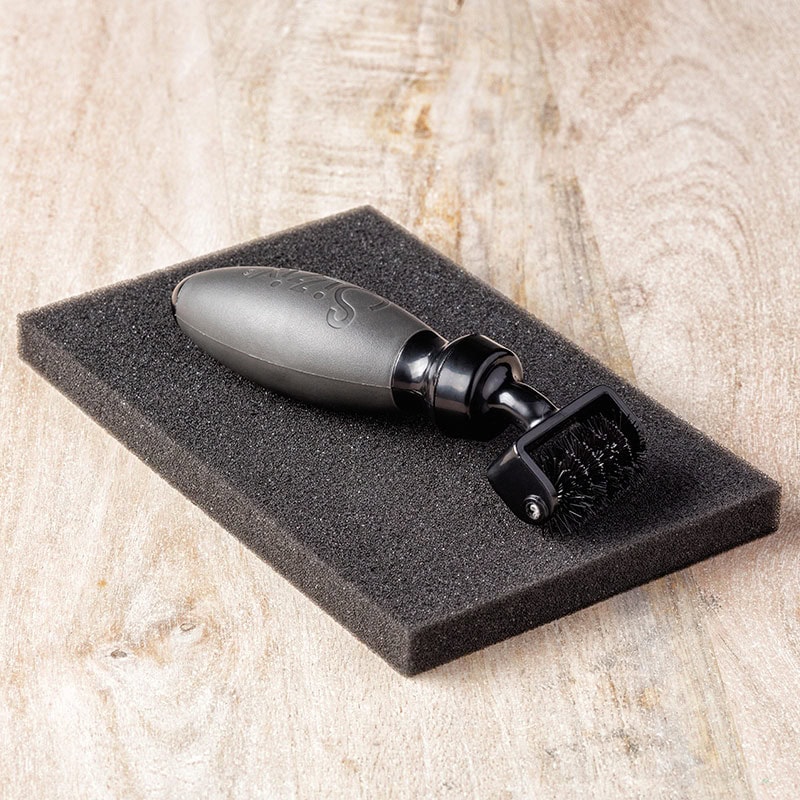
…then use the Die Brush to remove the heart and all the little scraps from the die.
The sentiment is from the Groovy Love stamp set…
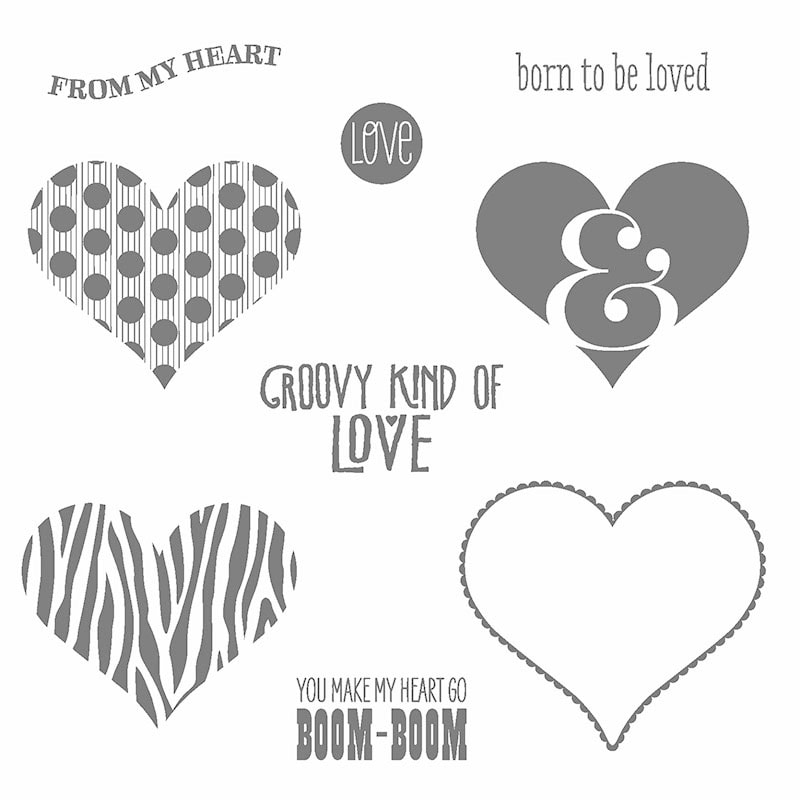
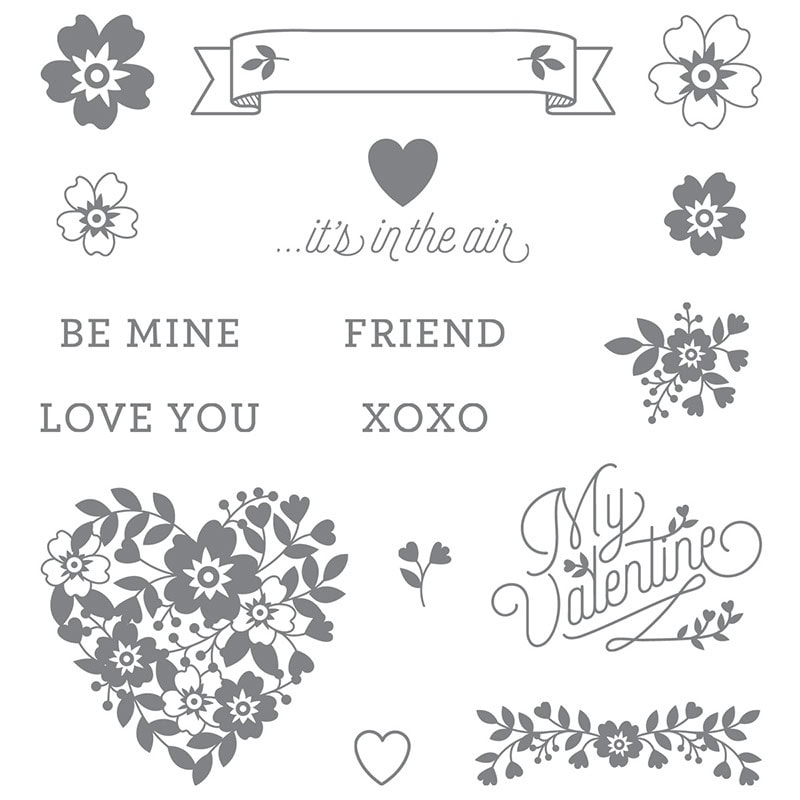
…but you could certainly use one of the sentiments from the Bloomin’ Love stamp set.
Here’s what I used. Click on the images below to get the products you need to make your own version of today’s card!
Thanks for stopping by today, and Sweet Stamping!
Jan 24, 2016 | Cards, Challenges, CYCI, Sketches |
Here is this week’s canyoucaseit.com sketch challenge…
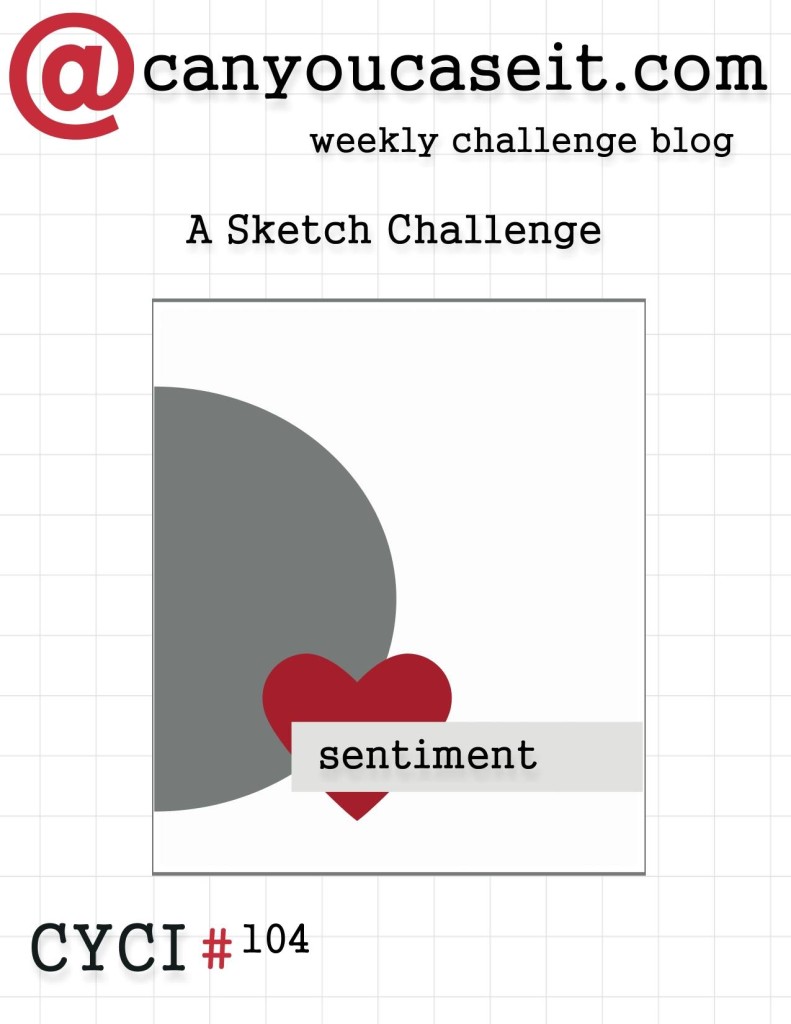
…and here is my card.

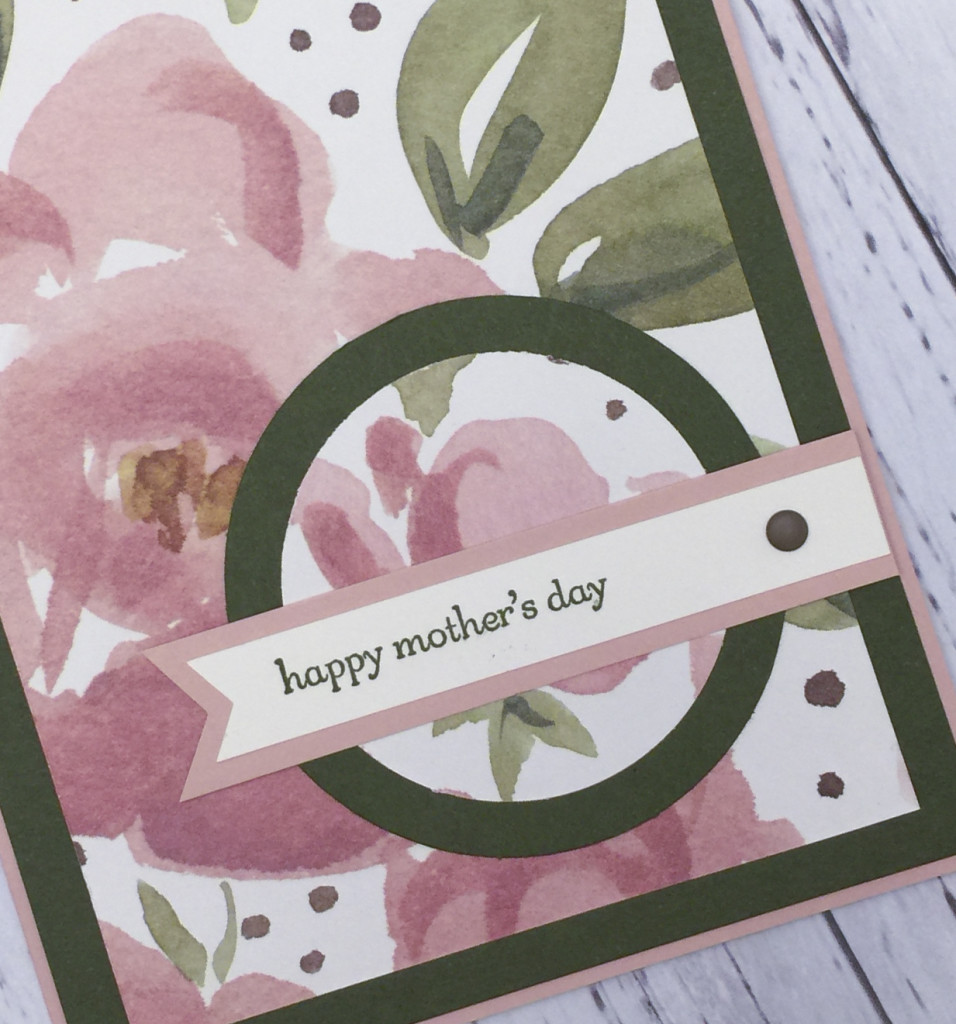
I’ve been having a ball playing with all my new products from the 2016 Occasions and Sale-a-bration catalogs. It’s easy to get excited about brand new stuff, but remember there is a whole Annual catalog full of wonderful products, too. For today’s card I used English Garden Designer Series Paper and the Teeny Tiny wishes stamp set to create a subtle Mother’s Day card.
The card base is Blushing Bride card stock with a Mossy Meadow CS layer on top of that. I cropped the piece of DSP so the big rose was in the right place for the sketch, then glued that down. I used the 2″ Circle Punch to cut out another rose from the DSP, and the 2-1/2″ Circle Punch to cut the Mossy Meadow CS mat.
I stamped the sentiment in Mossy Meadow on Whisper White CS, matted it with Blushing Bride, and notched one end. The final touch is a Soft Suede Candy Dot to balance the sentiment strip and to mach the Soft Suede dots in the DSP. Super quick and simple.
Be sure to check out the other projects at canyoucaseit.com and play along with us by posting your own project!
Here’s what I used today:
Thanks for stopping by today, and Sweet Stamping!