Feb 14, 2016 | Cards, Challenges, Color Palette, CYCI |
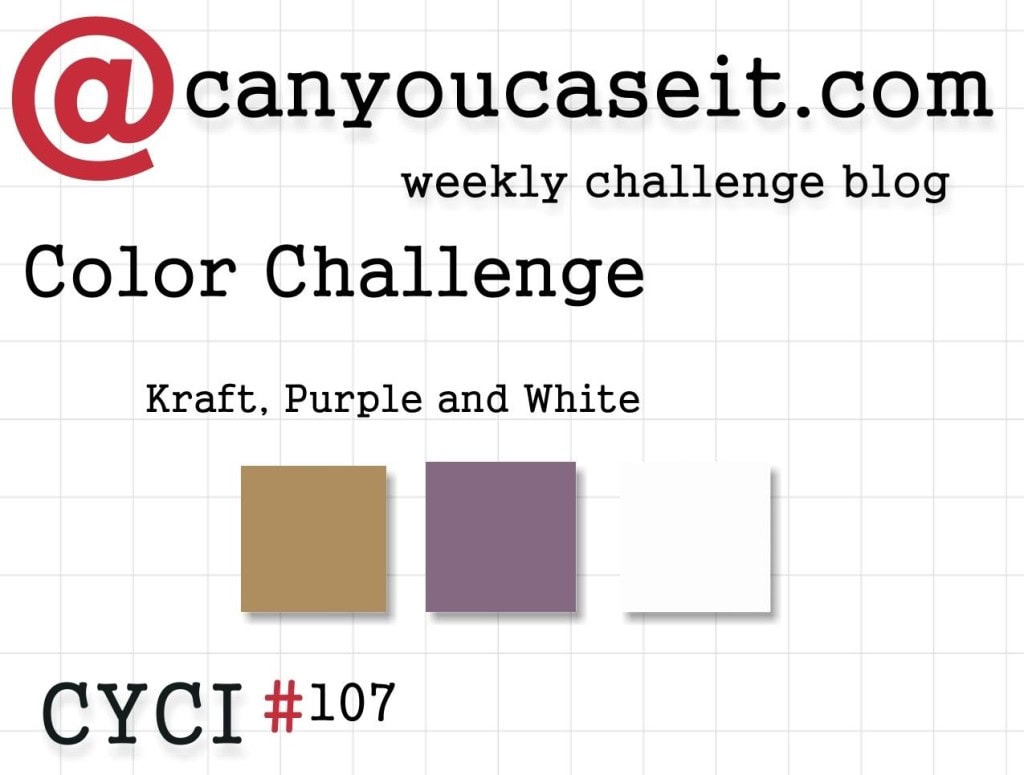
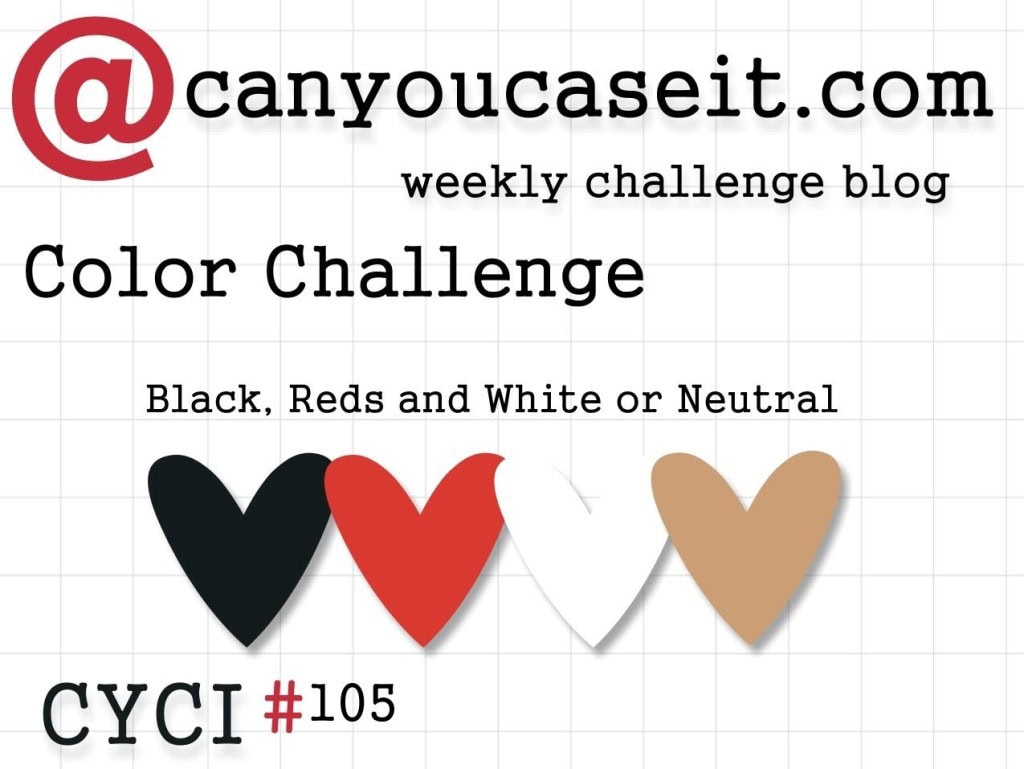
CYCI has a new color challenge this week:
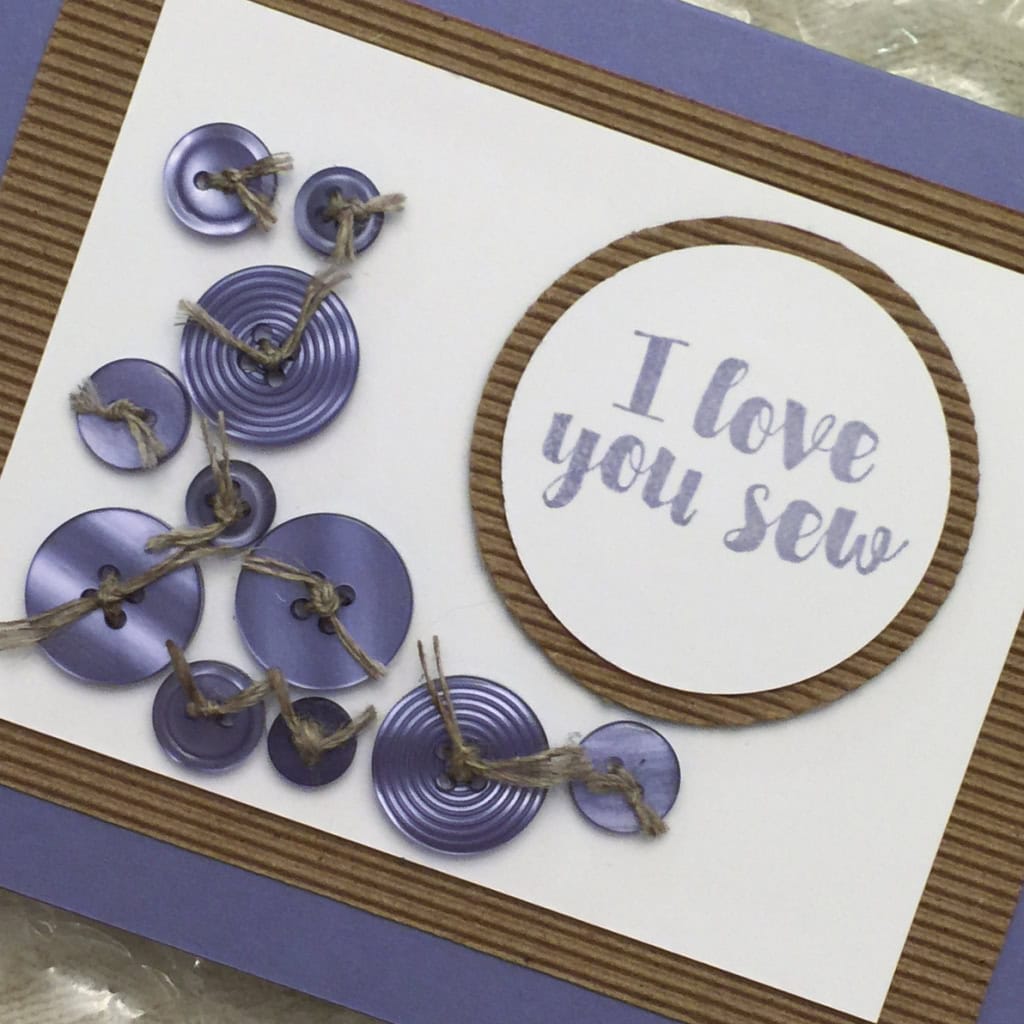
Here’s what I made using these colors:
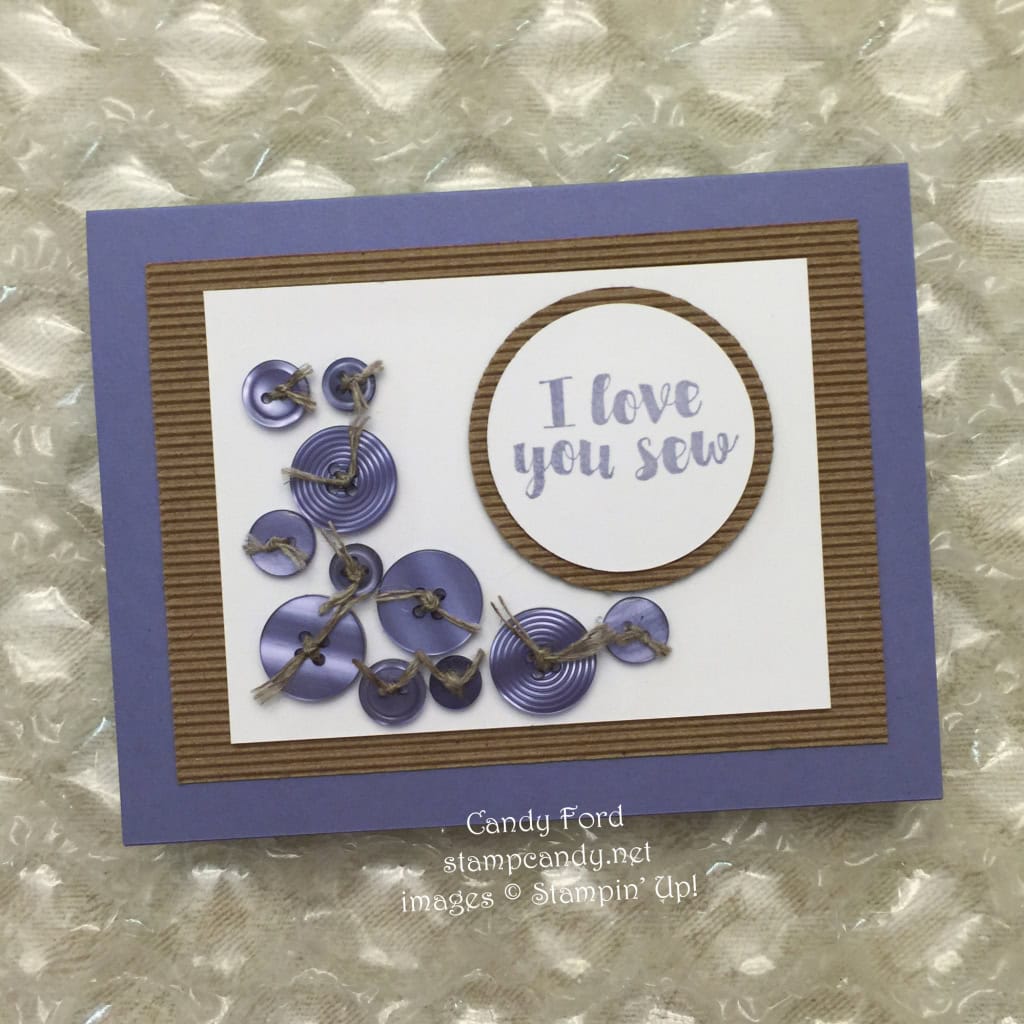
The card base is Wisteria Wonder card stock. I used Kraft Corrugated Paper to mat the Whisper White CS pieces.
I stamped the sentiment from the Love You Sew stamp set (available to purchase with Stampin’ Rewards through May 31) in Wisteria Wonder on Whisper White, then cut it with the 1-3/4″ Circle Punch. I cut the corrugated mat with the 2″ Circle Punch. I glued the two circles together, then attached them to the card front with Stampin’ Dimensionals.
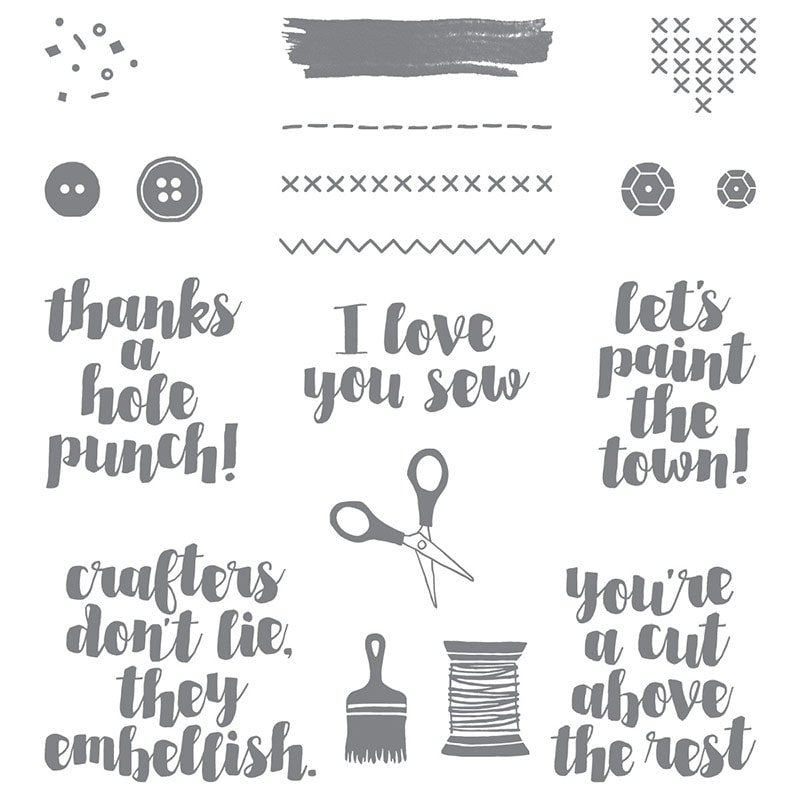
Love You Sew – stampcandy.net
I tied Linen Thread onto some Wisteria Wonder buttons, then attached them with Glue Dots to the card front.
Be sure to check out all the great projects this week at canyoucaseit.com. and play along with us by posting your own entries!
Here’s what I used for this card. Click on the images below to get what you need to make your own!
Thanks for stopping by today, and Sweet Stamping!

Jan 31, 2016 | Cards, Challenges, Color Palette, CYCI |
It’s time for a new CYCI Color Challenge! Be sure to check out all the great projects, and play along with us by posting your own project, at canyoucaseit.com!
Here are this week’s colors…
… and here is my card.
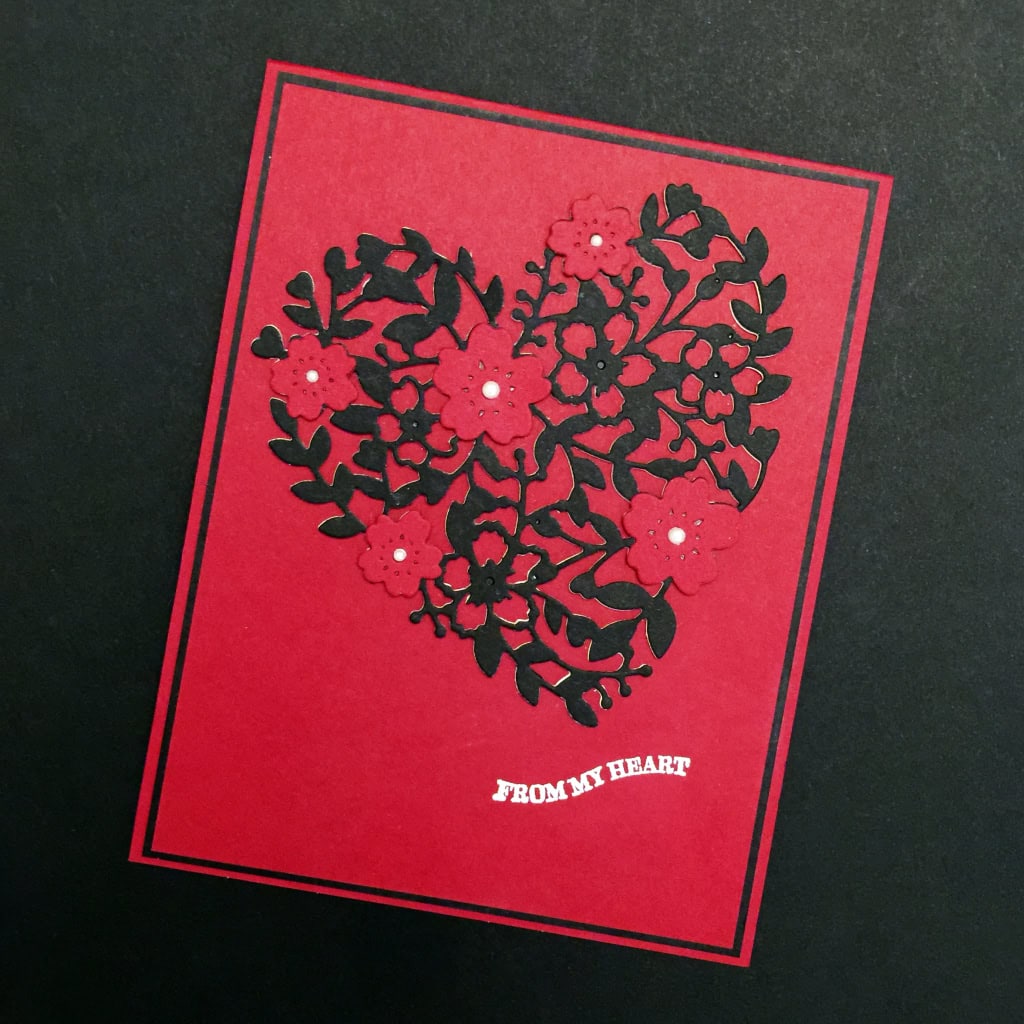
This past Tuesday I held a Bloomin’ Love Bundle Class. I designed four different projects for the class: a cute kiddie one, a sweet feminine one, a clean masculine one, and this rather sexy bordello inspired one.
When I was designing these projects, I thought I was so clever to come up with this one. Then later I realized I didn’t come up with this one at all. I had seen it before. My fellow demonstrator, Julie DiMatteo, created a card like this, except in Watermelon Wonder instead of Cherry Cobbler, and posted it to one of our demo Facebook pages. I had seen it, then forgotten that I had seen it. But the design stuck with me. So today I’m sharing a card I thought I designed, but actually CASEd from the Paper Pixie.
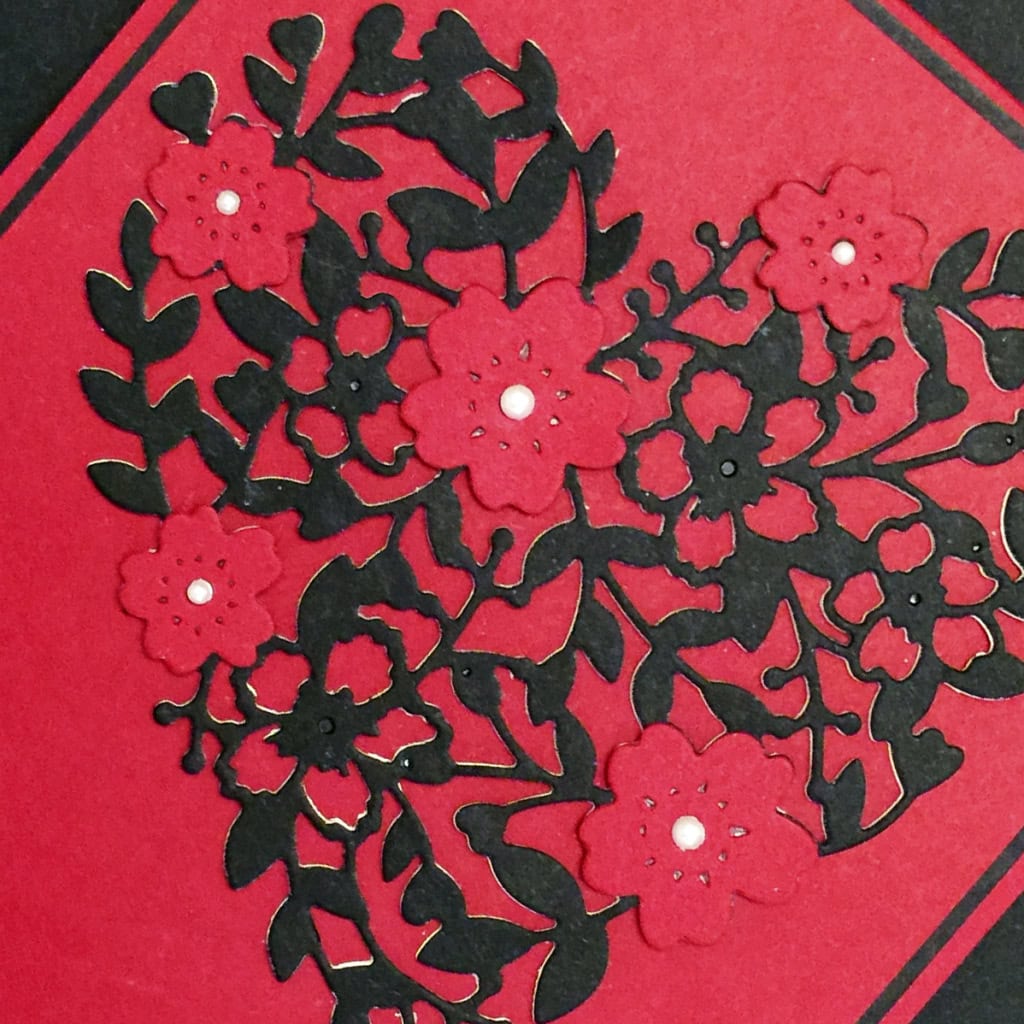
This version is Basic Black and Cherry Cobbler card stock, with Pearl Basic Jewels and a white heat embossed sentiment. For my example here, I cut another floral heart from Whisper White CS and glued it under the Basic Black one, thinking it would add an interesting dimension. I tried it directly under the black heart and offset to different degrees, but I didn’t particularly like it, so I deleted that step from the class kits. You can see just a little of the white peeking out in the photo above, so please just squint and pretend it isn’t there!
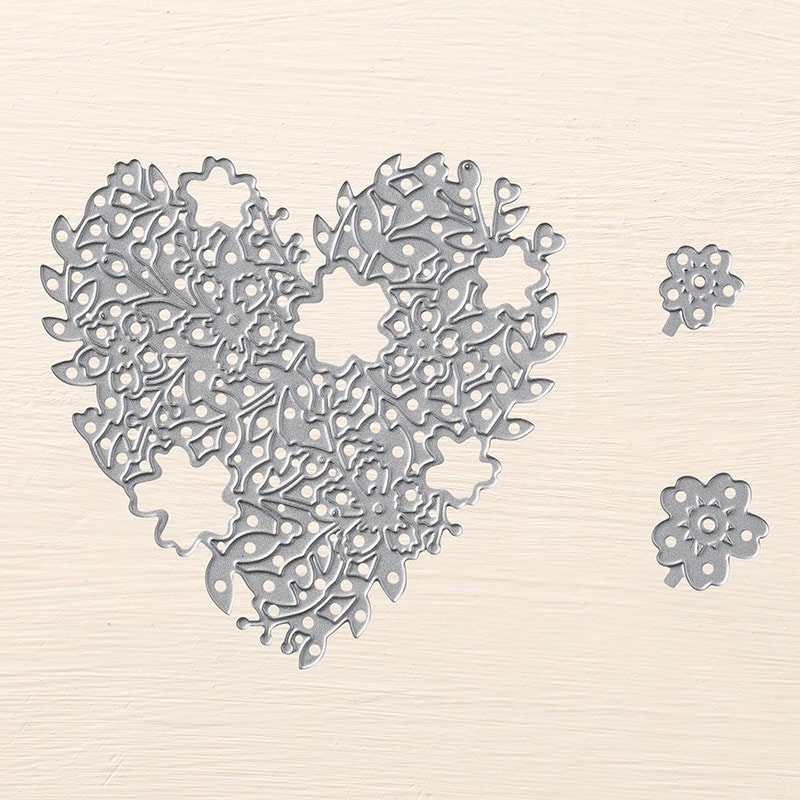
I cut one heart, 2 larger flowers, and 3 smaller flowers, using the Bloomin’ Hearts Thinlits Dies. This heart is a very intricate die. I highly recommend using the Precision Base Plate with the Magnetic Platform, and running it back and forth through the Big Shot a few times…
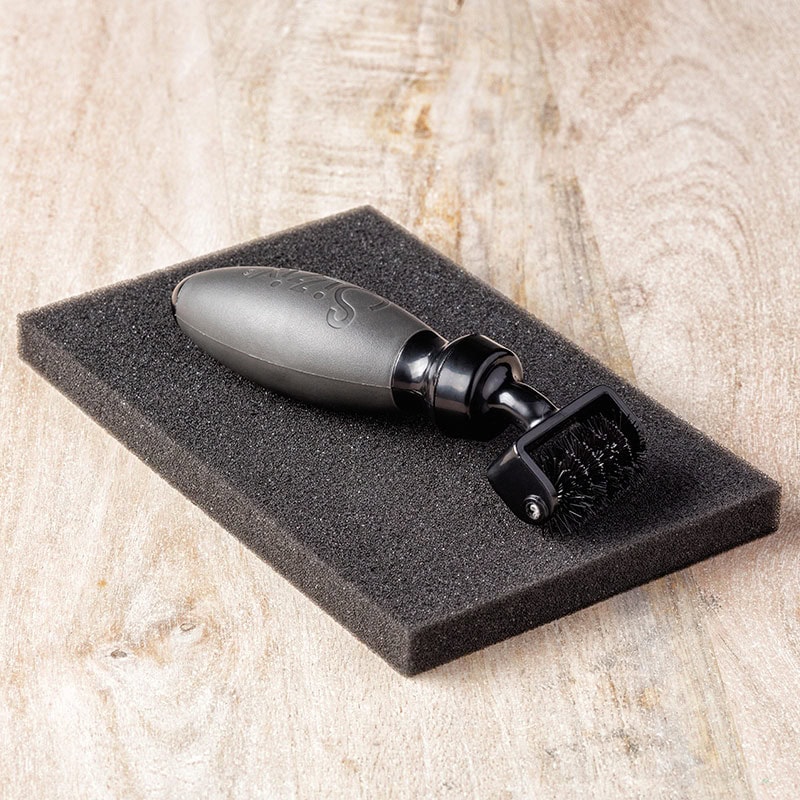
…then use the Die Brush to remove the heart and all the little scraps from the die.
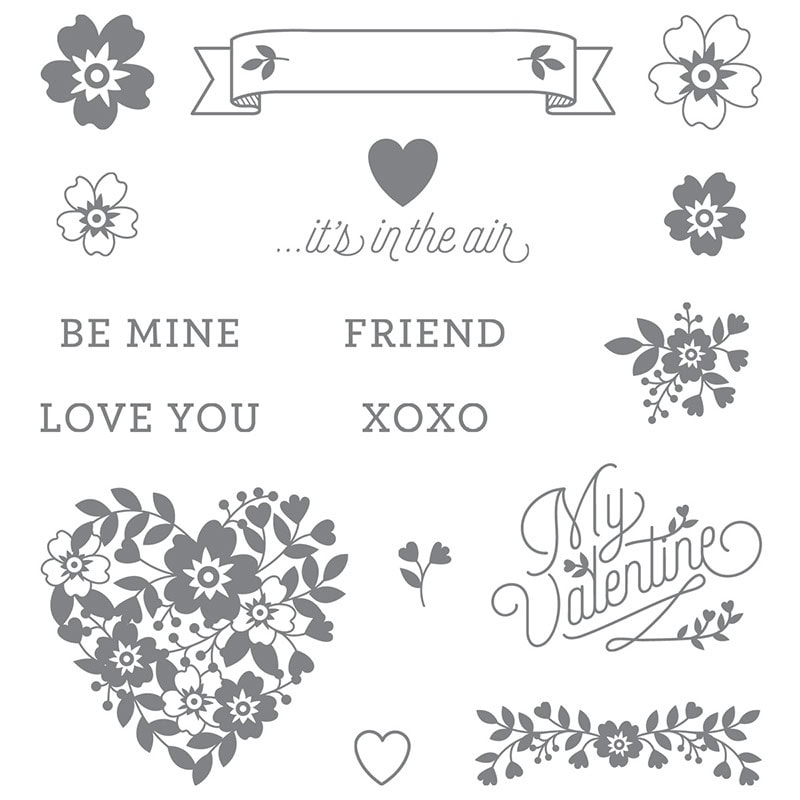
The sentiment is from the Groovy Love stamp set…
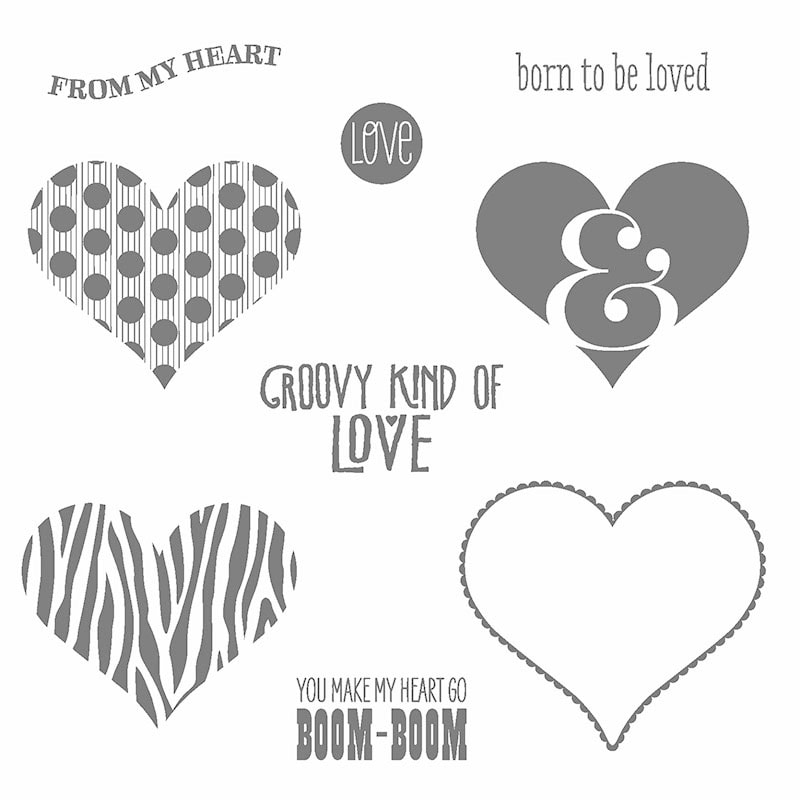
…but you could certainly use one of the sentiments from the Bloomin’ Love stamp set.
Here’s what I used. Click on the images below to get the products you need to make your own version of today’s card!
Thanks for stopping by today, and Sweet Stamping!
Jan 17, 2016 | Boxes, Challenges, Color Palette, CYCI, Gift Wrap, New Products, Occasions |

It’s CYCI’s 3rd birthday! To celebrate, this week’s color challenge is Black & White.
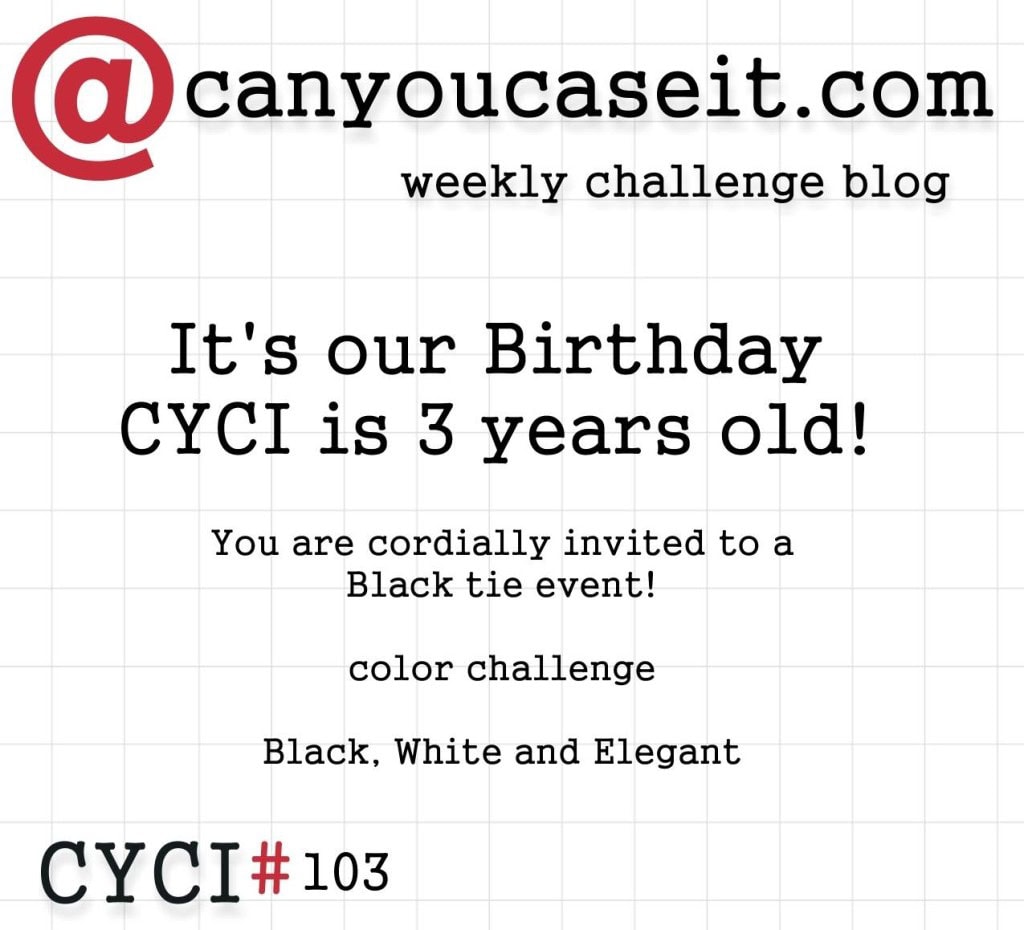
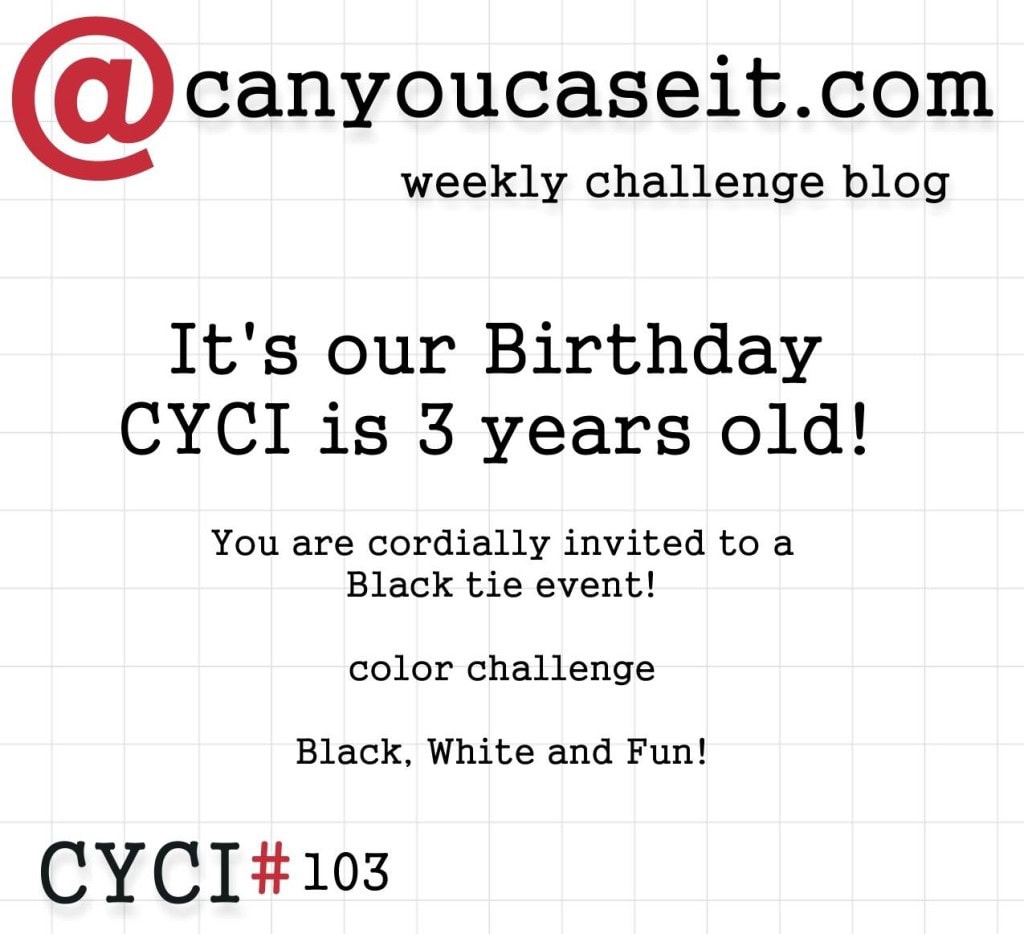
It can be either elegant or fun. I chose to do a little of both. I mean, this little penguin is definitely fun, and what’s more elegant than a tuxedo? And he/she is perfect for giving a small birthday gift or treat.

I’ve never made the little animal boxes that have been so popular. But the Playful Pals stamp set and the Pyramid Pals Thinlits Dies (available individually, or together in a bundle to save 15%!) make it so easy, and they’re so darn cute, who can resist?

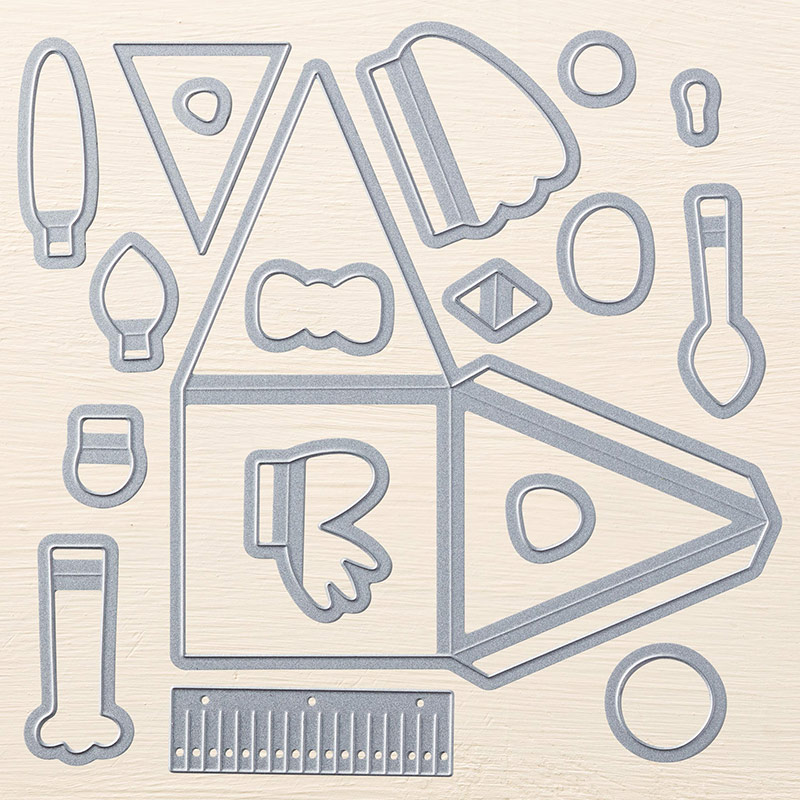
To make the box, I cut out two pieces of Basic Black card stock with the pyramid box die and glued them together on the bottom panels – the same way you make a Curvy Keepsake Box. I then glued the flaps on one side to the two adjacent sides, so the box would keep its shape. I tucked in the flaps on the other side, so it could be opened easily.
For the feet, I cut two of the “frog feet” from Pumpkin Pie card stock and glued them to the box’s bottom, so just the webbed toes extended past the box’s edge.

I stamped the eyes in black Memento ink onto Whisper White CS and cut them with the coordinating die. I cut the triangular chest piece from Whisper White CS and the two long flippers from Basic Black CS. I cut the beak from Pumpkin Pie CS with the little diamond shaped die. Then I glued everything in place on the box.
This adorable penguin opens in the back to tuck in tiny treats.
Here’s what I used, or mentioned. Click on the images below to get your very own!
Be sure to check out the other projects, and share your own, at canyoucaseit.com!
Thanks for stopping by today, and Sweet Stamping!
Jan 3, 2016 | Cards, Challenges, Color Palette, CYCI, New Products, Occasions |
It’s the first canyoucaseit.com challenge of 2016! I hope you’ll play along with us by posting your project to the web site. You just might be one of the design team picks of the week!
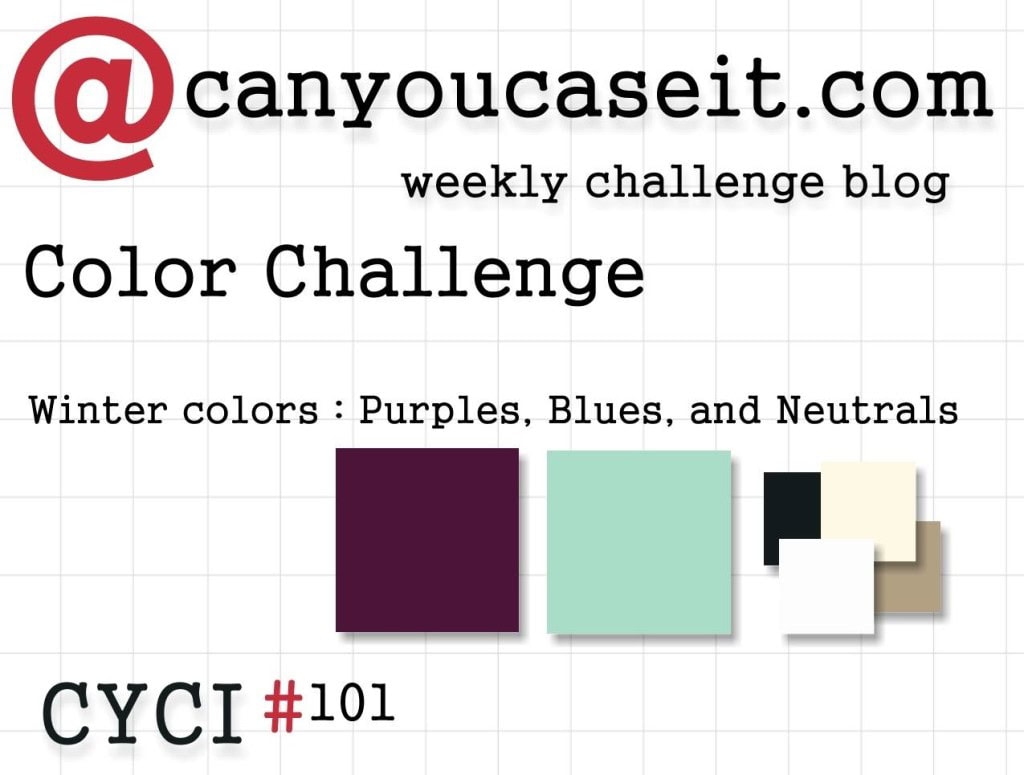
Here is this week’s color challenge…
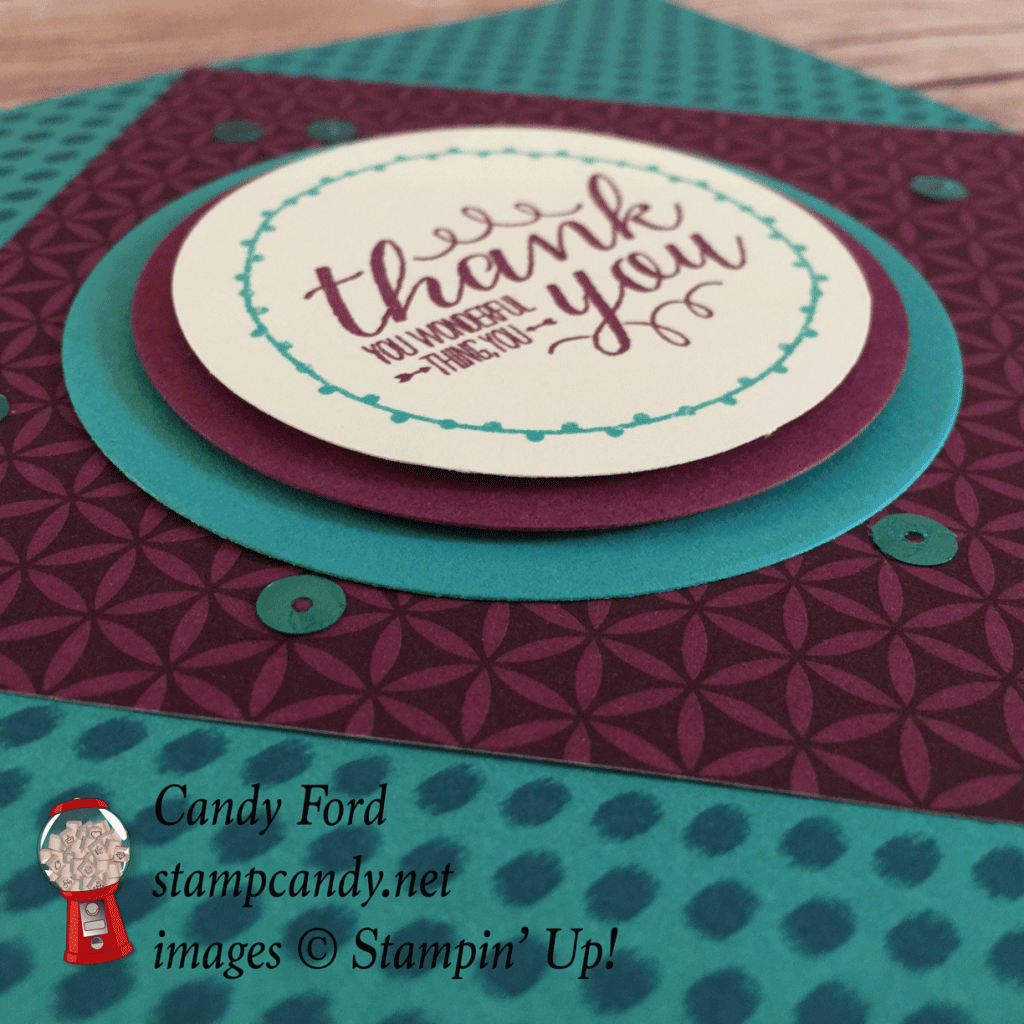
… and here is my card.
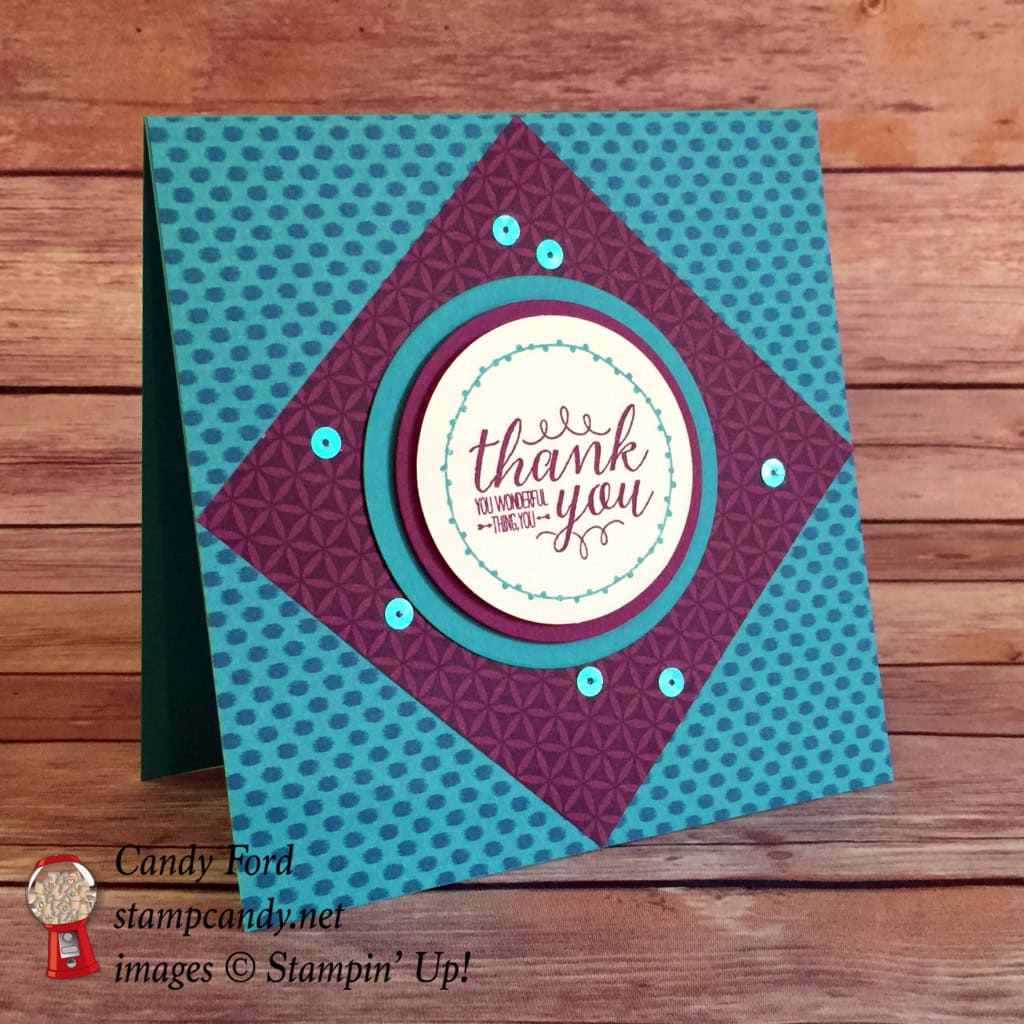
I made a 6″ x 6″card today, not something I do very often. My purple, blue, and neutral colors are Rich Razzleberry, Bermuda Bay, and Very Vanilla, which are all colors in the Bohemian Designer Series Paper.
The card base is Bermuda Bay card stock that I cut to 6″ x 12″ and scored at 6″. (If you have 8-1/2″ x 11″ paper instead of 12″ x 12″, you can make a 5-1/2″ x 5-1/2″ card.)
The next two layers are from the Bohemian DSP.
Using the Circles Collection Framelits Dies, I cut a Bermuda Bay and a slightly smaller Rich Razzleberry circle. I glued the larger one to the card front, then attached the smaller one with Stampin’ Dimensionals.
I stamped the sentiment from the You’re So Lovely stamp set on Very Vanilla card stock in Rich Razzleberry. I then stamped the tiny wreath around the sentiment in Bermuda Bay. I used the 2-1/2″ Circle Punch to cut it out, then attached it with Stampin’ Dimensionals.
The last touch was to put scatter a few sequins from the Bermuda Bay Sequin Trim. I pulled them off the string, dropped them onto the card for a random design, and glued them on the card individually.
Here’s what I used:
Be sure to check out all the other designs on canyoucaseit.com this week.
Thanks for stopping by today, and Sweet Stamping!

Dec 13, 2015 | Cards, Challenges, Christmas, Color Palette, CYCI, Holiday |
This week at CanYouCaseIt.com we’re doing a Holiday Color Challenge:

A few years ago, I wouldn’t necessarily have thought of Real Red, Pool Party, and Very Vanilla as a traditional holiday color combo. But after using them together to coordinate with Stampin’ Up’s wonderful Christmas Designer Series Papers, such as the Home for Christmas DSP, I’ve come to really like them.
The cool blue like ice, and the warm red like a crackling fire, remind me of two of my favorite things about the traditional holiday season. I say traditional holiday season because, here in the South, we rarely have snow or ice or a fire in the fireplace this time of year. Yesterday, just 12 days before Christmas, it was in the mid-70s!
The Very Vanilla reminds me of a color that we called Winter White when I was growing up, though I haven’t heard the term in a long time. It’s just a little warmer, and maybe a little classier feeling, than the cold, stark, snowy white.
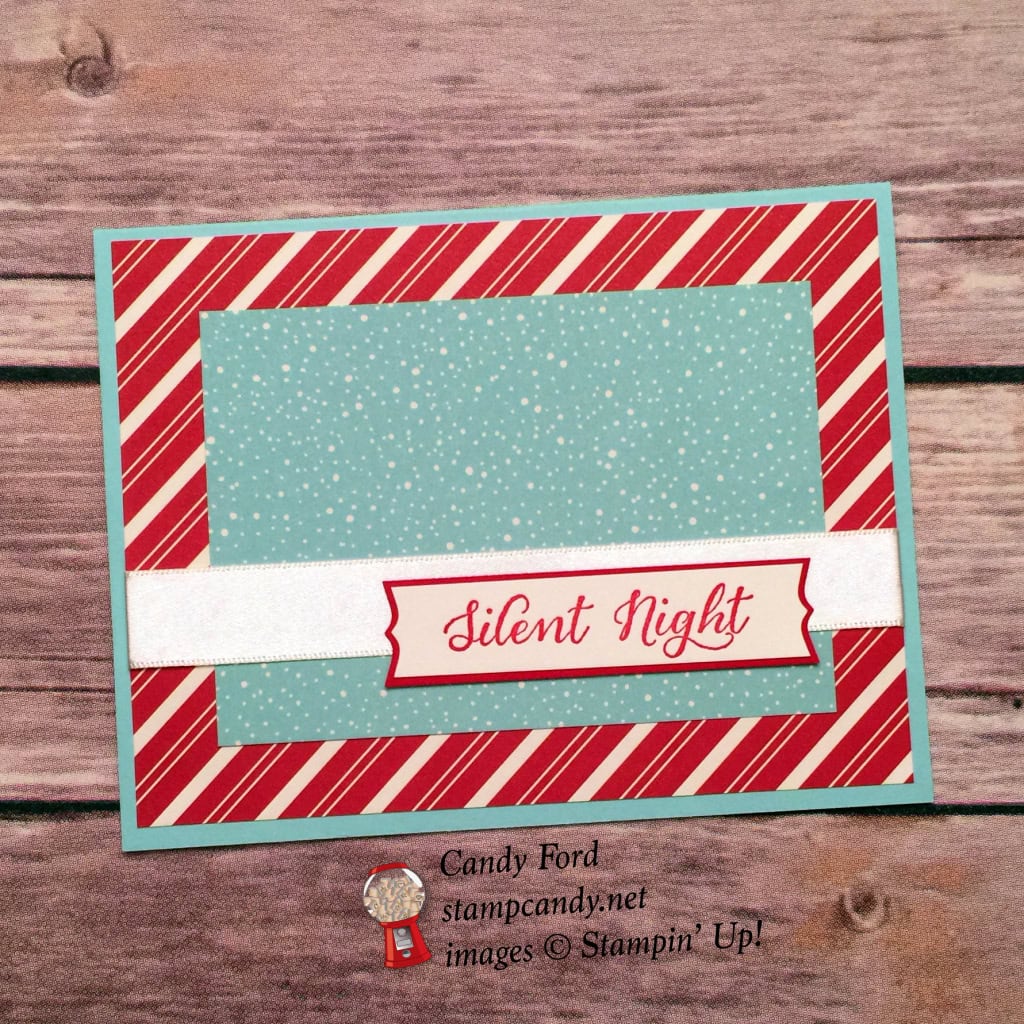
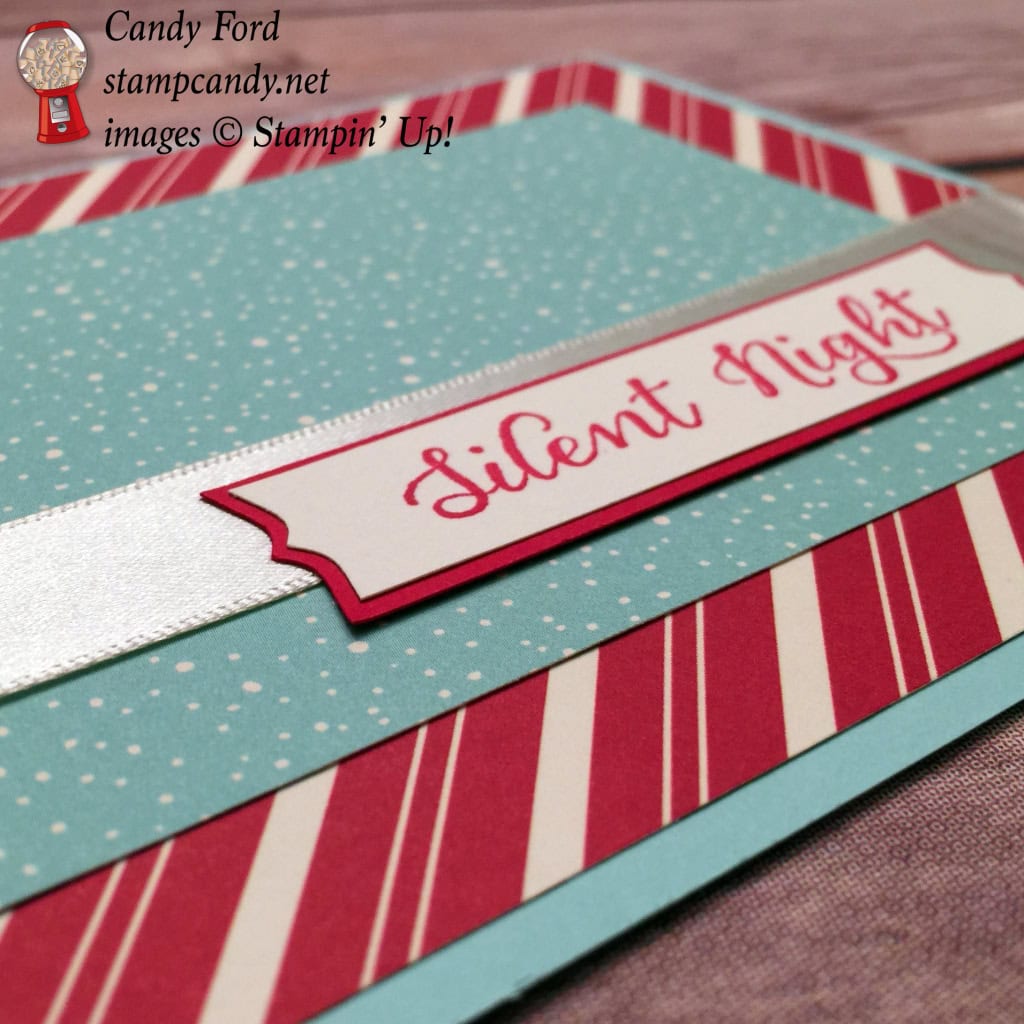
Note: the ribbon is the same color as the Very Vanilla card stock, but the light reflects off the satin ribbon differently, and I just couldn’t find a camera angle that would show it.
For today’s card, I decided to let the DSP do most of the work. On a Pool Party card stock base, I glued a piece of the red stripe paper, then a piece of the snowy blue paper, both from the Home for Christmas DSP. I liked it so much, I didn’t want to cover it up too much, so I only added a couple more things.
First was a piece of shiny, satin ribbon in Very Vanilla. Then came the sentiment from the Wonderland stamp set, stamped in Real Red on Very Vanilla card stock, then matted with Real Red card stock. I cut the ends of the sentiment with the Decorative Label Punch, for what I think is a pretty cool effect.
Hurry to get these products now, because some of them will retire January 4, unless they sell out before then!
Here’s what I used:
Thank you for stopping by today, and Sweet Stamping!
Nov 15, 2015 | Cards, Challenges, Christmas, Color Palette, CYCI, Holiday, Techniques |
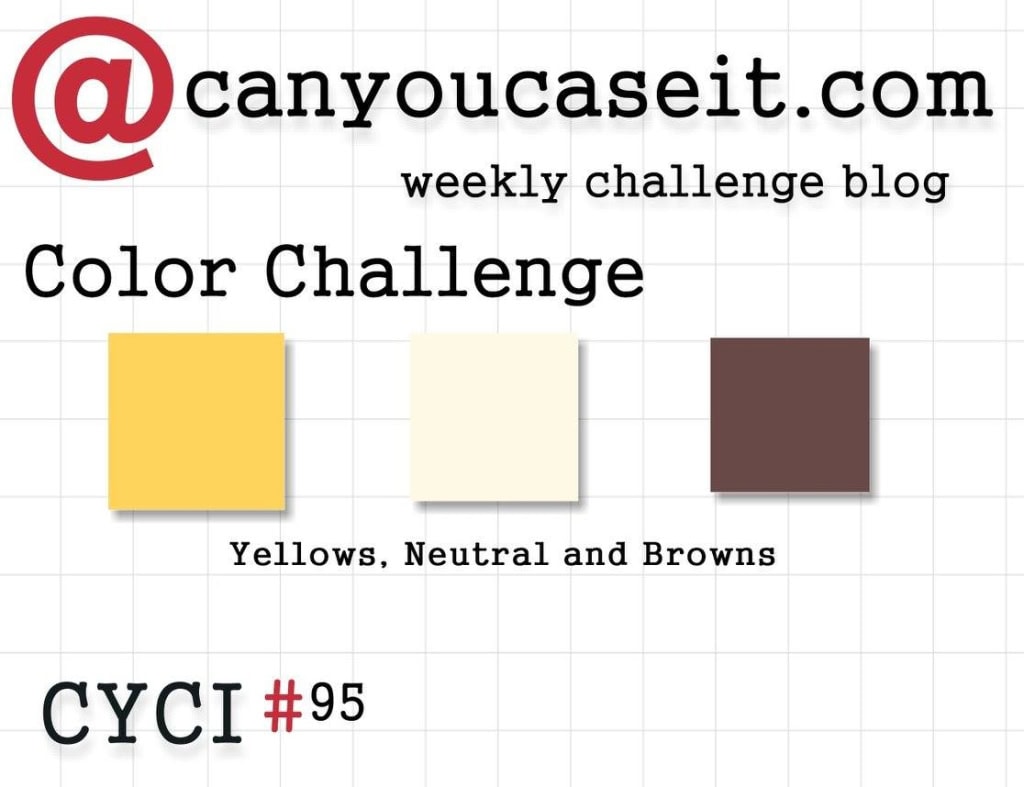
 Here is this week’s CanYouCaseIt.com color challenge:
  And here is my card:
 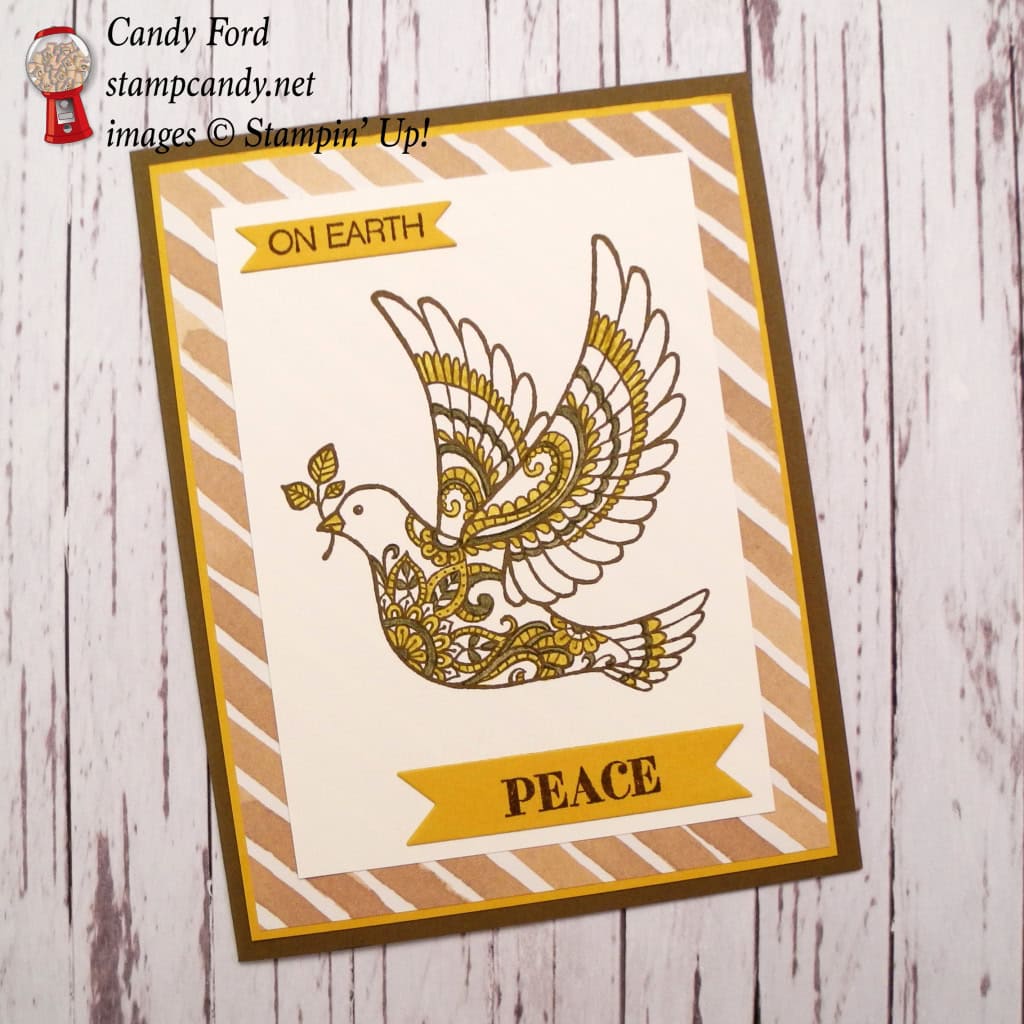 At first I was going to make an Autumn themed card using these colors, but I had the Dove of Peace stamp out already for another project, so I decided to use that. Yes, I’m that lazy – I didn’t want to get out of my chair and walk over to the shelf, which is a whole three feet away, to pick another stamp set. Actually it wasn’t the movement I dreaded, but deciding which stamp set to use. Do you ever feel like that, like making one more decision in your day will make your brain explode? So at this point, the stamp and the colors were already decided for me. All I had to do was put it together.

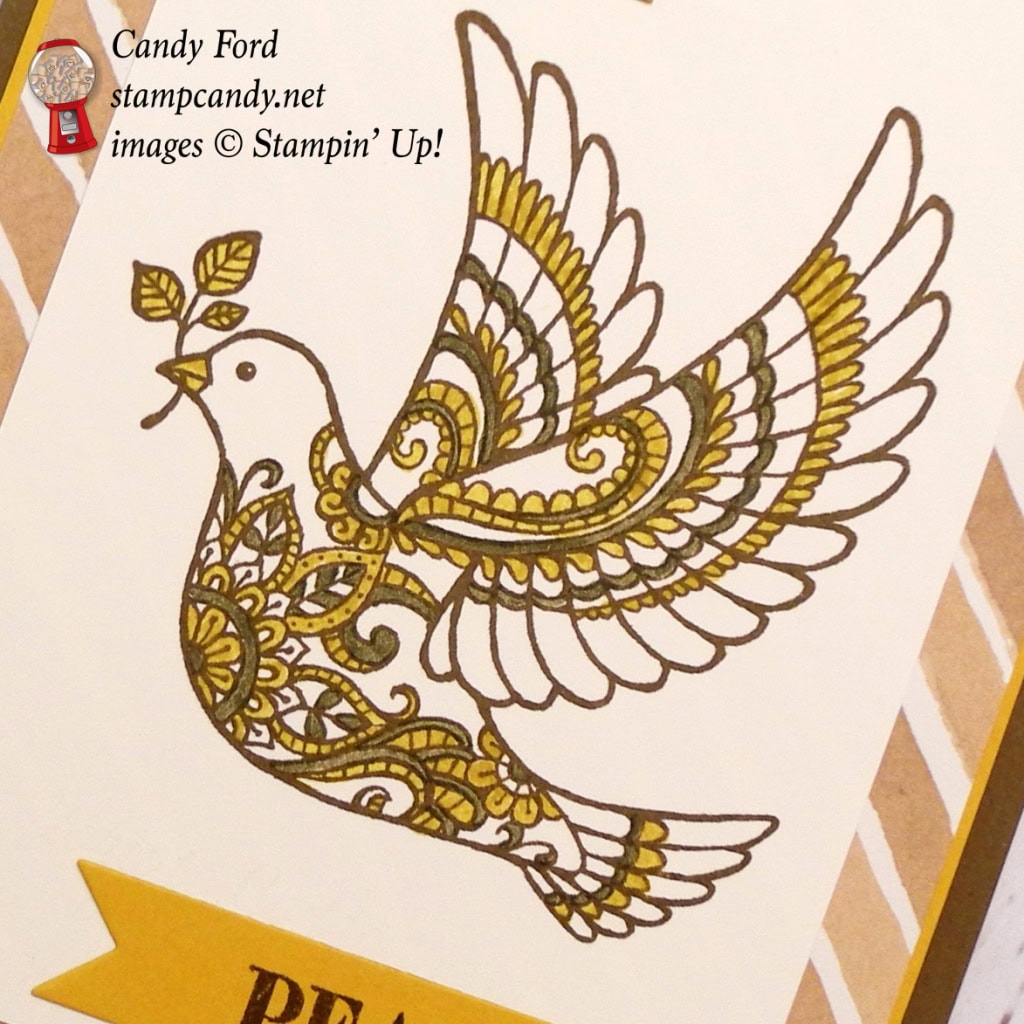
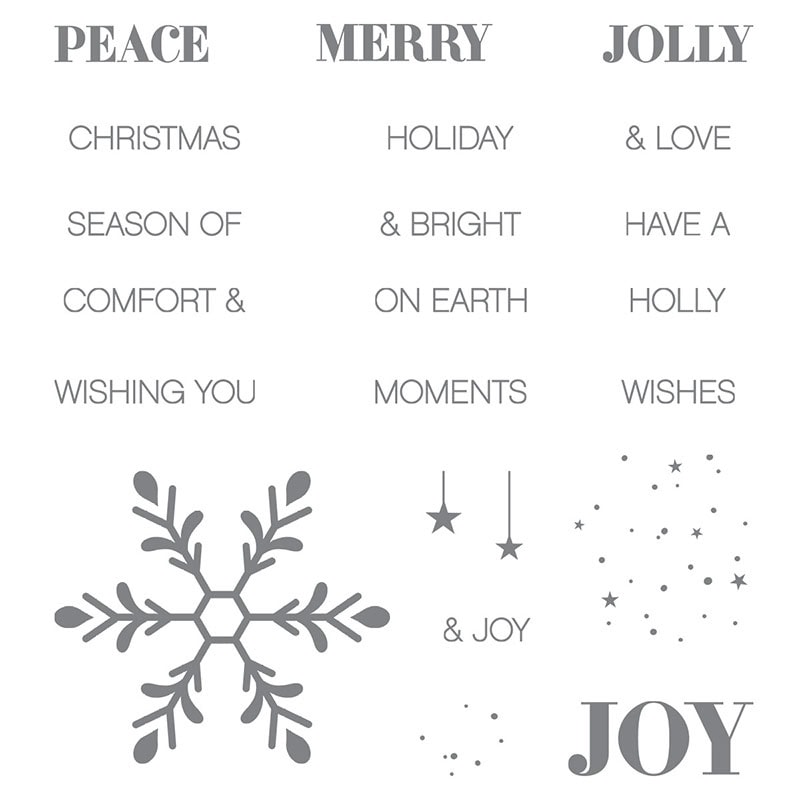
This stamp is so versatile. You can color it any way you want and it still looks like the proverbial peace dove. Who would have thought a Christmas card could be Hello Honey and Soft Suede? Masking Technique: the Dove of Peace stamp has a sentiment at the bottom which I chose to cover with a post-it note before inking up the stamp. I did use part of the phrase “on earth peace” but stamped it using the Holly Jolly Greetings stamp set:
I stamped the sentiments and the dove in Soft Suede. Then I colored the dove with Hello Honey and Soft Suede Stampin’ Write Markers – being very careful not to smear the ink from the stamped image. I cut the sentiments with the Bitty Banners Framelits Dies, and glued the whole thing together. So quick and easy! The coloring was the most time consuming part, and that didn’t take long at all.
Never think you have to use Stampin’ Up’s Designer Series Papers as they are presented in the catalog. This piece is from English Garden, a very Spring/Summer themed set, but the Soft Suede and Whisper White stripes are perfect for this Christmas card.
I don’t usually do this, but looking back now, I think I’d like to add another layer of Soft Suede between the DSP and the stamped image, with just a tiny border showing. I think the image would pop more. But since I’m sitting in an airport as I write this, and don’t have the card with me, I can’t do that right now. So for now, you’ll just have to squint at the photo and imagine a tiny brown border around the center panel. See it? Isn’t that better?
By the way, the Holly Jolly Greetings stamp set is available in a bundle with the Christmas Greetings Thinlits Dies (peace, jolly, merry.) Save 15% on both when you buy the bundle!

Here’s what I used. Click on the images below to get your own!
Thanks for stopping by today, and Sweet Stamping!