Dec 28, 2016 | Cards, Gallery, New Products, Occasions |

I’m honored to be in an international group of Stampin’ Up! Demonstrators who are being highlighted today by Kylie Bertucci. I am in the US. The top ten winners will get to be part of an international blog hop, so please vote for my project here.
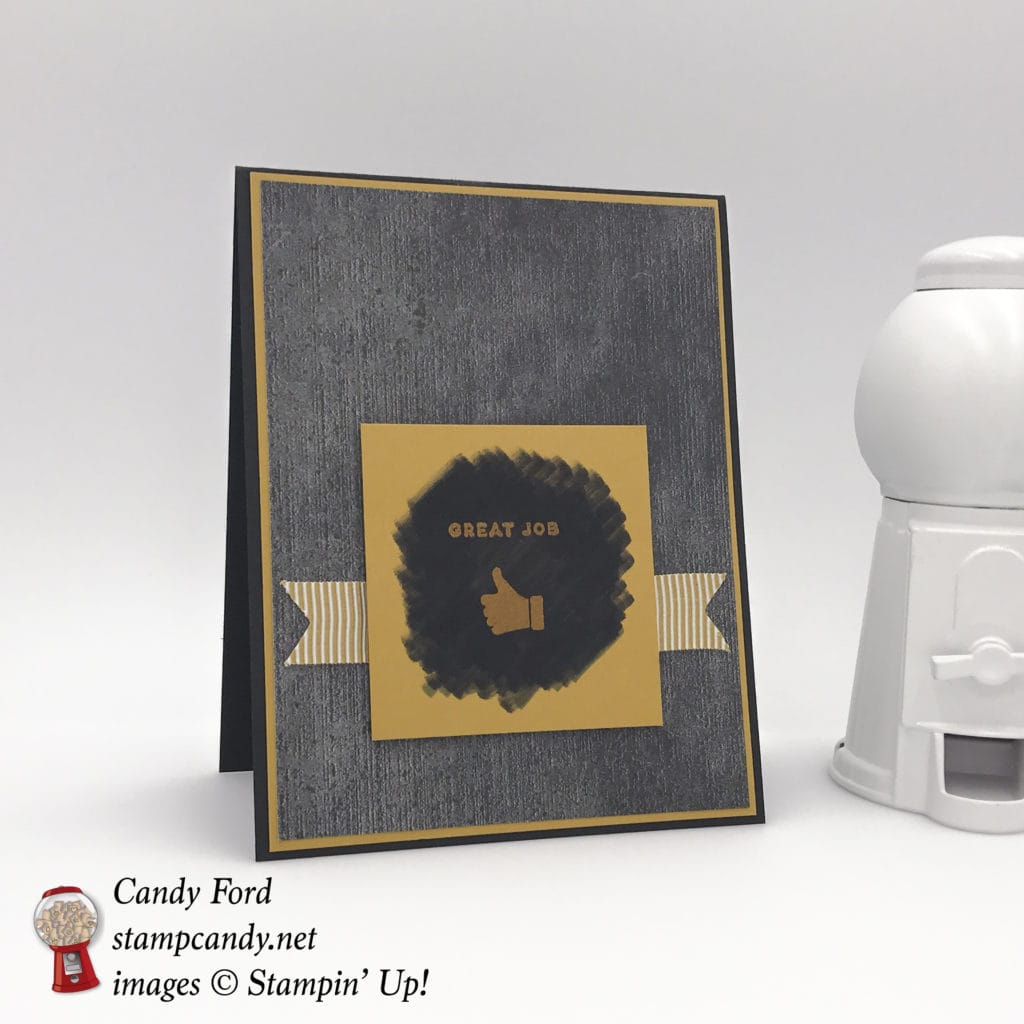
Our theme for this highlight is encouragement. We could all use a kind word now and then to build us up, right?
Here’s what I made:
Here’s how I did it:
The card base is Basic Black card stock, with a piece of Very Vanilla CS glued to the inside for a handwritten note. The next layer up on the front is a piece of Delightful Dijon CS. Then there’s a layer of Urban Underground Designer Series Paper.
I adhered a piece of Delightful Dijon ribbon to the DSP with Fast Fuse.
I stamped the sentiment and thumbs up image, from the new Iconic Occasions host stamp set, in Versamark ink onto a small piece of Delightful Dijon CS, then heat embossed it in clear. I used Stampin’ Write Markers in Basic Gray and Basic Black to ink it up as shown, then wiped the excess ink off the embossed areas. I adhered this to the card front with Stampin’ Dimensionals.
Here’s what I used:
Iconic Occasions stamp set (#143196 wood $18, #143199 clear mount $13.50) Available January 4, 2017.
Please head over to Kylie’s blog to vote for my project. I would love to be chosen to do an international blog hop with her!
Thanks for stopping by today, and Sweet Stamping!
Dec 27, 2016 | Blog Hop, Cards, Gallery, New Products, Occasions |
Today I am very excited to share with you a sneak peek of some new products from the upcoming 2017 Occasions Catalog, as part of the December 2016 Thailand Achievers’ Blog Hop. And I can’t wait to see what the other participants of this hop are sharing today.
Here’s how I did it:
The card base is Delightful Dijon card stock. The next layer up is Basic Gray card stock that I ran through the Big Shot in the new Hexagons Dynamic embossing folder.
I stamped the sentiment and two screws, from the Nailed It stamp set, in Basic Black ink onto a piece of Very Vanilla card stock, and matted it with a piece of Delightful Dijon.
The vertical panel is Very Vanilla card stock matted with Delightful Dijon, and the horizontal panel is a piece of Urban Underground Designer Series Paper matted with Basic Black.
The screwdriver, from the same stamp set, is stamped in Basic Black ink onto Basic Gray card stock, then cut out with the coordinating die from the Build It Framelits.
The DSP panel, the screwdriver, and the sentiment are adhered with Stampin’ Dimensionals.
Here’s the hop info:
Be sure to check out all the great stops on this hop!
Here’s what I used:
Thanks for stopping by today, and Sweet Stamping!

Sep 13, 2016 | Cards, Gallery, Halloween, Holiday, New Products |
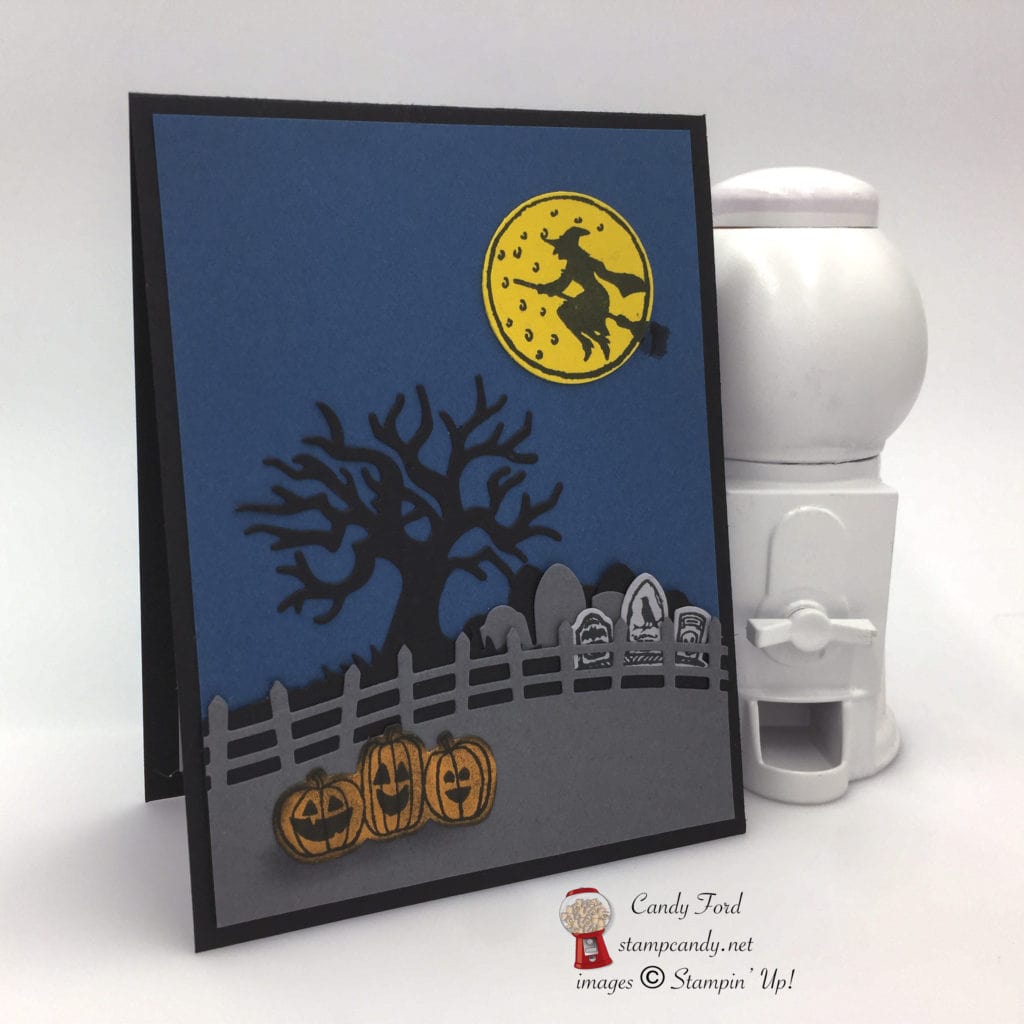
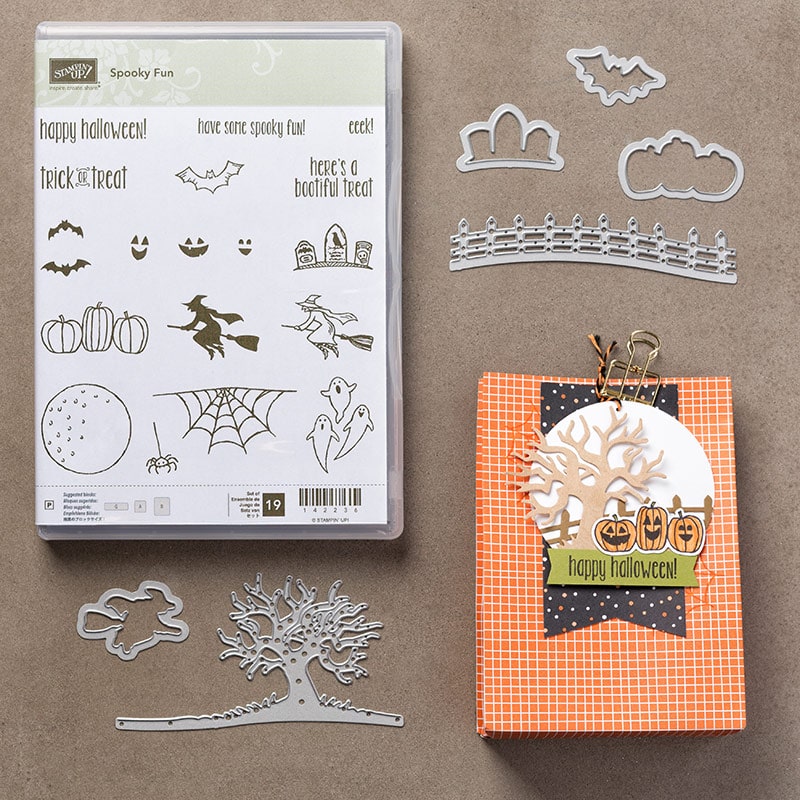
To create the scary night time scene on today’s card, I used the Spooky Fun Bundle, which is the Spooky Fun stamp set and the Halloween Scenes Edgelits Dies.
Here’s how I did it:
The card base is Basic Black with a Dapper Denim card stock layer glued on the front.
I used the dies to cut the tree and one set of tombstones from Basic Black card stock, and the fence and two more sets of tombstones from Basic Gray card stock.
Using Memento Black ink, I stamped the pumpkins and jack-o-lantern faces onto Pumpkin Pie card stock, the tombstones onto Smoky Slate card stock, and the moon and witch onto Crushed Curry card stock. I cut out the pumpkins and tombstones with the dies, and the moon with a 1-3/8″ Circle Punch.
I stamped the witch onto the Dapper Denim layer, then glued the moon over the top, lining up the broom that extends past the moon’s edges.
I used a Sponge Dauber to smudge some Basic Gray ink onto the Basic Gray layer, then glued the pumpkins on. Then I glued all the other pieces onto the card front.
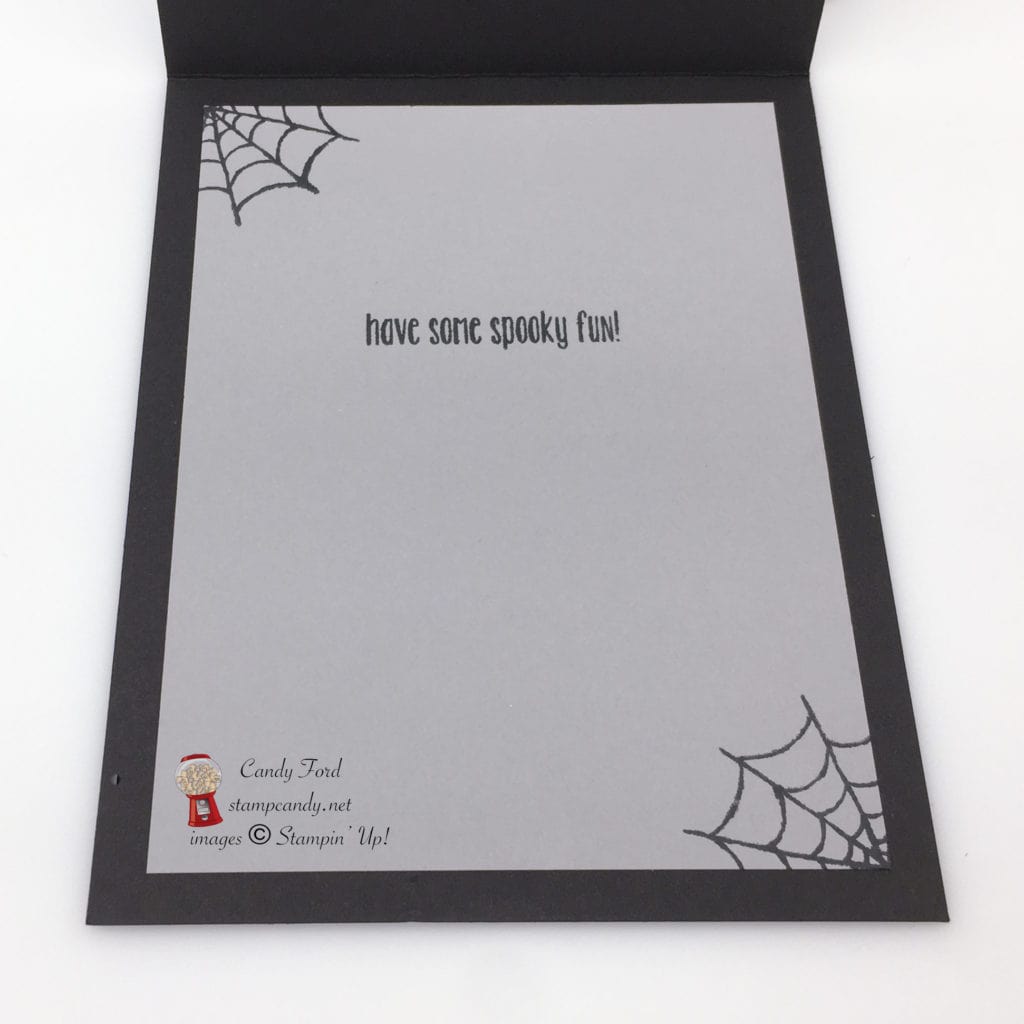
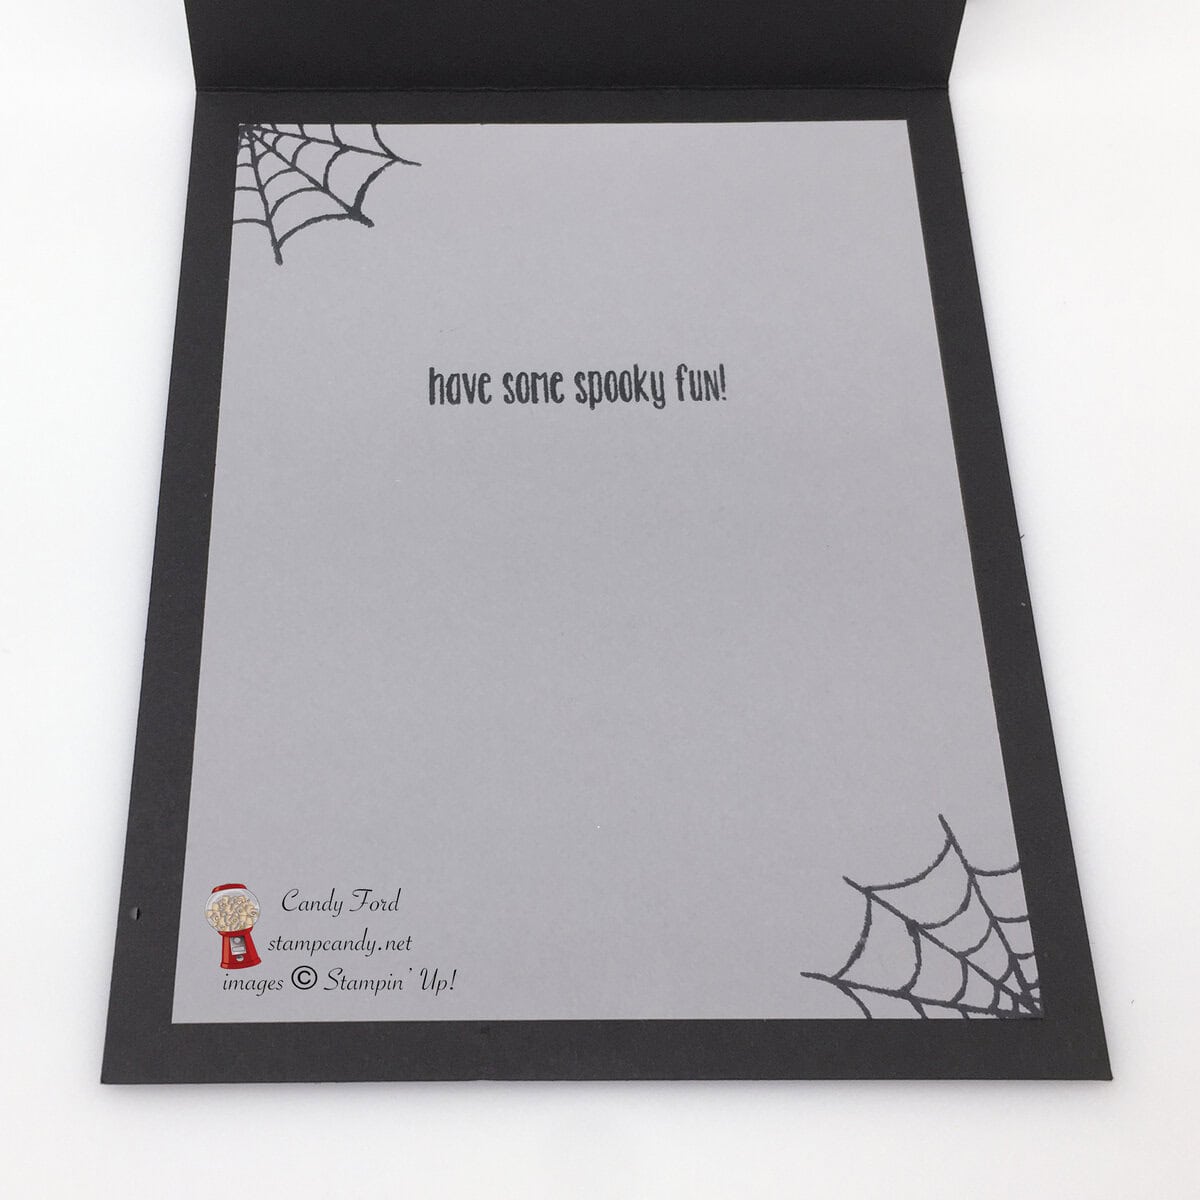
I stamped the cobwebs and sentiment onto a piece of Smoky Slate card stock and glued it to the inside of the card.
Here’s what I used:

Save 25% on this week’s
SPECIAL OFFERS
The new holiday catalog is full of delightful new products to carry you through the Autumn and Winter months, and beyond.
Click here to shop the new Holiday Items.
Click here for a pdf of the catalog.
To request a catalog be mailed to you, email me at candy@stampcandy.net, call/text me at 404-661-5222, or fill out the contact form on this page.
If you are placing an order for less than $150, please use this Hostess Code. Click here for details on how to use the Hostess Code. If you are placing an order of $150 or more, you will receive Stampin’ Rewards on your order, so do not use the Hostess Code.

During September, if you place an online order with me for $75 or more, and use the host code NJ6ABE6U, I will send you the Halloween Treat wood mount stamp set! If you place an order of $150 or more, do not use the host code – you will automatically receive the Halloween Treat stamp set!
Thanks for stopping by today, and Sweet Stamping!
Sep 12, 2016 | Cards, Gallery, Halloween, Holiday, New Products |

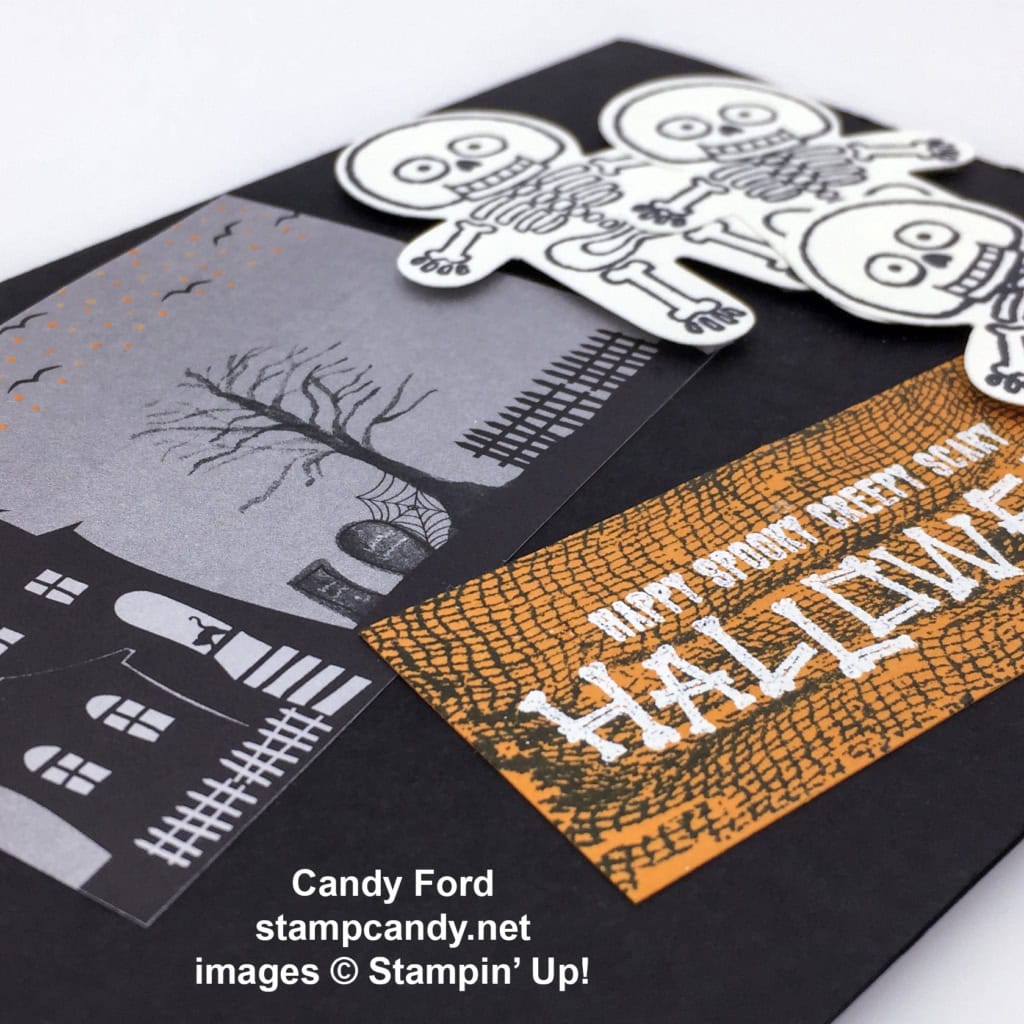
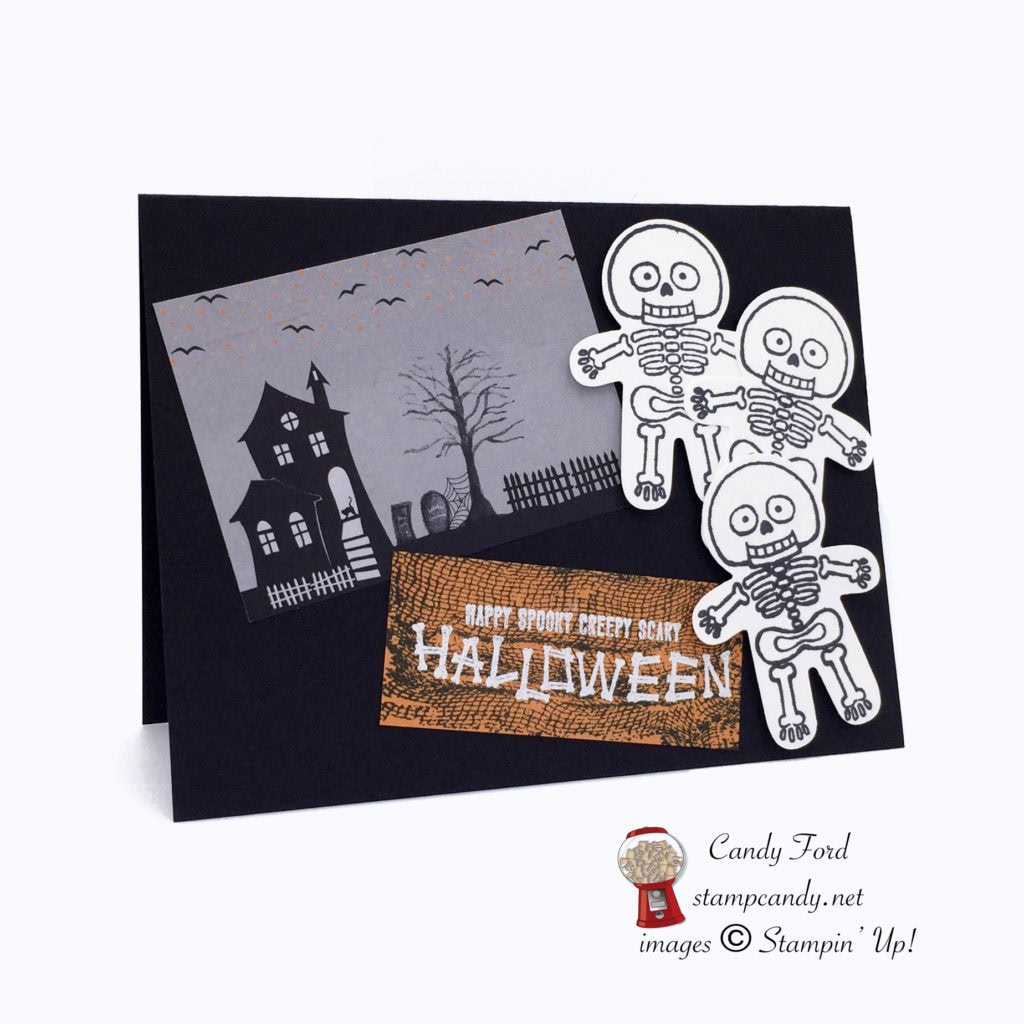
Three little skeletons walking down the street. They’re all bones from head to feet. All they wanna do is Trick of Treat, to add some meat by eating sweets.. Okay, so I’m no poet. But I did make this card, which I think is pretty cute. What do you think?
Here’s how I did it:
The card base is Basic Black card stock.
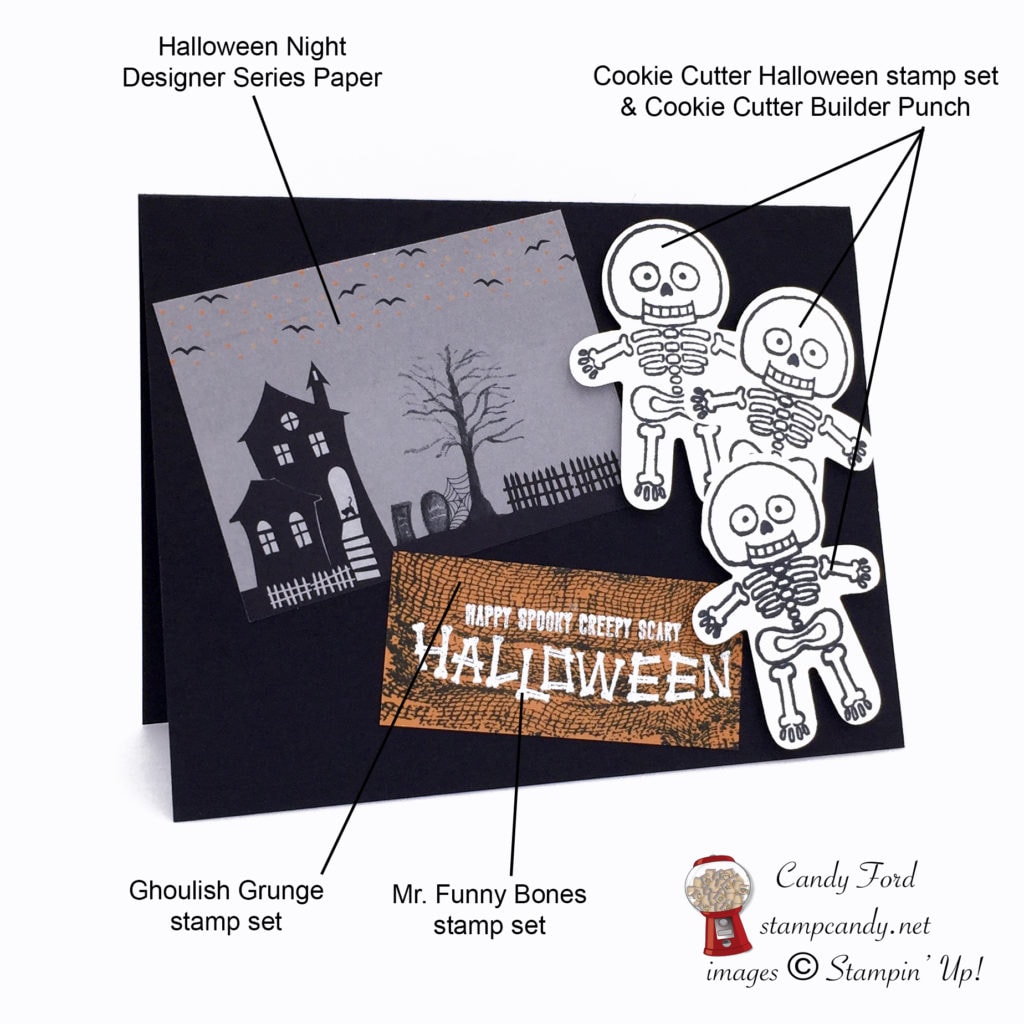
I cut the street scene from a piece of Halloween Night Designer Series Paper.
I stamped the skeletons from the Cookie Cutter Halloween stamp set in Basic Black ink onto Whisper White card stock, then cut them out with the Cookie Cutter Builder Punch.
I stamped the gauzy image from the Ghoulish Grunge stamp set in Basic Black ink onto a piece of Pumpkin Pie card stock. I swiped it with the Embossing Buddy, then stamped the sentiment from the Mr. Funny Bones stamp set in Versamark ink. I heat embossed it with White Stampin’ Emboss Powder.
I glued the two rectangular pieces to the card base. I glued the skeletons together, then adhered them to the card with Stampin’ Dimensionals.
For the card’s interior, you can glue in a piece of lighter colored card stock, maybe Whisper White or Smoky Slate, to write your message. I didn’t because I like to use a white pen to write directly onto the black card base.
Here’s what I used:
Save 25% on this week’s
SPECIAL OFFERS
The new holiday catalog is full of delightful new products to carry you through the Autumn and Winter months, and beyond.
Click here to shop the new Holiday Items.
Click here for a pdf of the catalog.
To request a catalog be mailed to you, email me at candy@stampcandy.net, call/text me at 404-661-5222, or fill out the contact form on this page.
If you are placing an order for less than $150, please use this Hostess Code. Click here for details on how to use the Hostess Code. If you are placing an order of $150 or more, you will receive Stampin’ Rewards on your order, so do not use the Hostess Code.
During September, if you place an online order with me for $75 or more, and use the host code NJ6ABE6U, I will send you the Halloween Treat wood mount stamp set! If you place an order of $150 or more, do not use the host code – you will automatically receive the Halloween Treat stamp set!
Thanks for stopping by today, and Sweet Stamping!
Sep 9, 2016 | Cards, Gallery, Halloween, Holiday, New Products |
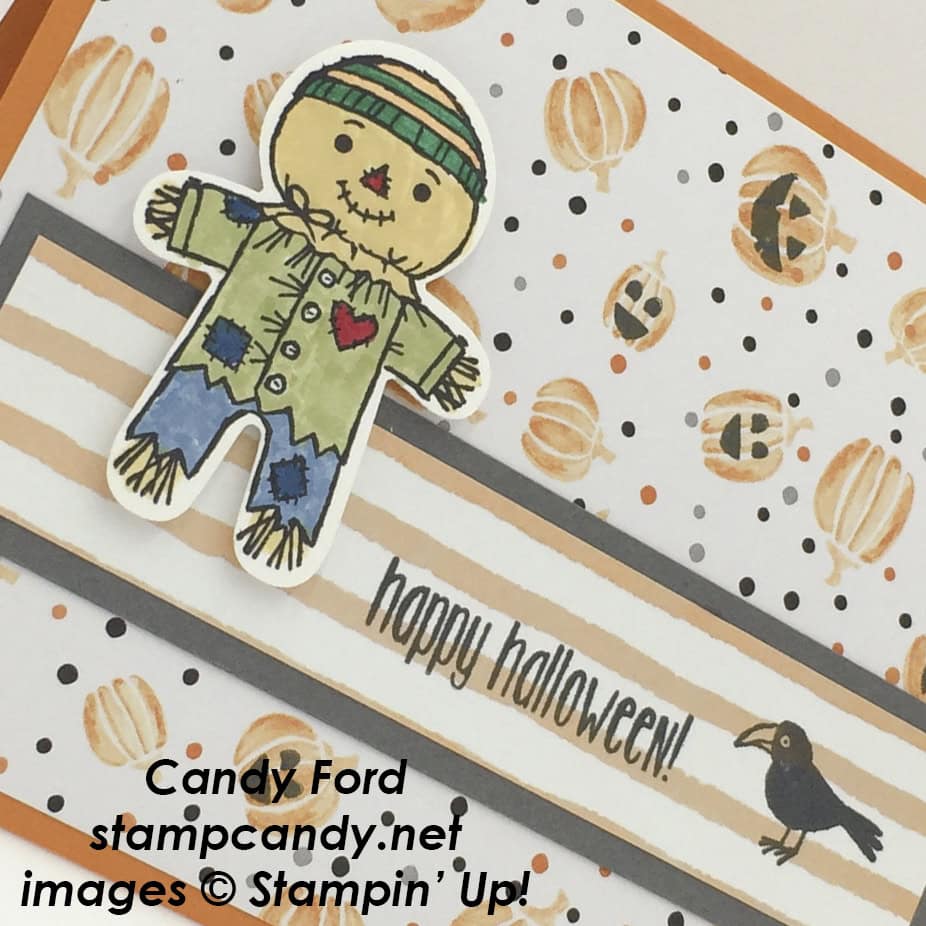
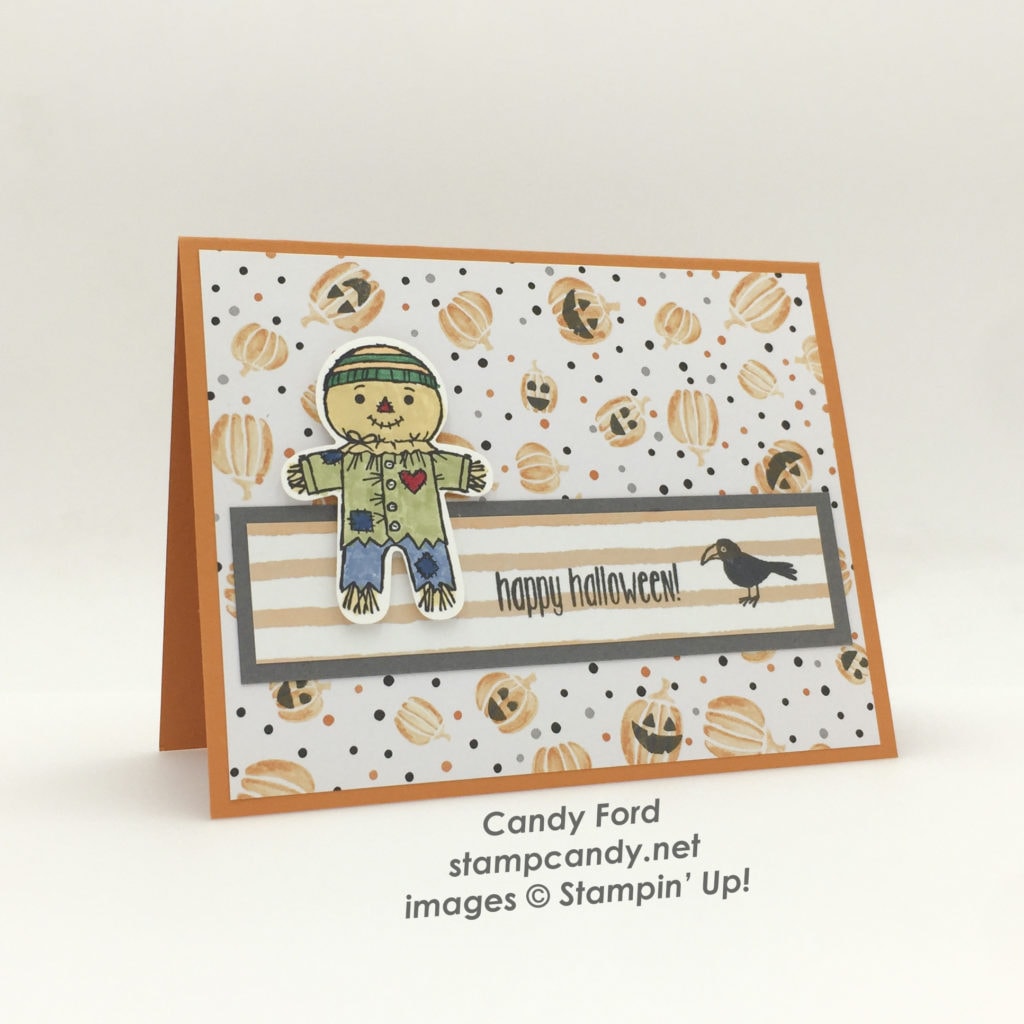
This happy scarecrow in the pumpkin patch is perfect for wishing someone a Happy Halloween, especially someone who isn’t crazy about scary ghosts and goblins. Even the crow and the jack-o-lanterns are cute rather than scary.
Here’s how I did it:
I stamped the scarecrow from the Cookie Cutter Halloween stamp set in Basic Black ink onto Whisper White card stock. I colored him in with Stampin’ Write Markers in Marina Mist, Dapper Denim, Pear Pizzazz, Real Red, Emerald Envy, Pumpkin Pie, and So Saffron. Then I cut him out with the Cookie Cutter Builder Punch.
The banner is a strip of Fruit Stand Designer Series Paper matted with a piece of Basic Gray card stock. I stamped the crow from the same stamp set, and the sentiment from the Spooky Fun stamp set, in Basic Black ink onto the DSP.
I stamped the jack-o-lantern faces from the Spooky Fun stamp set onto some of the pumpkins on a piece of Halloween Night DSP, then glued it to a Pumpkin Pie card base.
I glued the banner onto the card front, then adhered the scarecrow with Stampin’ Dimensionals.
Here’s what I used:
Save 25% on this week’s
SPECIAL OFFERS
The new holiday catalog is full of delightful new products to carry you through the Autumn and Winter months, and beyond.
Click here to shop the new Holiday Items.
Click here for a pdf of the catalog.
To request a catalog be mailed to you, email me at candy@stampcandy.net, call/text me at 404-661-5222, or fill out the contact form on this page.
If you are placing an order for less than $150, please use this Hostess Code. Click here for details on how to use the Hostess Code. If you are placing an order of $150 or more, you will receive Stampin’ Rewards on your order, so do not use the Hostess Code.
During September, if you place an online order with me for $75 or more, and use the host code NJ6ABE6U, I will send you the Halloween Treat wood mount stamp set! If you place an order of $150 or more, do not use the host code – you will automatically receive the Halloween Treat stamp set!
Thanks for stopping by today, and Sweet Stamping!
Sep 6, 2016 | Cards, Gallery, Halloween, Holiday, New Products |
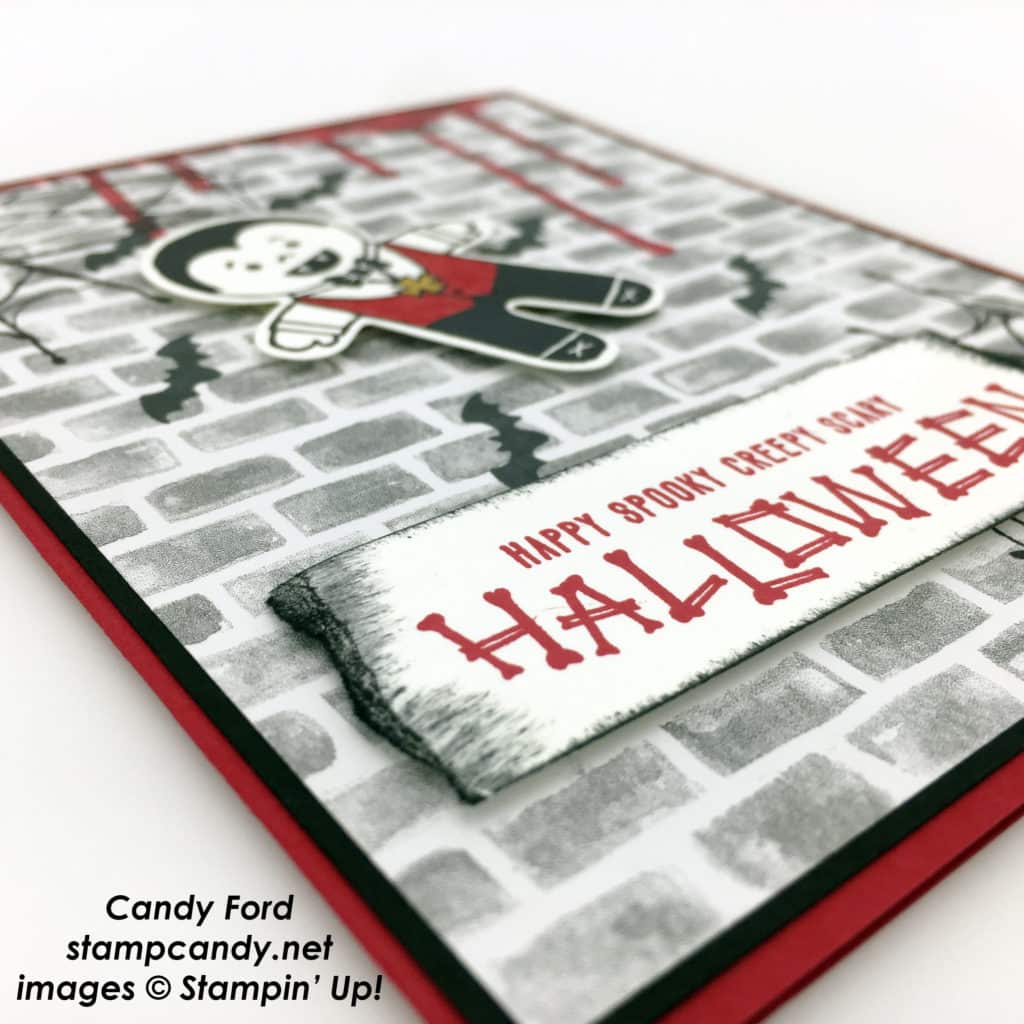
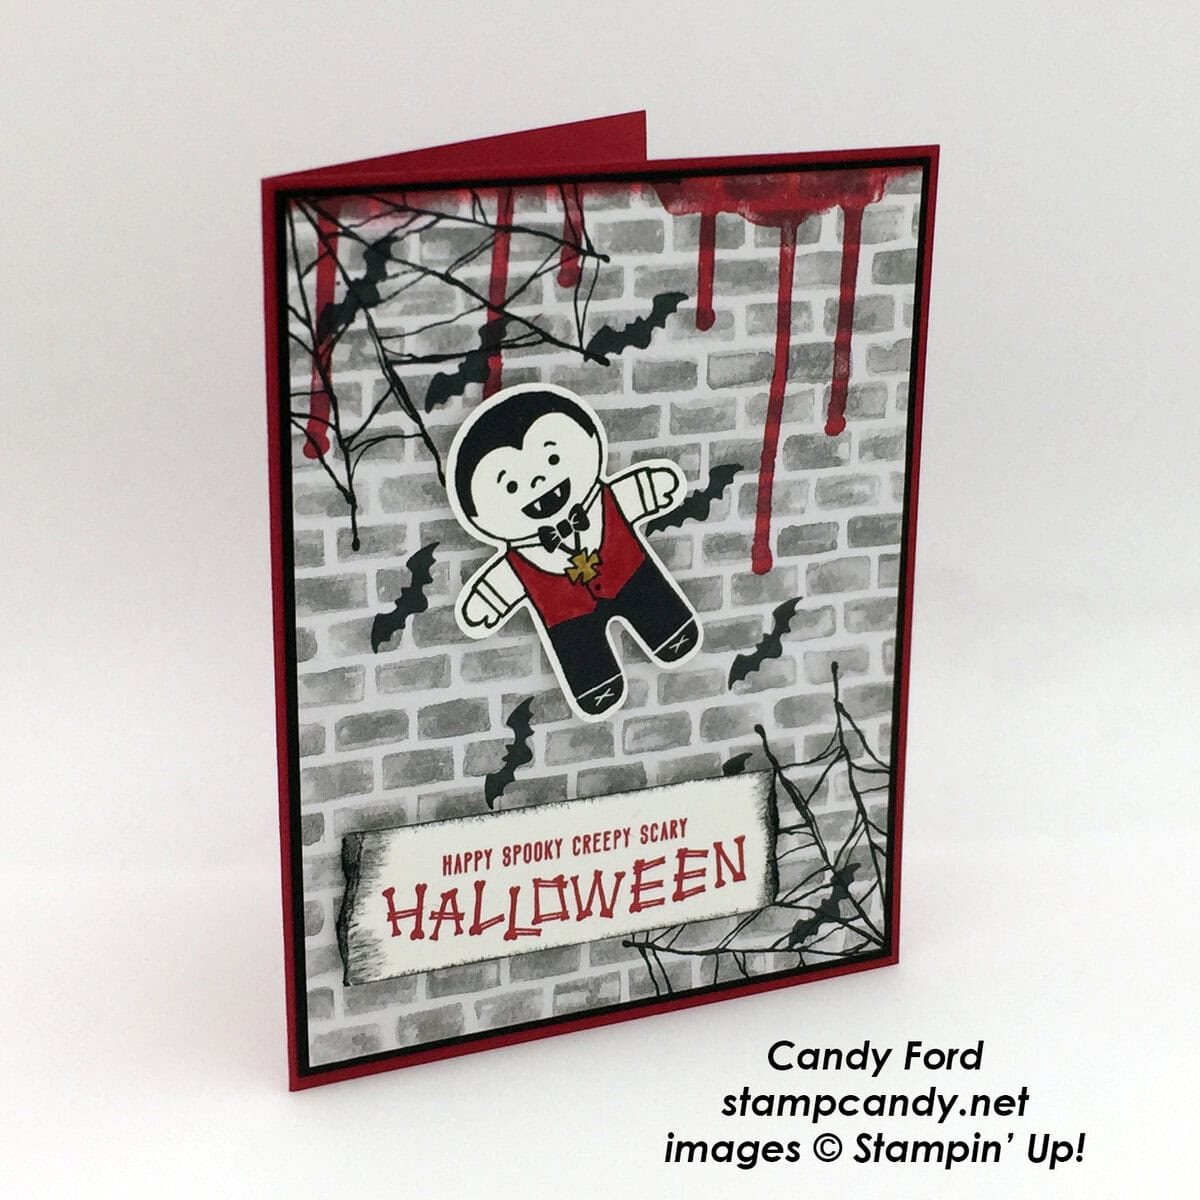
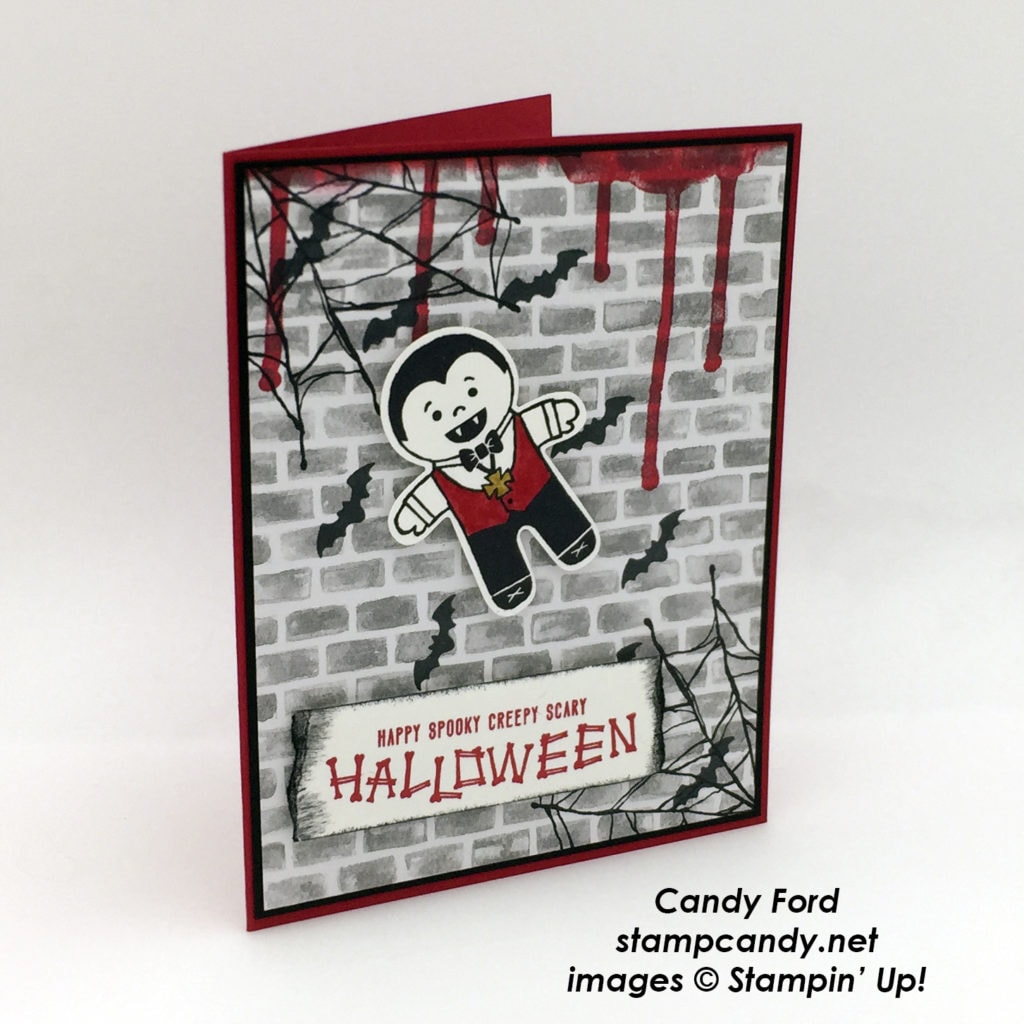
Today’s card is another one I’ve made with the Cookie Cutter Halloween stamp set and the Cookie Cutter Builder Punch. This cute little vampire is flying up and out of his lair with his little bat buddies.
Here’s how I did it:
I stamped the vampire from the Cookie Cutter Halloween stamp set in Archival Basic Black ink onto Whisper White card stock. I colored his vest in Real Red and his pendant in Delightful Dijon with Stampin’ Write Markers. Then I used the Cookie Cutter Builder Punch to cut him out.
I stamped the sentiment from the Mr. Funny Bones stamp set in Real Red onto a strip of Whisper White card stock. I tore the ends, then inked all the edges in Basic Black ink with a sponge Dauber.
The brick background is from the Halloween Night Designer Series Paper. I stamped the bloody drips in Real Read ink and the cob webs in Basic Black ink directly onto the DSP – both of these images are from the Ghoulish Grunge stamp set. Then I stamped the bats from the Spooky Fun stamp set in Basic Black, flying up from the bottom right corner.
I matted this on a piece of Basic Black card stock, and glued that to a Real Red card base.
I adhered the sentiment and vampire to the card front with Stampin’ Dimensionals, putting the vampire in the flight path of the bats, so he’s flying with them.
Here’s what I used:
Tomorrow is the last day to save 25% on these items!
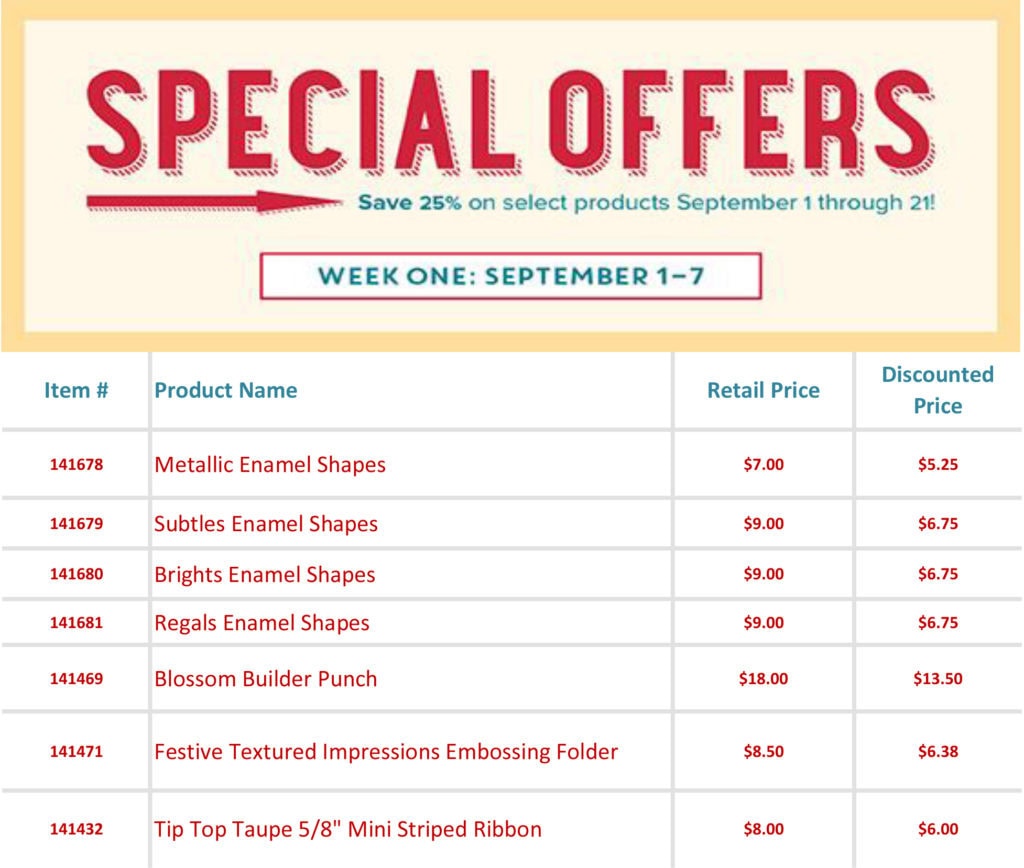
Be sure to check back Thursday, 8 September 2016, for new Special Offers!
Click here to shop the Special Offers!
The new holiday catalog is full of delightful new products to carry you through the Autumn and Winter months, and beyond.
Click here to shop the new Holiday Items.
Click here for a pdf of the catalog.
To request a catalog be mailed to you, email me at candy@stampcandy.net, call/text me at 404-661-5222, or fill out the contact form on this page.
SEPTEMBER HOSTESS CODE
NJ6ABE6U
If you are placing an order for less than $150, please use this Hostess Code. Click here for details on how to use the Hostess Code.If you are placing an order of $150 or more, you will receive Stampin’ Rewards on your order, so do not use the Hostess Code.
Thanks for stopping by today, and Sweet Stamping!