Nov 15, 2015 | Cards, Challenges, Christmas, Color Palette, CYCI, Holiday, Techniques |
 Here is this week’s CanYouCaseIt.com color challenge:
  And here is my card:
 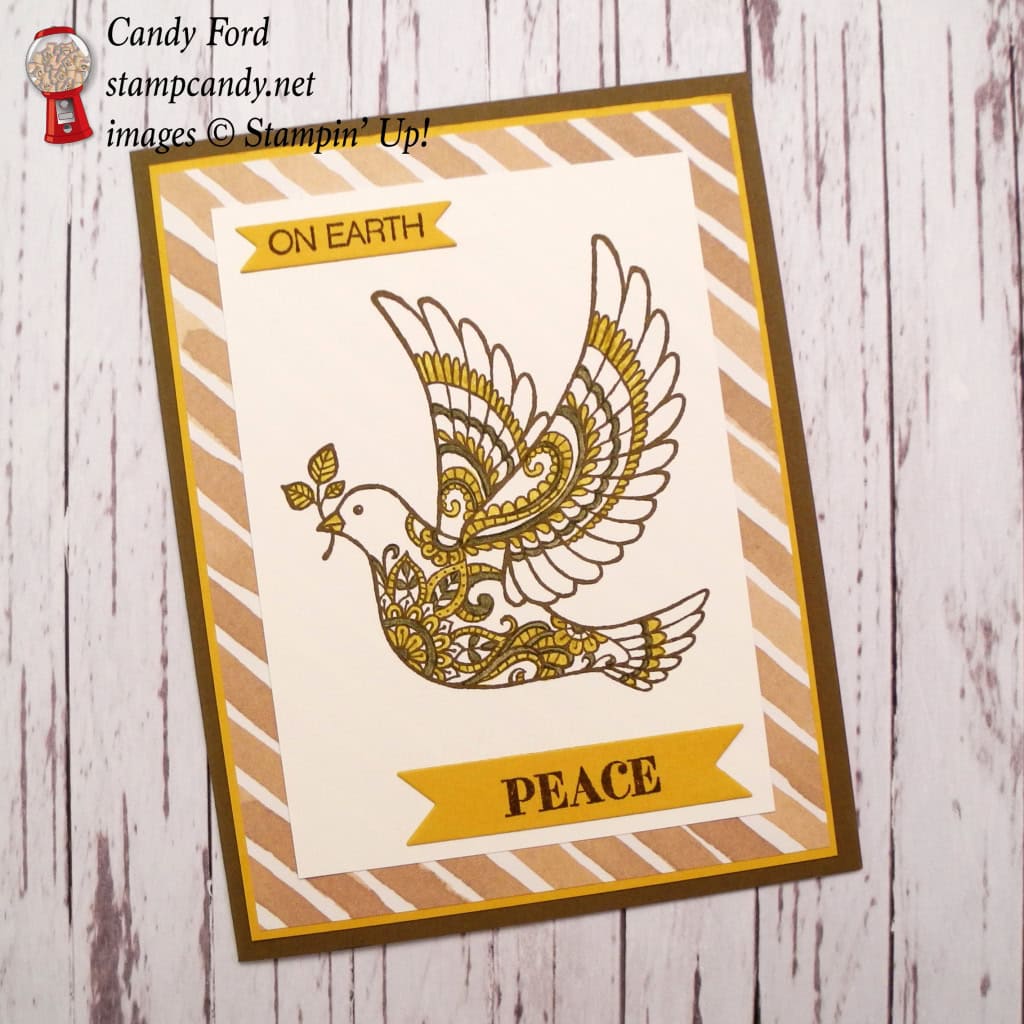 At first I was going to make an Autumn themed card using these colors, but I had the Dove of Peace stamp out already for another project, so I decided to use that. Yes, I’m that lazy – I didn’t want to get out of my chair and walk over to the shelf, which is a whole three feet away, to pick another stamp set. Actually it wasn’t the movement I dreaded, but deciding which stamp set to use. Do you ever feel like that, like making one more decision in your day will make your brain explode? So at this point, the stamp and the colors were already decided for me. All I had to do was put it together.

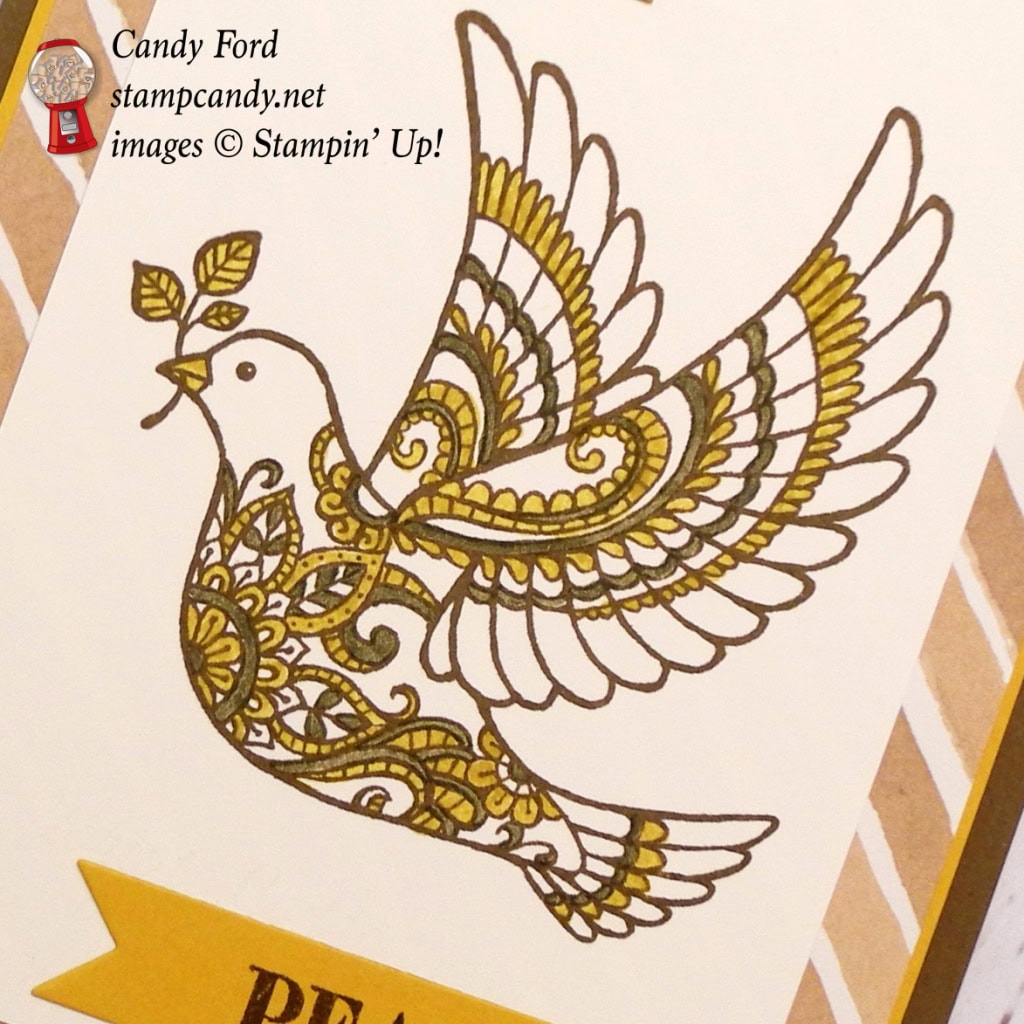
This stamp is so versatile. You can color it any way you want and it still looks like the proverbial peace dove. Who would have thought a Christmas card could be Hello Honey and Soft Suede? Masking Technique: the Dove of Peace stamp has a sentiment at the bottom which I chose to cover with a post-it note before inking up the stamp. I did use part of the phrase “on earth peace” but stamped it using the Holly Jolly Greetings stamp set:
I stamped the sentiments and the dove in Soft Suede. Then I colored the dove with Hello Honey and Soft Suede Stampin’ Write Markers – being very careful not to smear the ink from the stamped image. I cut the sentiments with the Bitty Banners Framelits Dies, and glued the whole thing together. So quick and easy! The coloring was the most time consuming part, and that didn’t take long at all.
Never think you have to use Stampin’ Up’s Designer Series Papers as they are presented in the catalog. This piece is from English Garden, a very Spring/Summer themed set, but the Soft Suede and Whisper White stripes are perfect for this Christmas card.
I don’t usually do this, but looking back now, I think I’d like to add another layer of Soft Suede between the DSP and the stamped image, with just a tiny border showing. I think the image would pop more. But since I’m sitting in an airport as I write this, and don’t have the card with me, I can’t do that right now. So for now, you’ll just have to squint at the photo and imagine a tiny brown border around the center panel. See it? Isn’t that better?
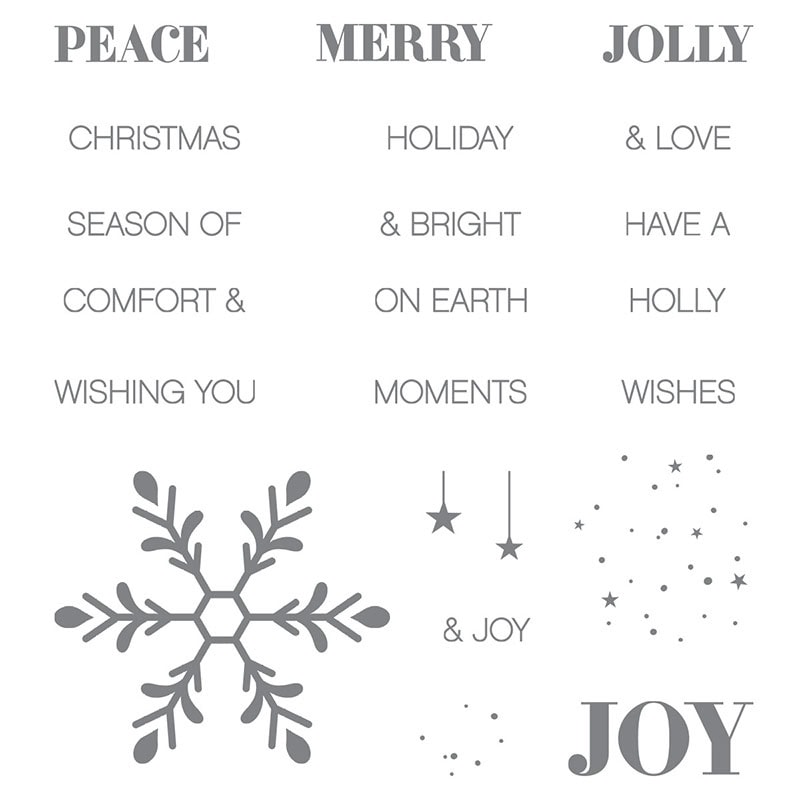
By the way, the Holly Jolly Greetings stamp set is available in a bundle with the Christmas Greetings Thinlits Dies (peace, jolly, merry.) Save 15% on both when you buy the bundle!

Here’s what I used. Click on the images below to get your own!
Thanks for stopping by today, and Sweet Stamping!

Sep 27, 2015 | Boxes, Challenges, Christmas, CYCI, Gift Wrap, Gifts, Holiday, Techniques |
With this week’s CanYouCaseIt.com Designer’s Choice challenge, you can make whatever you want!

Be sure to check out all the great projects here. Here’s mine.
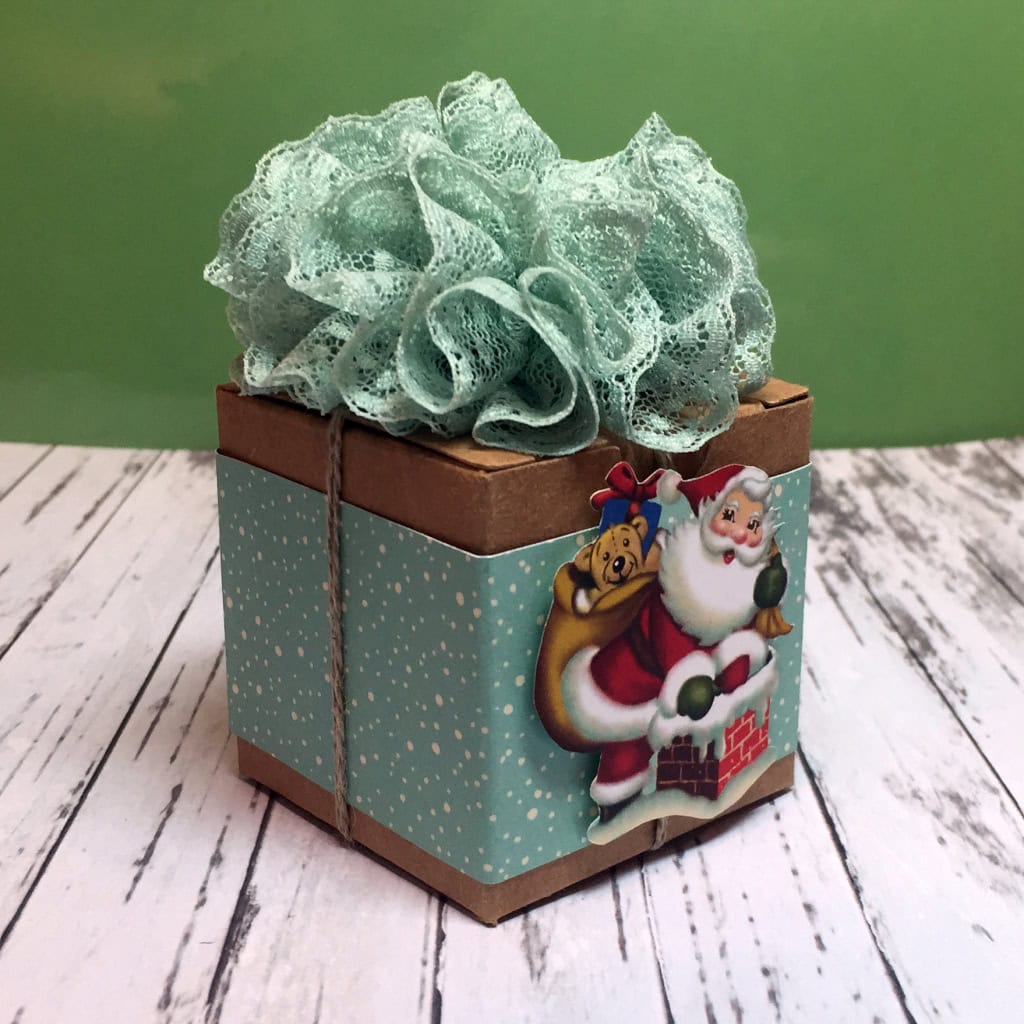
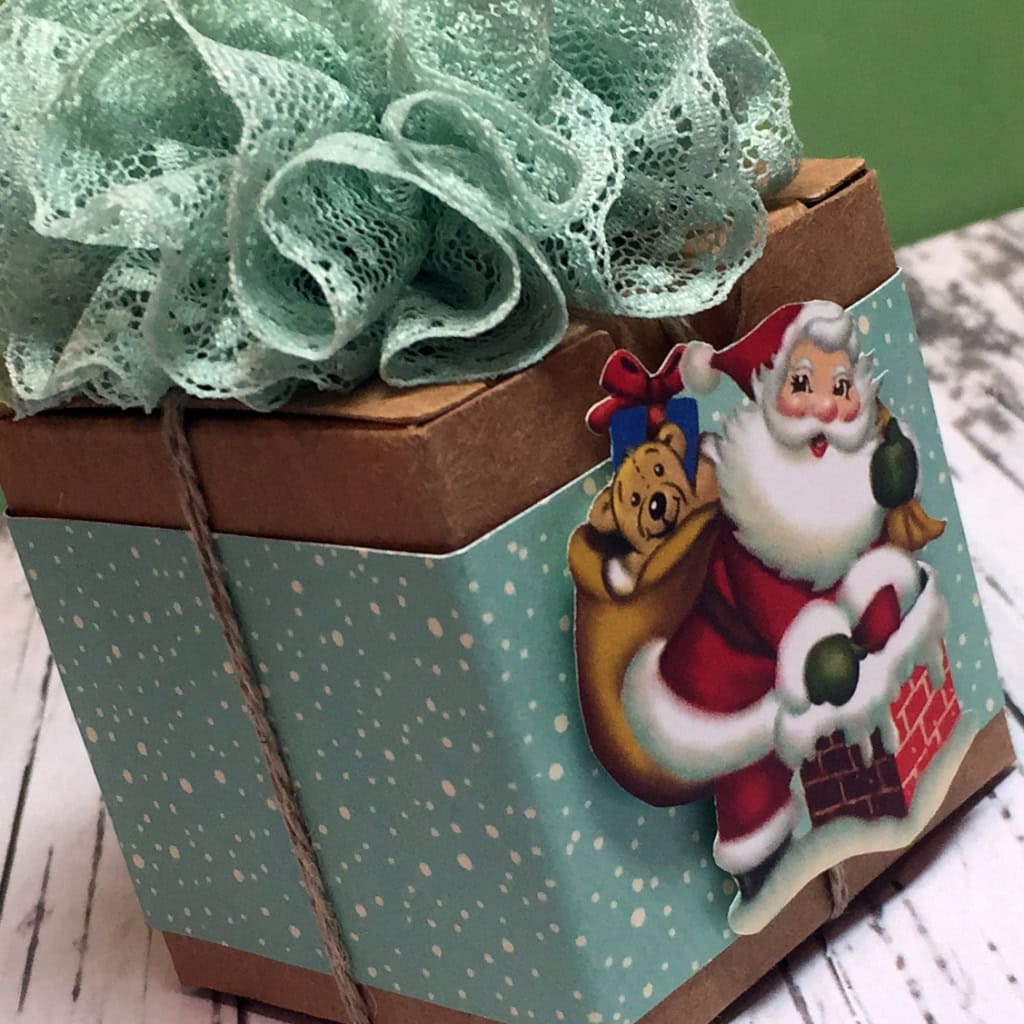
I just love these Tiny Treat Boxes. They’re so versatile. They are a great size for little treats and small gifts. (A Pandora charm box fits in perfectly.) You can use them individually, or stack them together to make an Advent calendar, for instance.
Today I’ve wrapped one with a belly band made from Home for Christmas Designer Series Paper. I used my Paper Snips to fussy cut a Santa from the same DSP, then attached it with Stampin’ Dimensionals.
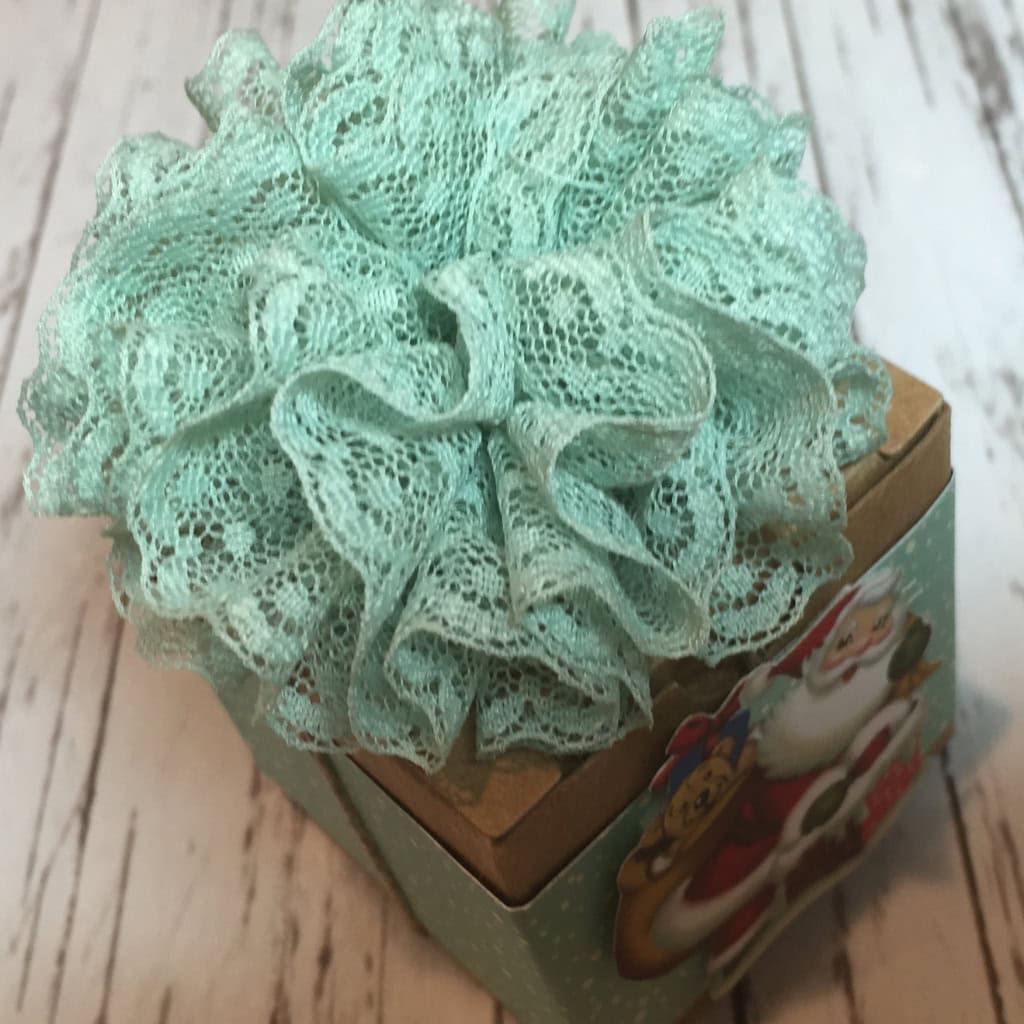
I tied up the box with Linen Thread and topped it with a pompom made of Mint Macaron 1″ Dotted Lace Trim.
TECHNIQUE: The pompom is easy to make. Cut a length of the Dotted Lace Trim (I used about 6 feet) and use a needle and thread to gather it along the straight edge. I used Linen Thread and a floss threader, because I had it at hand. Just gather it up and tie it off, then tie onto the box.
Here’s what I used:
I love hearing from you! Please leave your comments and questions below.
Thanks for stopping by today, and Sweet Stamping!
Sep 20, 2015 | Boxes, Challenges, Christmas, Color Palette, CYCI, Gift Wrap, Techniques |

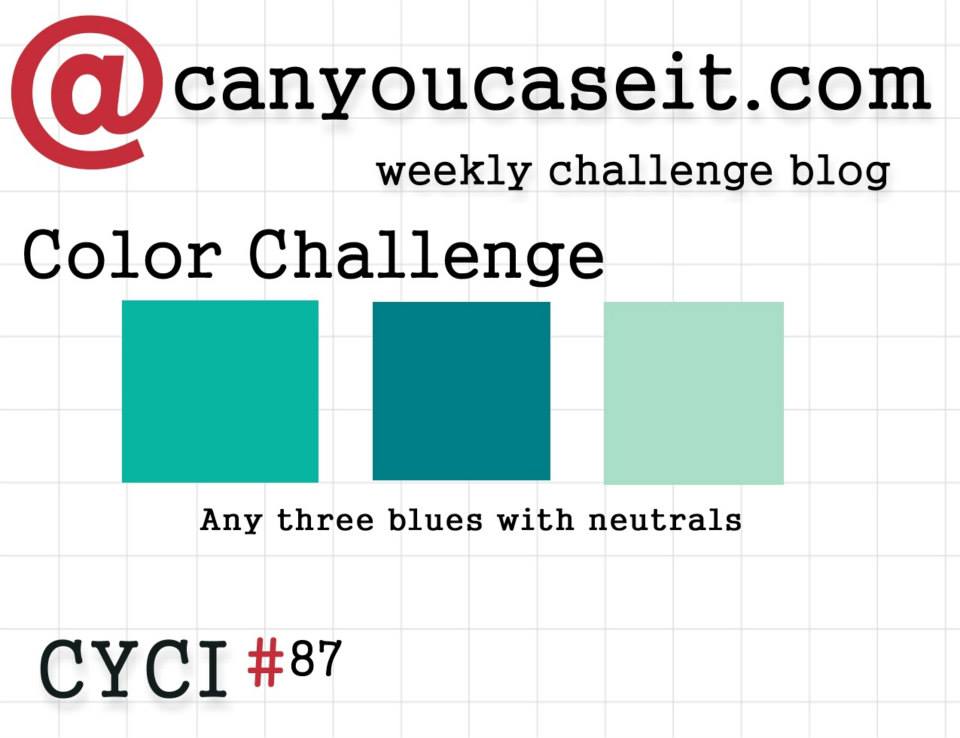
CanYouCaseIt.com has a color challenge this week:
Here’s my project:
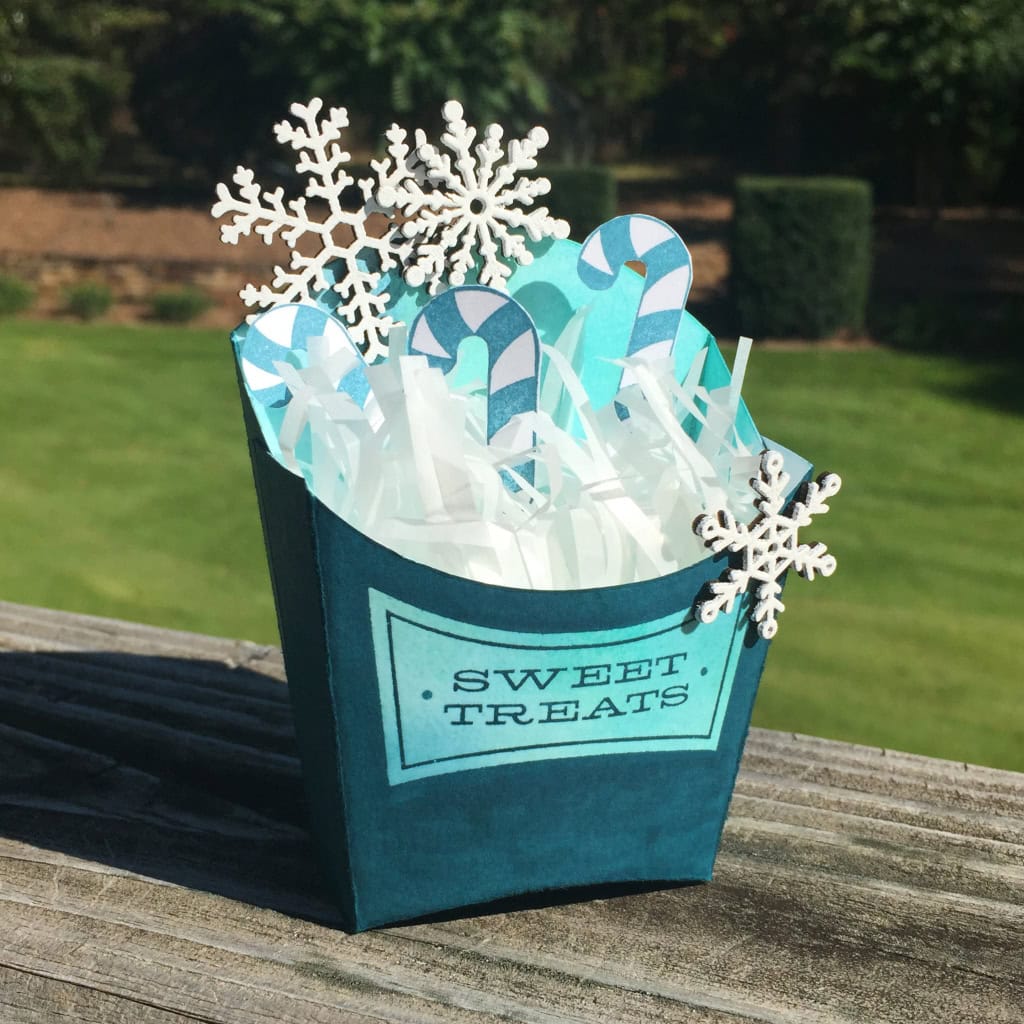
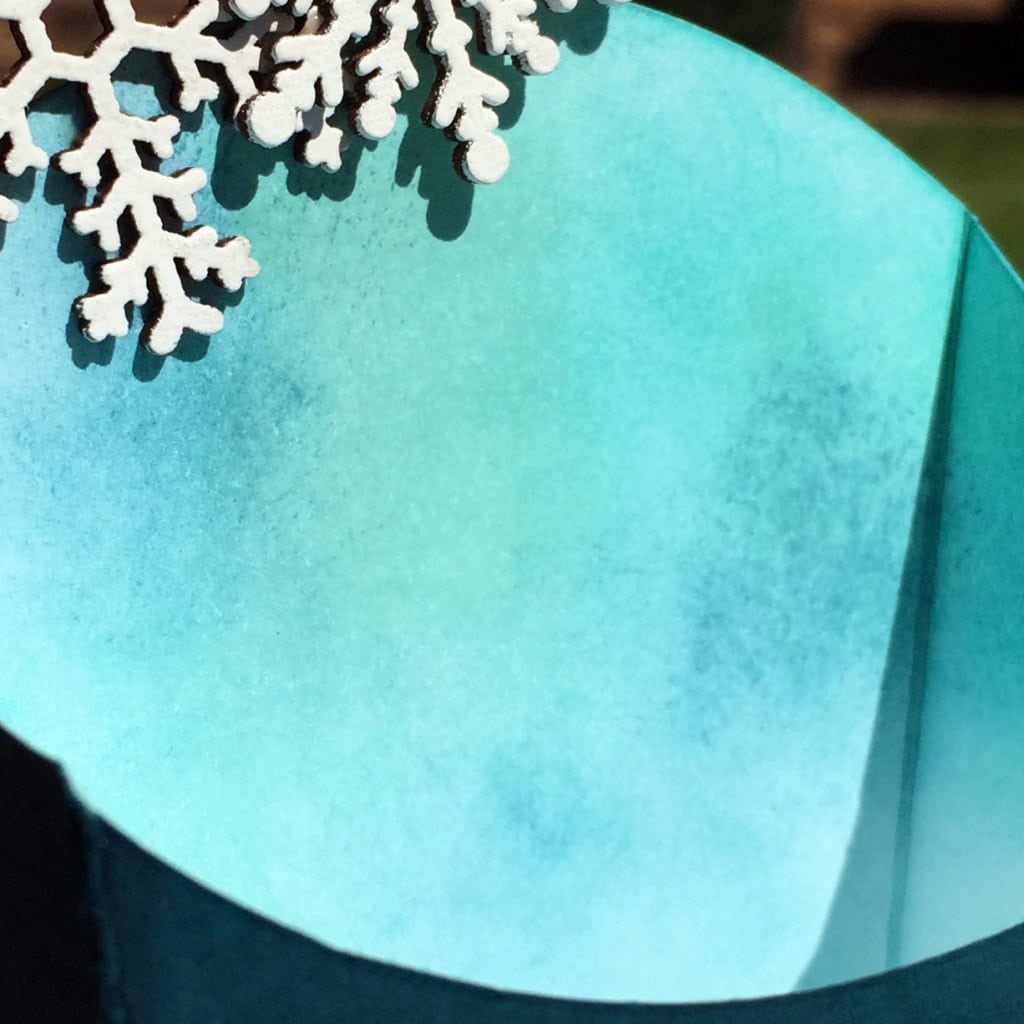
This would be perfect as a party favor, or for each place setting at a holiday gathering.
I used Soft Sky, Bermuda Bay, and Island Indigo as my three blues. I cut the Fry Box out of Whisper White Thick Card Stock. Then I sponged the whole thing, inside and out, with the three colors of blue for a marbled/mottled sort of look.
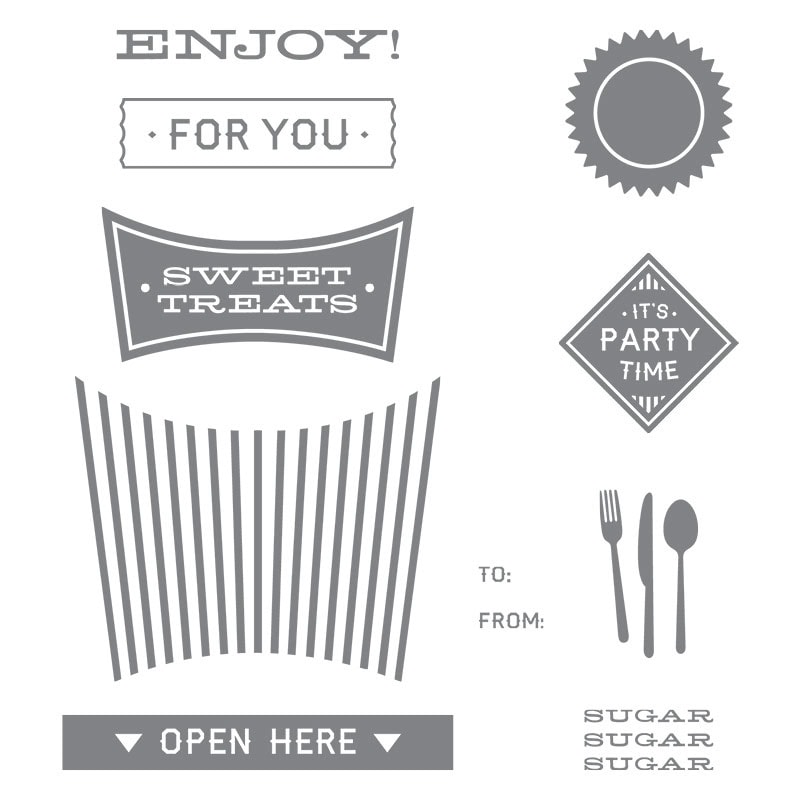
On the front of the box I stamped the sentiment in Versamark ink, then heat embossed it with Clear Stampin’ Embossing Powder.
The All About Sugar stamp set is made to coordinate with the Fry Box Bigz L Die, and the two are available as a bundle to save 15%!
After heat embossing, I colored the entire exterior of the box with Island Indigo ink. This is called the Joseph’s Coat technique. There are a few ways to do this, but the two most efficient are 1) using a brayer, and 2) taking your ink pad directly to the paper. You could also use a Stamping Write Marker, but that will take longer. Be careful as you’re doing this, as the card stock can start to pill if it gets too wet. As it happened, I got it just wet enough to make the fibers stand up a tiny bt, so it looks like suede. I love happy accidents!
I assembled the box by adhering the sides with Tear & Tape. Now I had an Island Indigo Fry Box, with a mottled tri-color sentiment and interior.
The three snowflakes are from the new Snowflake Elements wooden embellishments. Holding each one with tweezers, I pressed it into the Versamark ink pad, then into White Stampin’ Emboss Powder, then heated it with my Heat Tool. I adhered them with Multipurpose Liquid Glue.
For the filler, I cut a Glassine Sheet with Fringe Scissors, then crumpled it with my fingers.
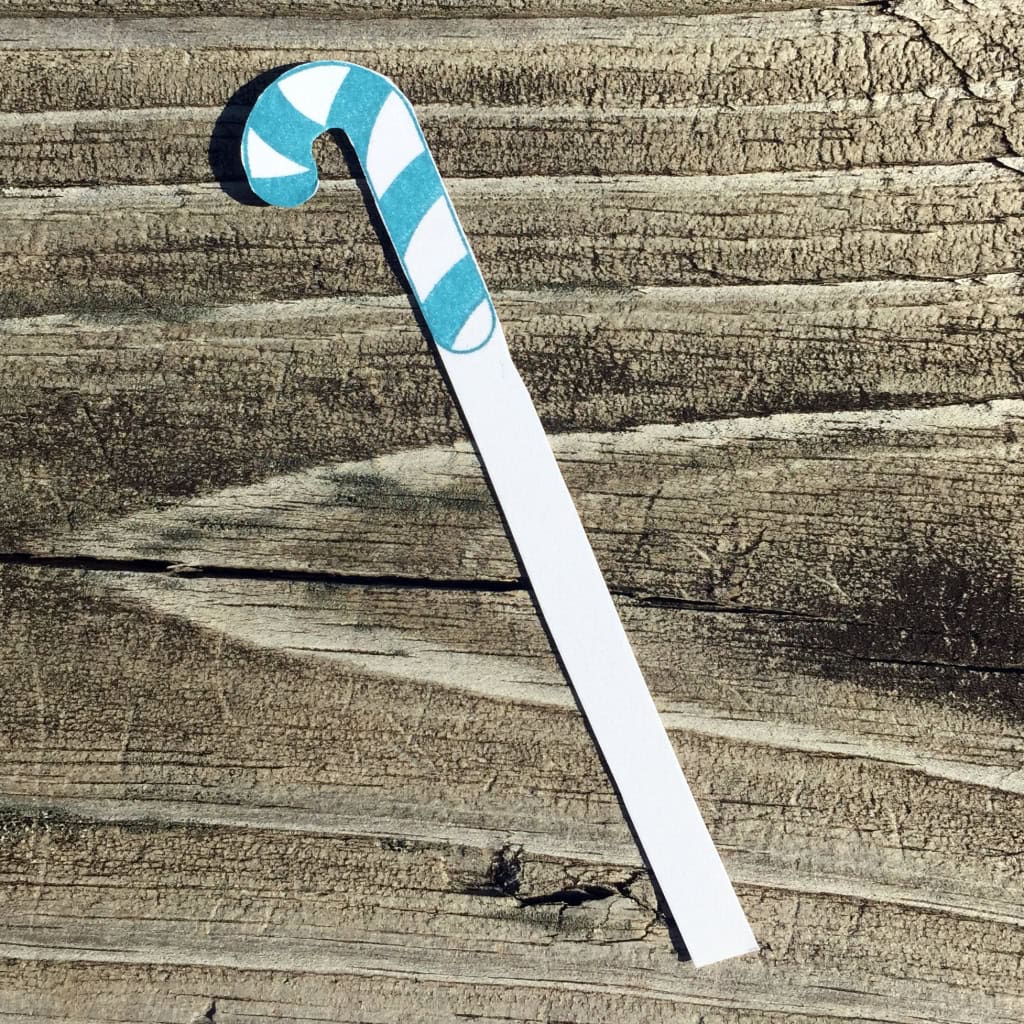
I stamped the candy cane from the A Little Something stamp set three times in Island Indigo. I fussy cut them with my Paper Snips, leaving a long stem to stick down into the Glassine filler. (The Snow Place stamp set has a longer, thinner candy cane stamp, but I preferred the fatter one for this project.)
 Here’s what I used:
I love hearing from you! Please leave your questions and comments below.
Thanks for stopping by today, and Sweet Stamping!
Sep 19, 2015 | Cards, Christmas, Club, Holiday, Techniques |
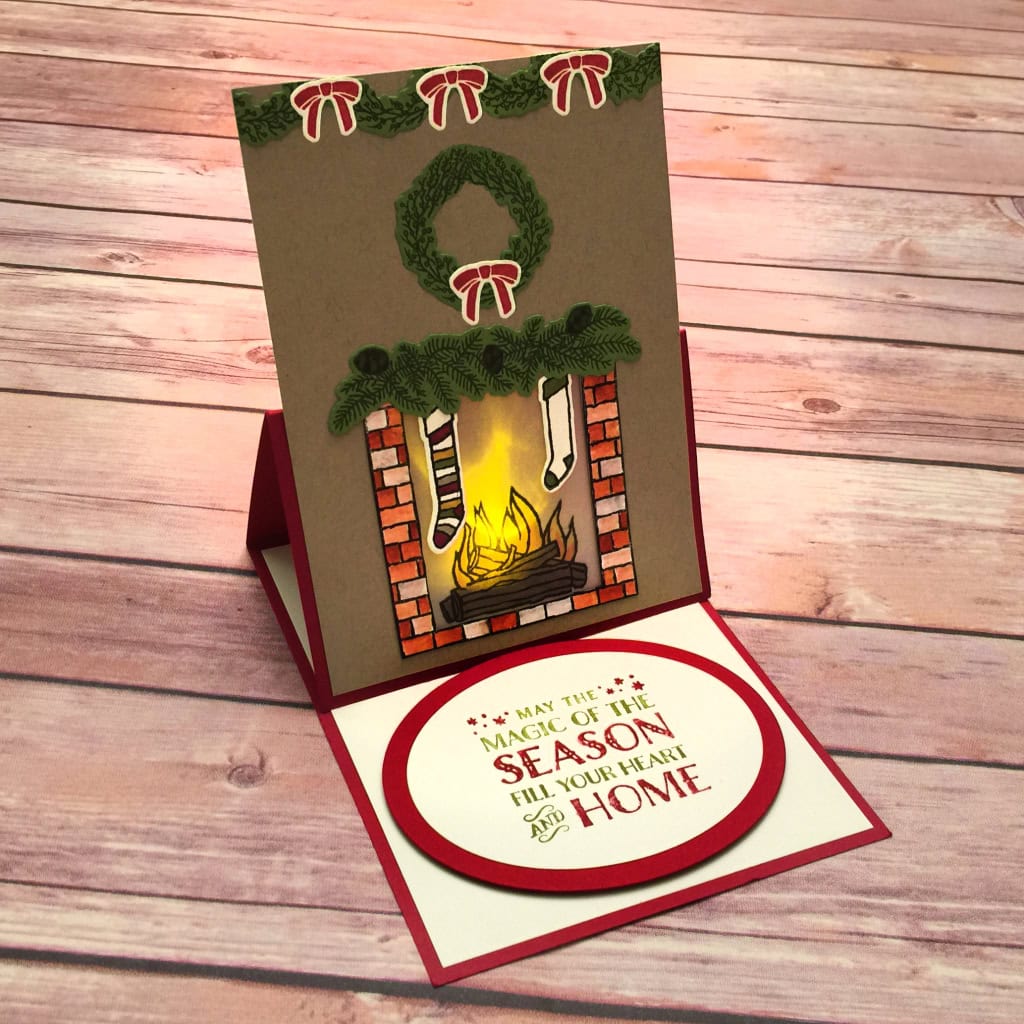
This is the third project we made at the September Stamp Club gathering. I CASEd this card from Sarah Poulton, a Stampin’ Up! Demonstrator in the UK. It’s a classic easel card, but with a little something extra: there’s a fire in the fireplace.
The sentiment is from the Cozy Christmas stamp set.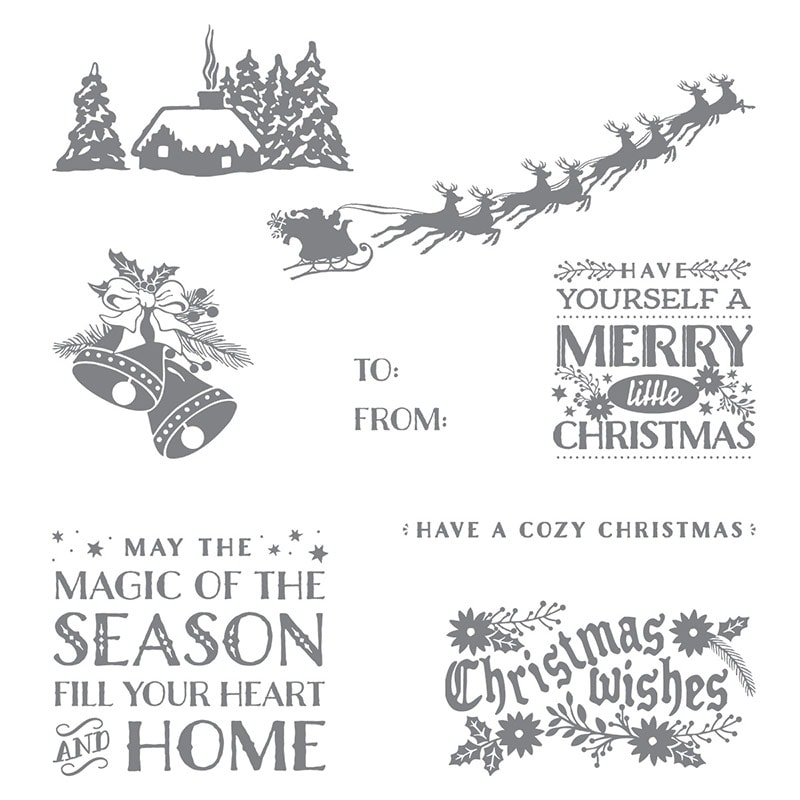
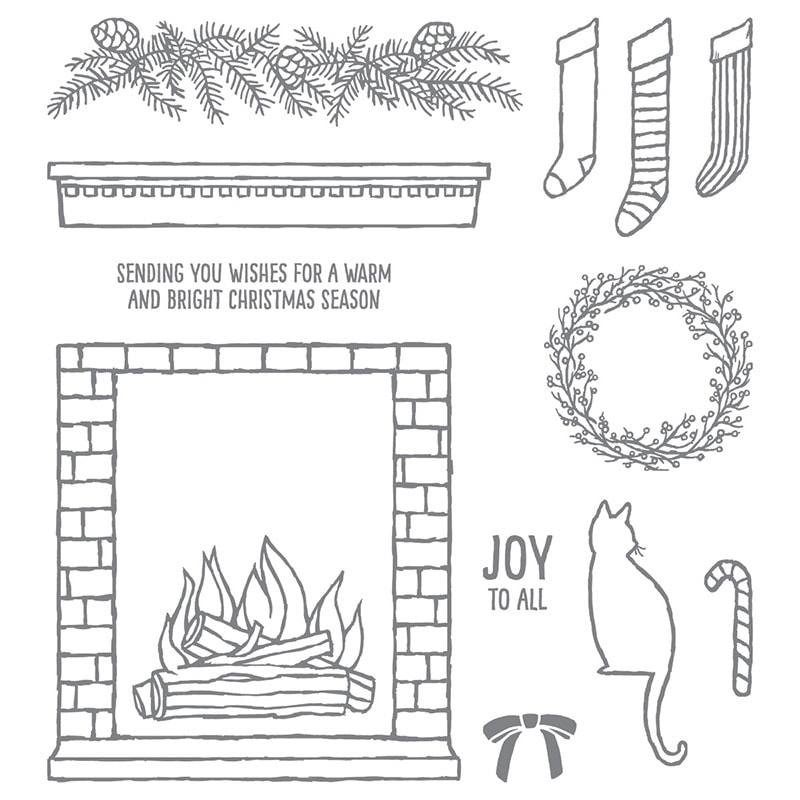
The rest of the images are from the Festive Fireplace stamp set, which is available in a Bundle (save 15%!!!) with the Festive Fireside Framelits Dies.
I usually make the standard 4-1/4″ x 5-1/2″ size card, but this card is 4-1/2″ x 6″ to better accommodate all the different elements. Cut the Cherry Cobbler card base to 4-1/2″ x 12″, and score along the long side at 3″ and 6″. You can create a custom size envelope with the Envelope Punch Board and Neutrals Envelope Paper.
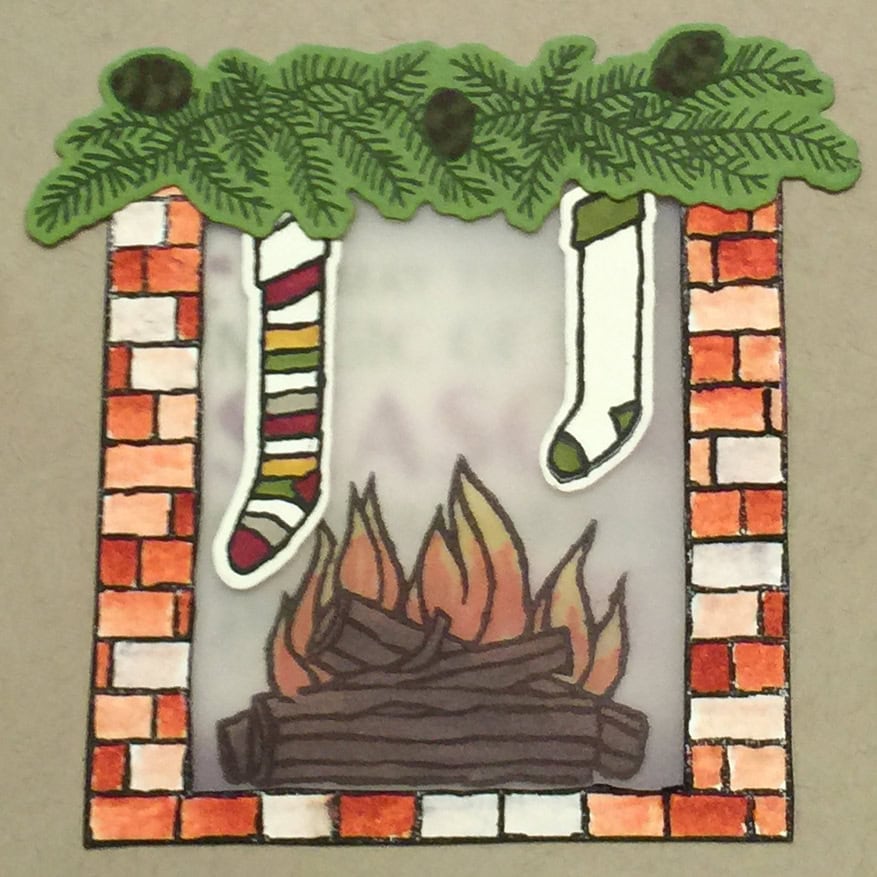
Stamp the brick fireplace surround on Watercolor Paper, color with a Blender Pen and Cajun Craze ink, and cut out with scissors. Cut off the hearth and flip it around – you will use it upside down from the way it looks in the above picture. Lay it on the Crumb Cake layer, trace around the inside, and cut the hole in the Crumb Cake. Now do the same on the bottom half of the front of the Cherry Cobbler card base. Be sure 1) the holes line up, and 2) the holes do not extend up past the fold. We had to cut a little off the top of the fireplace to make sure the inside didn’t extend above the fold in the card base.
Stamp the logs and fire on Vellum Card Stock with Black Staz-on ink (or with Archival Basic Black ink, then set with your Heat Tool.) Color the image with Stampin’ Write Markers. Allow this to dry, or set the ink with the Heat Tool. Be careful just to dry the ink and don’t get the vellum too hot or it can buckle. I hold it at an angle so the light reflects, so I can tell then it’s no longer shiny/wet.
Adhere the vellum to the back of the Crumb Cake layer, with the fire showing in the cut out. Then Adhere the bottom part of this layer to the card base.
For the garland, stamp and cut two extra wreaths, then cut them in half, so you have four pieces. Glue to the top of the Crumb Cake layer, and trim any excess with Craft Scissors or Paper Snips.
Here’s a close up of the fireplace with the card closed. You can barely see the sentiment peeking through the vellum.
Stamp the sentiment in Cherry Cobbler and Old Olive (color the stamp with Stampin’ Write Markers) on Very Vanilla CS, then cut with the Ovals Collections Framelits. Cut a piece of Cherry Cobbler CS with a larger die from the same set. Glue the two pieces together, then attach to the card with Stampin’ Dimensionals. This provides a stop for the easel.
Now for the piece de resistance. The reason we used vellum inside the fireplace is so we can see the fire. Open the card, tuck the front behind the “rug” to stand it up, and slide a tea light inside.
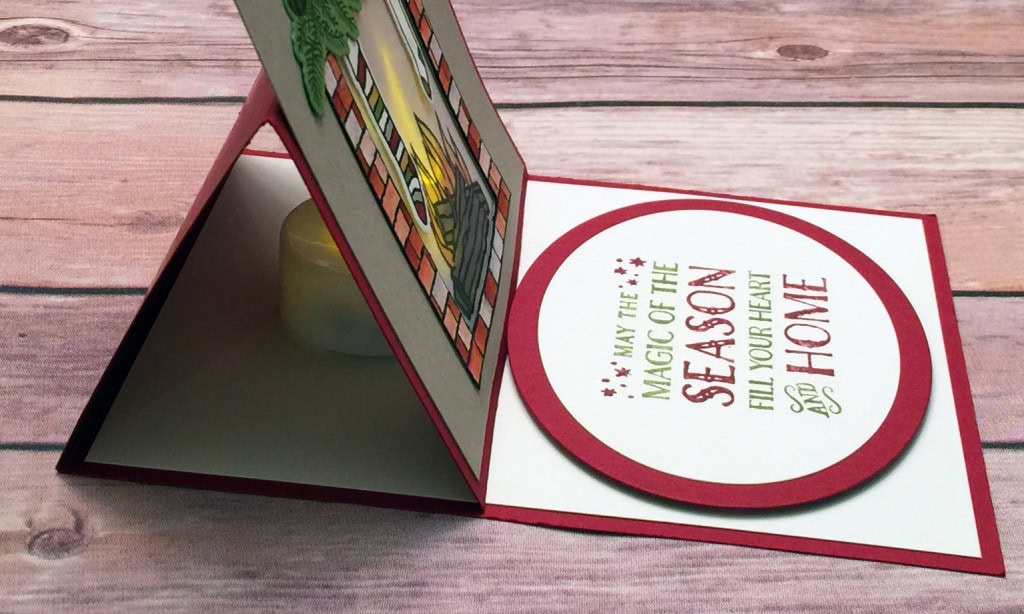
TIP: We used battery powered tea lights with a flickering amber yellow light, so it would more closely emulate a fire. They’re easy to find – I got these at Amazon.com.
Here’s what we used:
I love hearing from you. Please leave your questions and comments below.
Thanks for stopping by today, and Sweet Stamping!
Sep 8, 2015 | Cards, Techniques |

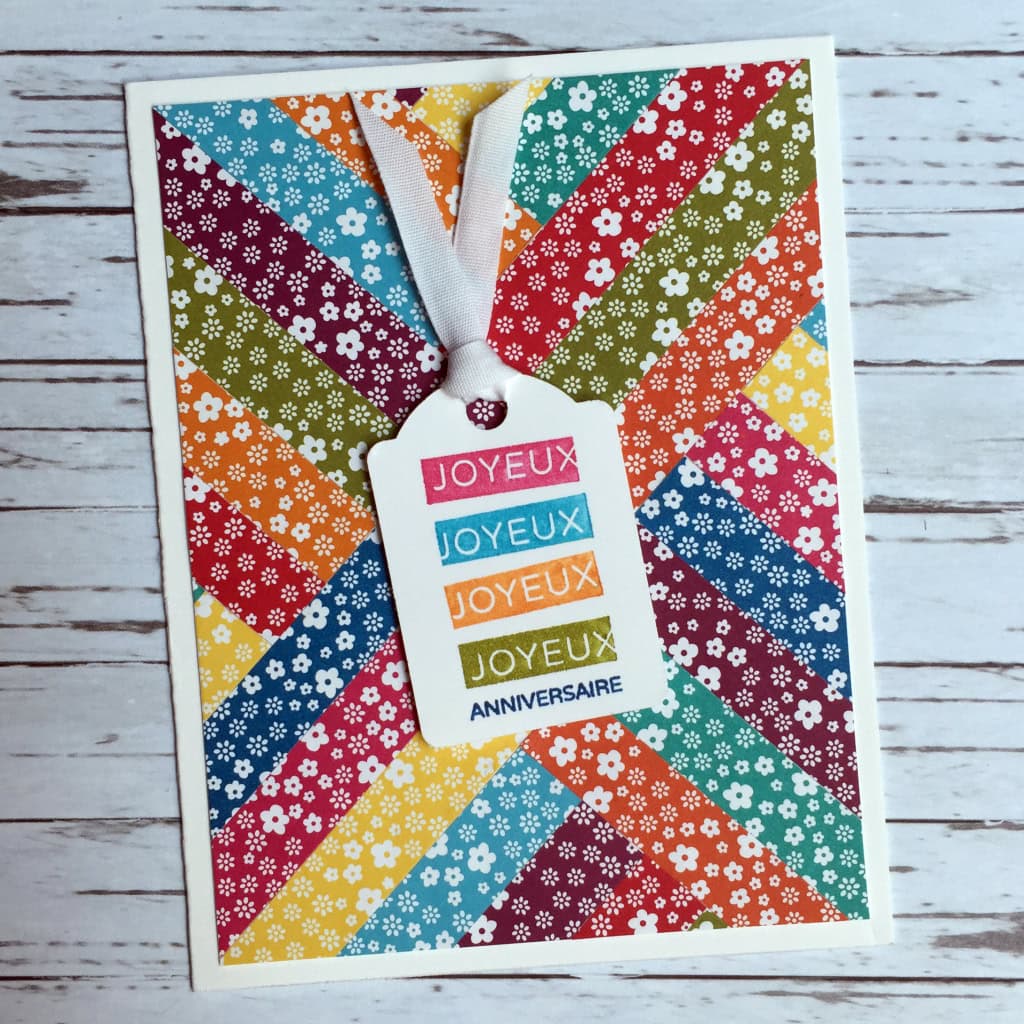
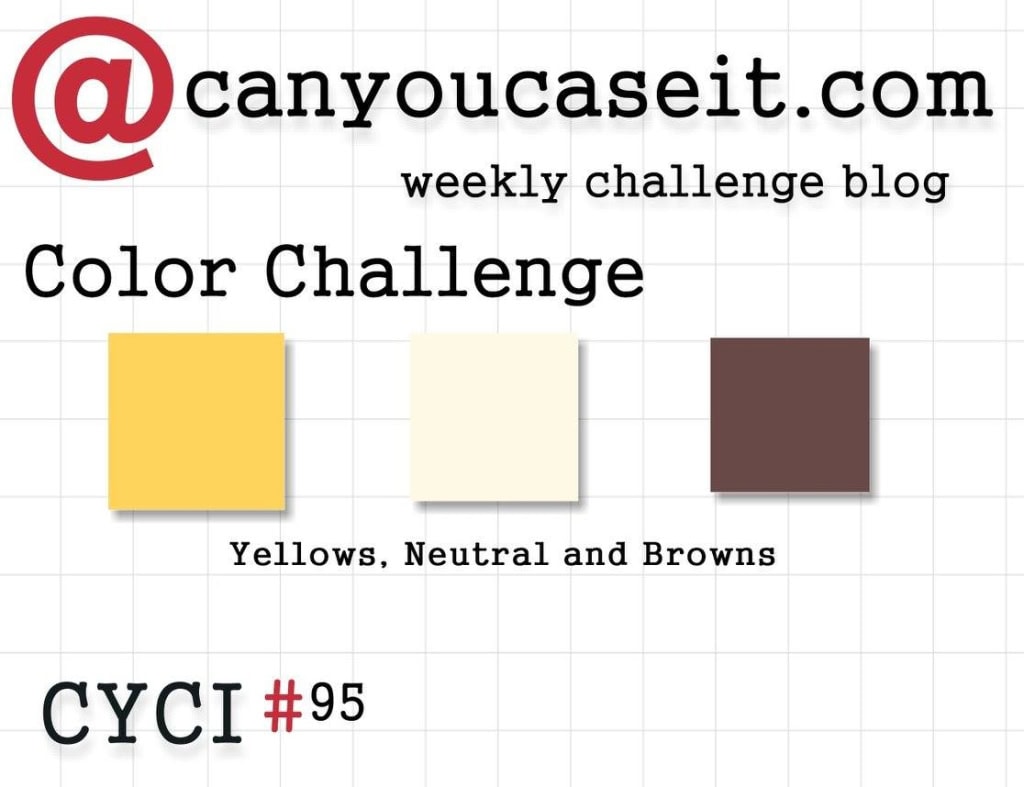
I’ve been wanting to use the Herringbone technique for a while now, and I thought this birthday card for Linda, one of my Stamp Club members, was the perfect opportunity.
I wanted it to be bright and happy, so naturally I decided to use the Brights color family. I cut 1/2″ strips from the floral paper in each color from the Brights Designer Paper Stack. I glued them in a herringbone pattern onto a piece of Whisper White card stock. I then glued that to a Thick Whisper White card stock base.
The sentiment is from the Super Anniversaire stamp set, which is the French translation of the Amazing Birthday stamp set. You see, Linda speaks a few languages, including French. I used Stampin’ Write Markers in Melon Mambo, Tempting Turquoise, Pumpkin Pie, Old Olive, and Pacific Point to color the stamp. I used the Note Tag Punch to cut the sentiment, tied on a piece of Whisper White 1/4″ Cotton Ribbon, and attached it to the card front with Stampin’ Dimensionals.
Here’s what I used:
I love hearing from you, and I welcome your questions and comments!
Thanks for stopping by today, and Sweet Stamping!
Sep 4, 2015 | Cards, Techniques |
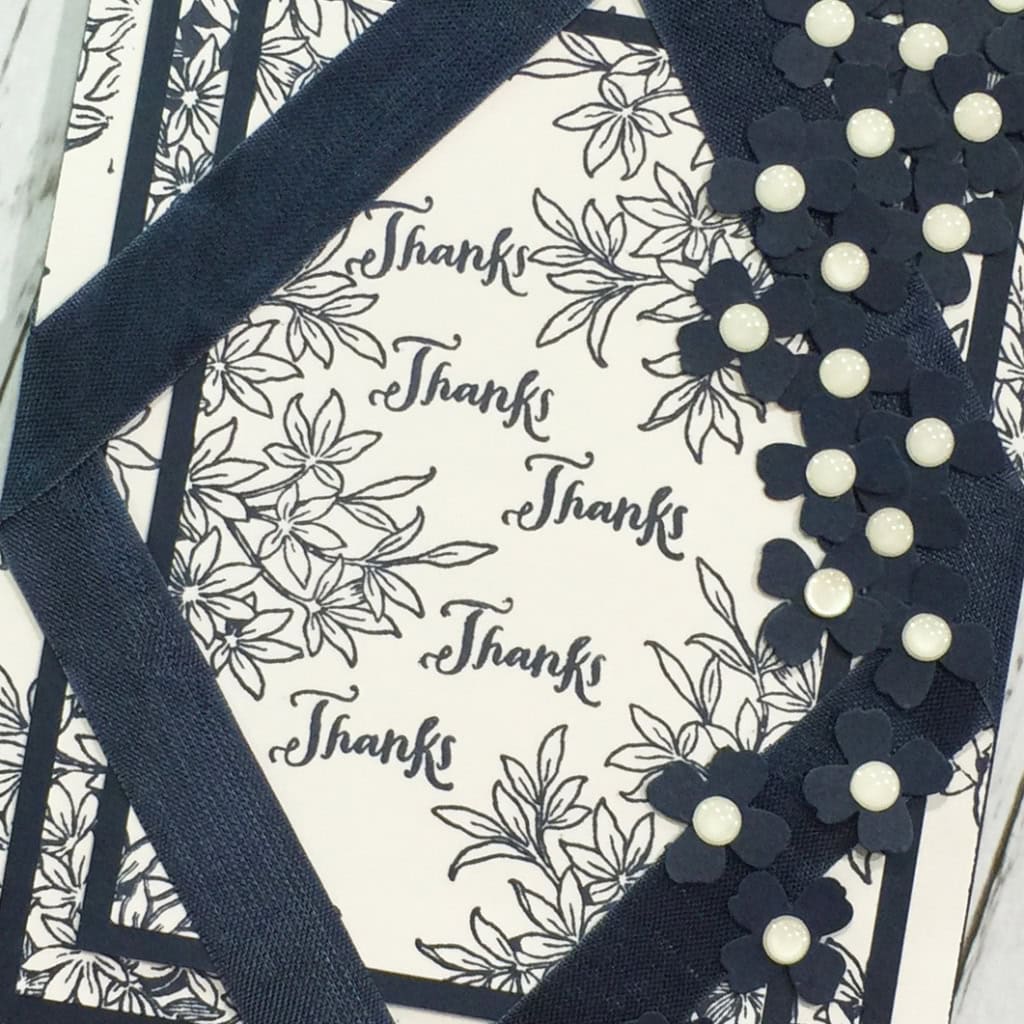
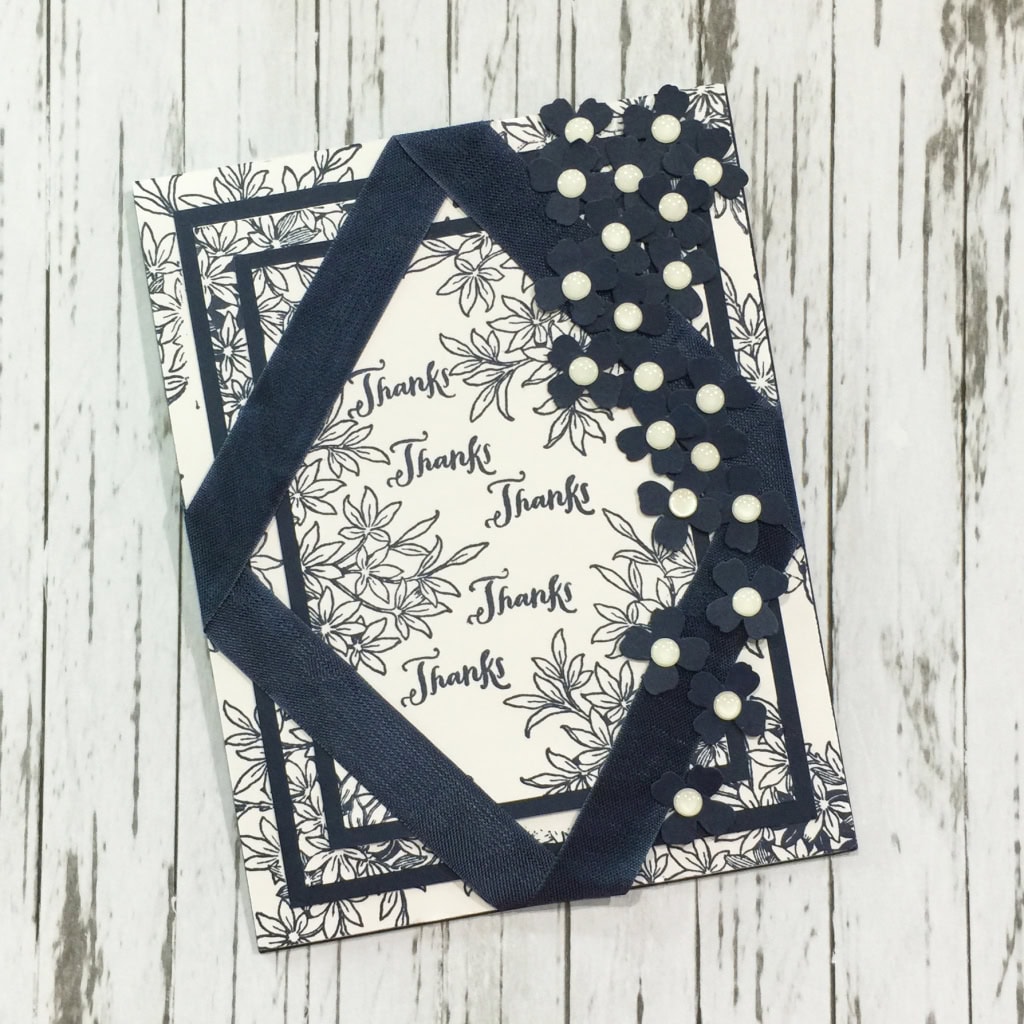
I was in the mood to make another three tier stamped card. You can see a previous one here.
I chose the Awesomely Artistic stamp set for the three tier stamping. I think this is a really beautiful image.
Once I had the three tier stamping done, I decided it needed more. I wrapped it in Night of Navy Seam Binding Ribbon and added a cascade of Night of Navy flowers cut with the Itty Bitty Accents Punch Pack and embellished with the smallest size White Perfect Accents.
I realized I hadn’t left much room for a sentiment, and I didn’t want to cover up very much, so I used this little Thanks stamp from the Another Thank You photopolymer stamp set. I like the way the words wind their way through the bushes.
Even though I covered the whole front, the card base is Night of Navy card stock. You can either add a piece of Whisper White card stock to the inside, or write with a White Signo UniBall Gel Pen. I think the pen makes more of a statement, give more visual impact.
Here’s what I used:
——————————————————————
Only 6 days left
to get your first two months of
Paper Pumpkin
50% off!!!

If you haven’t tried Paper Pumpkin, now is a great time to sign up.
For new subscribers only. Use the code HALFOFF to join Paper Pumpkin before September 10, 2015, and get 50% off the first two months!
After that, keep the creativity coming for only $19.95 + tax per month (includes shipping!) Or purchase a prepaid subscription HERE. Save $1 per month with a 6 month subscription, or $2 per month with a one year subscription.
SIGNING UP IS EASY!
- CLICK HERE to sign up
- Click subscribe
- Enter HALFOFF in the promo code
- Check out. If you are my customer or would like to be, please be sure to add my name as your demonstrator when prompted before check out.
SEE PAPER PUMPKIN KITS IN ACTION with these Stampin’ Up! YouTube videos!

This is just one example of a past Paper Pumpkin kit. Each month is a surprise, but they are always wonderful, and include everything you need except scissors and adhesive. I took this “pie” to my family’s Thanksgiving gathering last year with each “slice” full of nuts, candies, and other goodies.
Current subscribers – and ONLY current subscribers – can purchase past kits and refills.
All stamp sets in Paper Pumpkin kits are exclusive to Paper Pumpkin and will never be seen elsewhere.
Here’s the skinny:
- For new subscribers only.
- Available for month-to-month subscriptions, not prepaid subscriptions.
- Discount applied to one kit per month for the first two months of a new subscription. After the first two months, the price for each month’s kit will renew at the regular price: $19.95.
- A Paper Pumpkin membership is $19.95 per month (and shipping is included!)
- There’s no commitment. You can cancel your monthly Paper Pumpkin or skip a month by logging into your Paper Pumpkin account and changing your preference at “manage my account” on or before the 10th of the month.
- Click here to subscribe.
- Enter the Promo Code, HALFOFF when you sign up.
Thanks for stopping by today, and Sweet Stamping!
 And here is my card:
