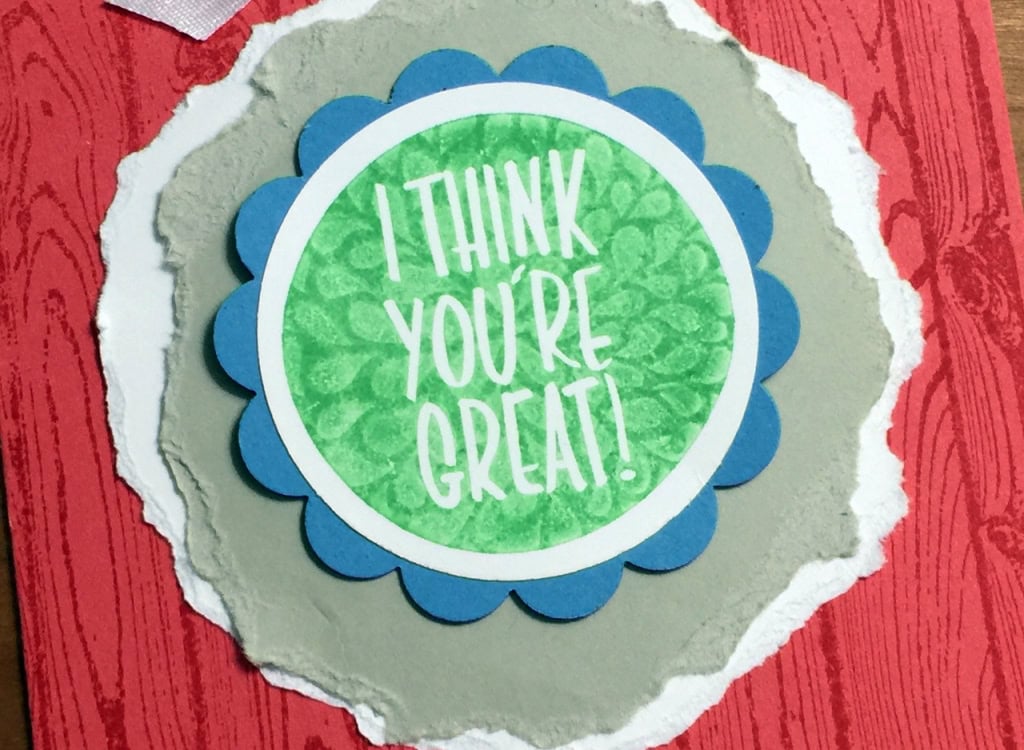
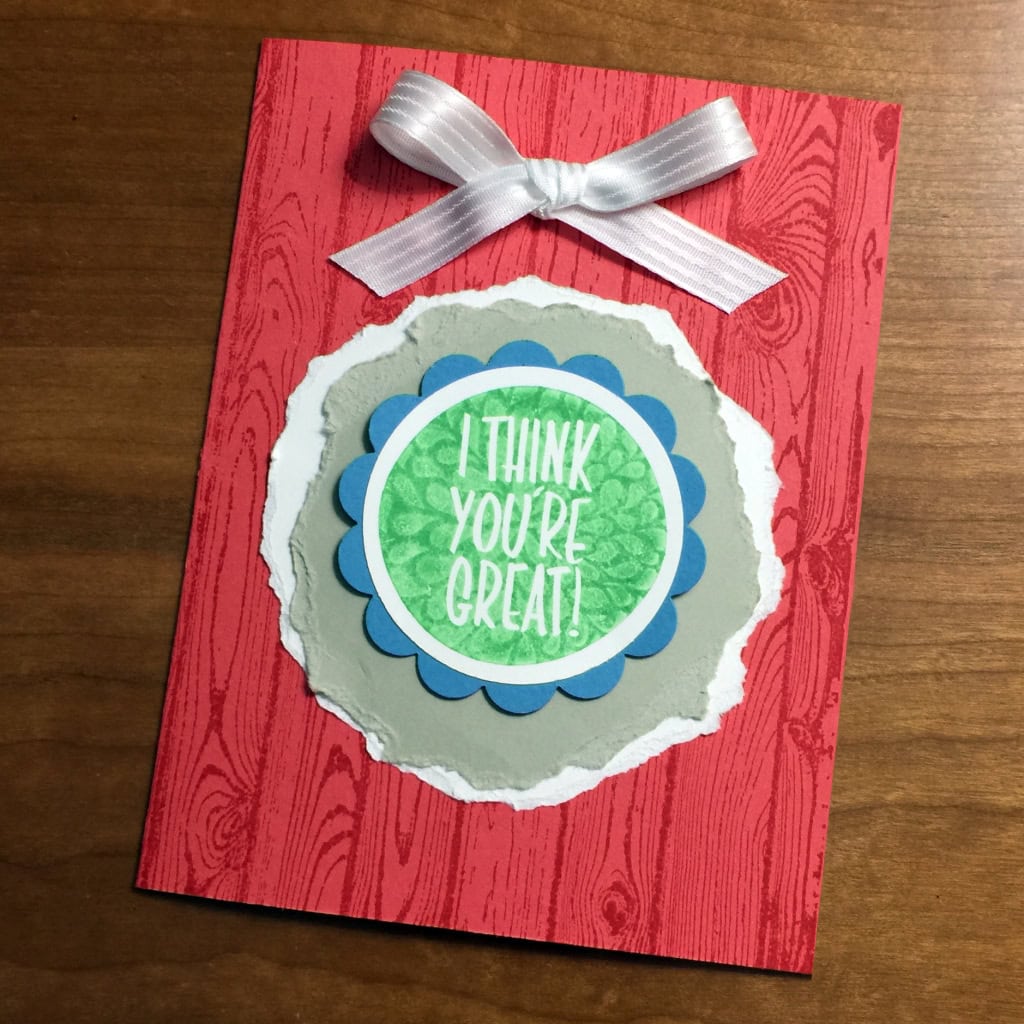
Today I thought I’d try my hand at the kissing technique on page 130 of the new Annual Catalog:
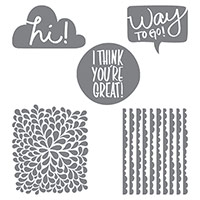
It’s really quick and easy, and you know I love that. First I inked up the solid “I think you’re great” stamp, then pressed it against the clean floral/leafy stamp. Some of the ink transferred to the clean stamp, leaving a lighter pattern on the solid stamp. Then I stamped it on Whisper White card stock, and here’s the result.
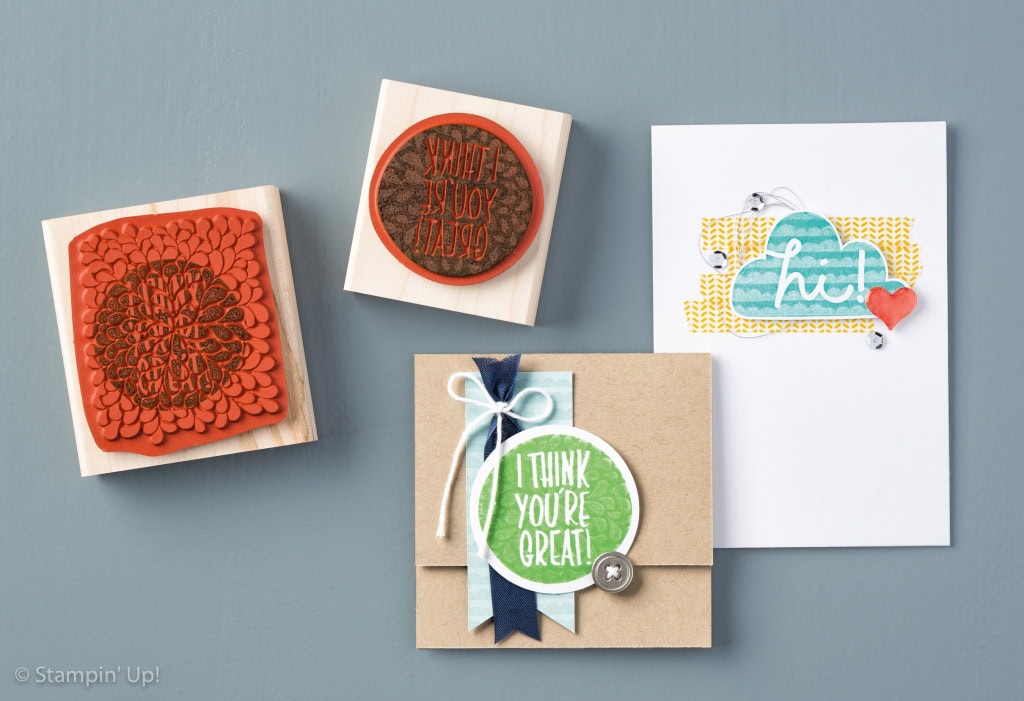
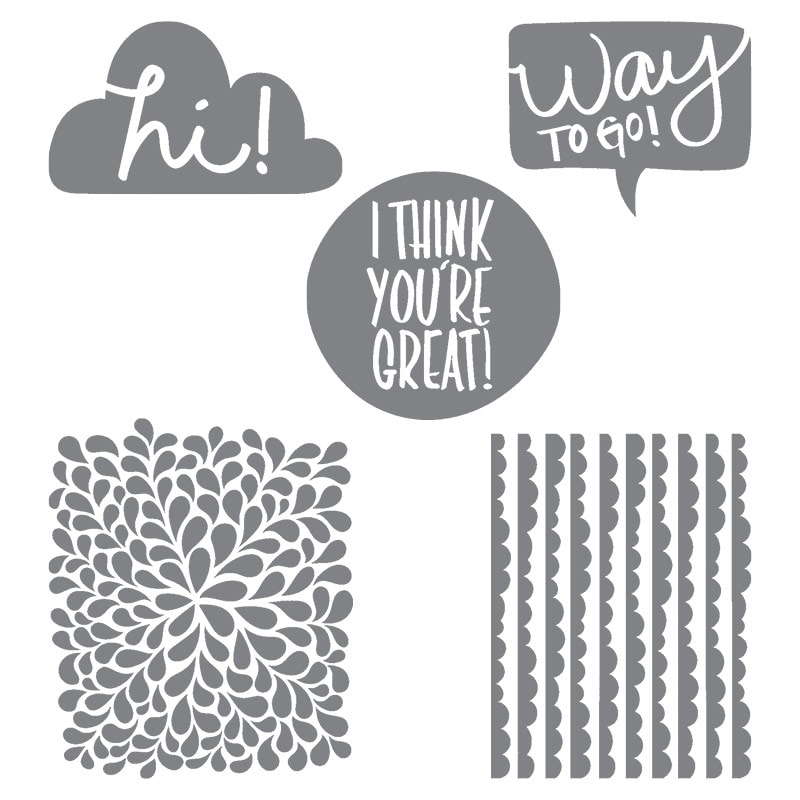
Here’s a closer look at the I Think You’re Great stamp set. You can buy it in wood or clear mount, or in French, by clicking on the product images below.
During the month of June, Stampin’ Up! has a terrific Join promotion – you get TWO FREE STAMP SETS OF YOUR CHOICE with the purchase of your $99 Starter Kit. That’s in addition to everything else you already get. For only $99 you get $125 of product (your choice,) 2 free stamp sets (your choice,) and free shipping (another 10% savings.) Then you get 30% off your first $150+ order. From then on you earn a 20% discount on all your purchases (with potential for increased discounts). Joining my team, the Candy Hearts, gives you access to an amazing online community, daily inspiration, team gatherings, and, of course, me.
$125 of amazing product of your choice + free shipping for $99.
2 free stamp sets of your choice.
30% off the first $150+ order.
an ongoing 20% or more discount on your purchases.
access to amazing community and daily inspiration.
monthly online gatherings.
no risk – no penalty to drop – no further obligation. Try it out. It’s pretty much a no brainer.
If you want more information about membership in the Candy Hearts, please email me at candy@stampcandy.net or click on the Be A Candy Heart button at the top of the page. If you are ready to join, click here.
Place a $75 order through my online store here and I’ll send you a pack of recently retired Designer Series Paper for free!
$75.00 minimum order, before tax and shipping (For example, $74.99 does not qualify, $75.00 to $149.99 qualifies for one pack, $150.00 to $199.99 qualifies for two packs, etc.)
Individual orders may not be combined.
Only while supplies last!
Once you place your order, email me at candy@stampcandy.netwith the subject line Free DSP.
Get a free Textured Impressions Embossing Folder!
Purchase a Big Shot through my online store here by June 30, 2015, and I’ll send you an embossing folder for free!
Retired folders available only while supplies last. All current folders are available.
Once you place your order, email me at candy@stampcandy.netwith the subject line Free TIEF.
Note:If you order a Big Shot (only $99 through June 2) you may choose the DSP or the embossing folder, not both. If you place an order for a Big Shot plus $75 in other merchandise, you may choose both.
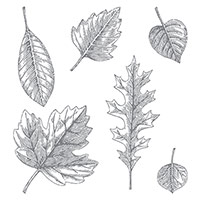
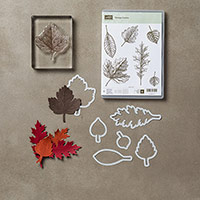
It’s been a long time since I used the three tier stamping technique. I thought the new stamp set Vintage Leaves would be perfect for it.
The Leaflets Framelits Dies coordinate with the stamp set; it has a die for each of the six leaves. Buy the stamp set and the dies together in the bundle and save 15% on both! (See the bundle in the products listed below.)
When I see leaves like this, I automatically think of Autumn, but we have leaves in Spring and Summer, too, right? So I chose to stamp the leaves in varying shades of green on Whisper White and mat them in Night of Navy. I think the cooler colors look more Summery than the warmer Autumnal tones of yellow, orange, and red. Don’t get me wrong. In a few months I’ll be using those colors like crazy with this stamp set. I’m just in more of a Summer mood right now.
One nice thing about this particular card design is that it can be used horizontally or vertically. The scattered leaves don’t need to go in any particular direction. The sentiment is the only element that does.
Tip: When stamping the three layers, it’s easy to get a blank area along the edge between one layer and another (left.) The matting in between the layers helps hide this. But stamping on a softer surface, such as a Piercing Mat, and using a bit more pressure than usual, can help. But you must be careful not to get ink anywhere on the stamp except on the image itself. If there is any ink on the edges of the stamp, you are much more likely to get a halo (right.)
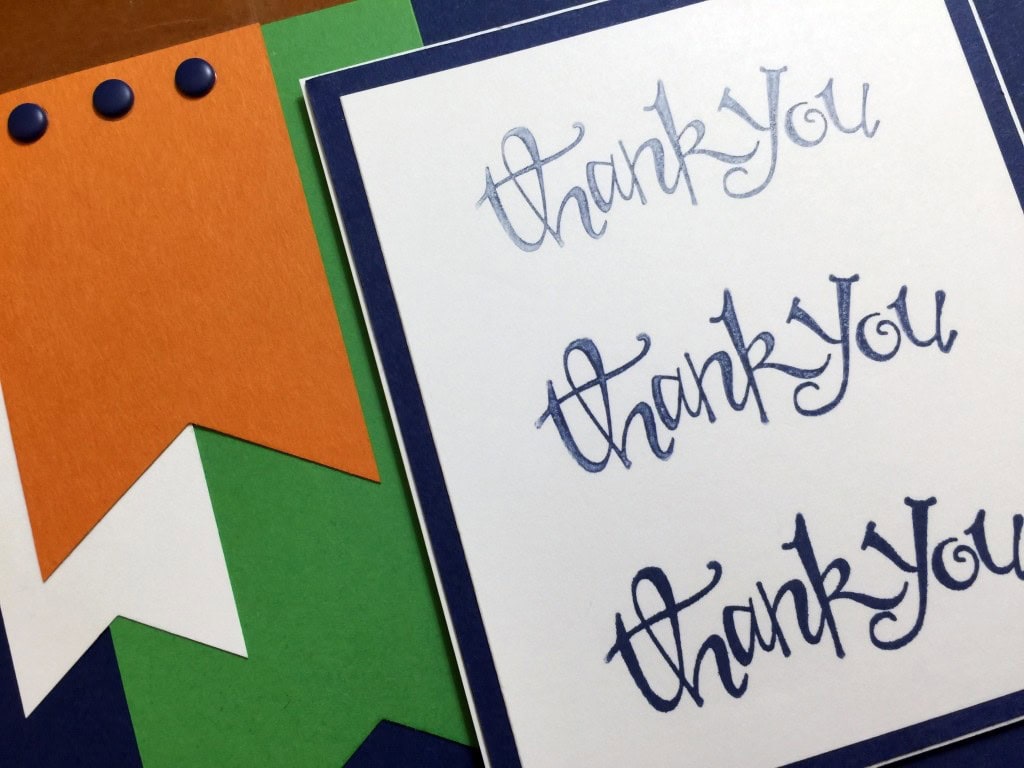
Yesterday I showed you a card that was made using the Stamping Off technique. You can see that post here. Today I have another card using the same technique, but in a slightly different way.
After inking up my stamp, I stamped directly on the card stock three times, instead of stamping off onto a piece of scrap paper first. I got three stampings from one inking. I started at the bottom and worked my way up, using the Stamp-a-ma-jig to make sure the images were lined up. With the gradual change from light down to dark, I’m trying to convey someone saying,”thank you, THANK YOU, THANK YOU!!!” Did it work?
After matting the sentiment, I attached it to the card with Stampin’ Dimensionals.
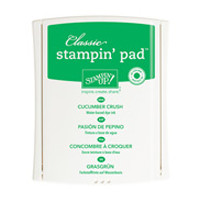
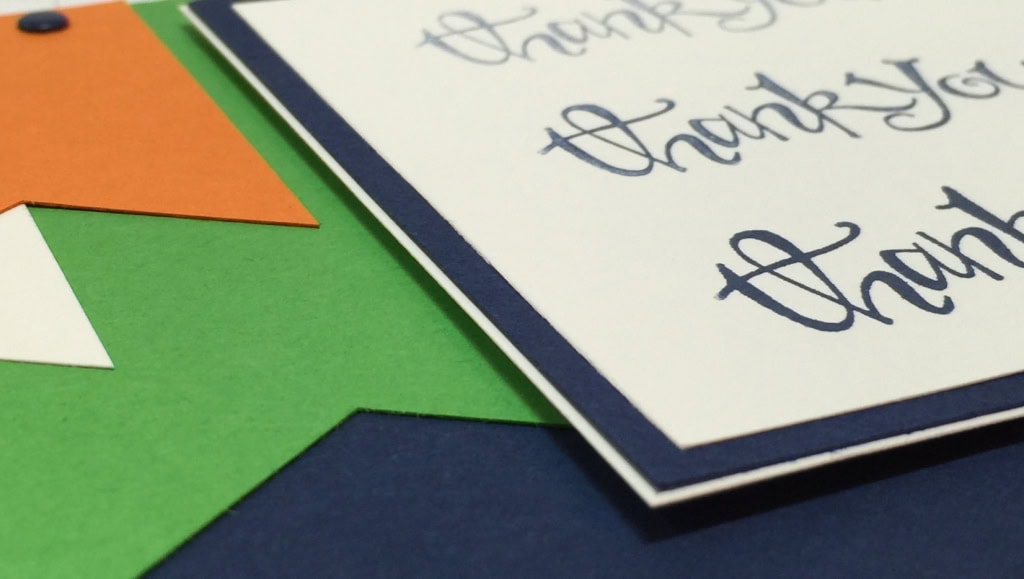
Night of Navy can be a dark and serious color, so I used Cucumber Crush, Pumpkin Pie, and Whisper White to lighten things up a bit. Three banners of varying lengths and widths were created with the Banner Triple Punch.
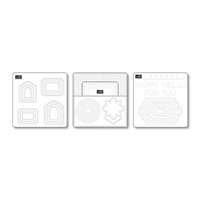
Three Night of Navy Candy Dots add balance – visually the Night of Navy now frames the entire card. I used a template from the Essentials paper piercing pack and a very light touch with the Paper-Piercing Tool to determine where the dots should be. I pierced tiny holes, not all the way through the paper, then covered the holes with the dots. I used the straight edge of my bone folder to make sure they were straight.
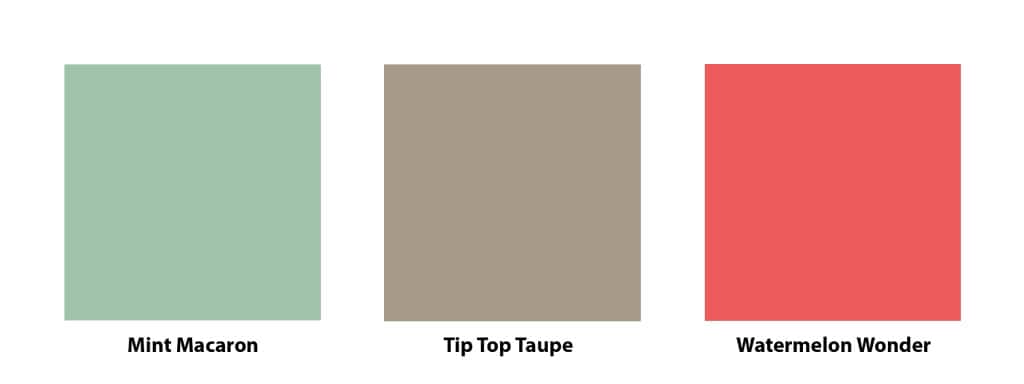
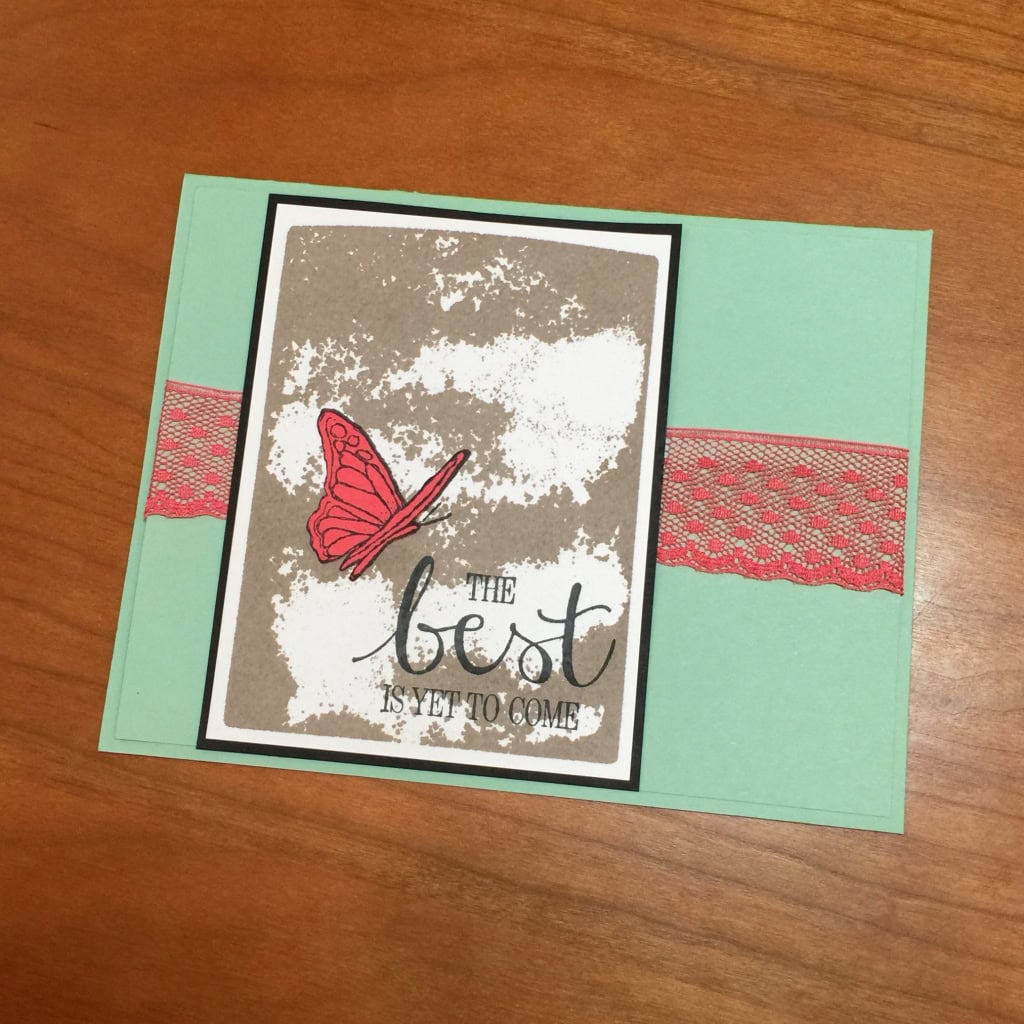
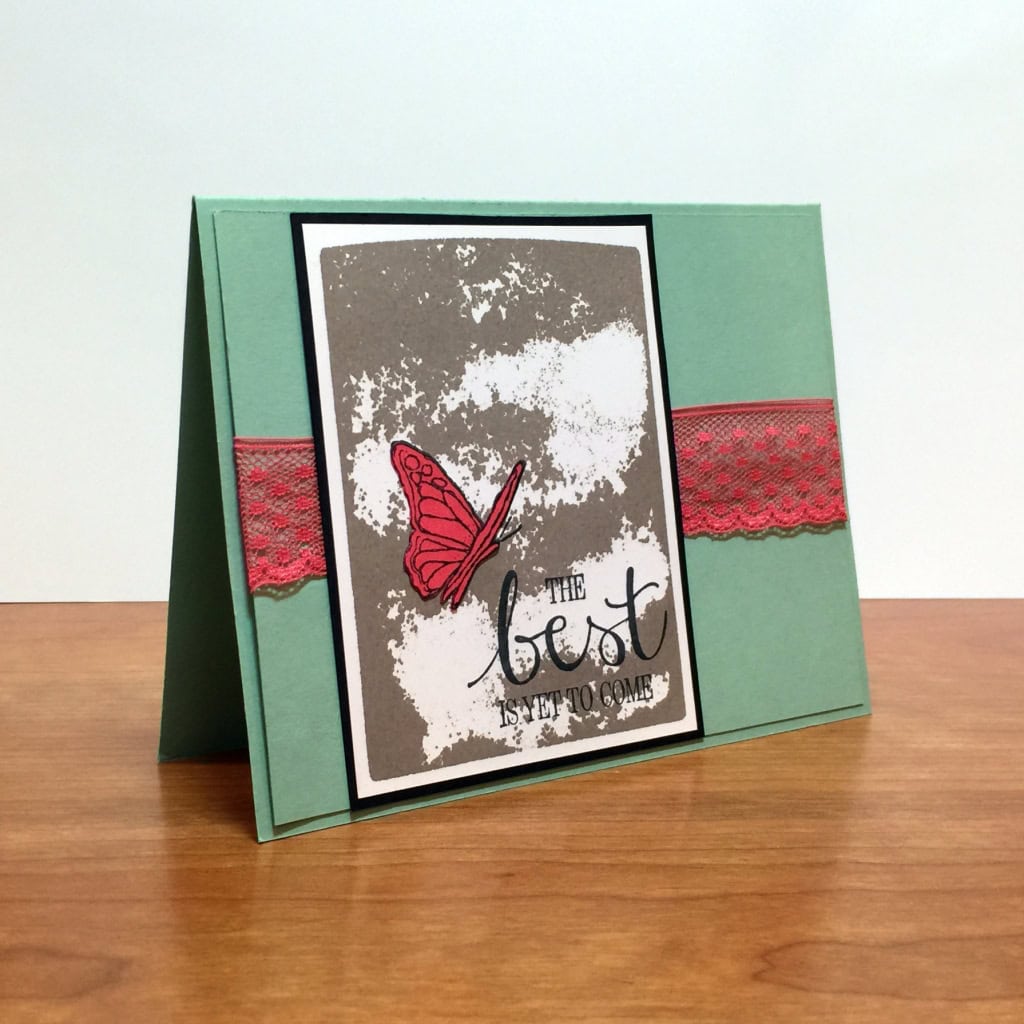
I am really enjoying the new In Colors. Today’s color combo is Mint Macaron, Tip Top Taupe, and Watermelon Wonder.
I played around with the layers and finally decided I wanted the card base and main layer to be Mint Macaron. I would have omitted the layer, but I needed somewhere to tuck the ends of the Watermelon Wonder lace so they wouldn’t show inside the card.
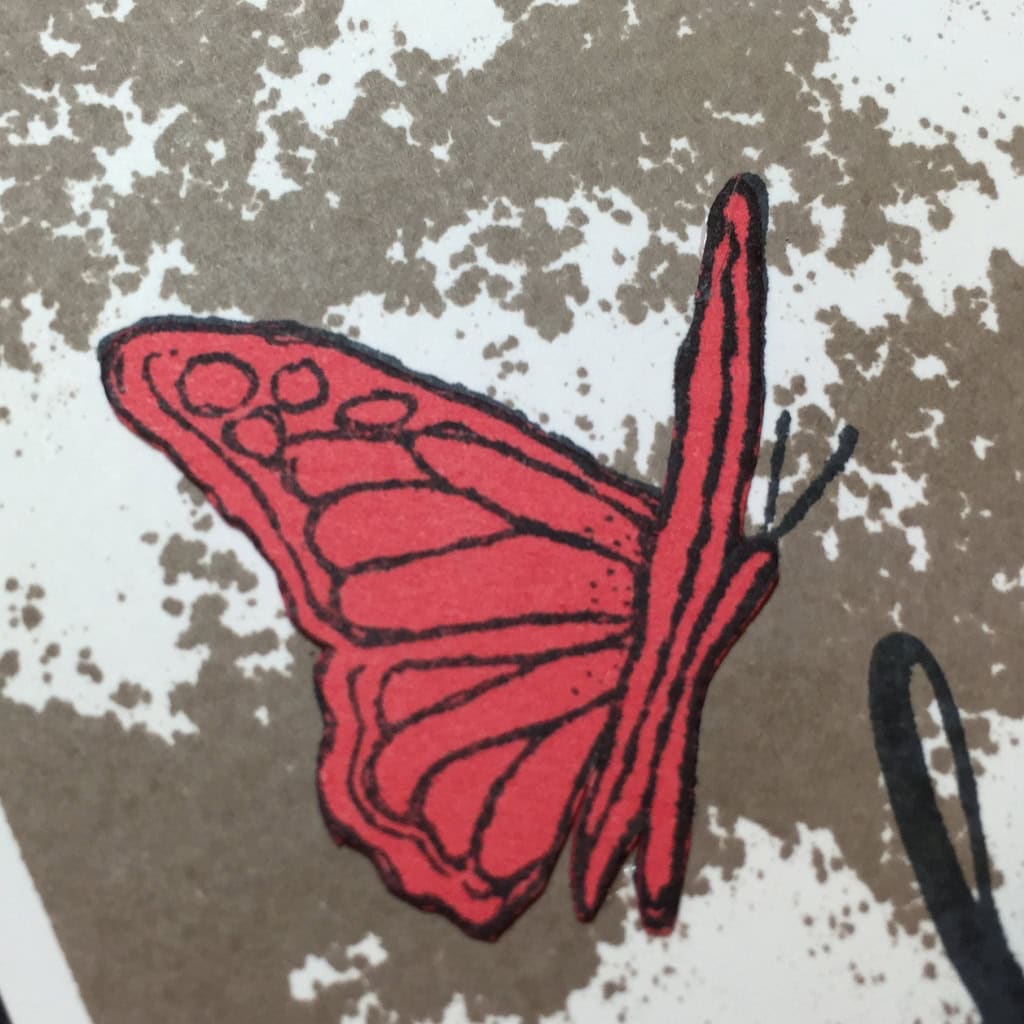
As for the top layer, I accidentally laid an ink pad upside down on my grid sheet. When I lifted it, I liked what I saw. It took a little playing around to get the look I wanted. A new juicy pad will leave a lot more ink than a dryer one. Since this Tip Top Taupe ink pad is so new, I didn’t put any pressure on it at all. I gently laid it on the Whisper White card stock for just a couple seconds, then lifted it – the grips on the sides of the Classic Stampin’ Pads makes this easy!
Both the sentiment and the butterfly are from the Best Thoughts stamp set, available to purchase with Stampin’ Rewards. I stamped them both with black Memento ink directly over the Tip Top Taupe background. I then stamped the butterfly again, this time on Watermelon Wonder card stock, then fussy cut it and glued it over the first stamped image. I had considered adhering it with Stampin’ Dimensionals, but decided the skinny bits of the image would be difficult to prevent from getting bent. So you could just adhere the fussy cut butterfly without stamping it first on the background piece.
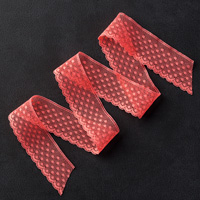
I am in LOVE with the new In Color 1″ Dotted Lace Trim. It’s so soft and pliable and easy to work with. I’ve already ordered more!
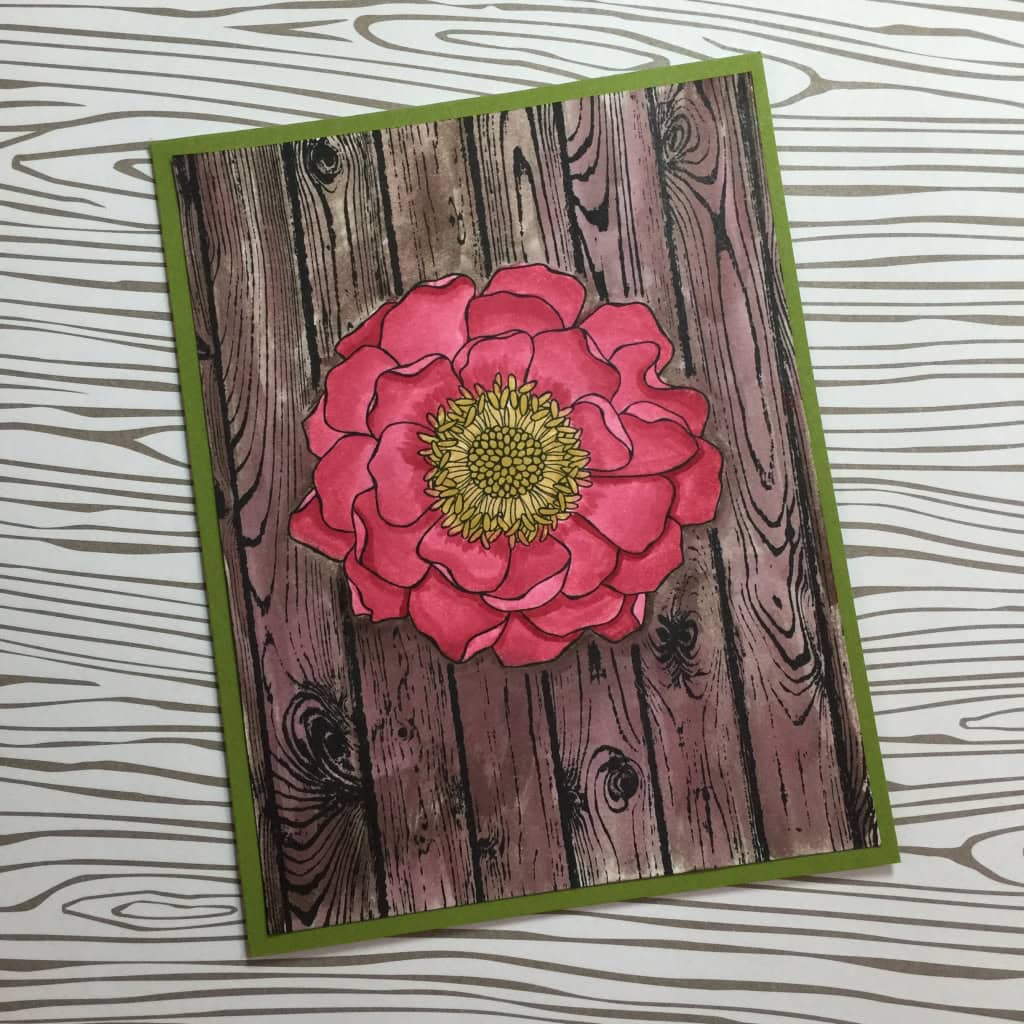
I’ve had several people ask about how I stamped the Bootiful card in my recent post here. One stamped image seemingly is behind another on the same sheet of paper. I made a short video showing the basic process.
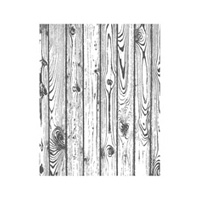
Here’s the finished card I made after shooting this video. I used an Aqua Painter with Early Espresso and Cherry Cobbler inks to color the wood and flower petals. I colored the center of the flower with So Saffron and Hello Honey Stamping’ Write Markers. The card base is Wild Wasabi card stock.
Only after I was almost done did I realize I had used Whisper White card stock instead of Watercolor Paper. I think the card stock worked fine, but the watercolor paper probably would have worked even better. Obviously, I am not a painter, but I don’t think this looks too bad. Watercolor is very forgiving.
Here’s the mask for the Bootiful card. You can see how the sun’s rays stamped on the mask, so they wouldn’t get on the boot on the card.
Get a free pack of retiring DSP!
Place a $75 order through my online store here and I’ll send you a pack of the retiring Designer Series Paper for free!
$75.00 minimum order, before tax and shipping (For example, $74.99 does not qualify, $75.00 to $149.99 qualifies for one pack, $150.00 to $199.99 qualifies for two packs, etc.)
Individual orders may not be combined.
Only while supplies last!
Once you place your order, email me at candy@stampcandy.netwith the subject line Free DSP.
Get a free Textured Impressions Embossing Folder!
Purchase a Big Shot through my online store here before June 30, 2015, and I’ll send you an embossing folder for free!
Retiring folders available only while supplies last. New folders available after June 2.
Once you place your order, email me at candy@stampcandy.netwith the subject line Free TIEF.
Note:If you order a Big Shot (only $99 through June 2) you may choose the DSP or the embossing folder, not both. If you place an order for a Big Shot plus $75 in other merchandise, you may choose both.
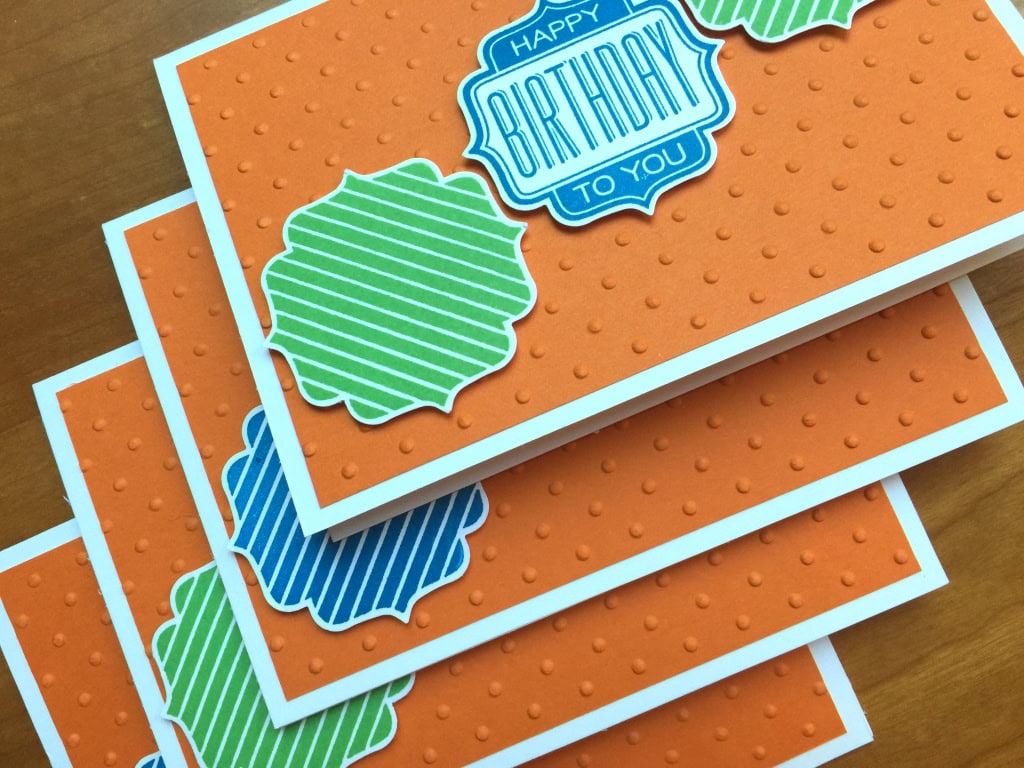
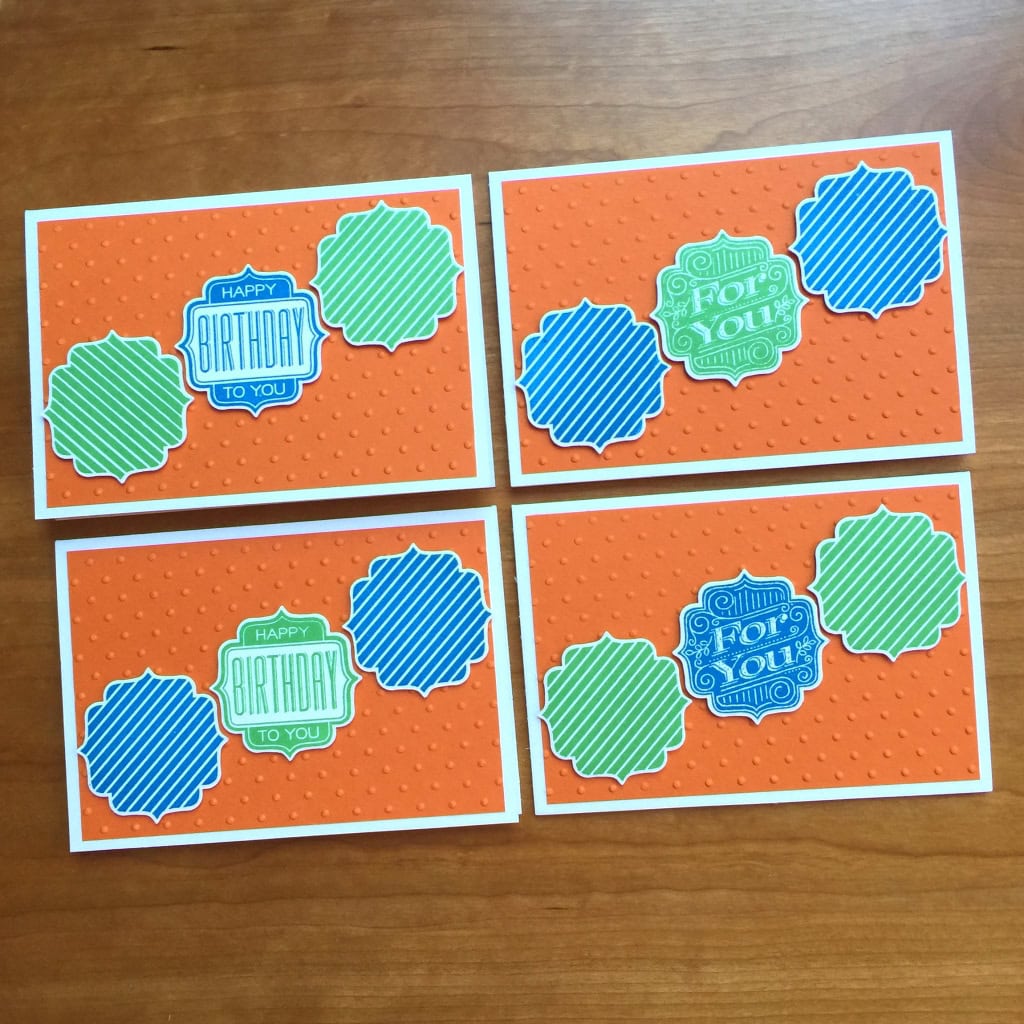
I’m happy that the Tag Talk stamp set and the coordinating Label Bracket Punch are being carried over into the new catalog. This set is very versatile and can be used for so many different celebratory occasions.
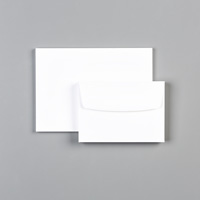
Today I whipped up four cards in about the same amount of time it would take to make just one. It took only four Whisper White note cards and envelopes, one sheet of Tangelo Twist card stock, half of one sheet of Whisper White card stock, three stamps from the Tag Talk stamp set, two colors of ink (Pacific Point and Cucumber Crush,) one embossing folder (Perfect Polka Dots,) and the Bracket Label Punch…and a par-tri-idge in a pear tree. Sorry, I couldn’t resist.
And, of course, Liquid MultiPurpose Glue and Stampin’ Dimensionals.
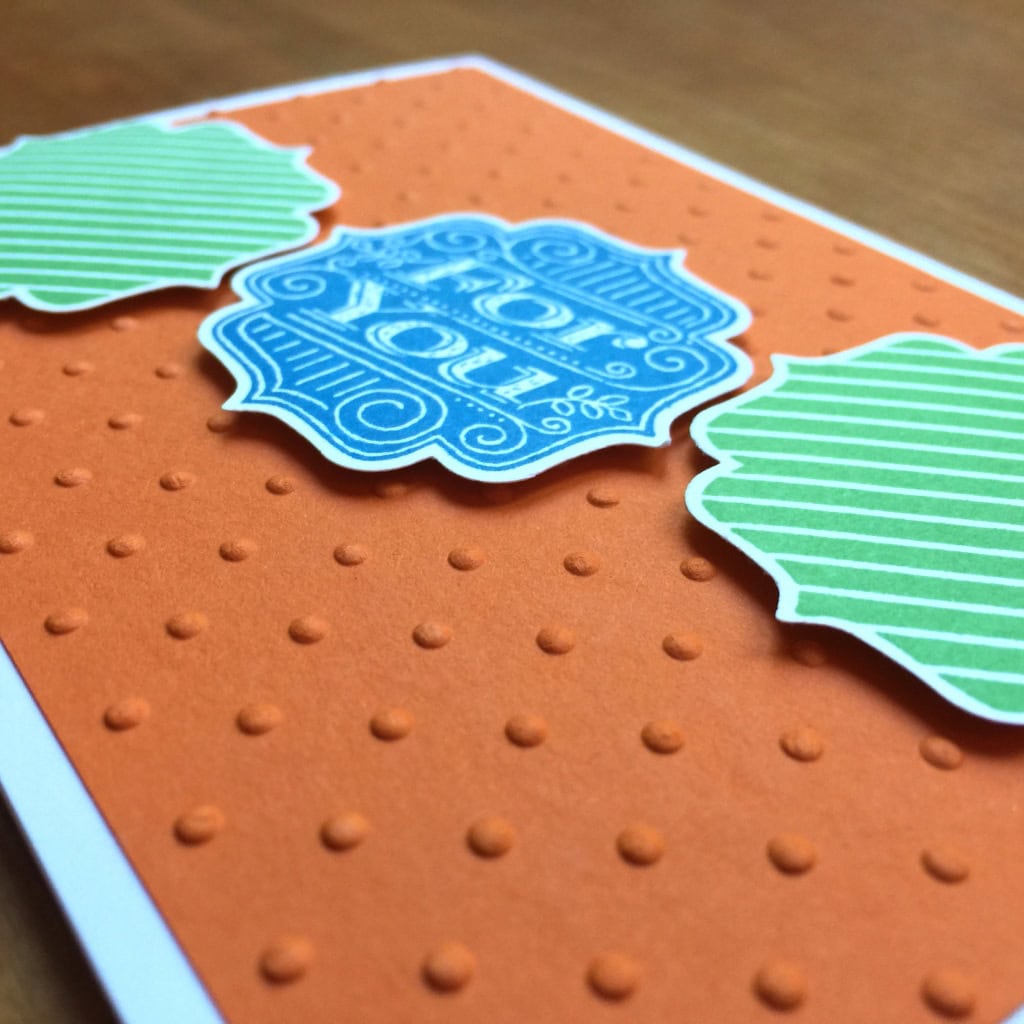
Here are all four cards, each one different, but all basically the same. I like the way the curves of the punched shapes fit together, as though I just pulled three pieces out of a puzzle.
Did you catch my mistake? All the stripes are going in the same direction except one. See the one on the upper left card? It was a quick and easy fix, but by the time I noticed it, the sun was too low to get another picture. Whenever possible, I like to take my pictures with natural light. Anyhoo, just trust me that it’s fixed now. 🙂
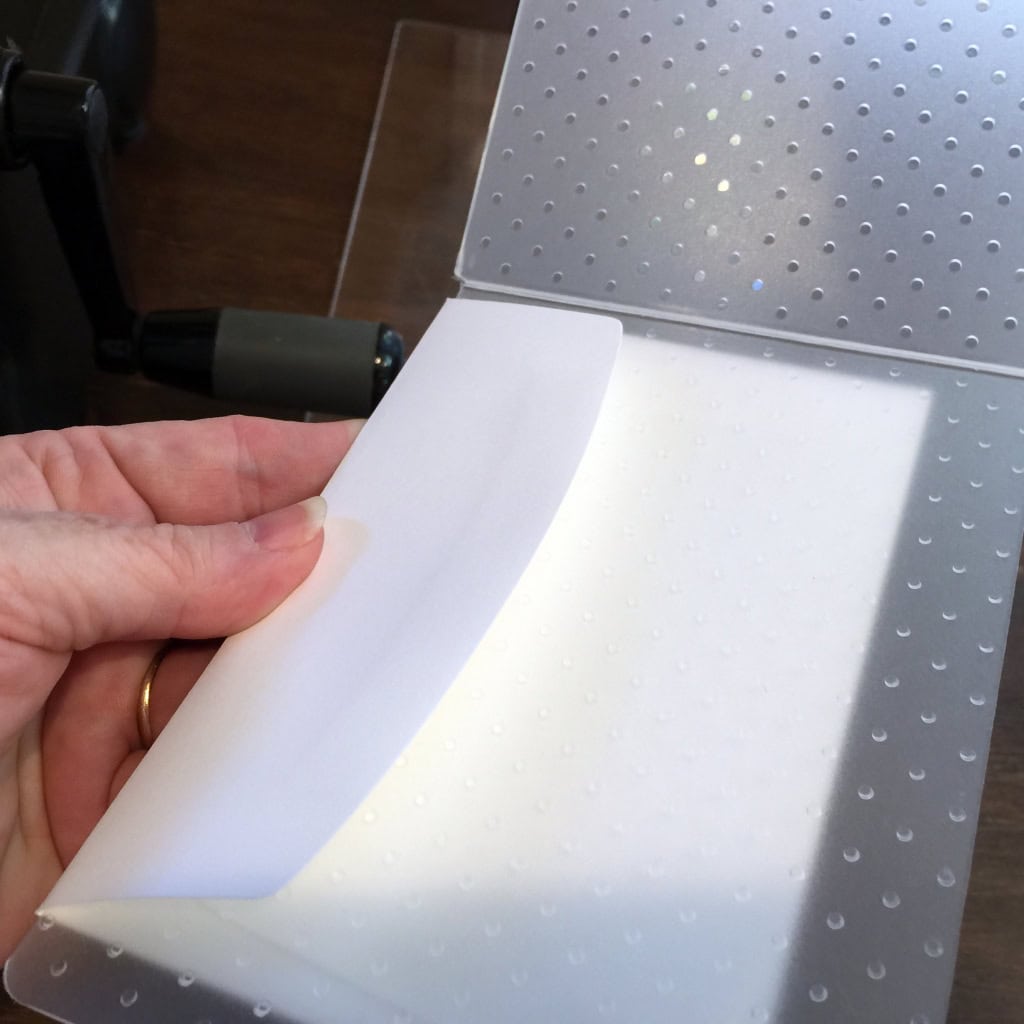
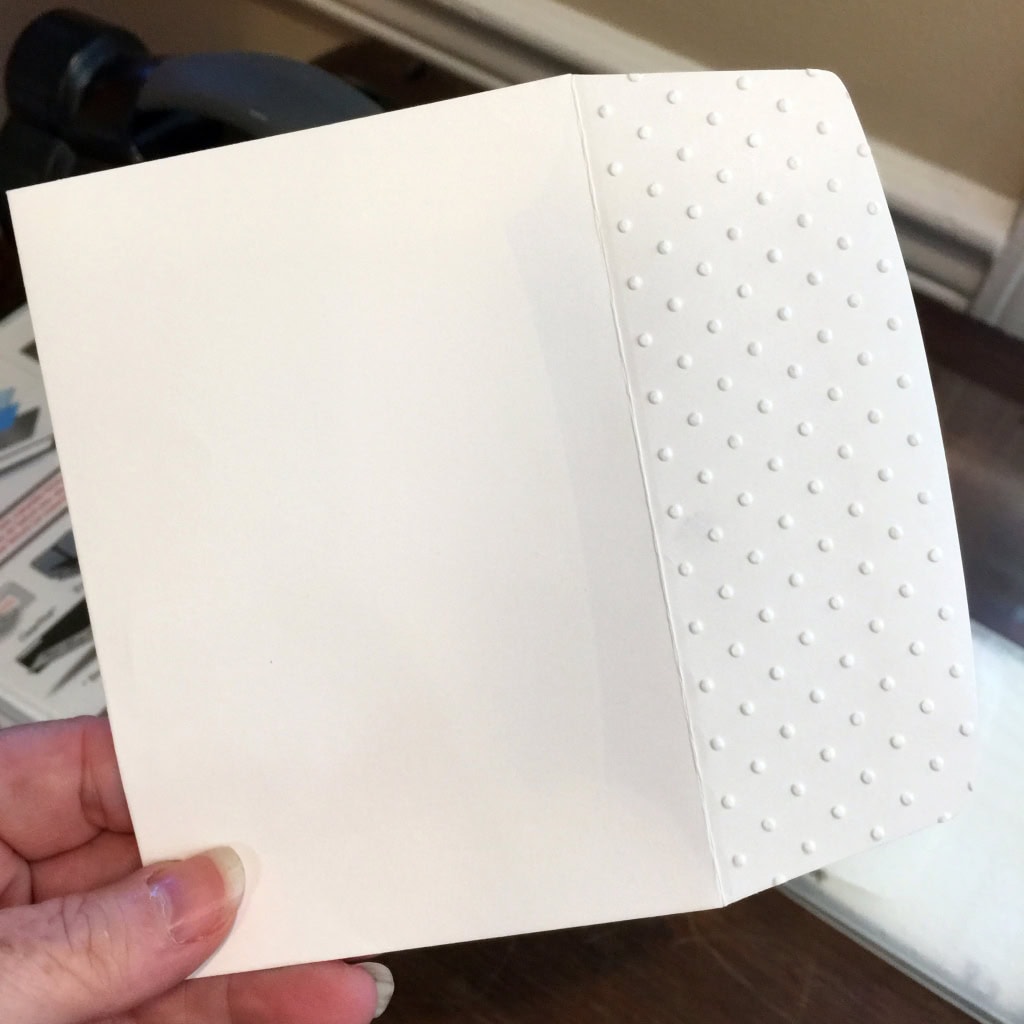
I felt the envelopes needed a little something, and decorating the flap is very trendy right now, so that’s what I did. I used the same embossing folder as above.
Flap Tutorial
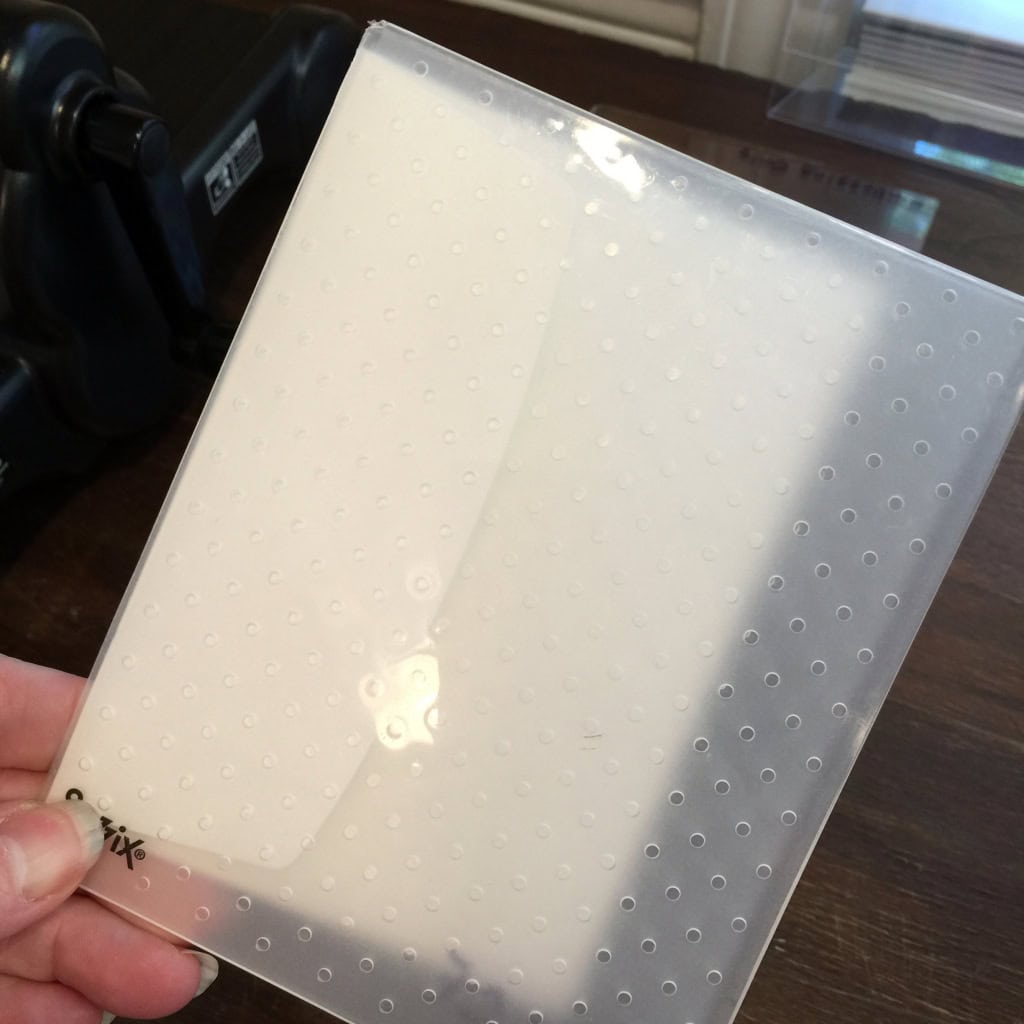
Put just the flap inside the folder, and wrap the rest of the envelope around the back.
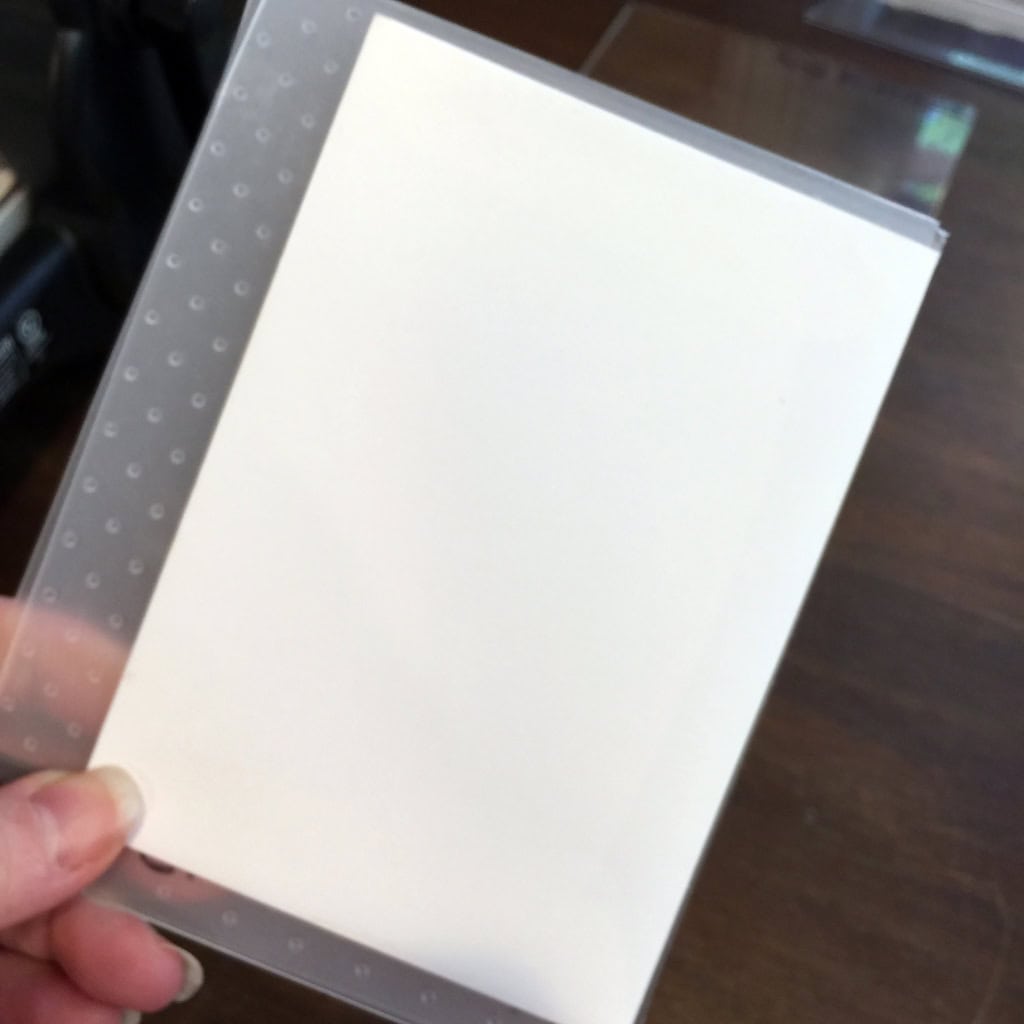
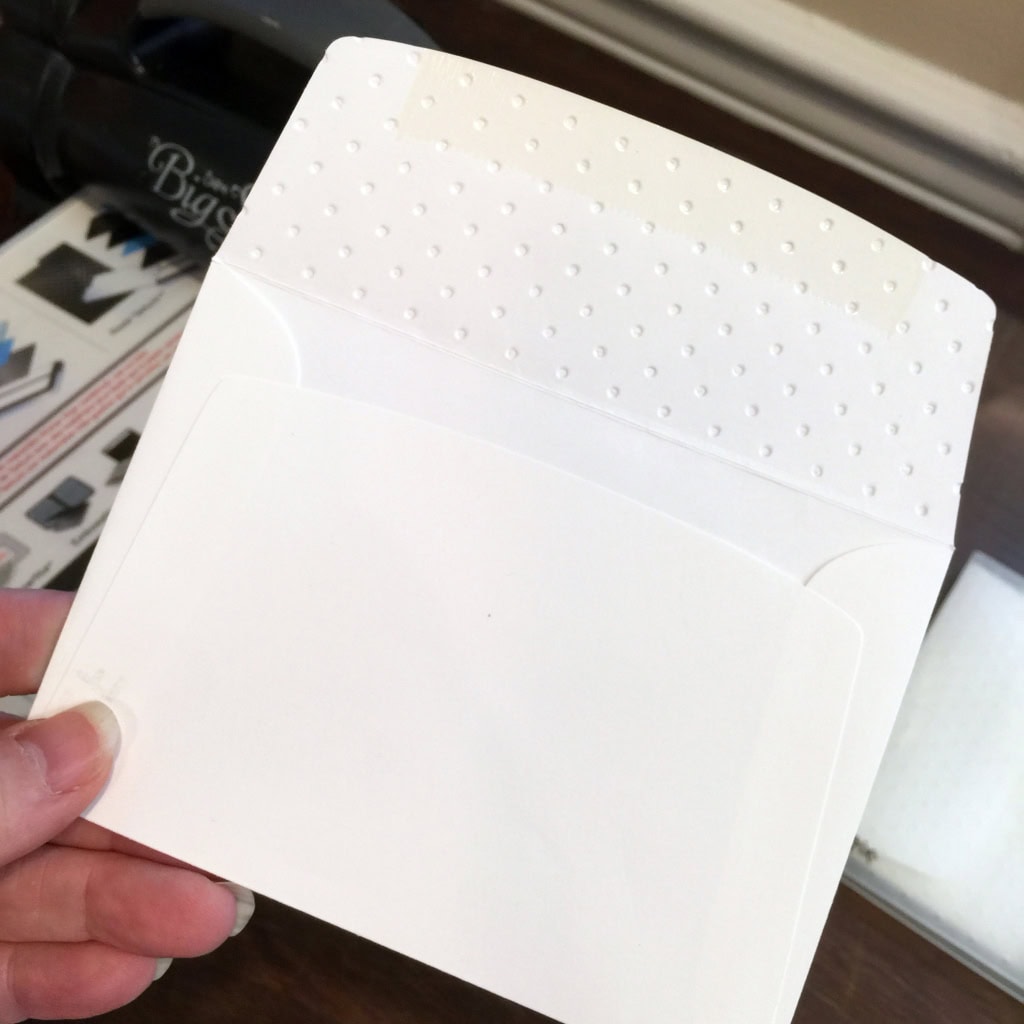
Here it is from the front and from the back. Now run it through your Big Shot.
Voila! Here’s the finished envelope, front and back. Very quick and easy – and you know I’m all about that – but it really adds something special.
The only new item I used today was a Cucumber Crush Classic Stampin’ Pad – I love that vibrant green! All the new items will be available to order on June 2 – that’s just 9 days away!!!
Here are the current items I used:
The Perfect Polka Dots embossing folder is retiring, so get it now while you still can! Also, any sale prices may not be reflected below. Click on the individual items to see them in the store.
Place a $75 order through my online store here and I’ll send you a pack of the retiring Designer Series Paper for free!
$75.00 minimum order, before tax and shipping (For example, $74.99 does not qualify, $75.00 to $149.99 qualifies for one pack, $150.00 to $199.99 qualifies for two packs, etc.)
Individual orders may not be combined.
Only while supplies last!
Once you place your order, email me at candy@stampcandy.netwith the subject line Free DSP.
Get a free Textured Impressions Embossing Folder!
Purchase a Big Shot through my online store here before June 30, 2015, and I’ll send you an embossing folder for free!
Retiring folders available only while supplies last. New folders available after June 2.
Once you place your order, email me at candy@stampcandy.netwith the subject line Free TIEF.
Note:If you order a Big Shot (only $99 through June 2) you may choose the DSP or the embossing folder, not both. If you place an order for a Big Shot plus $75 in other merchandise, you may choose both.