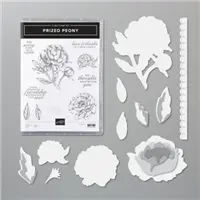
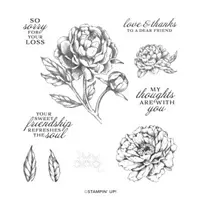
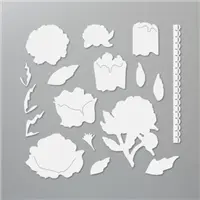
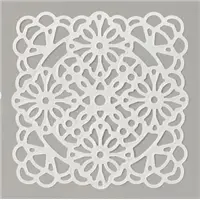
Today I’m sharing one of this month’s Stamp Club cards. I used the Prized Peony bundle (Prized Peony stamp set and Peony Dies,) Peony Garden Designer Series Paper, Square Vellum Doilies, and Elegant Faceted Gems. When I first saw the Peony Dies, I thought it must be complicated to assemble the pieces into a flower. Holy cow, was I ever wrong! The flower has four pieces. Each piece has a slit that you slip the next smaller piece into, and they all line up at the bottom. It couldn’t be easier. And what a spectacular result!
If you are reading this in email, some photos may appear blurry, or may not appear at all. Please click here to see the post on my blog.
S Prized Peony Prized Peony Prized Peony Prized Peony
Here’s what I made:
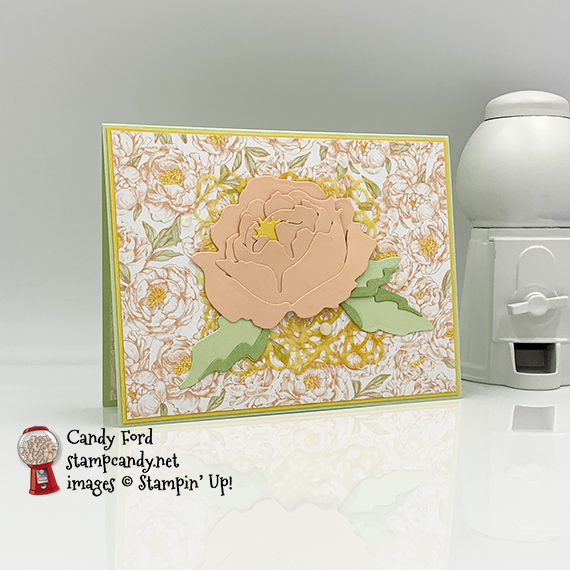

I had to go into a different room to get the Elegant Faceted Gems to show up in a photo. They show up much better in person.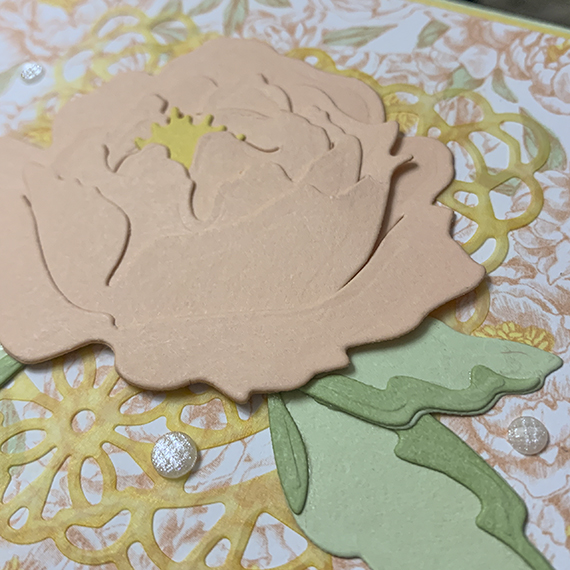
S
Here’s what I did:
Cut and scored with my paper trimmer:
- Soft Sea Foam card stock (CS) cut to 5-1/2″ x 8-1/2″, then scored in half at 4-1/4″
- So Saffron CS layer cut to 5-3/8″ x 4-1/8″
- Peony Garden Designer Series Paper (DSP) layer cut to 5-1/4″ x 4″
- Whisper White CS cut to 5-1/4″ x 4″ for the inside of the card base
Stamped with the Prized Peony stamp set:
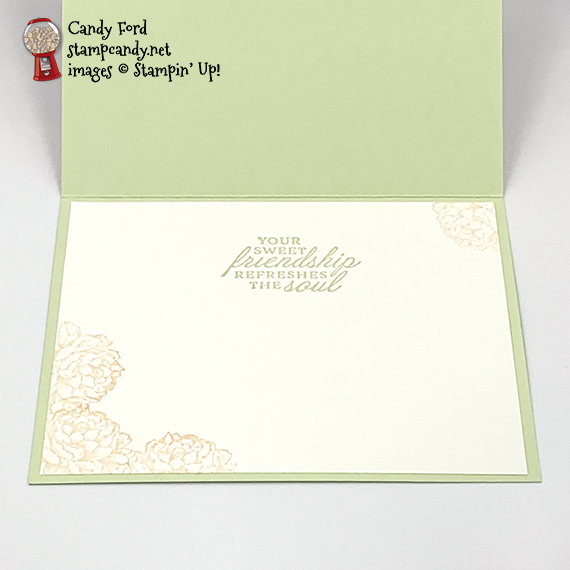
- sentiment in Soft Sea Foam ink onto the Whisper White CS
- small peony in Petal Pink ink onto the Whisper White CS
Cut using the Peony Dies:
- the four pieces of the peony from scraps of Petal Pink CS
- center of the flower from a scrap of So Saffron CS
- both pieces of the three leaves from a scrap of Soft Sea Foam CS
Colored using Stampin’ Blends Markers:
- doily in Dark So Saffron
- flower centers on DSP layer in Light So Saffron
- leaves on DSP layer in Light Soft Sea Foam
- top pieces of the leaf die cuts in Light Soft Sea Foam, to make them just a little darker
Assembled the card:
- burnished the fold in the card base with a Bone Folder
- So Saffron CS layer glued onto the front of the card base
- DSP layer glued onto the So Saffron CS layer
- doily adhered onto the DSP layer using Stampin’ Seal in the center, where it will be covered by the flower
- four die cut pieces of peony put together, slipping one into the slit in next larger piece, and glued together
- flower center inserted into middle of the flower and glued in place
- leaf layers glued together, then glued onto the back of the flower
- flower and leaves adhered onto the DSP layer, over the doily, using Stampin’ Seal
- 3 Elegant Faceted Gems applied around the flower (The Take Your Pick tool makes this so easy! You can use the sticky end or the pointy end, whichever you prefer.)
- Whisper White CS glued onto the inside of the card base
Bonus Days are here!
Click the image below to shop now and earn Bonus Days coupons to use next month!

S
Here are today’s colors:
You can click on each one to see all the products that come in that color!
S
Here’s what I used:
Click on these images for more details and to purchase. If you are reading this post in email, the product images may not show up. Please click here to see the post on my blog.


Supply List. <— Click for a clickable and printable list of the products!
S
Here are some helpful links:
- July Host Code 6VQYQF43 – receive free product!
- Shop my online store
- Clearance Rack
- Request a free catalog
- SUBSCRIBE to my weekly newsletter and/or daily blog updates.
- Paper Pumpkin: buy a Prepaid Subscription or subscribe month-to-month
- Earn Gumball Rewards – receive free products!
- Gift Certificates are available in any U.S. dollar amount from me. Contact me for details.
- Have you shopped from me within the past year? Join my private VIP Facebook group for exclusive project tutorials and more!
- Join my team and enjoy a 20% discount (or more) on all your purchases! You choose $125 in products and pay only $99, and get free shipping! No obligation! No selling required!
S
Thanks for stopping by today, and Sweet Stamping!