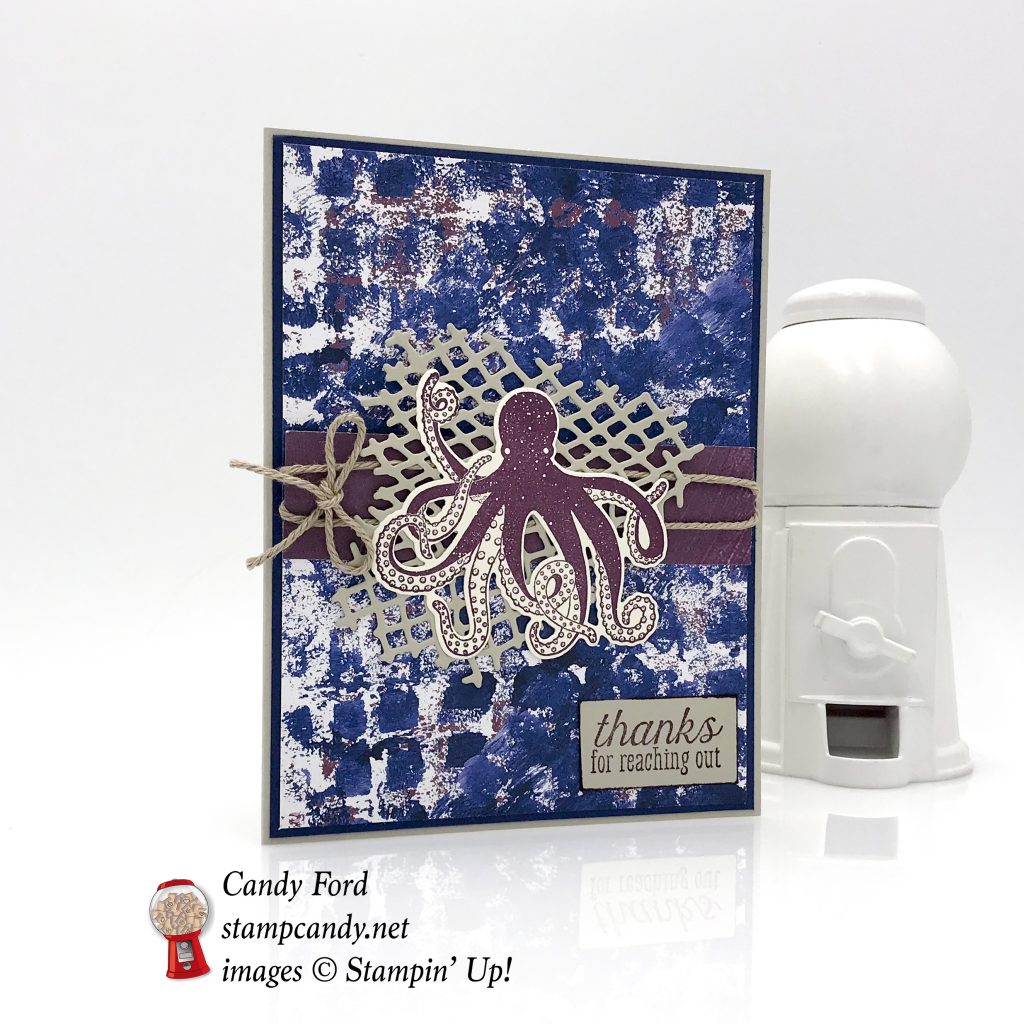
When you want to thank someone for reaching out to you, how better to do it than with an octopus? With eight legs, an octopus can to a lot of reaching out. I used the Sea of Textures bundle (Sea of Textures stamp set & Under the Sea Framelits Dies) along with the Tranquil Textures Designer Series Paper to create this nautical thank you card. The Crumb Cake twine, from the Nature’s Twine pack, is perfect for the look of nautical rope.
Here’s what I made:
Here’s what I did:
Cut and scored with my Stampin’ Trimmer:
- Sahara Sand card stock (CS) cut to 8-1/2″ x 5-1/2″, then scored in half at 4-1/4″
- night of Navy CS cut to 4-1/8″ x 5-3/8″
- Tranquil Textures Designer Series Paper (DSP) cut to 4″ x 5-1/4″ (blue pattern)
- DSP cut to 4″ x 1″ (Fresh Fig Pattern)
- Sahara Sand CS cut to 1-1/2″ x 3/4″
- Optional: Very Vanilla CS cut to 4″ x 5-1/4″ for the inside of the card. The Sahara Sand card base is so light, you really don’t need the Very Vanilla piece.
Stamped with the Sea of Textures stamp set:
- octopus in Fresh Fig ink onto a scrap of Very Vanilla
- sentiment in Fresh Fig ink onto the 1-1/2″ x 3/4″ piece of Sahara Sand CS (It may be easier for you to stamp the sentiment first, then cut around it.)
Colored using a Sponge Dauber:
- just the very edges of the sentiment in Fresh Fig ink
Die cut using the Under the Sea Framelits:
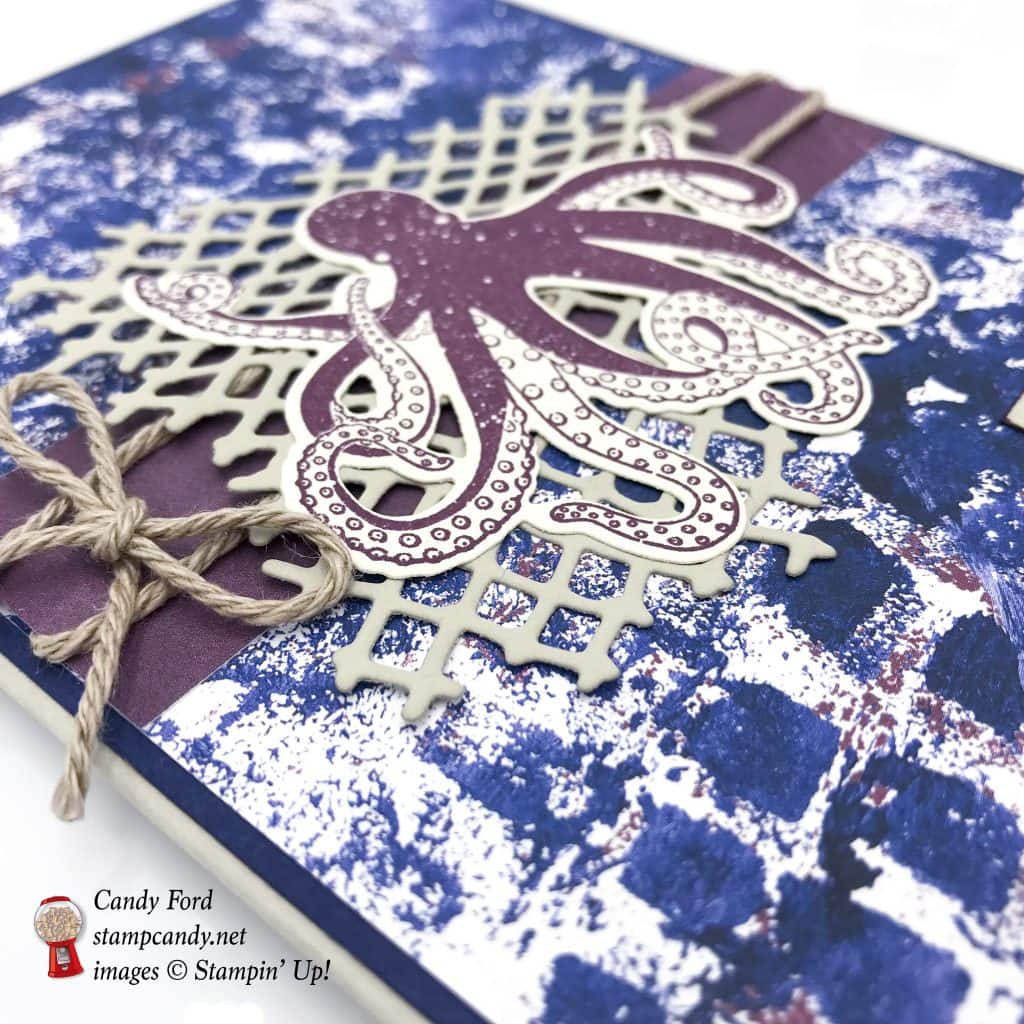
- octopus
- fish net from a scrap of Sahara Sand CS
- NOTE: Depending on your cutter, it may be helpful to use the Precision Base Plate to cut the fish net. Do not use the Precision Base Plate with the octopus die, which doesn’t have much metal and will warp.
Assembled the card:
- burnished the fold in the card base with a Bone Folder
- Night of Navy CS layer glued onto the front of the card base
- large DSP layer glued onto the Night of Navy CS layer
- Crumb Cake twine wrapped around the small strip of DSP and secured on the back with Tear & Tape
- DSP strip glued onto the large DSP layer
- die cut fish net glued over the DSP strip
- octopus glued over the fishnet
- another piece of the twine tied into a small bow and adhered to the small DSP strip with a Mini Glue Dot, to the left of the octopus
- sentiment glued onto the bottom right corner of the large DSP layer
- Optional: Very Vanilla CS glued onto the inside of the card base
Here’s the hop:
Here are today’s colors:
You can click on each one to see all the products that come in that color!
Here’s what I used:
Click on these images for more details and to purchase.
Here’s some information for you:
- Shop my online store
- Clearance Rack
- Click here for your free catalog.
- Join my team to get a discount on your stamping supplies!
- SUBSCRIBE to my weekly newsletter and daily blog updates.
- June Host Code 9K74TMW4– receive free product!
- Earn Gumball Rewards – receive free products!
- Gift Certificates are available in any U.S. dollar amount from me. Contact me for details.
Thanks for stopping by today, and Sweet Stamping!