Country Club Happy Birthday Book
Today’s project, a birthday book, is an example of a non-golf specific project made with the Country Club Suite. I made the book using the Clubhouse stamp set, Golf Club Dies, Absolutely Argyle 3D embossing folder, and Country Club Designer Series Paper.
book book
Here’s what I made:


 S
S
Here’s what I did:
Cut and scored with my paper trimmer:
- Poppy Parade card stock (CS) cut to 8-3/4″ x 5-1/2″, scored at 4-1/4″ and 4-1/2″, for the cover
- CS cut to 5-1/2″ x 8-1/2″, then scored in half at 4-1/4″ (one each of Whisper White Thick, Night of Navy, Crushed Curry, Poppy Parade, Garden Green, and Basic Black) for pages
- Country Club Designer Series Paper (DSP) cut to 5-1/2″ x 8-1/2″, then scored in half at 4-1/4″ (one piece of each non-golf-specific pattern) for pages
- Crushed Curry CS layer cut to 4-1/8″ x 5-3/8″
- Basic Black CS cut to 11″ x 3-1/2″, and scored at 4-3/4″, 5″, 9-3/4″, and 10″ for the belly band
- DSP layer cut to 4-5/8″ x 3-3/8″
- CS cut to 3-1/2” x 3-1/2″ (two each of Whisper White Thick, Night of Navy, Crushed Curry, Poppy Parade, Garden Green, and Basic Black) for tabbed inserts
Stamped with the Clubhouse stamp set:
- sentiment in black Memento ink onto a scrap of Whisper White Thick CS
Cut using the Golf Club Dies:
- sentiment
- 4 pieces from scraps of each color of CS using the crest shape die
Embossed using the Absolutely Argyle embossing folder:
- Crushed Curry CS layer
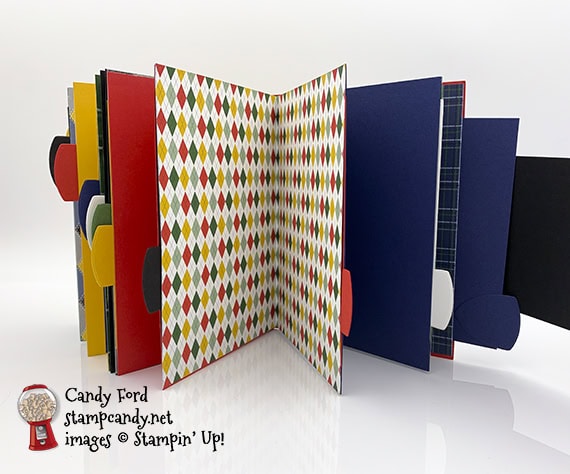
Assembled the book:
- burnished all the folds in the CS and DSP pieces with a Bone Folder
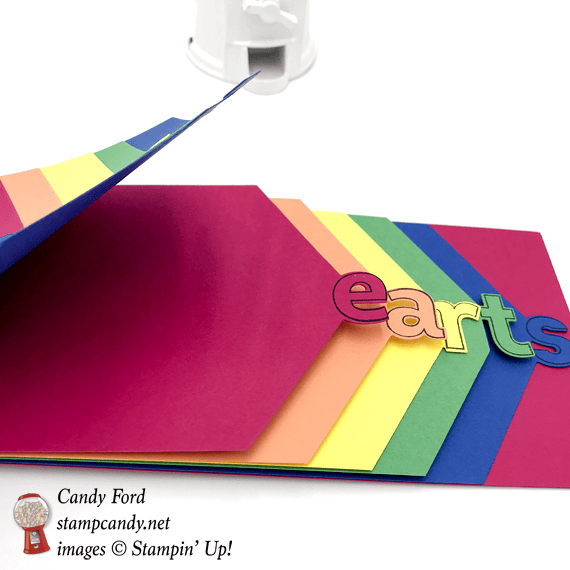
- one side of a CS page glued onto one side of a DSP page, along the fold, top and bottom (being careful not to glue along the outer edge, because this will make a pocket)
- remaining pages glued together the same way, alternating CS and DSP, until they are all glued together in a book (each double-thickness page should have a pocket)
- first and last pages glued the same way inside the Poppy Parade CS cover, creating more pockets
- tabs on CS inserts created by gluing 2 die cut crests together, with the insert between them, then the inserts stuck inside the pockets
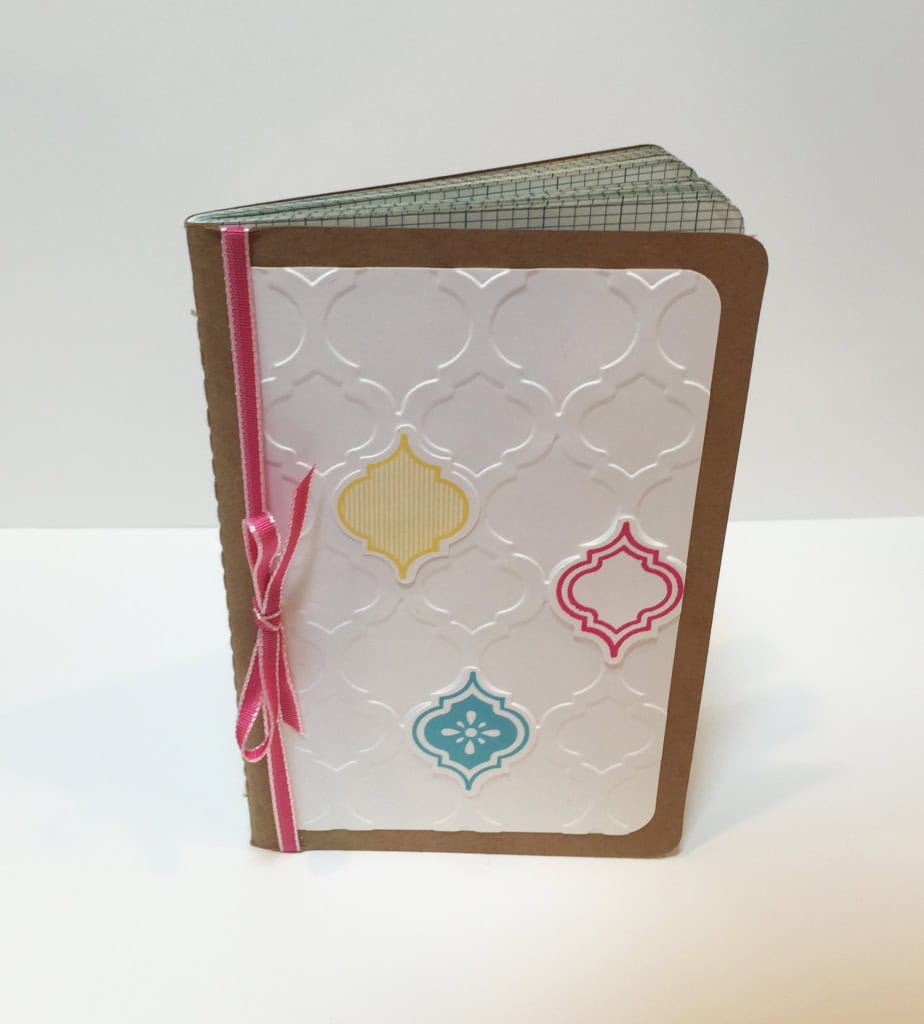
- Basic Black CS belly band glued onto the Poppy Parade CS cover on the back, spine, and front
- embossed Crushed Curry CS layer glued onto the front of the Poppy Parade CS cover, covering the end of the Basic Black belly band
- thin velcro fastener applied onto the inside of the belly band and the embossed Crushed Curry CS layer
- DSP layer glued onto the front of the belly band
- sentiment adhered onto the DSP layer using Mini Stampin’ Dimensionals
S
Here are today’s colors:
You can click on each one to see all the products that come in that color!
S
Here’s what I used:
Click on these images for more details and to purchase.
Click “Supply List” for a clickable and printable list!
S
S
Here are some helpful links:
- Shop my online store
- Sale-a-bration!
- Clearance Rack
- SUBSCRIBE to my weekly newsletter and daily blog updates.
- January Host Code HRDJTUGZ – receive free product!
- Paper Pumpkin: buy a Prepaid Subscription or subscribe month to month
- Earn Gumball Rewards – receive free products!
- Gift Certificates are available in any U.S. dollar amount from me. Contact me for details.
- Have you shopped from me within the past year? Join my private VIP Facebook group for exclusive project tutorials and more!
- Join my team and enjoy a 20% discount (or more) on all your purchases! You choose $125 in products and pay only $99, and get free shipping! No obligation! No selling required! AND NOW, only during Sale-a-bration, you’ll also receive an exclusive Mini Paper Cutter a 6″ x 6″ Sampler of Designer Series Paper from the new Mini Catalog, and another stamp set of your choice.
S
Thanks for stopping by today, and Sweet Stamping!