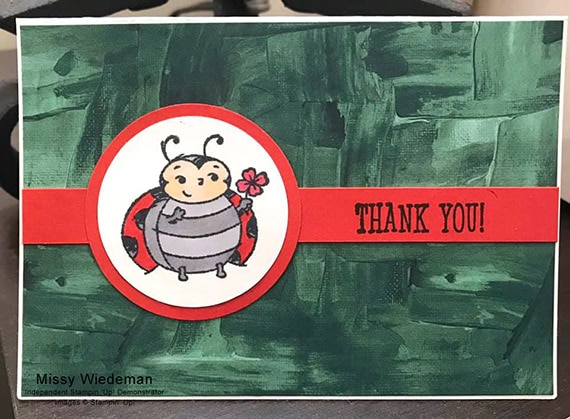
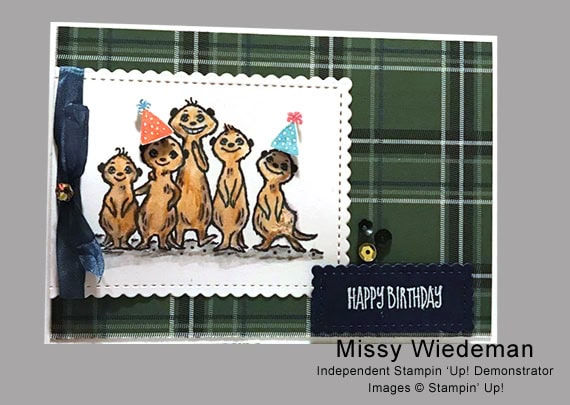
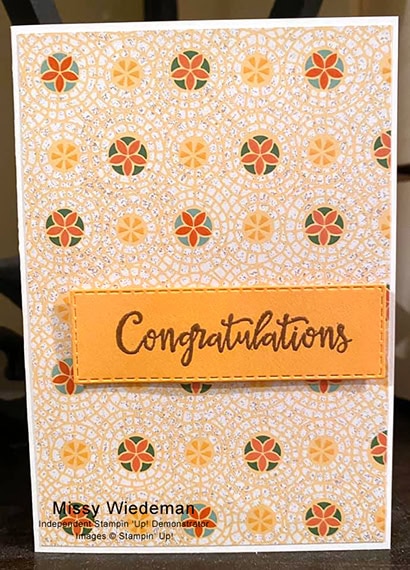
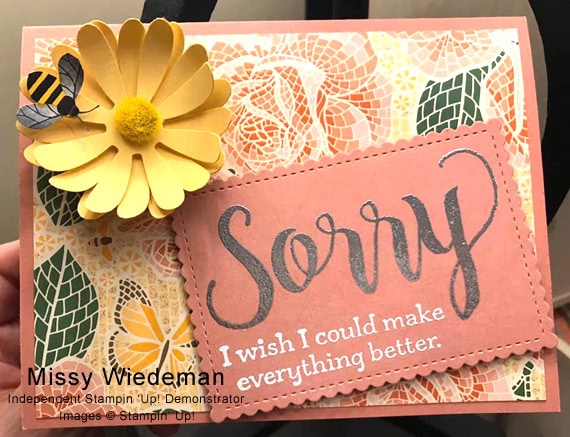
Mar 31, 2020 | Cards, Challenges, Gallery, Guest Stamper |

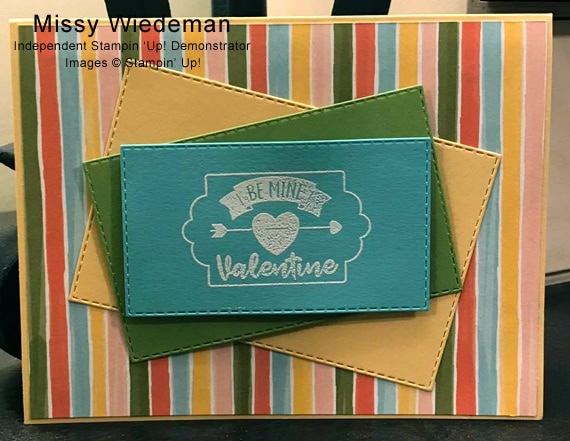
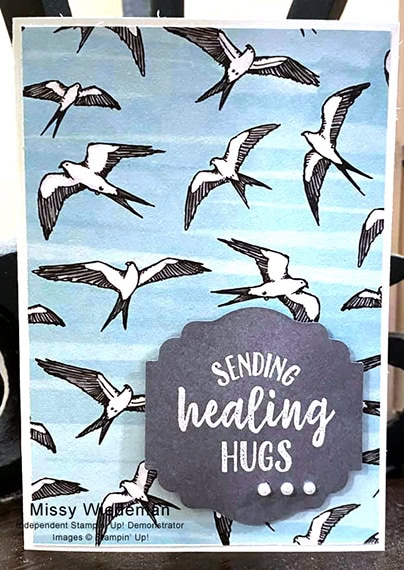
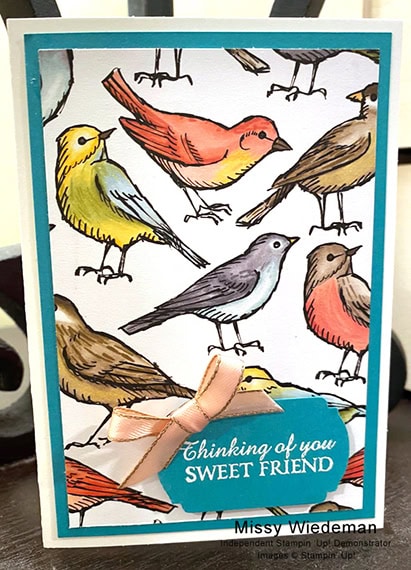
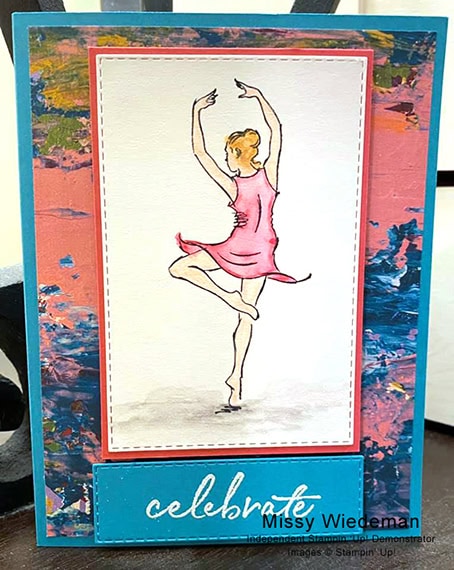
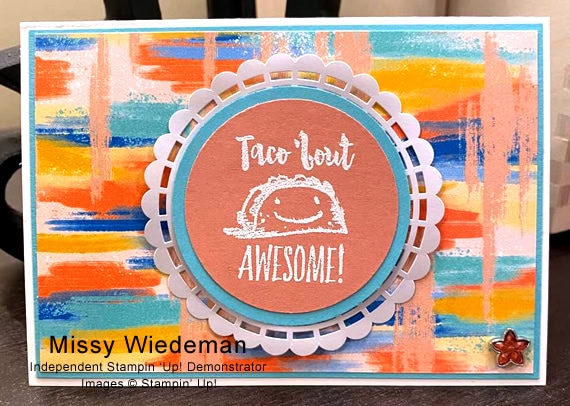
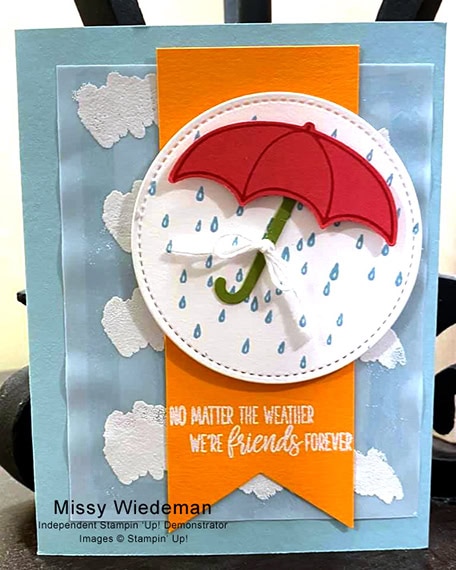
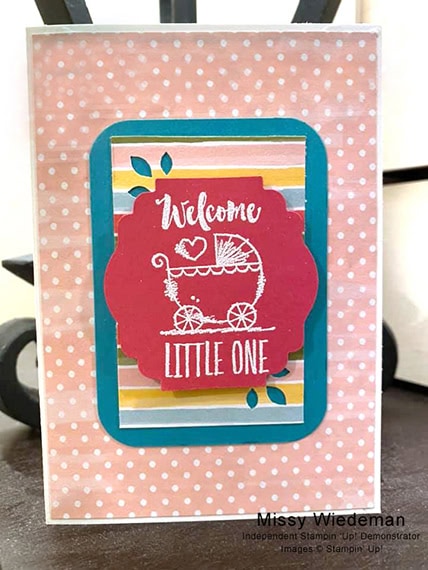
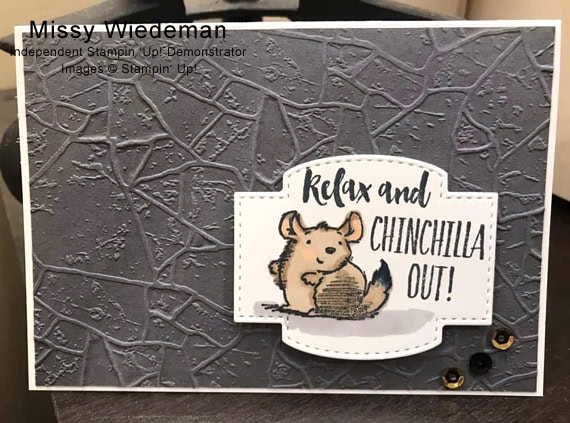
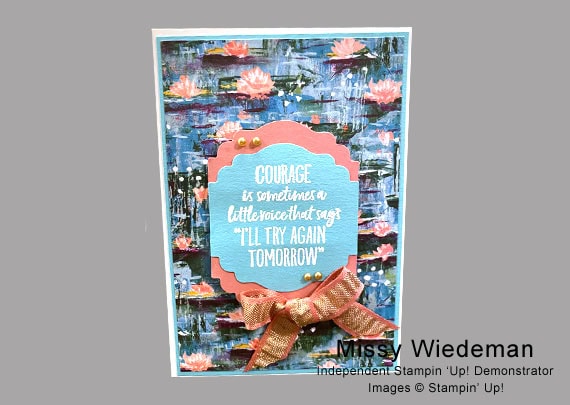
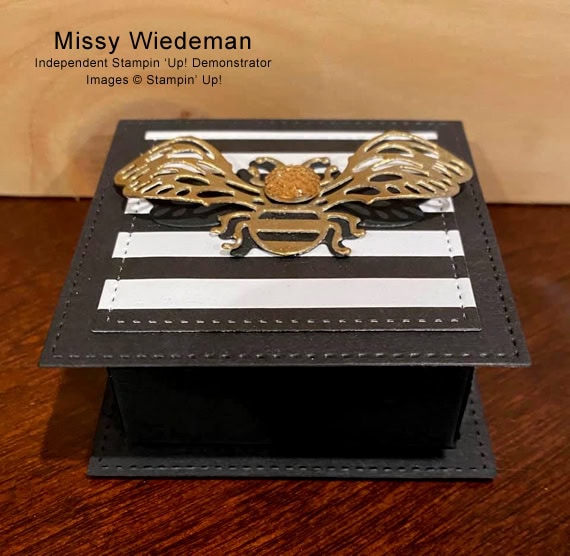
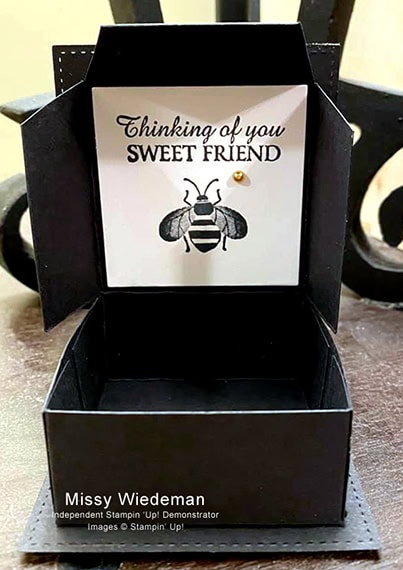
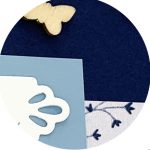
Last month we had our Quarterly Challenge within the Candy Hearts Facebook Group. Participants posted a new project every day for 15 days straight. This talented group created some really wonderful projects, and I’m excited to share some of them with you. Missy Wiedeman is a Stampin’ Up! Demonstrator from Atlanta, GA. Today I’m sharing Missy’s 02-2020 Quarterly Challenge Projects.
If you are reading this in email, some photos may appear blurry, or may not appear at all. Please click here to see the post on my blog.
S Missy’s 02-2020 Missy’s 02-2020 Missy’s 02-2020
Here’ are Missy’s 02-2020 Quarterly Challenge Projects:

S
Here are some helpful links:
Thanks for stopping by today, and Sweet Stamping!
Feb 22, 2019 | Cards, Challenges, Gallery |
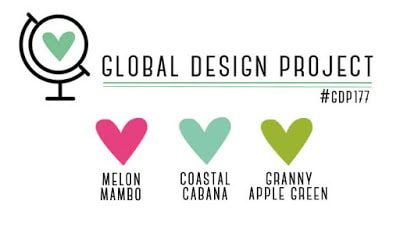
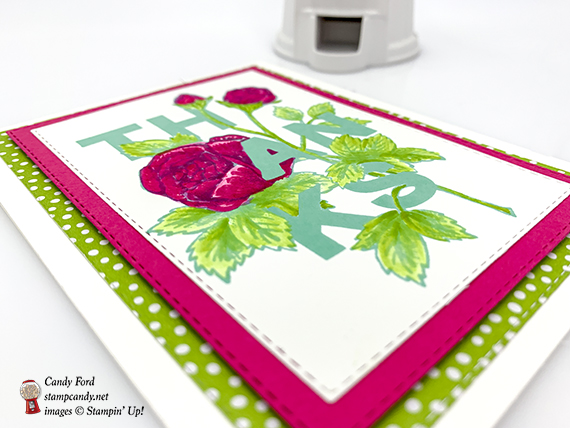
I made today’s card for this week’s Global Design Project color challenge. I used the beautiful Floral Statements stamp set to make a colorful thank you card. I stamped the large image in Coastal Cabana ink, then colored in the rest in Melon Mambo and Granny Apple Green, using a Blender Pen and the Stampin’ Write Markers in each color to (try to) create depth. Coloring isn’t my strong suit, but I feel pretty good about how this one turned out. What do you think?
Here’s the GDP177 color challenge:
 S
S
Here’s what I made:

 S
S
Here’s what I did:
Cut and scored with my Stampin’ Trimmer:
- Whisper White Thick card stock (CS) cut to4-1/4″ x 11″ , then scored in half at 5-1/2″
Stamped with the Floral Statements stamp set:
- main image in Coastal Cabana ink onto a piece of Whisper White CS
Die cut using the Rectangles Stitched Framelits:
- the stamped image
- a piece of Melon Mambo CS
- a piece of Granny Apple Green Designer Series Paper (DSP)
Colored using Blender Pens and Stampin’ Write Markers:
- flowers in Melon Mambo ink, first with the Blender Pen, then darker bits with the marker.
- leaves and stems in Granny Apple Green ink, the same way as the flowers
Assembled the card:
- burnished the fold in the card base with a Bone Folder
- DSP glued onto the front of the card base
- Melon Mambo CS adhered onto the DSP layer using Stampin’ Dimensionals (I save the long strips around the edges of the Dimensionals for large areas like this.)
- stamped image glued onto the Melon Mambo CS layer
S
Here are today’s colors:
You can click on each one to see all the products that come in that color!
S
Here’s what I used:
Click on these images for more details and to purchase.
S
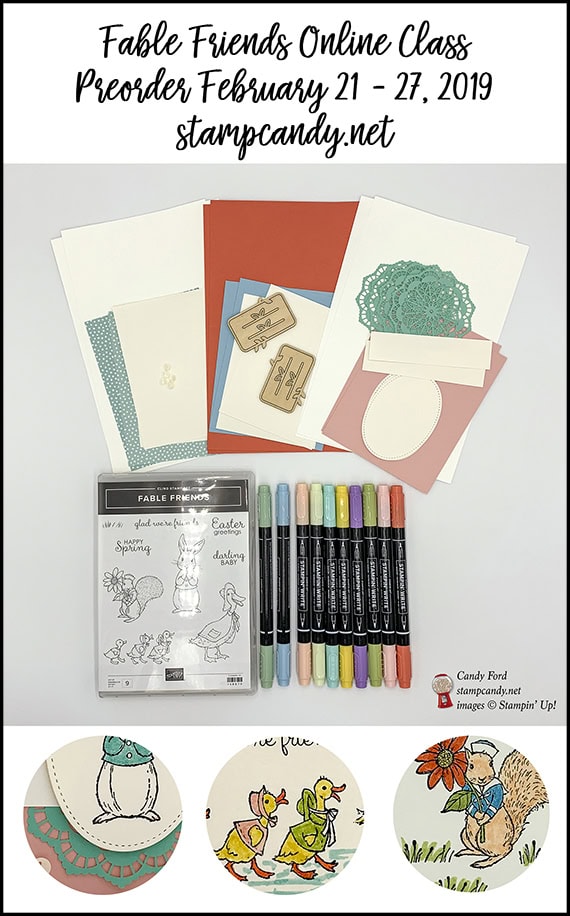
Preorder the Fable Friends Online Class by February 27!
- Make 6 adorable cards at home in your PJs!
- 2 each of 3 designs
- Perfect for Spring, including Easter!
- Limited spots available!
Click on the image below for details:
S
Here are some helpful links to check out:

S
Thanks for stopping by today, and Sweet Stamping!

Feb 12, 2019 | Cards, Challenges, Gallery |
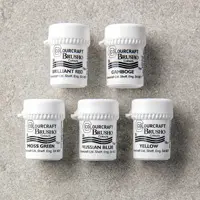
Today’s card is inspired by this week’s Global Design Project challenge to CASE the designer. I used two stamp sets from the Annual Catalog: the Calls For a Celebration stamp set, and the Hand Delivered host stamp set. I also used Brusho Colour Crystals on one of the layers.
Here’s the GDP176 challenge:
Here’s the S
Here’s what I made:

To CASE a card is to “copy and selectively edit” or “copy and share everything.” You can copy it exactly or choose a part of it as inspiration. I chose to CASE the circles on Steffi’s card, as well as the multicolor wash and the black sentiment. But I chose to add several layers behind the embossed pieces – I used Shimmery White cardstock for everything.
My multicolor area looks darker in the photos than in person, but I think you get the idea. Also the Brusho colors are a bit deeper than the ink colors Steffi used. Here’s a shot I brightened up to give you a better idea of the colors, but a lot of the white details are lost.

Close up of the white embossed circles. And you can just make out some of the shimmer of the paper, which is hard to photograph, but is very pretty in person.

S
Here’s what I did:
Cut Shimmery White cardstock (CS) layers with my Stampin’ Trimmer:
- 4-1/4″ x 11″, then scored in half at 5-1/2″ for the card base
- 4-1/8″ x 5-3/8″
- 4″ x 5-1/4″
- 3-7/8″ x 5-1/8″
- 3-3/4″ x 5″ (this layer will be embossed in white, see below)
- cut to 4-1/4″ x 2-3/4″, then after being colored using Brusho (see below) cut it down to 3-3/4″ x 2-1/2″
Colored using Brusho crystals:
- 4-1/4″ x 2-3/4″ layer:
- 1) put post it tape along all four edges to hold it down to the grid paper
- 2) spritzed it with water to get it good and wet
- 3) sprinkled on Brusho crystals and let the colors run (Prussian Blue along the top, Gamboge in the center, and Brilliant Red along the bottom)
- 4) allowed the Brusho to dry completely (I’m too impatient to wait, so I used my Heat Tool to speed up the drying time.)
Stamped with the Calls For a Celebration stamp set:
- sentiment in Versamark ink onto the completely dry Brusho-colored layer, then heat embossed in black
- used the Embossing Buddy on the Brusho-colored layer before stamping. It helps to prevent the embossing powder from sticking where it shouldn’t.
- I used the Stamparatus to stamp a few times in Versamark, to make sure I got really good coverage. Since the image has a lot of big solid areas, I wanted to be sure they got filled in with the black embossing.
Stamped with the Hand Delivered stamp set:
- large balloon cluster in Versamark ink all over the Shimmery White CS cut to 3-3/4″ x 5″, overlapping in places, then heat embossed in white
- I was careful not to use the part of the stamp image with the strings. I only wanted the circles.
Assembled the card:
- burnished the fold in the card base with a Bone Folder
- three plain layers (4-1/8″ x 5-3/8″, 4″ x 5-1/4″, and 3-7/8″ x 5-1/8″) glued in size order onto each other, then onto the front of the card base
- 3-3/4″ x 5″ white embossed layer glued on top of the other layers
- Brusho sentiment layer glued onto the white embossed layer

S
Here’s what I used:
Click on these images for more details and to purchase.
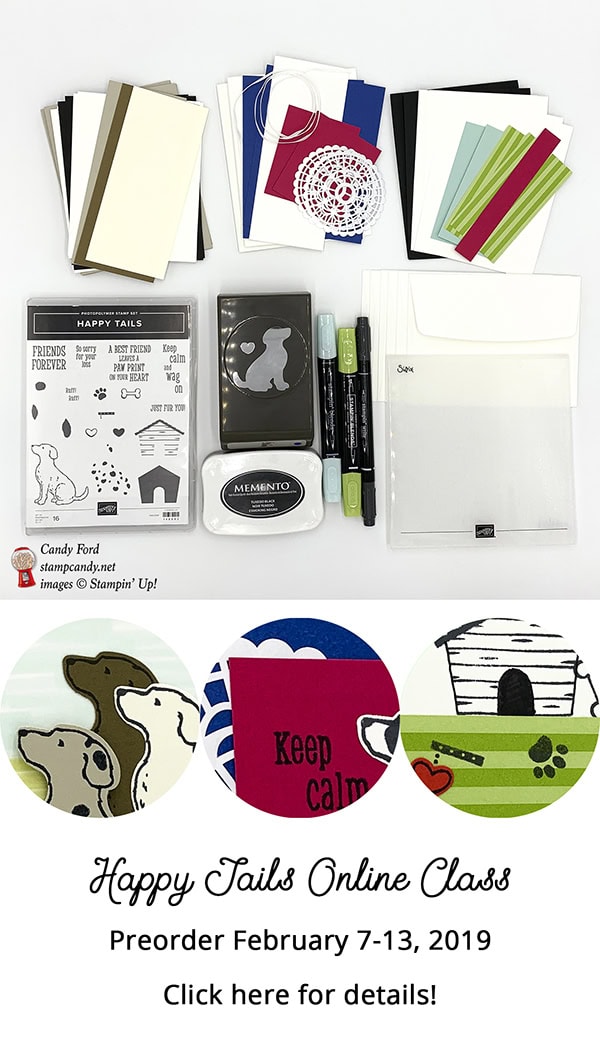
Here is this week’s online class!
If you or someone you know loves dogs, this class is for you! Click on the image below for details and to order. Only through Wednesday, February 13. Limited spots available, so order before it sells out.
S
Here are some helpful links to check out:
Thanks for stopping by today, and Sweet Stamping!
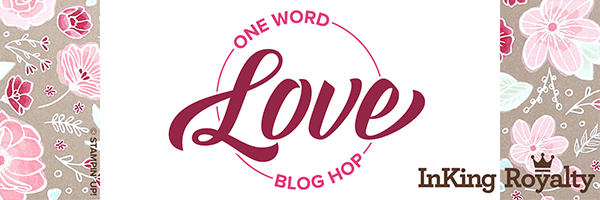
Jan 30, 2019 | Blog Hop, Cards, Challenges, Gallery |
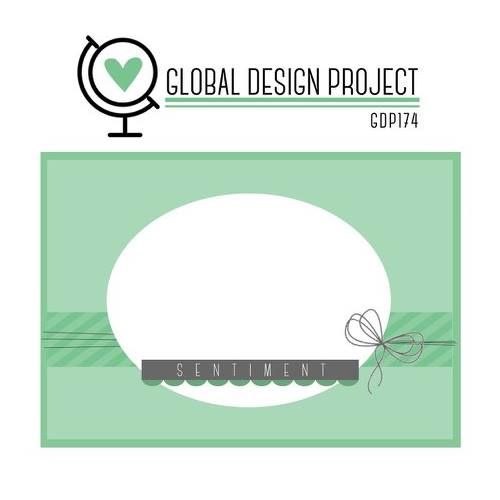
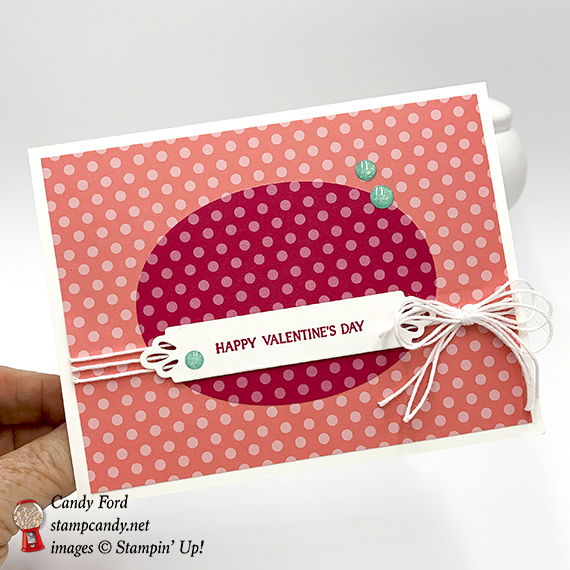
It’s time for the IRBH Blog Hop! I always look forward to hopping with this amazing group of stampers. The theme for this month’s hop is Love. I made a simple Valentine’s card using products from both the Occasions and Annual catalogs. My card was inspired by the GDP sketch challenge for this week:
 S
S
Here’s what I made:


S
Here’s what I did:
Cut and scored with my Stampin’ Trimmer:
- Whisper White Thick card stock (CS) cut to 5-1/2″ x 8-1/2″, then scored in half at 4-1/4″
- Flirty Flamingo Designer Series Paper (DSP) cut to 5-1/4″ x 4″
Stamped with the Forever Lovely stamp set:
- sentiment in Melon Mambo ink onto a scrap of Whisper White CS
Die cut using the Needlepoint Elements Framelits:
Die cut using the Layering Ovals Framelits:
- large oval from a piece of Melon Mambo DSP
Assembled the Valentine card:
- burnished the fold in the card base with a Bone Folder
- oval die cut glued onto the Flirty Flamingo DSP layer
- 3 pieces of twine stretched across the DSP layer and adhered on the back using Tear & Tape
- 3 pieces of twine tied around the first three pieces and tied in a bow – I secured the bow to the DSP layer with a Mini Glue Dot
- sentiment adhered over the twine using Tear & Tape – I also put a piece of Tear & Tape between the twine and DSP to hold it in place
- Flirty Flamingo DSP glued onto the front of the card base
- three Coastal Cabana dots applied to the card front
S
Here’s the hop:
Thank you for hopping along with us. If you get stuck during the Blog Hop, please use this line-up as a guide:
- Brian King at Stamp with Brian
- Jennifer Spiller at Westside Paper Creations
- Sue Jackson at Just Peachy Stamping
- Katie Ferguson at Cottage Paper
- Pam Morris at Tap Tap Stamp
- Windy Ellard at Windy’s Wonderful Creations
- Robin Myren at Songbird Designs by Robin
- Julie DiMatteo at The Paper Pixie
- Jackie Beers at Blue Line Stamping
- Nina King at InkPaperSequins
- Shawn de Oliveira at Shawn Stamps
- Lynn Kolcun at Avery’s Owlery
- Candy Ford at Stamp Candy <— YOU ARE HERE
- Robbye Hamilton at Miss Hammie’s Crafts S
Here are today’s colors:
You can click on each one to see all the products that come in that color!
S
Here’s what I used:
Click on these images for more details and to purchase.
S
New online class!
Preorders begin tomorrow! Check my blog post tomorrow morning for the details!
S
Here are some helpful links:
Thanks for stopping by today, and Sweet Stamping!
Jan 25, 2019 | Cards, Challenges, Gallery, Occasions |
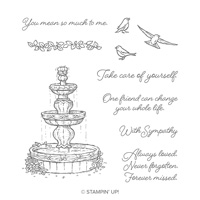
Today’s card is one I made for the Global Design Project color challenge this week. It’s a very subtle card with three soft colors on a field of Whisper White. I used the Flowing Fountain stamp set for the sentiment and the Be Mine Stitched Framelits Dies for the hearts. Look at the first two photos below. I made the card, then added another stamp to it. Which do you prefer, with or without the extra bird?
Here’s the GDP173 challenge:

Here’s what I made:

Here’s the same card with the extra bird:

S
Here’s what I did:
Cut and scored with my Stampin’ Trimmer:
- Whisper White thick card stock (CS) cut to 4-1/4″ x 11″, then scored in half at 5-1/5″
- Whisper White CS cut to 4″ x 5-1/4″
- Whisper White CS cut to 3-1/4″ x 3/4″, and the ends cut on the diagonal
Stamped with the Flowing Fountain stamp set:
- sentiment in Soft Sea Foam ink onto the Whisper White CS strip
- birds in So Saffron ink onto the Whisper White CS layer
Die cut using the Be Mine Stitched Framelits:
- heart background from a scrap of Petal Pink CS
Assembled the card:
- burnished the fold in the card base with a Bone Folder
- Whisper White CS layer glued onto the front of the card base
- die cut hearts glued onto the Whisper White CS layer
- sentiment glued over the die cut hearts

S
Here are today’s colors:
You can click on each one to see all the products that come in that color!
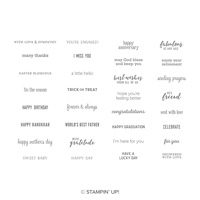
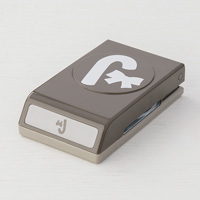
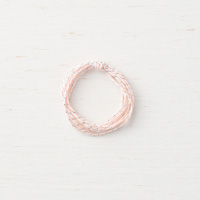
Here’s what I used:
Click on these images for more details and to purchase.
S
Here are some helpful links:
Thanks for stopping by today, and Sweet Stamping!
Oct 4, 2018 | Cards, Challenges, Christmas, Gallery, Holiday, Sketches |
I created today’s card for this week’s Global Design Project sketch challenge GDP158. I used the Itty Bitty Greetings stamp set and the Candy Cane Builder Punch along with the Tropical Escape Designer Series Paper to make a Christmas card in pink and green – one of my favorite holiday color combos.
Here’s the GDP158 sketch challenge:

Here’s what I made:


Here’s what I did:
Cut and scored with my Stampin’ Trimmer:
- Lemon Lime Twist card stock (CS) cut to 5-1/2″ x 8-1/2″, then scored in half at 4-1/4″
- Tropical Escape Designer Series Paper (DSP) cut to 5″ x 3-3/4″ (dot pattern)
- Granny Apple Green CS cut to 5-1/4″ x 2-1/2″
- Whisper White CS cut to 4″ x 1/2″
- Optional: Whisper White CS cut to 5-1/4″ x 4″ for the inside of the card
Stamped with the Itty Bitty Greetings stamp set:
- sentiment in Lemon Lime Twist ink onto the Whisper White CS strip
Cut using the 3/4″ Circle Punch:
- both ends of the sentiment strip
- NOTE: stick each end into the back of the punch down through the circle and punch
Cut using the Candy Cane Builder Punch:
- 3 candy canes from a scrap of DSP (herringbone striped pattern)
Assembled the card:
- burnished the fold in the card base with a Bone Folder
- DSP layer glued onto the front of the card base
- candy canes glued onto the Granny Apple Green CS layer
- twine wrapped around the Granny Apple Green CS layer, and secured on the back using Tear & Tape
- another piece of twine tied in a bow aroun the first piece of twine, and secured to the Granny Apple Green CS layer using a rolled up Mini Glue Dot
- Granny Apple Green CS layer glued over the DSP layer
- sentiment adhered over the twine using Mini Stampin’ Dimensionals
- Optional: Whisper White CS glued onto the inside of the card base

Here are today’s colors:
You can click on each one to see all the products that come in that color!
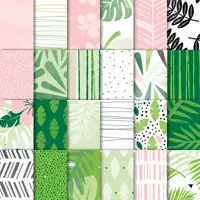
Here’s what I used:
Click on these images for more details and to purchase.
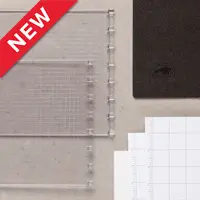
Here are the new Stamparatus Accessories!
You can now order individual accessories for your Stamparatus! (Be sure to keep an eye out for more in the future.)
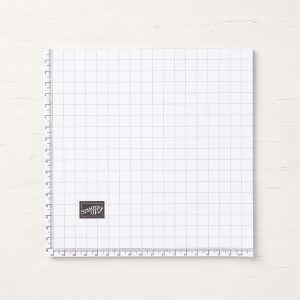
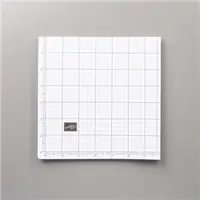
Grid paper perfectly sized to fit the Stamparatus, for precision stamp alignment every time. (50 sheets)
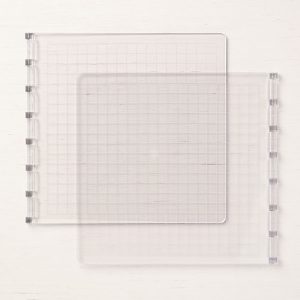
Additional plates allow you to have multiple stamp arrangements ready to go! (2 plates)
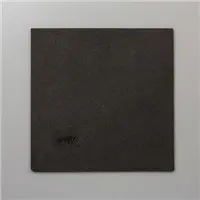
Extra foam mat for photopolymer stamping. (1 mat)
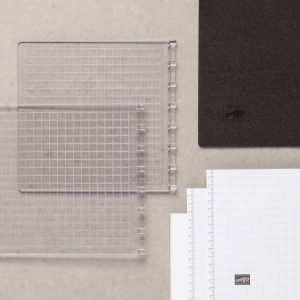
Stamparatus Accessories Pack includes 2 Stamparatus plates, a foam mat, and grid paper.
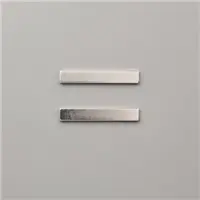
Stamparatus Magnets. These rare earth magnets are strong! They’re also brittle by nature, so be careful not to let them slam together. (2 magnets)
Here’s the New World Card Making Day Sale:
Select products are 10% off!
Only through October 7, 2018!
Click here to see all the sale items.
Here’s some cool stuff you should check out:
Thanks for stopping by today, and Sweet Stamping!