Mar 14, 2017 | Cards, Challenges, Deals, Gallery, Occasions, Sale-A-Bration |
Today I’m sharing a card that I designed for my March Stamp Club gathering. All the projects we made used the newest Sale-a-bration items. This one uses the 6×6 Glimmer Assortment, which you can get for FREE with a $50 purchase, but only while supplies last! I also used the All Things Thanks stamp set, the Flourish Thinlits Dies, May Flowers Framelits Dies, and Aqua Painters. I used Shimmery White card stock (CS,) instead of the regular Whisper White CS, because you can watercolor on it without any pilling.

Also, today a group of us are being highlighted internationally by Kylie Bertucci, a Stampin’ Up! Demonstrator from Australia, and you can actually VOTE for my card. The top ten winners will get to be part of an international blog hop next month, so please vote for my card. You can do that here.
Our theme for this highlight is the All Things Thanks stamp set. It’s a wonderful stamp set with so many gorgeous sentiments, and we wanted to highlight how versatile it really is. You can see another card I’ve made with this stamp set here. Make sure you head over to Kylie’s blog to vote for my card. I would love to be chosen to do an international blog hop!

Here’s what I made:


Here’s what I did:
Cut and scored with the Stampin’ Trimmer:
- So Saffron card stock (CS) cut to 5-1/2″ x 8-1/2″, then scored in half at 4-1/4″
- Basic Black CS cut to 5-3/8″ x 4-1/8″
- Shimmery White CS cut to 5-1/4″ x 4″
Stamped with the All Things Thanks stamp set:
- sentiment in Basic Black Archival ink
Die cut using the Flourish Thinlits :
- leaf shape from Mint Macaron Glimmer Paper
Die cut using the May Flowers Framelits:
- flower from Sweet Sugarplum Glimmer Paper
Cut using the 1/2″ Circle Punch:
- So Saffron CS for the flower center
Used Aqua Painters to watercolor:
- Mint Macaron ink onto the Shimmery White CS, where the die cut leaves would go
- Sweet Sugarplum ink onto the Shimmery White CS, where the die flower would go
- NOTE: I used a drop of each color ink from the Refills, but you can also use the ink pads. I have both listed at the bottom of this post
Assembled the card:
- 1/2″ So Saffron circle glued onto the back of the flower
- Glimmer Paper leaf and flower glued over the watercolored areas of the Shimmery White CS
- Shimmer White CS glued onto the Basic Black CS
- Basic Black CS glued onto the So Saffron card base
Here’s what I used:
Click on the images for more details and to purchase.
Just a couple more weeks of

Now through March 31, you will earn a FREE item from the Sale-a-bration catalog for each $50 you spend on an order. See the items you can earn here and here.
Sale-a-bration items are available only while supplies last, so order now!


A Paper Pumpkin 3 month prepaid subscription is only $55, but only through March 31! It’s the easiest way to earn a FREE Sale-a-bration item! Get it here.
Take it to the next level with a 12-month prepaid subscription. Save over $2 per month with the everyday awesome price, earn Stampin’ Rewards, and instantly qualify for 4 FREE Sale-A-Bration items! Get it here.
 You always earn a Gum Ball for every $50 you spend on an order with me. Earn 10 Gum Balls and I’ll send you a free stamp set of your choice! See the Gum Ball Rewards page for details.
Click here to shop my online store!
March Host Code
BDF43VHE
Use the Host Code on online orders less than $15o. See how to use a Host Code here.
Online orders of $75-149.99 placed with the Host Code will receive the gift of the month!
Online orders of $150 or more will automatically receive the gift of the month! Do not use the Host Code.
March’s gift is a pack of Metallic Foil Doilies! Each pack contains 24 doilies: 6 each of 2 sizes in 2 colors.

Metallic Foil Doilies © Stampin’ Up!
Click here to shop my online store!
Have you noticed that I would really really like you to vote for me?
Thanks for stopping by today, and Sweet Stamping!
And happy π Day to all my nerd friends out there!

Feb 26, 2017 | Baby, Bags, Challenges, Gallery, Gift Wrap, Gifts, Occasions |
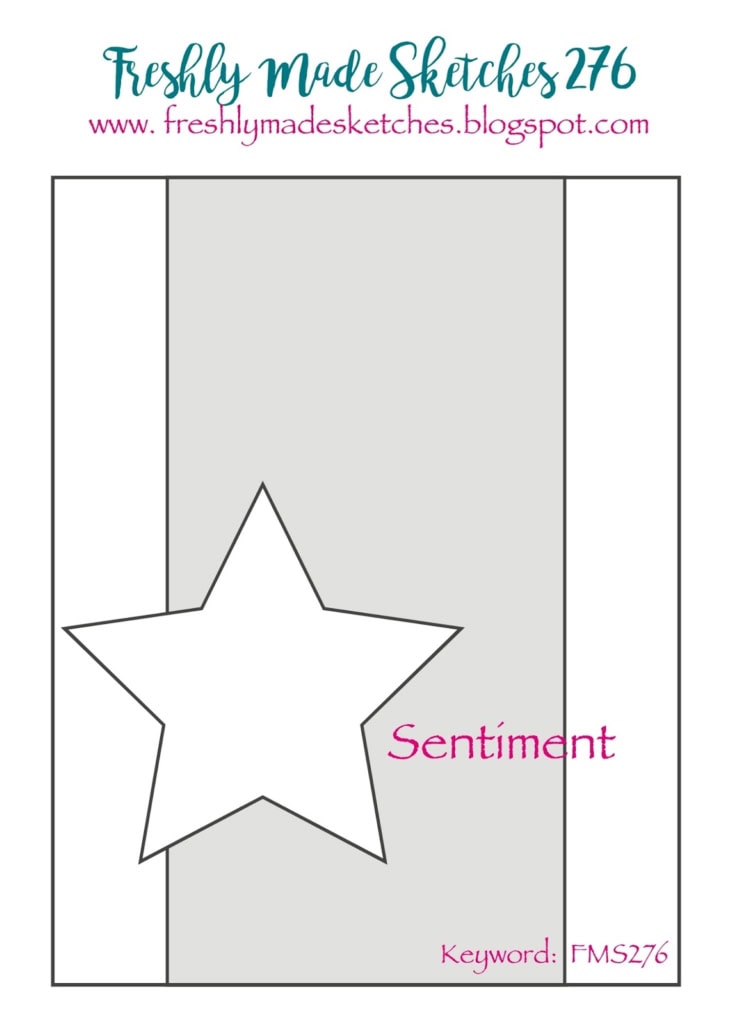
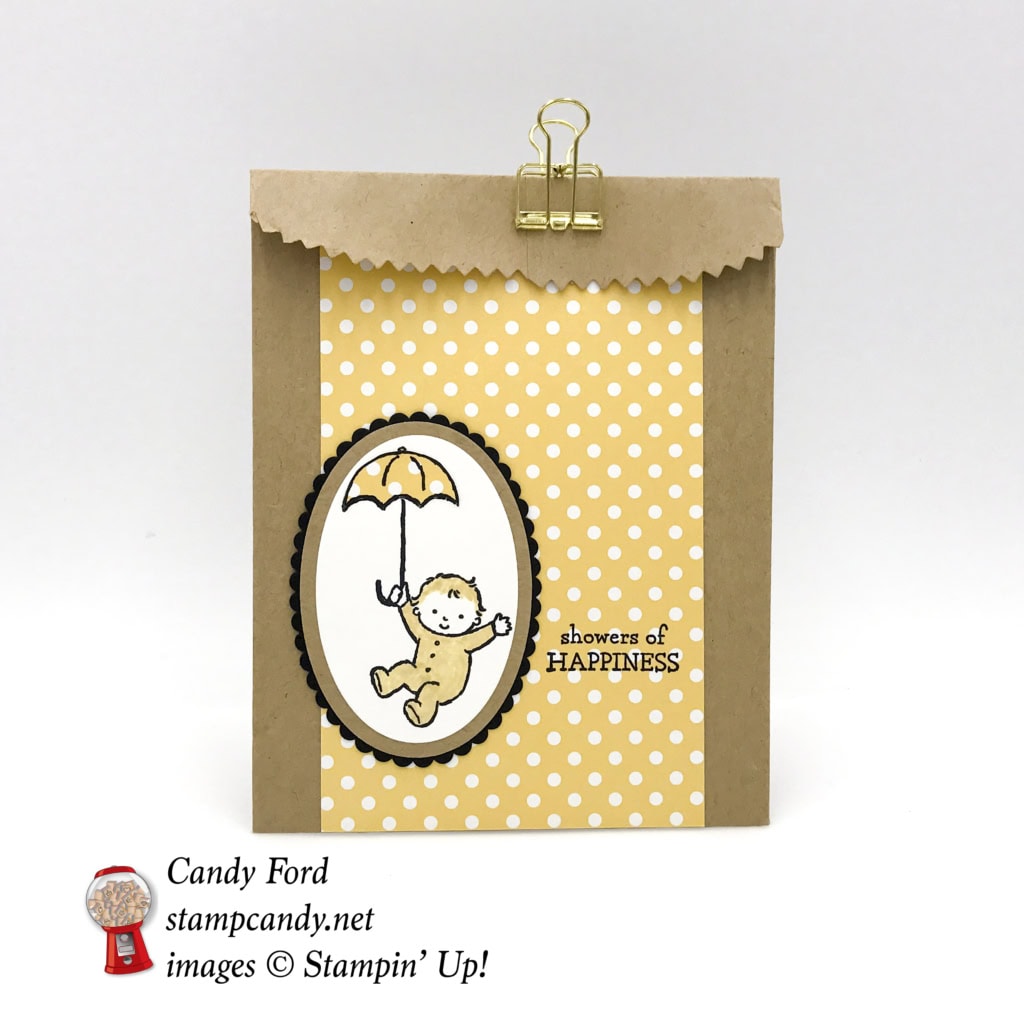
My project today is made with the Moon Baby stamp set, Kraft Tag a Bag Gift Bags, and Layering Ovals Framelits Dies. This sweet little gift bag is perfect for a small baby shower gift or card. The design is inspired by this week’s Freshly Made Sketches Challenge:
Here’s what I made:
Here’s what I did:
Cut with my Stampin’ Trimmer:
- So Saffron DSP from the Subtles Designer Series Paper Stack to 3-1/2″ x 6″
Stamped with the Moon Baby stamp set:
- full image in Basic Black ink onto a piece of Whisper White CS
- sentiment in Basic Black ink onto the 3-1/2″ x 6″ piece of DSP
- just the umbrella in Basic Black ink onto a small scrap of the DSP
Colored in with So Saffron Stampin’ Write Marker:
- baby’s clothes and hair
- tiny circle on the top of the umbrella
Die cut using the Layering Ovals Framelits Dies :
- full image on Whisper White CS
- next size up oval from another Kraft Tag a Bag Gift Bag
- scalloped oval from Basic Black CS
Fussy cut with Paper Snips:
- umbrella top that was stamped on the scrap of DSP
Assembled the bag:
- umbrella top glued to the full image
- full image glued to the oval cut from another kraft bag
- kraft oval glued to scalloped Basic Black oval
- large piece of DSP glued to the front of the bag, and folded over the top of the bag
- Basic Black oval glued to the DSP & bag
- folded over the top of the bag and used a clip to hold it closed
Here’s what I used:
Click on the images for more details and to purchase.
Now through March 31, you will earn a FREE item from the Sale-a-bration catalog for every $50 you spend on an order. See the items you can earn for FREE here and here.
PLUS you will earn a Gum Ball for every $50 you spend on an order with me. Earn 10 Gum Balls and I’ll send you a free stamp set of your choice! See the Gum Ball Rewards page for details.
Click here to shop my online store!
February Host Code
C7RRWU4B
Use the Host Code on online orders less than $15o. See how to use a Host Code here.
Online orders of $75-149.99 placed with the Host Code will receive the gift of the month!
Online orders of $150 or more (do not use the Host Code) will automatically receive the gift of the month!
Click here to shop my online store!
Thanks for stopping by today, and Sweet Stamping!
Jul 28, 2016 | Cards, Challenges, Gallery |
This week there is a sketch challenge over at the Global Design Project. It’s a very simple sketch, so it seems it would be super easy. But sometimes the simplest things are the hardest to do well. I had to ponder this one a while. 
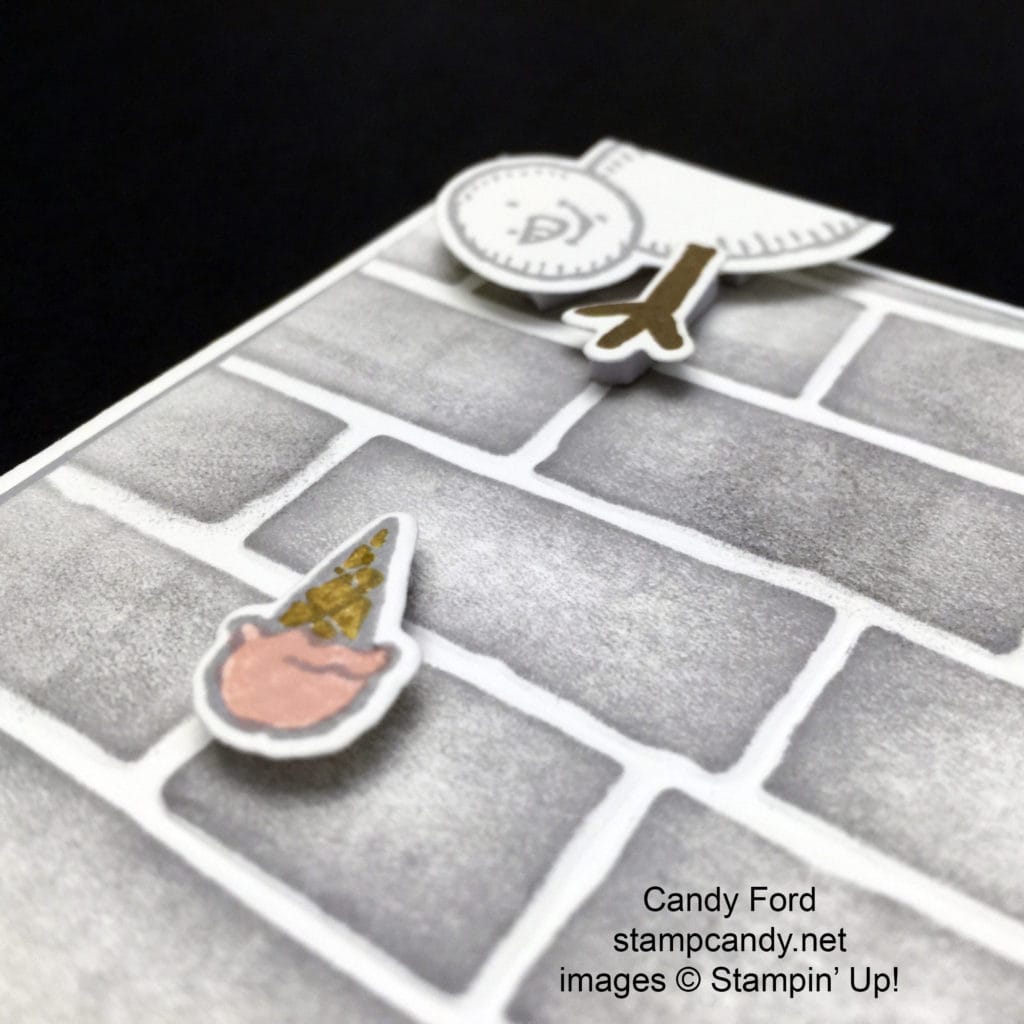
For some reason, I saw someone looking down from that top left corner, not just a doodah hanging there. I looked at my stamp sets. I thought about the little bear in Bear Hugs, and he would’ve been cute. But when I came across this little snowman in Snow Place, I knew I had my guy. So I stamped him in Smoky Slate ink onto Whisper White card stock and cut him out with the coordinating die in the Snow Friends Framelits.
Okay, now what is he doing up there in the corner looking down? And what is he looking down from? And what is he looking at? I looked to the same stamp set for inspiration and it hit me. I wanted to use the little ice cream cone. I stamped his arm in Soft Suede on Whisper White and used the die to cut it out. But it didn’t make sense for him to be dangling an ice cream cone from the sky.
He needed something to be hanging down from. I looked at my embossing folders and thought a brick wall would be a good choice. Okay, so now he was hanging over a brick wall with an ice cream cone. But why? <Light bulb!> Because he dropped it!
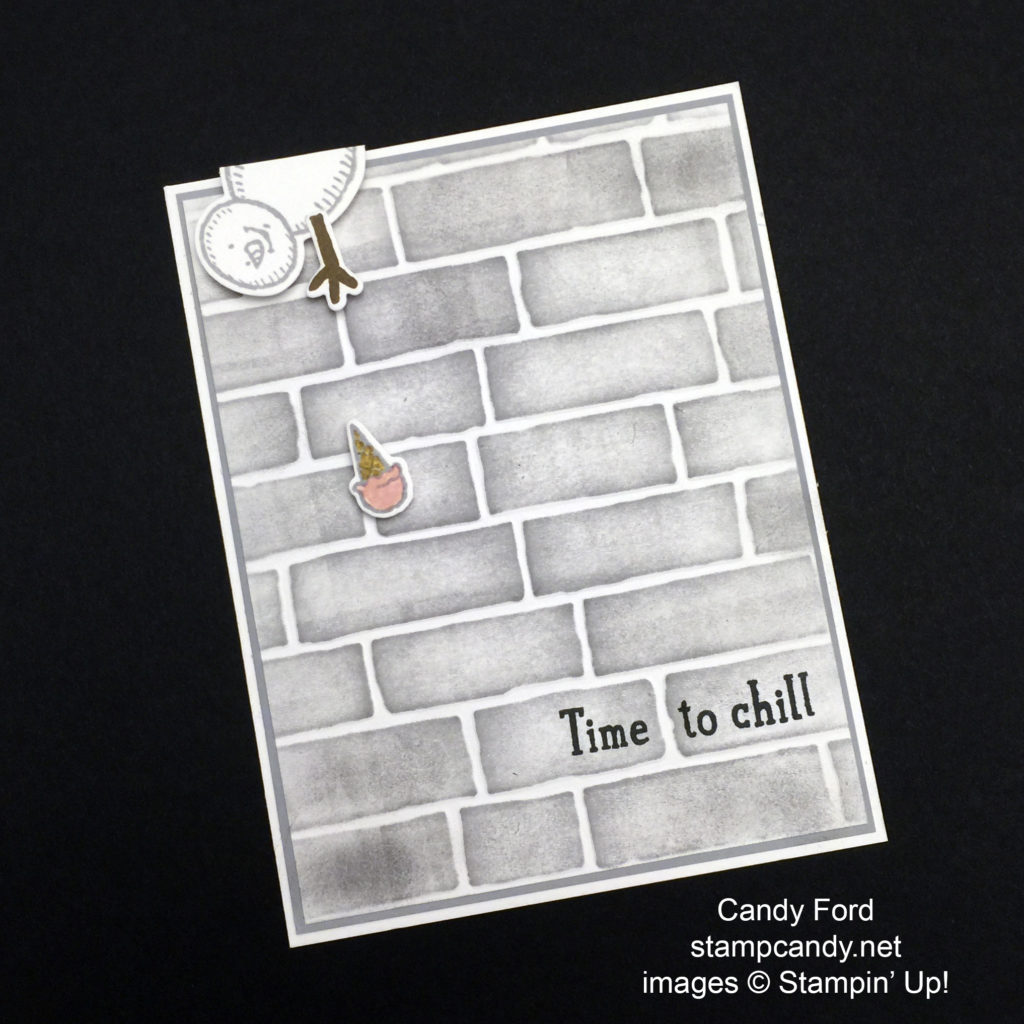
Here’s how I finished the card. I used a brayer and Smoky Slate ink to color the Whisper White embossed wall. Then I used a Sponge Dauber to make some of the bricks a little darker. I stamped the ice cream in Smoky Slate on Whisper White, cut it with its die, then colored it with Stampin’ Write Markers in Delightful Dijon and Blushing Bride.
I adhered the snowman and ice cream to the wall with Foam Adhesive Strips, which are great for the skinny bits like his arm and the cone. I used Paper Snips to cut away the excess snowman body so he was even with the wall.
I stamped the sentiment from the same stamp set in Memento black ink directly onto the bricks. I inked up “Time” and “to chill” separately to stamp them onto the two bricks. This is easy with the see-through photopolymer stamps.
I matted the wall with Smoky Slate card stock, and glued that onto a Thick Whisper White card stock card base.
Here’s what I used:
Be sure to check out the other projects at Global Design Project this week!
Thanks for stopping by today, and Sweet Stamping!
Jul 5, 2016 | Cards, Challenges, Gallery, Parties |
There’s a theme challenge over at Global Design Project this week:

I’ve had the No Bones About It stamp set for a while now, but haven’t used it. This seemed like the perfect opportunity. When I see these adorable little dinosaurs, I think of those brightly colored plastic dinosaurs that almost every kid has at some point. So I created a kid’s party invitation.

Here’s how I did it:
The sentiment is from the Confetti Celebration stamp set and is stamped in Archival Basic Black ink onto Whisper White card stock. All the other images are from the No Bones About It stamp set and are stamped in Marina Mist, Crumb Cake, Old Olive, Crushed Curry, Pumpkin Pie, Real Red, and Bermuda Bay.
The stamped piece is glued to a piece of Marina Mist card stock, and that’s glued to the Old Olive card base.
I took a Sharpie (I thought I picked up a black one but it turned out to be dark blue) and colored four of the tiniest Pearl Basic Jewels fo rthe dinos’ eyes.
I know I say this a lot, but this card really was quick and easy. It probably took longer to clean the stamps that it took to make the card! It would be easy to make a bunch of these to send out for your little one’s party.
Here’s what I used:
Thanks for stopping by today, and Sweet Stamping!
Jul 4, 2016 | Cards, Challenges, Color Palette, Gallery |

Today’s card is for the Pals Paper Arts Challenge PPA307. It’s a color challenge designed by Brian King of stampwithbrian.com.
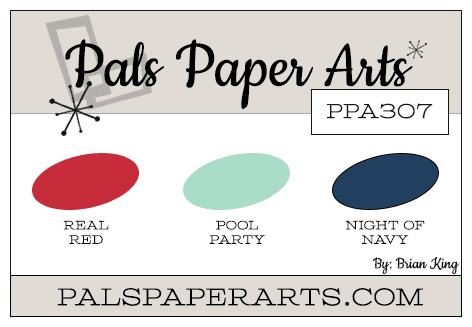
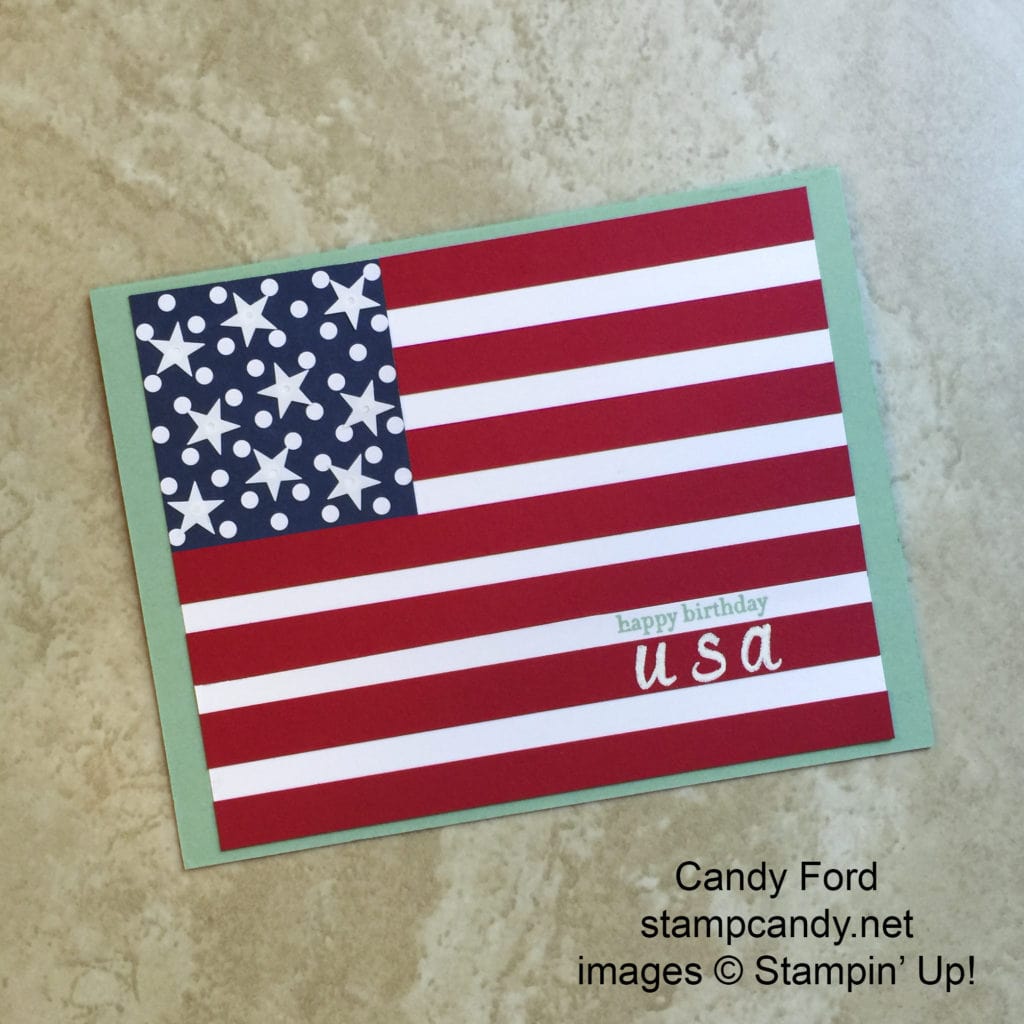
Since it’s the 4th of July, I decided to used the Real Red and Night of Navy more than the Pool Party, although Pool Party is certainly an appropriate color, since many people will be having parties around their pools this holiday. So I guess you could think of my card as a flag stretched out and sunning itself in the cool water.
Here’s how I did it:
The card base is Pool Party card stock. To make the flag I started with a piece of Whisper White card stock. I cut a piece of Night of Navy Designer Series Paper with 50 dots on it. Yes, I counted! I glued that to the upper left corner of the white piece.
I cut seven 3/8″ strips of Real Red card stock and glued them to the white piece as shown. I trimmed the red strips along the edge of the white piece. Voila, a flag!
I stamped “happy birthday” from the Teeny Tiny Wishes stamp set in Pool Party onto one of the white stripes. Actually, I messed this part up and stamped it really crooked, I mean ugly crooked, and I’m much too lazy to redo the whole thing. No problem! I cut a Whisper White strip of card stock, used my trusty Stamp-a-ma-jig to stamp it straight, and glued the strip in place.
Right under that I stamped the letters USA from the Brushwork Alphabet stamp set in Versamark ink onto the Real Red strip. Then I heat embossed it in white.
Lastly I picked some white stars out of the Metallics Sequin Assortment and glued them over some of the white dots in the field of blue.
Here’s what I used:
Be sure to check out the Cupcake Challenge on my Stamp Candy Facebook page! Make something with a cupcake on it and post a photo on my Facebook page by July 6 to be entered into a drawing to win the Perfectly Wrapped stamp set! I will randomly draw the name and announce the winner on July 7. And while you’re there, please “Like” my page. Thank you!
Thanks for stopping by today, and Sweet Stamping!
Jul 1, 2016 | Cards, Challenges, Gallery |
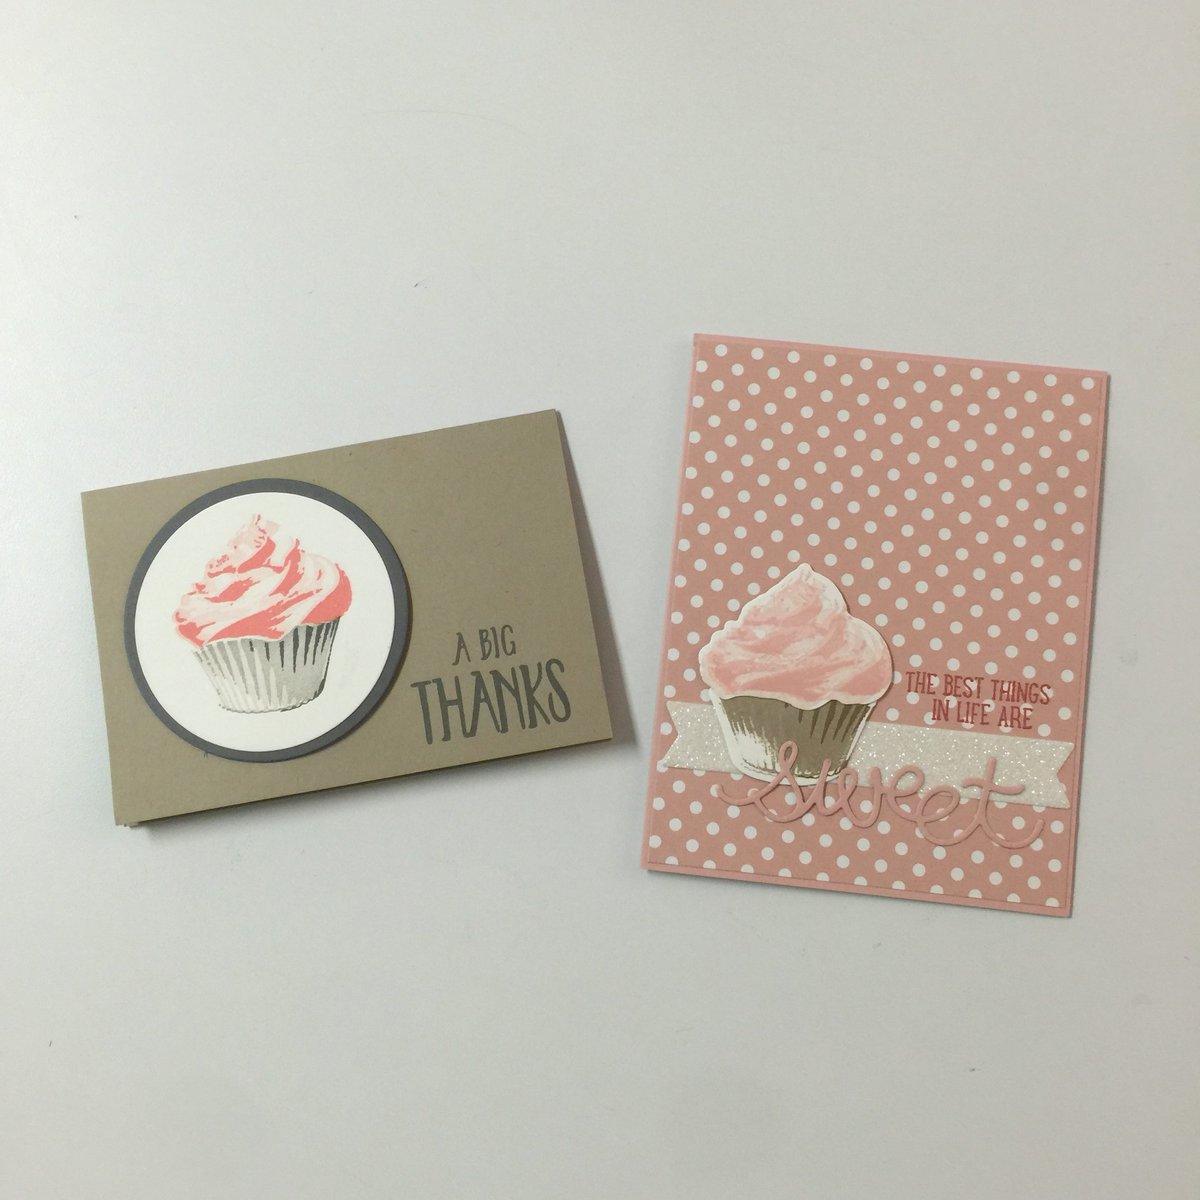
Yesterday I received two cards in the mail, from two different people, from two different parts of the country, for two different occasions (thank you and birthday,) and they both have a cupcake from the new Sweet Cupcake/Cupcake Cutouts Framelits bundle! And they’re both in shades of pink and brown. Great minds think alike, right?
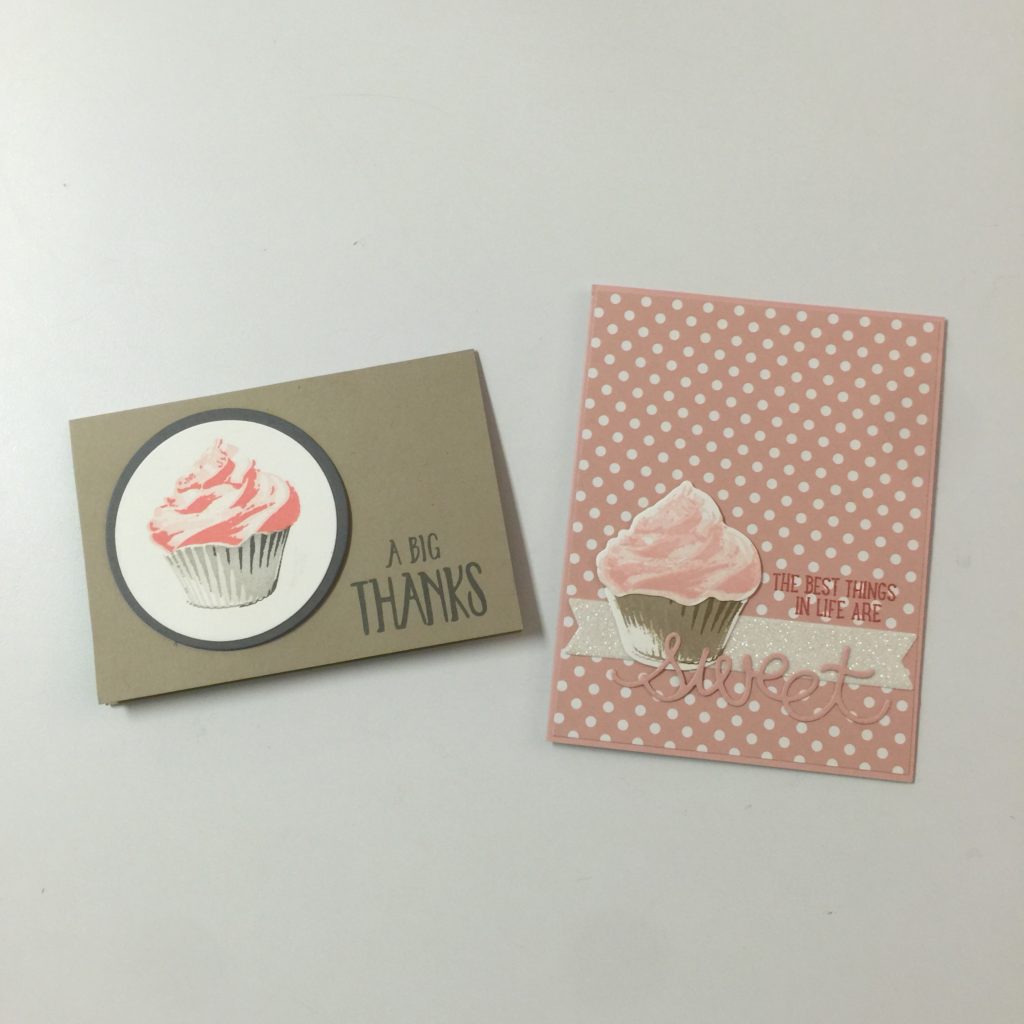
cards by Brian King (left) and Donna Griffith (right)
This inspired me to issue a challenge on my Stamp Candy Facebook page: make something with a cupcake. It doesn’t have to be from this stamp set. Just make sure your card, or other project, includes a cupcake.
Be sure to post a photo of your project on the Stamp Candy Facebook page by July 6 to be entered in the drawing.
On July 7, I will randomly draw a name from the entries and announce the winner. The prize is the Perfectly Wrapped stamp set, which is very versatile and has 17 stamps! The sentiment from the thank you card above is from this stamp set.

Perfectly Wrapped
Good luck, and Sweet Stamping!