Nov 29, 2015 | Cards, Challenges, Christmas, CYCI, Holiday |

Here’s this week’s canyoucaseit.com challenge…

…and here’s my project.

From the inspiration photo, I used the colors white, red, and gold, as well as the wood. I also used the small square gift and the pine cone.
This card looks more complicated than it is. Each of the elements – the tree, the gifts stacked up in front of the tree, the pinecone that has fallen to the floor, and the embossed sentiment – is really very simple to make.
The Winter Wishes stamp set has some striking images, mostly ways to get around in winter. For today’s card I chose the three other images from the set: pine bough, pine cone, and sentiment.

For the background, I used the Hardwood stamp on Crumb Cake card stock with Early Espresso ink.
For the tree, I stamped the pine bough many times in Whisper White Craft Ink to give the illusion of a Christmas tree. It was more translucent that I wanted, so I sprinkled on some White Stampin’ Emboss Powder and heat embossed it. Beautiful! It looks like one of those white Christmas trees with “snow” sprayed all over it.
I stamped the pine cone in Early Espresso on a scrap of Kraft card stock, then cut it out with my Paper Snips – the most amazing little paper scissors ever! While I like just the one pine cone that has haphazardly fallen on the floor, I think I’d like to go back and add more. I’d like to see them strewn around the floor and on top of the gifts.
I punched three 1″ squares from Red and Gold Foil Sheets, and attached Gold Cording bows with Glue Dots. (The lighting in the photo makes the two gold gifts look like they’re different colors, but they’re the same.)
I stamped the sentiment on Red Foil Sheet in Versamark ink, then heat embossed in white. It’s very important to use your Embossing buddy, since the powder really likes to cling to the foil sheet. I cut the notches at the ends with the 1″ Square Punch.
I attached all the elements to the card front with Stampin’ Dimensionals. Then I added “lights” to the tree with Cherry Cobbler Dazzling Details.
I added layers of Red and Gold Foil Sheets, and adhered the whole thing to a Whisper White Thick Card Stock base. Done!
Here’s what I used. Click on the images below to get your own so you can make this festive card!
Be sure to check out all the great projects at canyoucaseit.com, and play along with us by entering your own project!
Thanks for stopping by today, and Sweet Stamping!

Nov 15, 2015 | Cards, Challenges, Christmas, Color Palette, CYCI, Holiday, Techniques |
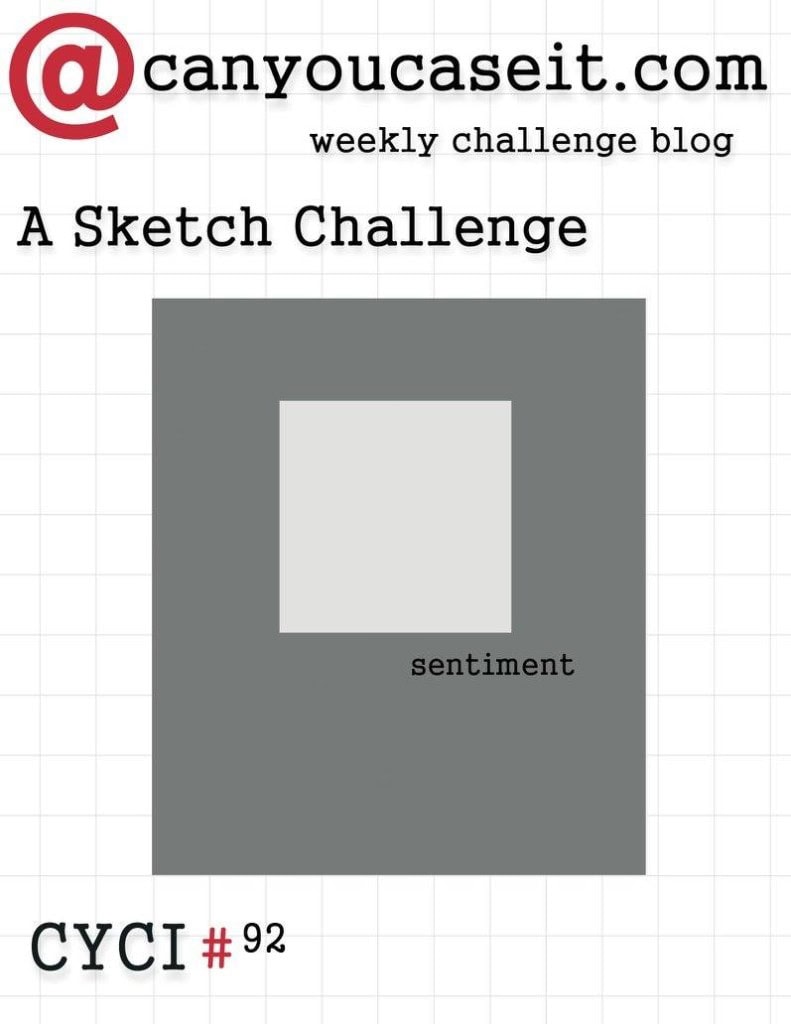
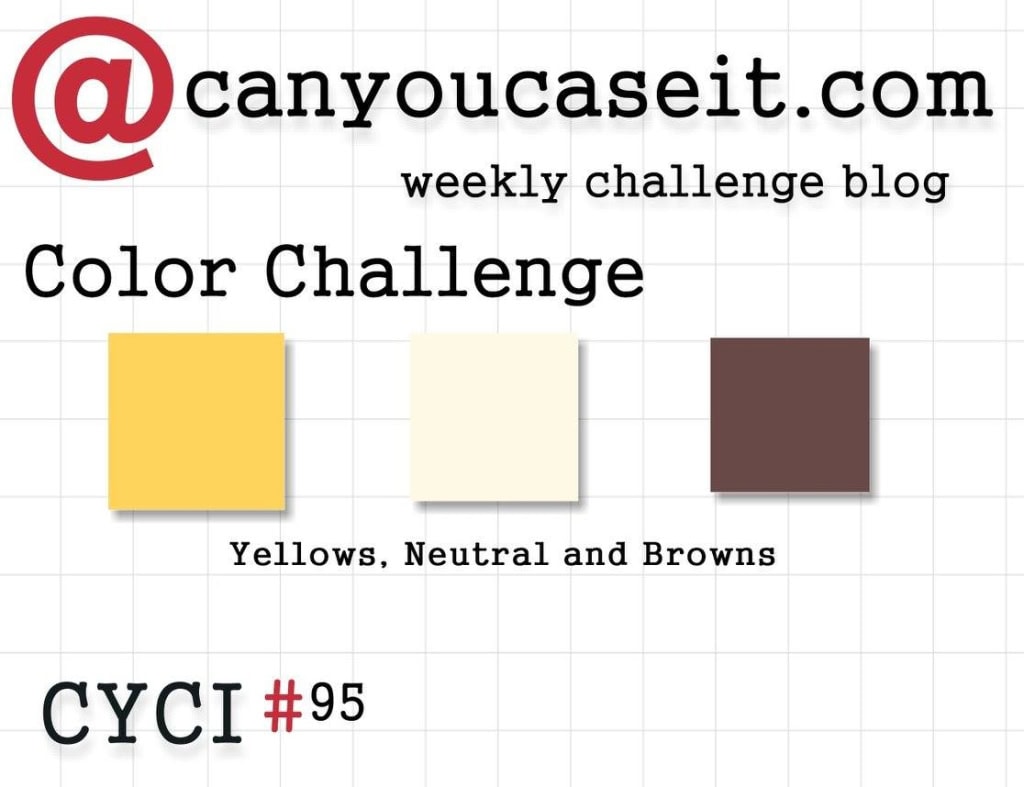
 Here is this week’s CanYouCaseIt.com color challenge:
  And here is my card:
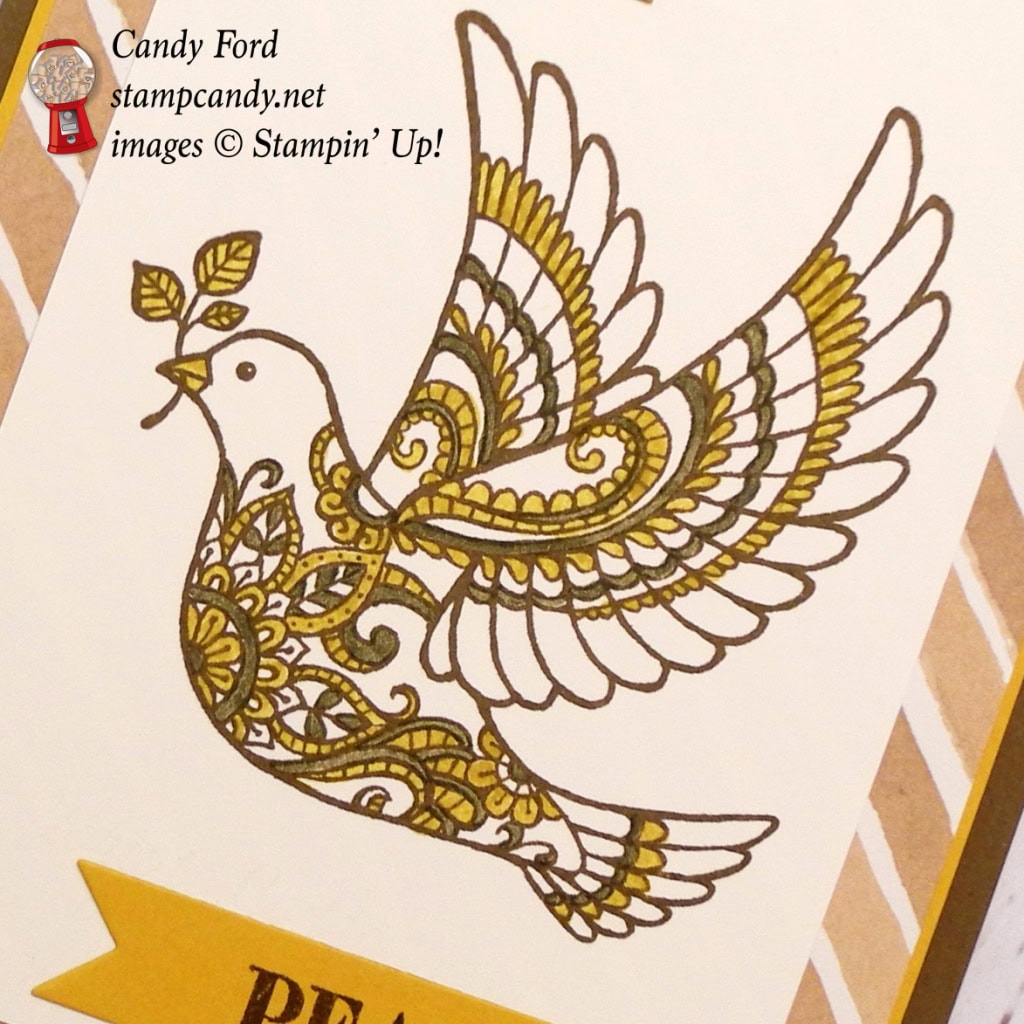
 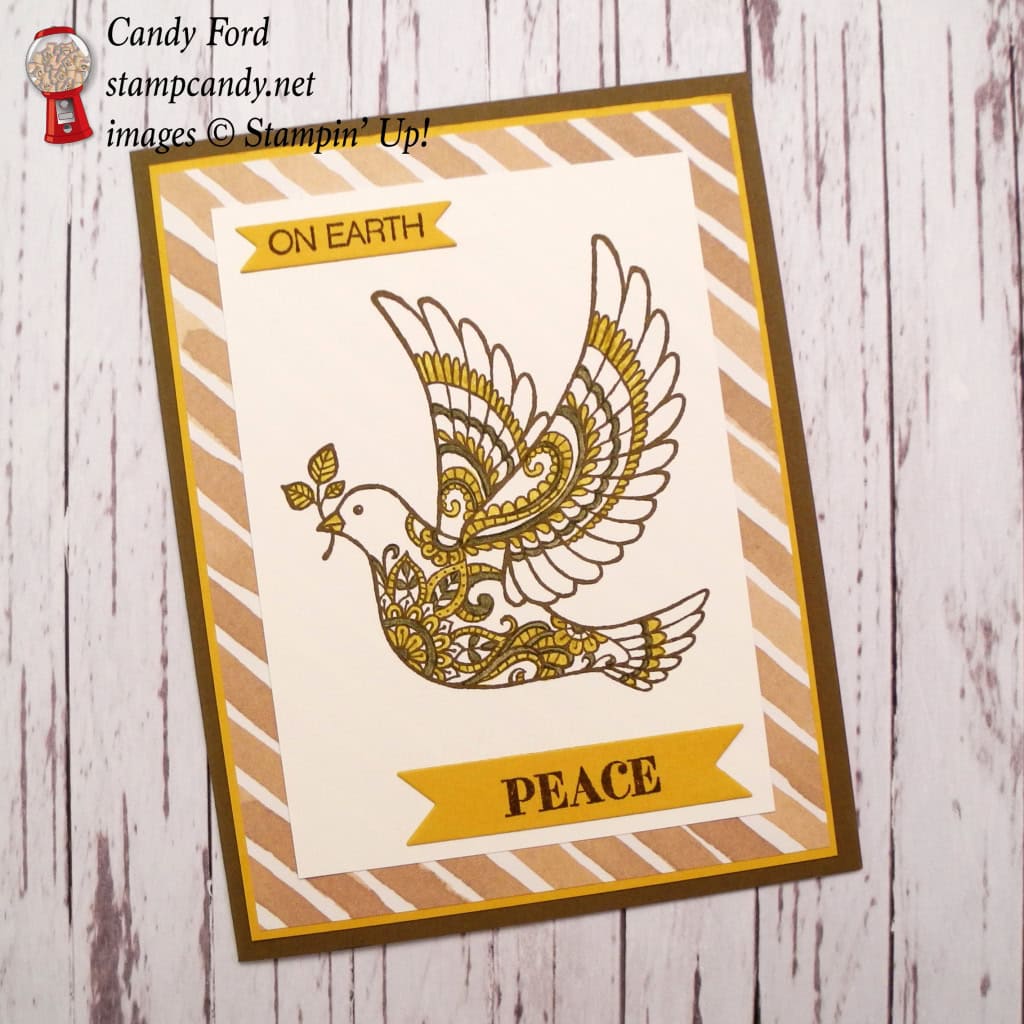 At first I was going to make an Autumn themed card using these colors, but I had the Dove of Peace stamp out already for another project, so I decided to use that. Yes, I’m that lazy – I didn’t want to get out of my chair and walk over to the shelf, which is a whole three feet away, to pick another stamp set. Actually it wasn’t the movement I dreaded, but deciding which stamp set to use. Do you ever feel like that, like making one more decision in your day will make your brain explode? So at this point, the stamp and the colors were already decided for me. All I had to do was put it together.

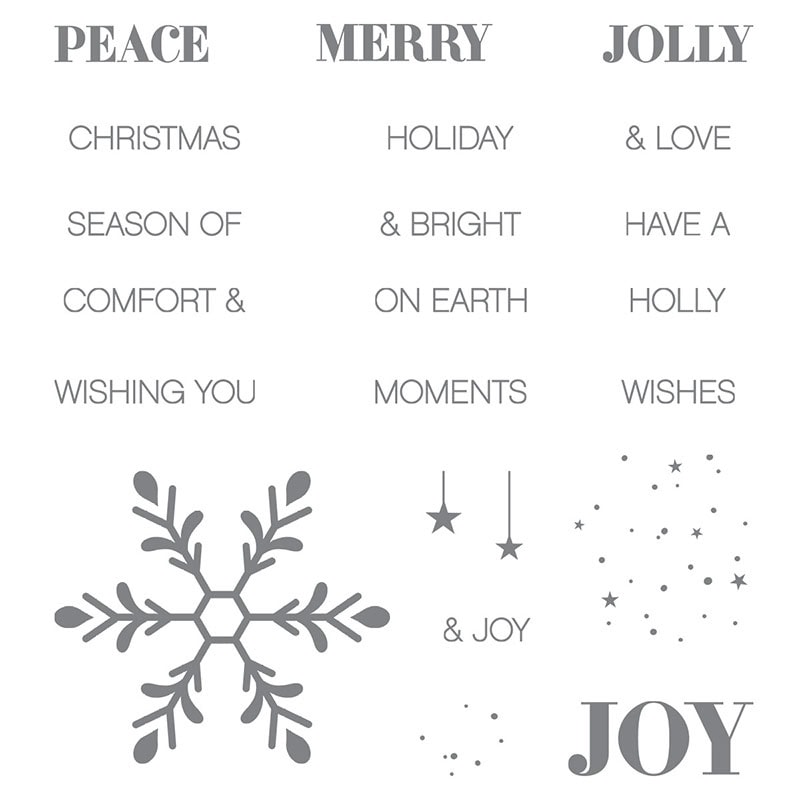
This stamp is so versatile. You can color it any way you want and it still looks like the proverbial peace dove. Who would have thought a Christmas card could be Hello Honey and Soft Suede? Masking Technique: the Dove of Peace stamp has a sentiment at the bottom which I chose to cover with a post-it note before inking up the stamp. I did use part of the phrase “on earth peace” but stamped it using the Holly Jolly Greetings stamp set:
I stamped the sentiments and the dove in Soft Suede. Then I colored the dove with Hello Honey and Soft Suede Stampin’ Write Markers – being very careful not to smear the ink from the stamped image. I cut the sentiments with the Bitty Banners Framelits Dies, and glued the whole thing together. So quick and easy! The coloring was the most time consuming part, and that didn’t take long at all.
Never think you have to use Stampin’ Up’s Designer Series Papers as they are presented in the catalog. This piece is from English Garden, a very Spring/Summer themed set, but the Soft Suede and Whisper White stripes are perfect for this Christmas card.
I don’t usually do this, but looking back now, I think I’d like to add another layer of Soft Suede between the DSP and the stamped image, with just a tiny border showing. I think the image would pop more. But since I’m sitting in an airport as I write this, and don’t have the card with me, I can’t do that right now. So for now, you’ll just have to squint at the photo and imagine a tiny brown border around the center panel. See it? Isn’t that better?
By the way, the Holly Jolly Greetings stamp set is available in a bundle with the Christmas Greetings Thinlits Dies (peace, jolly, merry.) Save 15% on both when you buy the bundle!

Here’s what I used. Click on the images below to get your own!
Thanks for stopping by today, and Sweet Stamping!
Oct 25, 2015 | Cards, Challenges, Christmas, CYCI, Holiday, Sketches |

Here is this week’s CanYouCaseIt sketch challenge:
And here is my card:
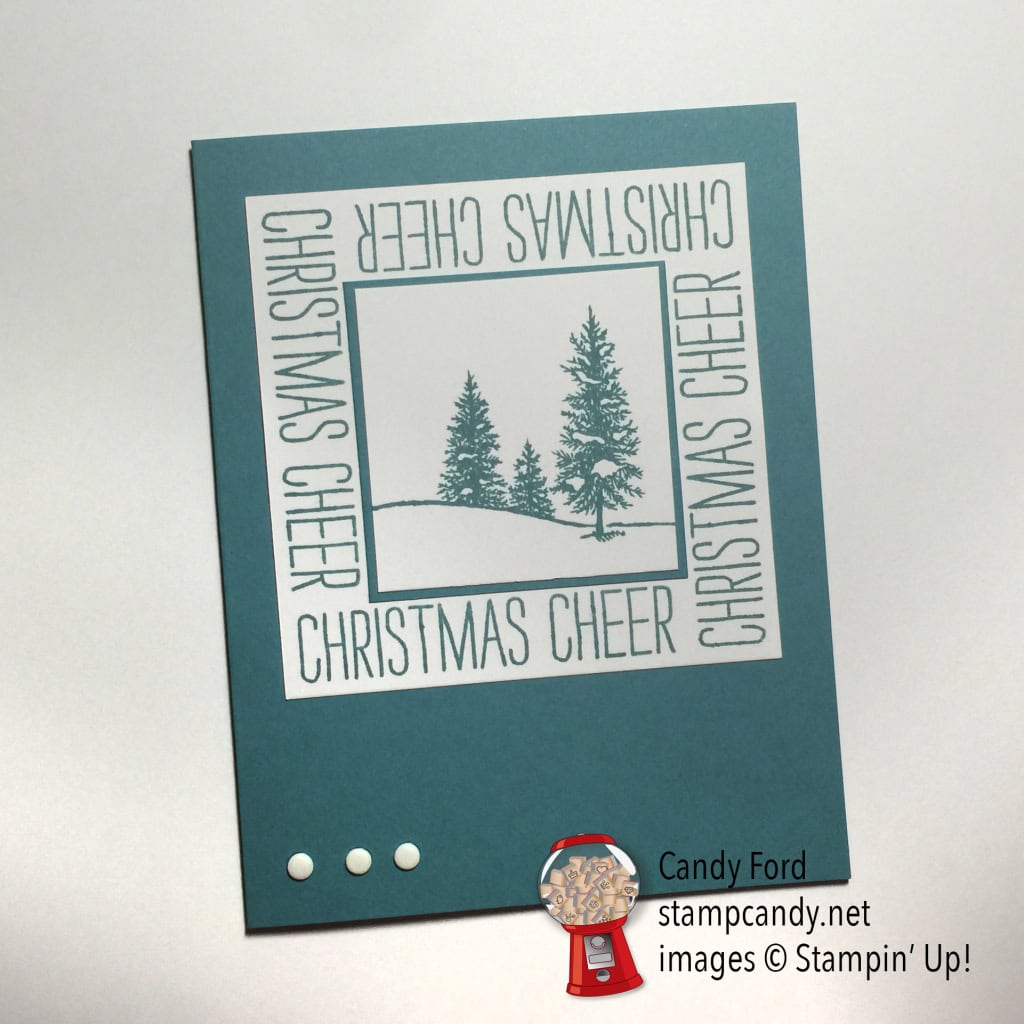
I love the simplicity of this week’s sketch. Just one block on the card front with a sentiment. I started looking through my stamp sets for just the right thing. First I came upon the sentiment from the Cheer A;; Year stamp set. The crisp, clean lettering fits the simplicity of the sketch. I started playing around with it, then had the idea to stamp it “in the round” – or maybe it should be “in the square.”
Then I needed something for the center. I tried several images before settling on this peaceful, snowy scene from the Happy Scenes stamp.
Since my sentiment is within the block, I needed something else to balance the design. Very Vanilla Candy Dots were just the right thing. Usually I would put the Dots on the right side of the card, but here they seemed more balanced on the left, perhaps because the trees are toward the right. How did I find just the right place? I cut a strip of three Dots from the package and moved them around the card until it felt right. This is a good time to use Brian King’s patented Squinting Technique (I owe him a nickel now.)
I was very tempted to add just a tiny pop of Real Red somewhere, but I resisted. Again, I wanted to keep with the simplicity of the sketch. But some time I may add a tiny red bird in one of the trees.
For these particular images to line up just right, here are the measurements I used for the panels: 2-1/8″ x 2-1/8″ Very Vanilla; 2-1/4″ x 2-1/4″ Lost Lagoon; 3-1/2″ x 3-1/2″ Very Vanilla. You’ll need to experiment if you use other images. For example, the largest Very Vanilla piece is the length of the sentiment plus the height of the sentiment plus just a tinch. I added enough to make it a nice even 3-1/2″.
(Tinch is a Southern term. It’s a cross between a touch and a pinch. It’s usually pronounced “teench” or “taynch.”)
Here’s what I used:
Be sure to check out the other projects at canyoucaseit.com.
Thanks for stopping by today, and Sweet Stamping!
Oct 6, 2015 | Cards, Christmas, Holiday, Swaps |
Saturday was World Card Making Day. I attended an all day event here in Atlanta hosted by Brian King and Pam Morris, two of my Stampin’ Up! uplines. There were 100 of us in attendance, and we all had a fantastic time. One of our many activities of the day was a card swap. Today I’m sharing the card I made for that swap.
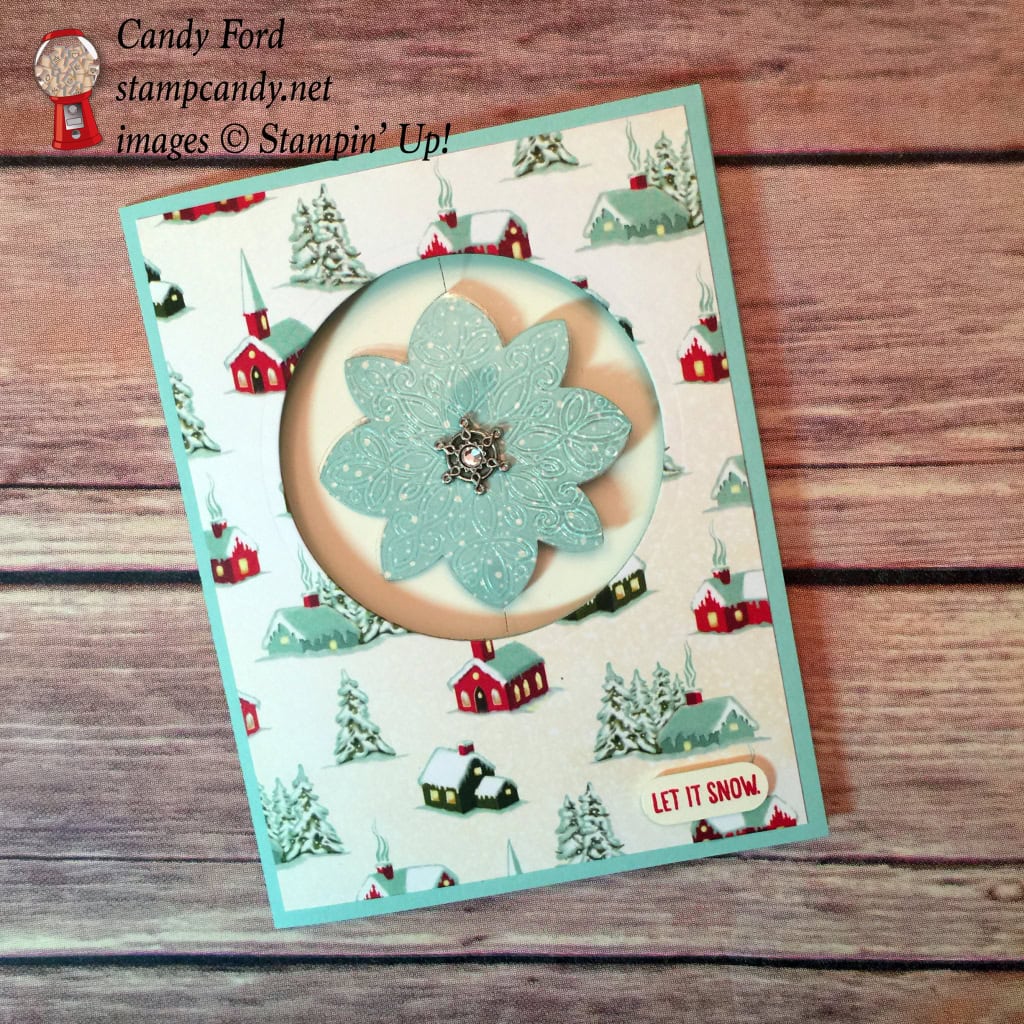
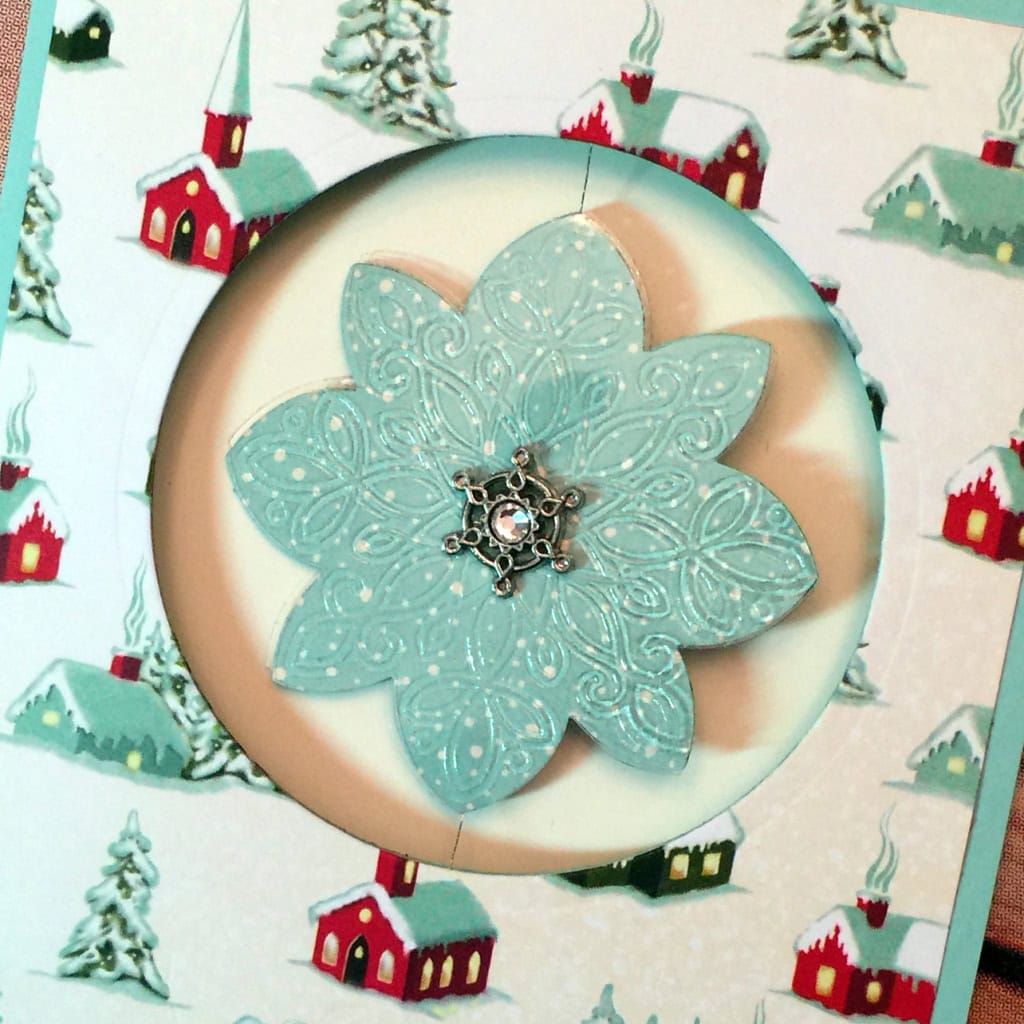
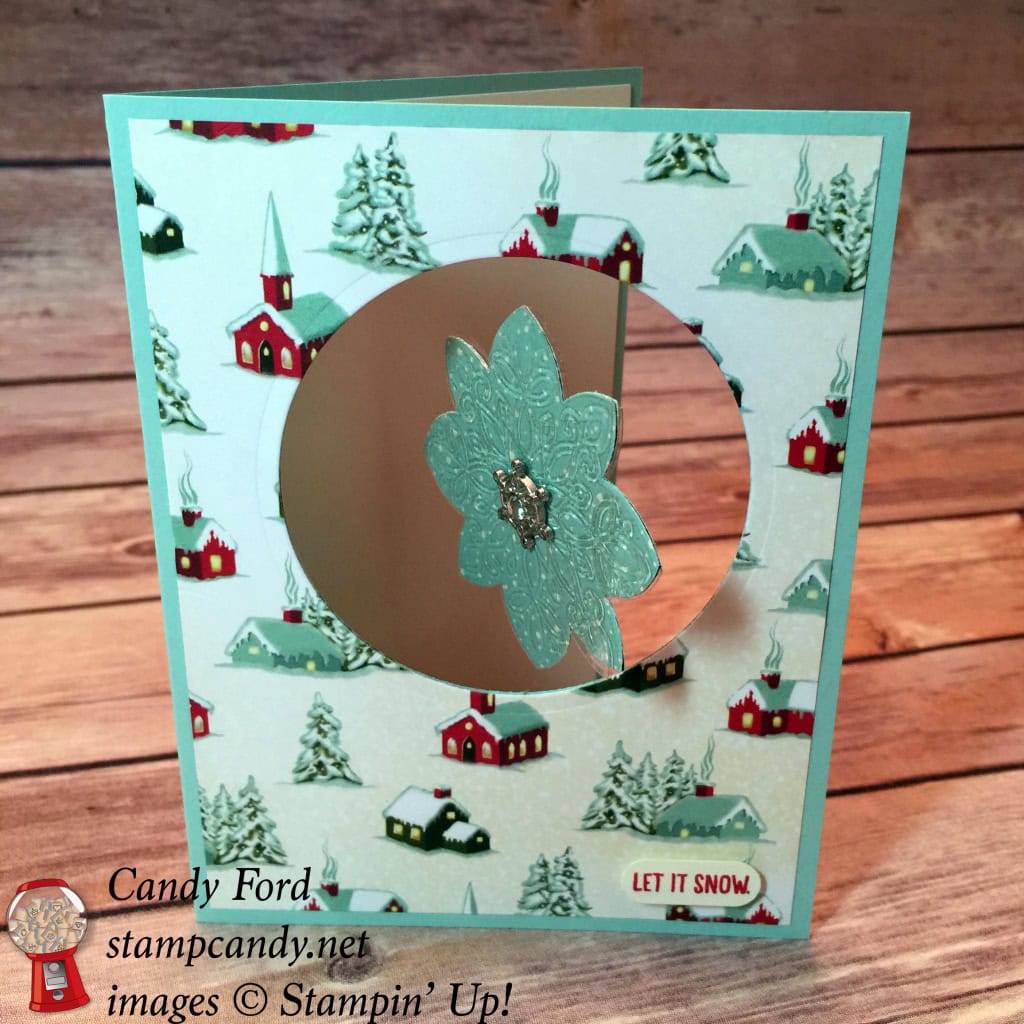
This is a spinner card. The snowflake is suspended from Silver Metallic Thread within a die cut circle. When the card is open, the snowflake can spin freely. The thread is glued between the layers of the snowflake, and attached to the card between the card front and the DSP.
Isn’t this snowy scene from the Home For Christmas DSP peaceful? It provides a perfect background for the snowflake. I chose Pool Party, one of the colors in the DSP, for the card base – it adds to the overall calm and soothing effect.
I used the Circles Collection Framelits Dies to cut the round hole in the card front. It’s important to cut the two pieces together so they line up perfectly, but do not glue them together before cutting. You still have to adhere the thread between the two layers. I used Tear & Tape on some and Fast Fuze on others. They both work well.
Very Vanilla card stock glued to the interior of the card makes the snowflake really stand out.
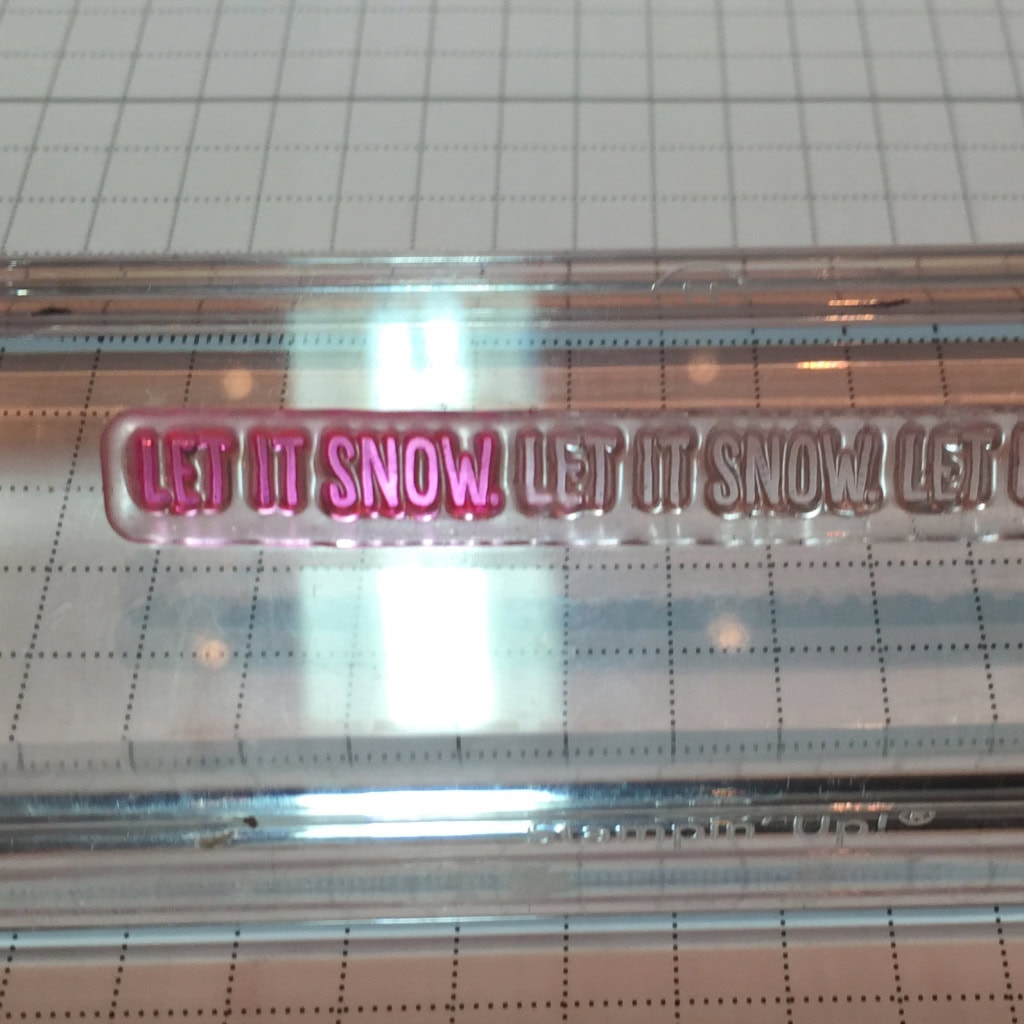
The teeny tiny Real Red sentiment in the corner is from the Happy Scenes stamp set. The stamp says “Let it snow. Let it snow. Let it snow.” but I only wanted one “Let it snow.” Some stamps would need to be masked, but this one was very easy to ink up at just one end.
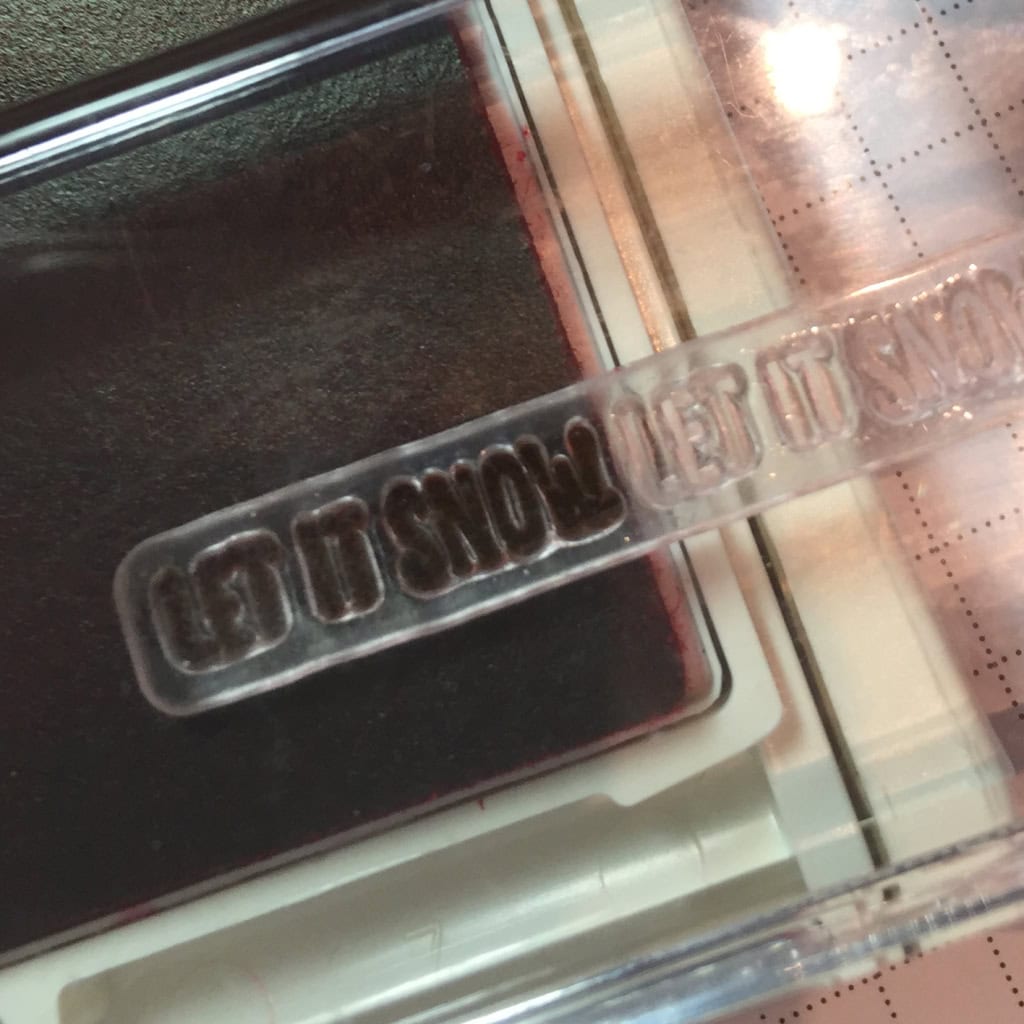
I cut the sentiment with the Word Window Punch.
I cut the snowflakes from Home For Christmas DSP with the Flower Medallion Punch, and glued two together with a length of thread between them, leaving 2-3 inches hanging out of each side.
I used the Flurry of Wishes stamp set to stamp the snowflake in Versamark in on clear Window Sheets, then heat embossed them with Clear Stampin’ Emboss Powder. I cut these out with the same punch, and adhered one to each side of the DSP snowflakes with a glue dot in the center. The glue dots were covered up with the Winter Wonderland Embellishments.
TIP: Be very careful not to get the Window Sheet too hot or it will warp, or even melt.
Today I’m sharing my original design for the card. I found the snowflakes were a bit heavy and made the thread sag, so I omitted the Window Sheet pieces from all of my actual swap cards.
Here’s what I used:
I LOVE hearing from you! Please leave your questions and comments below!
Thanks for stopping by today, and Sweet Stamping!
While I will try to post as much as I can, you might not see quite as much of me in the next week or so. Halloween is very big in our household, and we are getting ready for our annual party on the 17th. The whole house is in the throes of party prep, i.e. it’s a huge mess! There are boxes everywhere – the Halloween decor comes out and the regular decor goes into storage. I’ve even had to move some things out of my studio, so they will be harder to get to for a while.
Sep 28, 2015 | Cards, Christmas, Classes, Holiday, Kits, New Products, Parties |

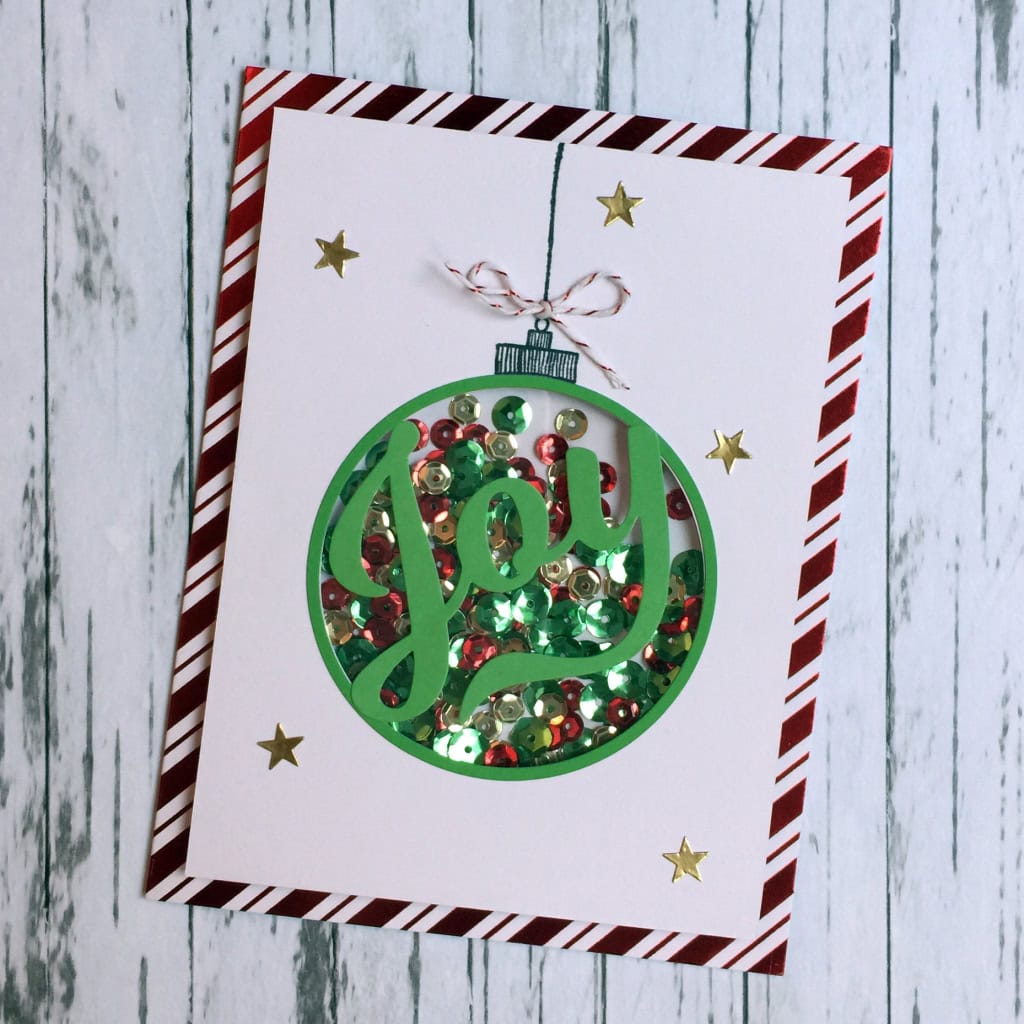
Today I’m sharing another of the cards from the To You & Yours Shaker Cards Project Kit. You can see my previous post here.
Today’s card has an ornament filled with sequins and the word JOY across the front. I’m afraid the red foil stripes don’t look very shiny in the photo, but they definitely are, as are the gold stars around the ornament.
Would you like to make these cards in a private class? Gather some friends for a couple hours of relaxing craft time. I’ll bring everything you need. You can use your own adhesive, or you can purchase some from me. And as host, you’ll earn Stampin’ Rewards! Let’s find a date that works for you!
If you are not in the Atlanta area, you can still gather with friends to make the kit. Each person buys their own kit. Everyone shares the cost of the coordinating stamp set, inks, or anything else you may need. Ask me how you can receive Stampin’ Rewards by using a Host Code!
Here’s what I used:
I love to hear from you! Please leave your questions and comments below.
Thanks for stopping by today, and Sweet Stamping!
Sep 27, 2015 | Boxes, Challenges, Christmas, CYCI, Gift Wrap, Gifts, Holiday, Techniques |
With this week’s CanYouCaseIt.com Designer’s Choice challenge, you can make whatever you want!

Be sure to check out all the great projects here. Here’s mine.
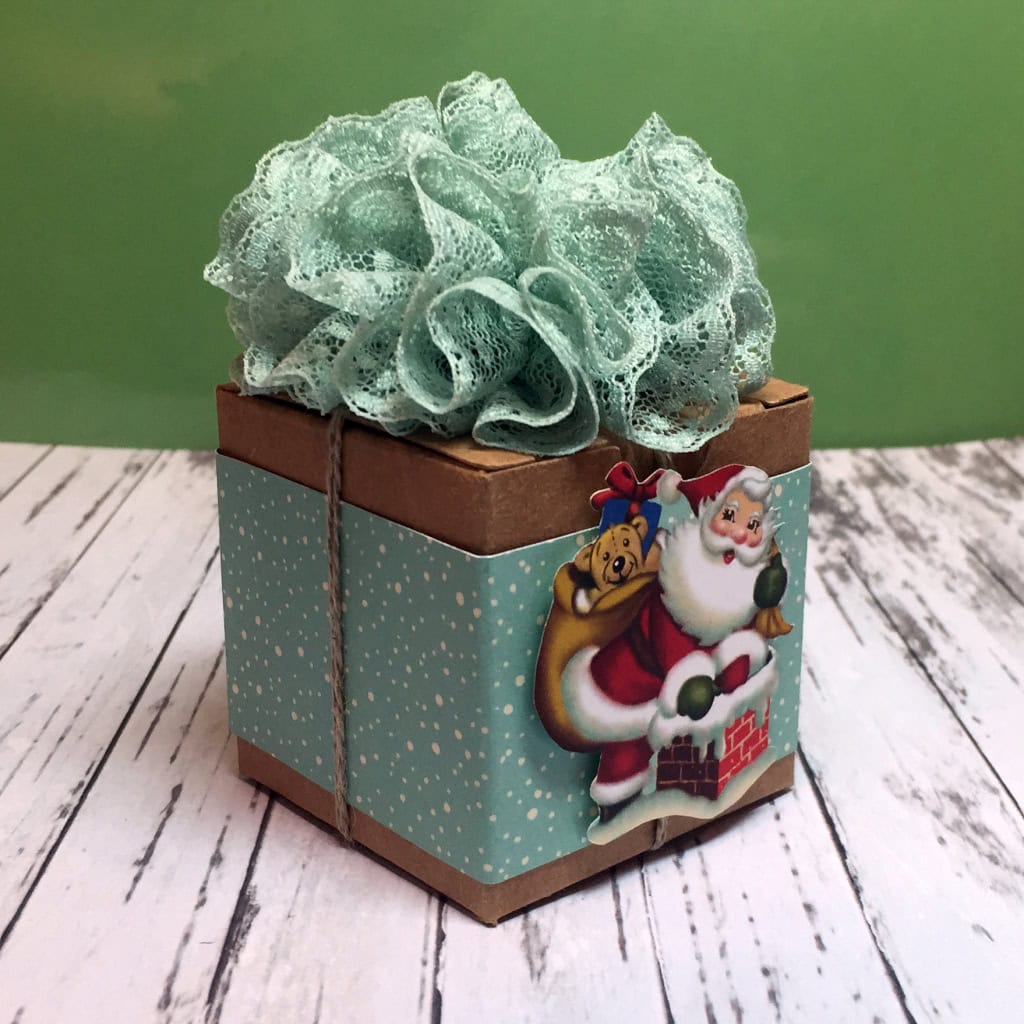
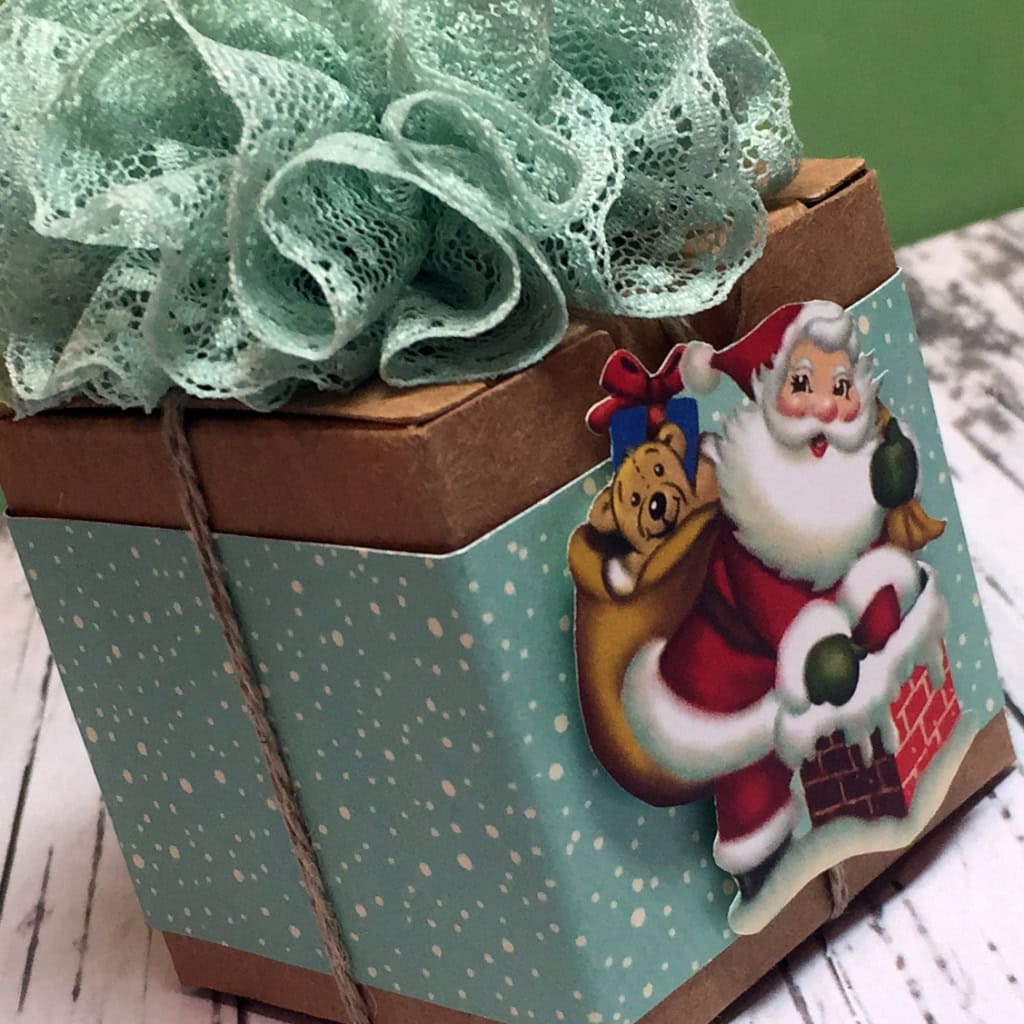
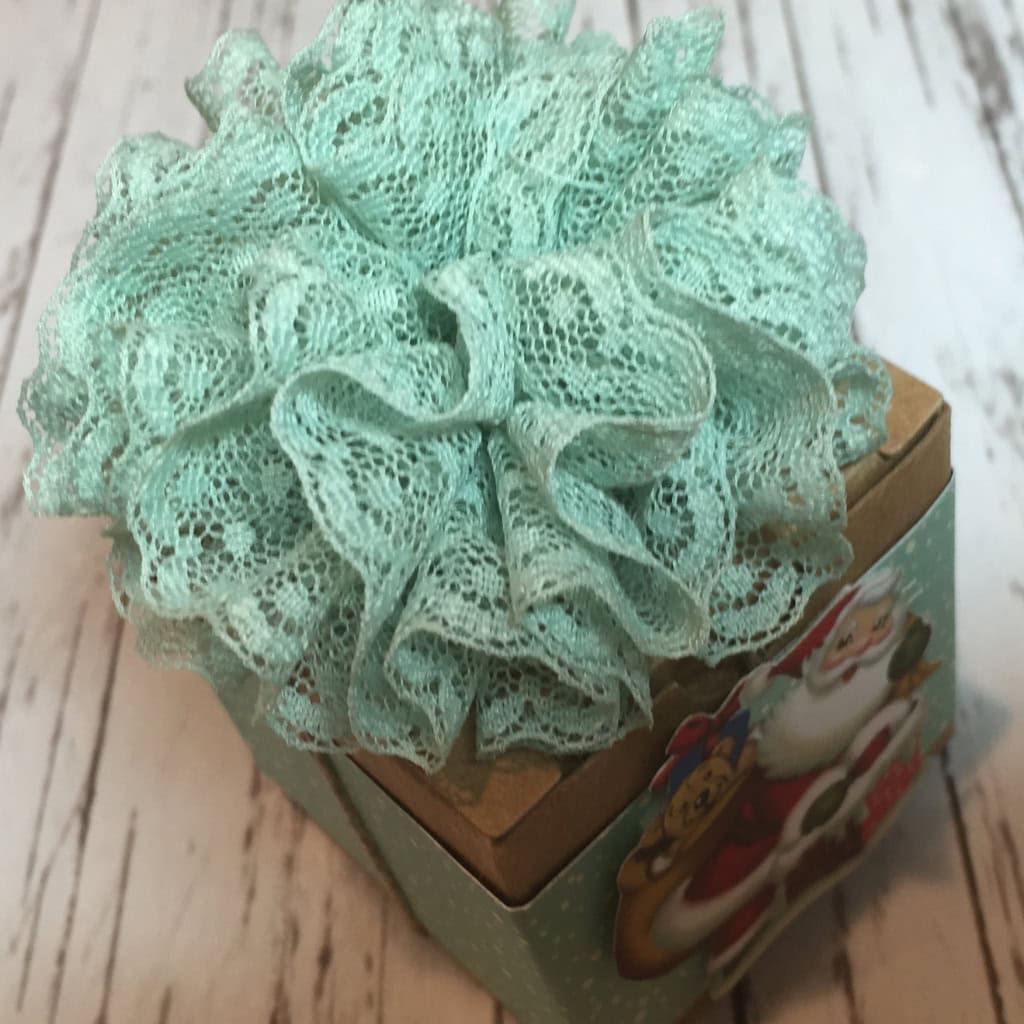
I just love these Tiny Treat Boxes. They’re so versatile. They are a great size for little treats and small gifts. (A Pandora charm box fits in perfectly.) You can use them individually, or stack them together to make an Advent calendar, for instance.
Today I’ve wrapped one with a belly band made from Home for Christmas Designer Series Paper. I used my Paper Snips to fussy cut a Santa from the same DSP, then attached it with Stampin’ Dimensionals.
I tied up the box with Linen Thread and topped it with a pompom made of Mint Macaron 1″ Dotted Lace Trim.
TECHNIQUE: The pompom is easy to make. Cut a length of the Dotted Lace Trim (I used about 6 feet) and use a needle and thread to gather it along the straight edge. I used Linen Thread and a floss threader, because I had it at hand. Just gather it up and tie it off, then tie onto the box.
Here’s what I used:
I love hearing from you! Please leave your comments and questions below.
Thanks for stopping by today, and Sweet Stamping!


