Feb 9, 2017 | Cards, Club, Gallery, Holiday, Occasions |
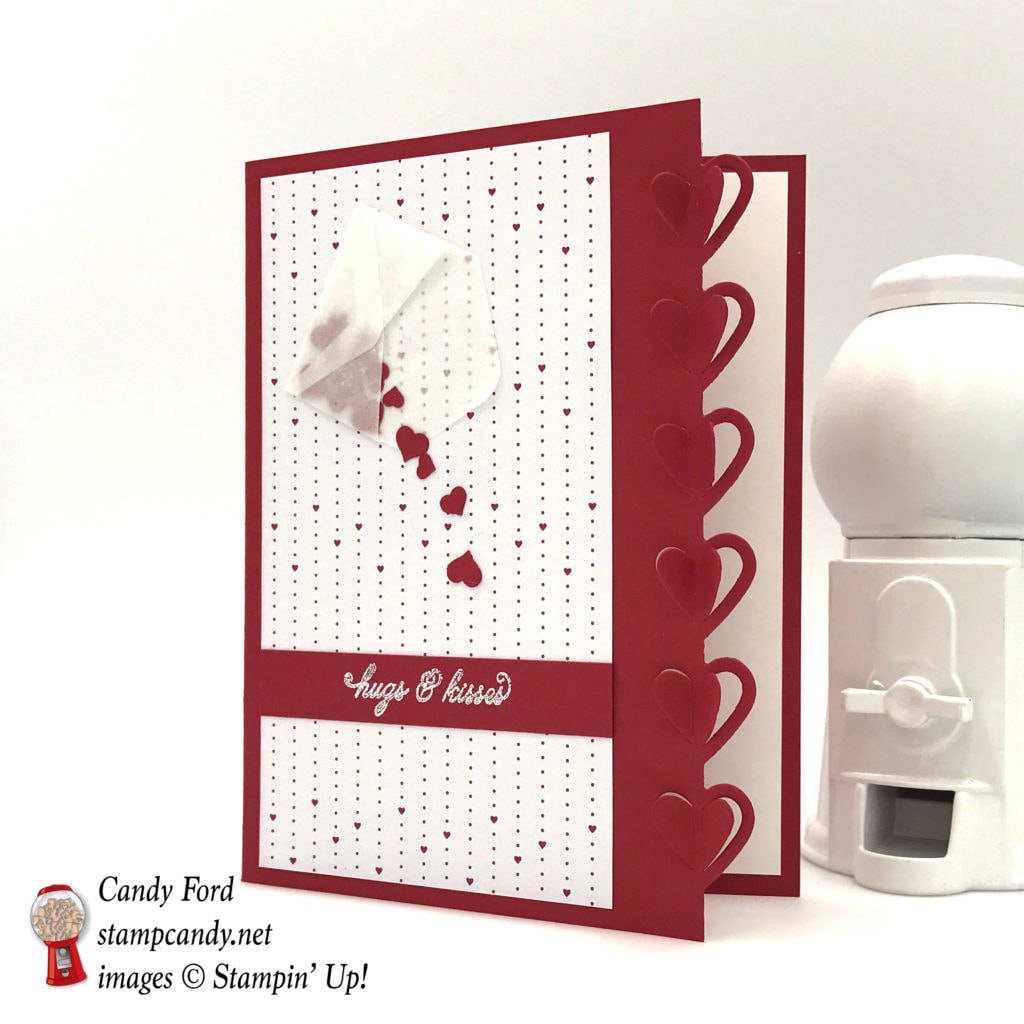
I’ve had so much fun playing with the new love themed products in the Occasions Catalog! It’s always fun making a card for someone you love. Today I’m sharing a Valentine I designed for one of my classes.
Here’s what I made:
Here’s what I did:
The card base is Real Red card stock (CS) – I used the edge die from the Love Notes Framelits to cut the front edge of the card base. I glued a piece of Whisper White CS to the inside, which helps the heart edge show up better.
I glued a piece of Sending Love Designer Series Paper (DSP) to the card front.
I stamped the sentiment, from the Sealed with Love stamp set, in Versamark ink onto a strip of Real Red CS, then heat embossed it in white. I glued this to the DSP.
I used another die from the Love Notes Framelits to cut the tiny envelope out of a Sending Love Glassine Sheet. I glued the envelope to the DSP.
I used the Confetti Hearts Border Punch to cut tiny heart from Real Red CS. I glued them in the envelope and spilling out.
Here’s what I used:
Thanks for stopping by today, and Sweet Stamping!

Oct 5, 2016 | Blog Hop, Cards, Club, Gallery |
I am very excited! This is my first post for the monthly Inspire, Create & Share Blog Hop. I am thrilled to be included in this group of talented paper crafters!
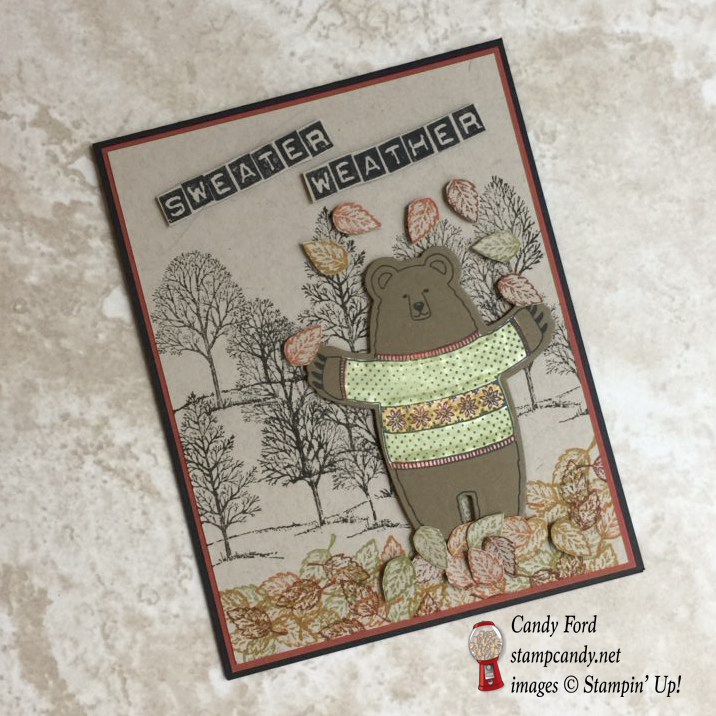
I designed Autumnal projects for my October Stamp Club meeting, and I thought one of those would be perfect for this hop’s Fall Fun theme. Two of my favorite things about Fall are “sweater weather” and playing in the leaves. This bear is enjoying both.
Here’s what I made:
Here’s how I did it:
The Basic Black card base is the traditional size: 4-1/4″ x 5-1/2″. I glued a 4-1/8″ x 5-3/8″ piece of Cajun Craze card stock onto the card front.
On a 4″ x 5-1/4″ piece of Crumb Cake card stock, I stamped the trees from the Lovely As a Tree stamp set 3 times in black Memento ink, making sure to stagger the images. At the bottom I stamped the small leaf from the same stamp set in Cajun Craze, Tangerine Tango, Pumpkin Pie, Delightful Dijon, and Pear Pizzazz. I stamped a few of each color onto another piece of Crumb Cake and used my Paper Snips to cut out the leaves.
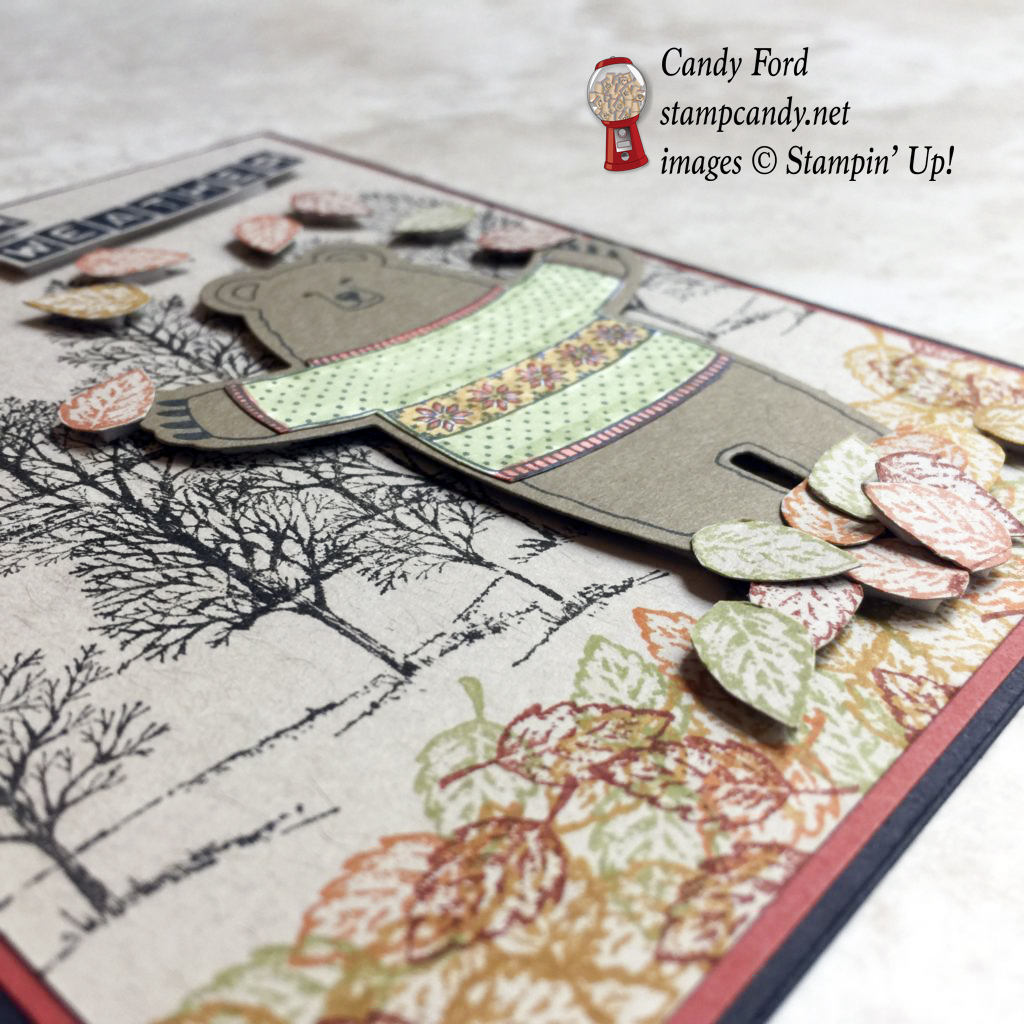
I stamped the bear from the Fa-la-la-la Friends stamp set in black Memento ink twice: once onto Soft Suede and once onto Whisper White. I cut them out with the Bear Hugs Framelits. I trimmed the white one down to only the sweater, and colored it with Stampin’ Write Markers in Delightful Dijon, Old Olive, and Tangerine Tango. I added streaks in the green parts to try to make it look more like it’s woven. I’m not sure I like the result. What do you think?
I glued the sweater onto the bear and adhered him to the stamped card front with Stampin’ Dimensionals. I cut more Stampin’ Dimensionals in 1/4 and adhered each leaf with one of the pieces. I covered his feet, so it would look like he’s standing in a pile of leaves, and I put some above his head, like he just threw them into the air. Doesn’t it look fun?
I stamped the title with the Labeler Alphabet stamp set in black Memento ink onto Crumb Cake card stock, then cut out each word with my Paper Snips. I adhered it to the card front with Stampin’ Dimensionals.
Lastly, I glued the card front onto the Cajun Craze layer.
This is an easy card to make, but there is some fuzzy cutting involved. If you have a die or punch for a tiny leaf, you could use that to speed things up.
Be sure to check out the next blog on the list, Terri Takazhige at Territerbears’s Stamp & Scrap Spot! Just click on this image:

Here’s what I used:
Contact your demonstrator to place an order for these products. If you don’t have a demonstrator, feel free to order by clicking on the images below, or contact me at candy@stampcandy.net.
Thanks for stopping by today, and Sweet Stamping!
Aug 8, 2016 | Cards, Club, Gallery |
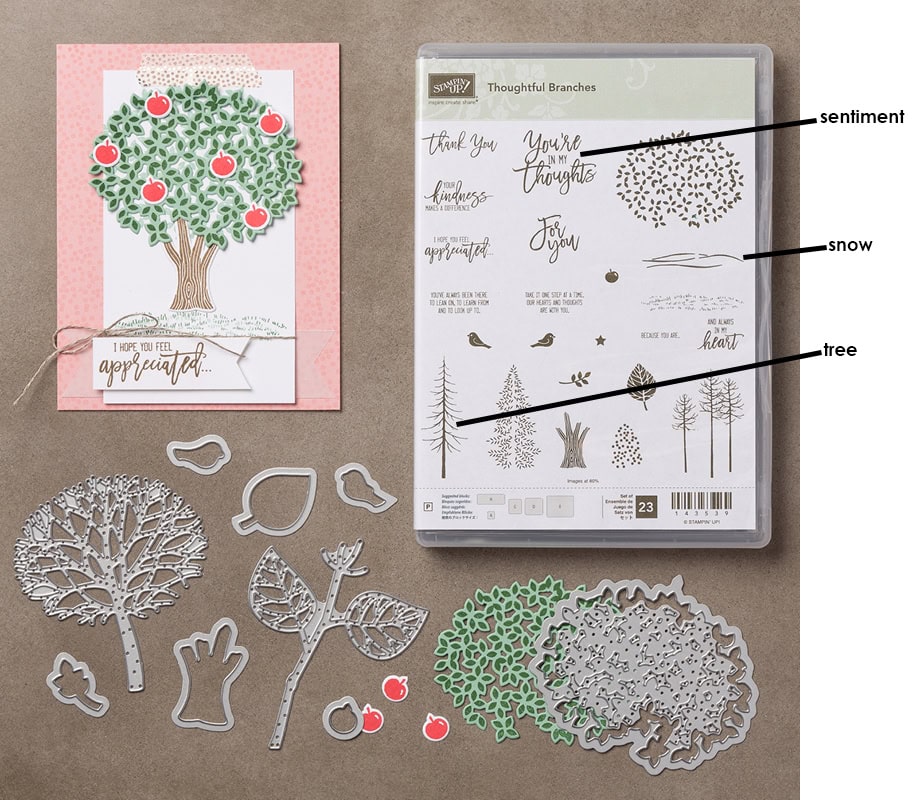
This is the fourth project I’ve made with the Thoughtful Branches bundle. You can see the first three here, here, and here.
This brand new bundle is only available until August 31, or while supplies last. Click here to get it now!
I used pre-made Note Cards & Envelopes to make quick work of this project. They come in Whisper White and Crumb Cake. Click on the images at the bottom of this post to get yours now!
Here’s how I did it:
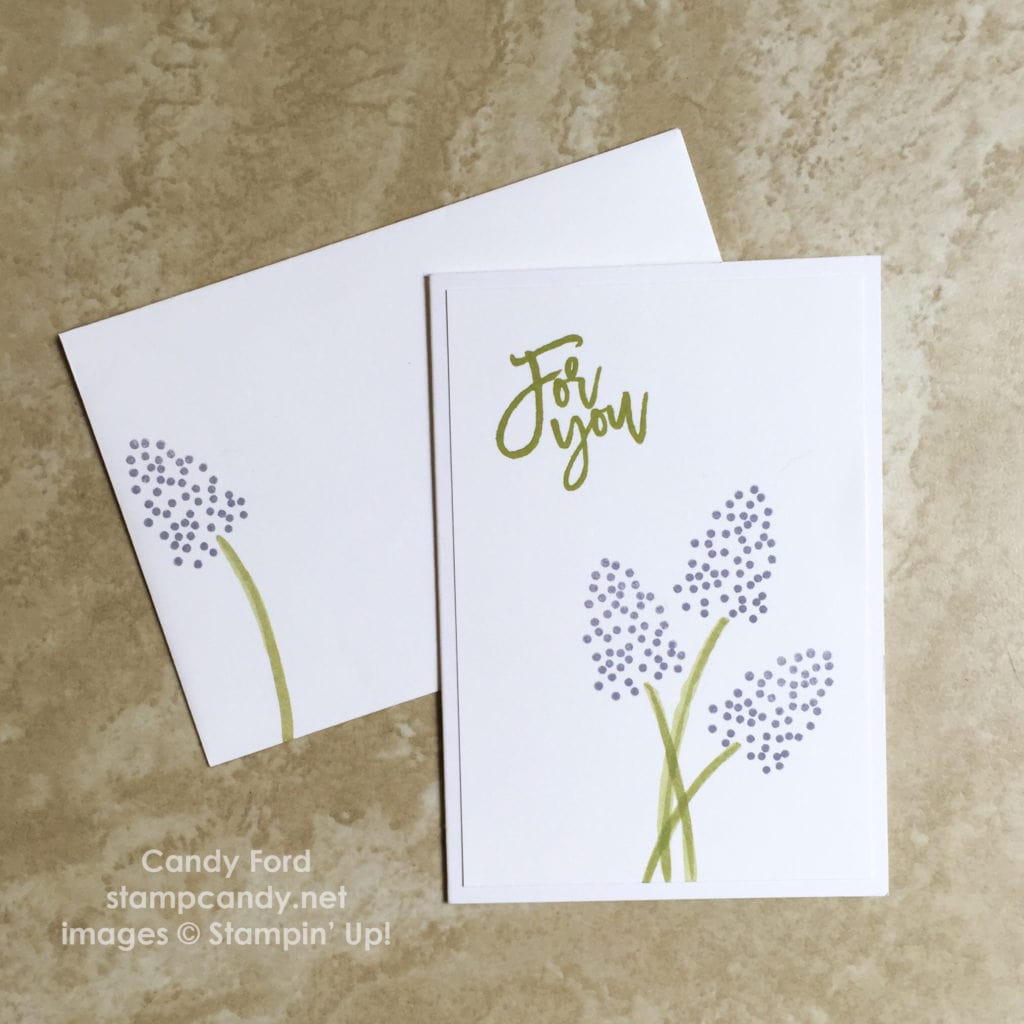
I cut a piece of Whisper White card stock to 3-1/4″ x 4-3/4″. On it I stamped the flowers in Wisteria Wonder. Then I used a Pear Pizzazz Stampin’ Write Marker to draw stems. I stamped the sentiment in Pear Pizzazz ink, and glued it to the front of a Whisper White Note Card.
I stamped one Wisteria Wonder flower onto the envelope, and drew a stem with the Pear Pizzazz marker.

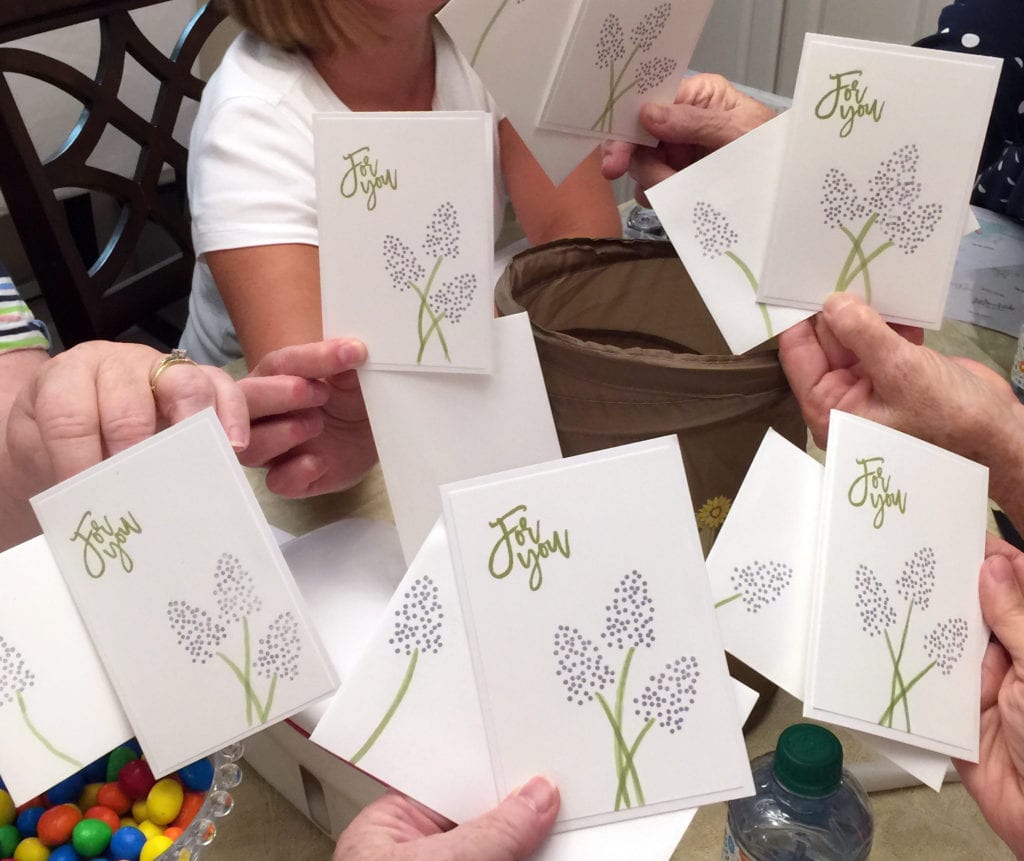
This was also an August Stamp Club project. Here’s a shot of everyone’s cards:
Here’s what I used:
Get what you need to make this simple card. Click on the product images to go to my online store now!

AUGUST HOSTESS CODE
PMTWBJMQ
If you are placing an order for less than $150, please use this Hostess Code.
Click here for details on how to use the Hostess Code.
If you are placing an order of $150 or more, you will receive Stampin’ Rewards on your order, so do not use the Hostess Code.
Thanks for stopping by today, and Sweet Stamping!
Aug 7, 2016 | Cards, Club, Gallery, Holiday, New Products |
This is the third card I made with the Thoughtful Branches bundle. You can see the first two here and here.
Don’t miss this bundle! It’s only available until August 31, or while supplies last! Click here to get it now!
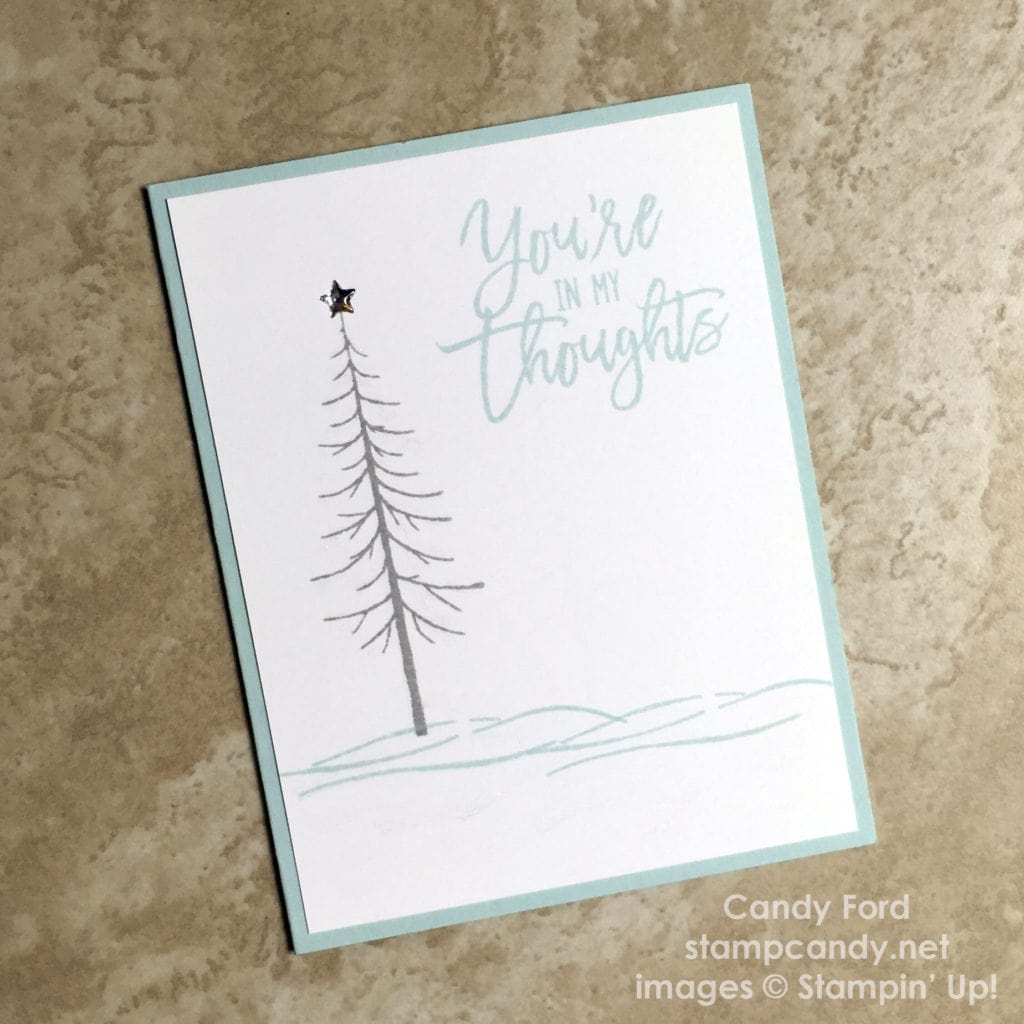
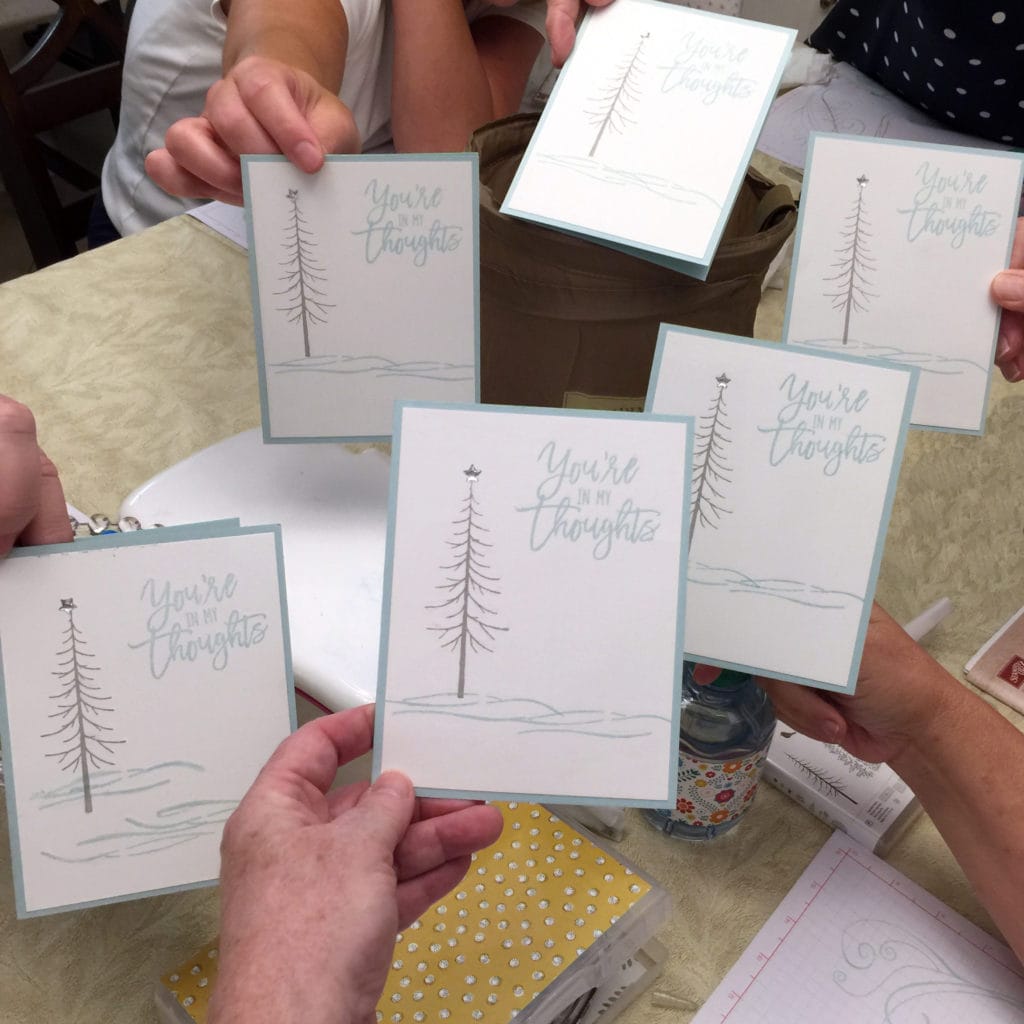
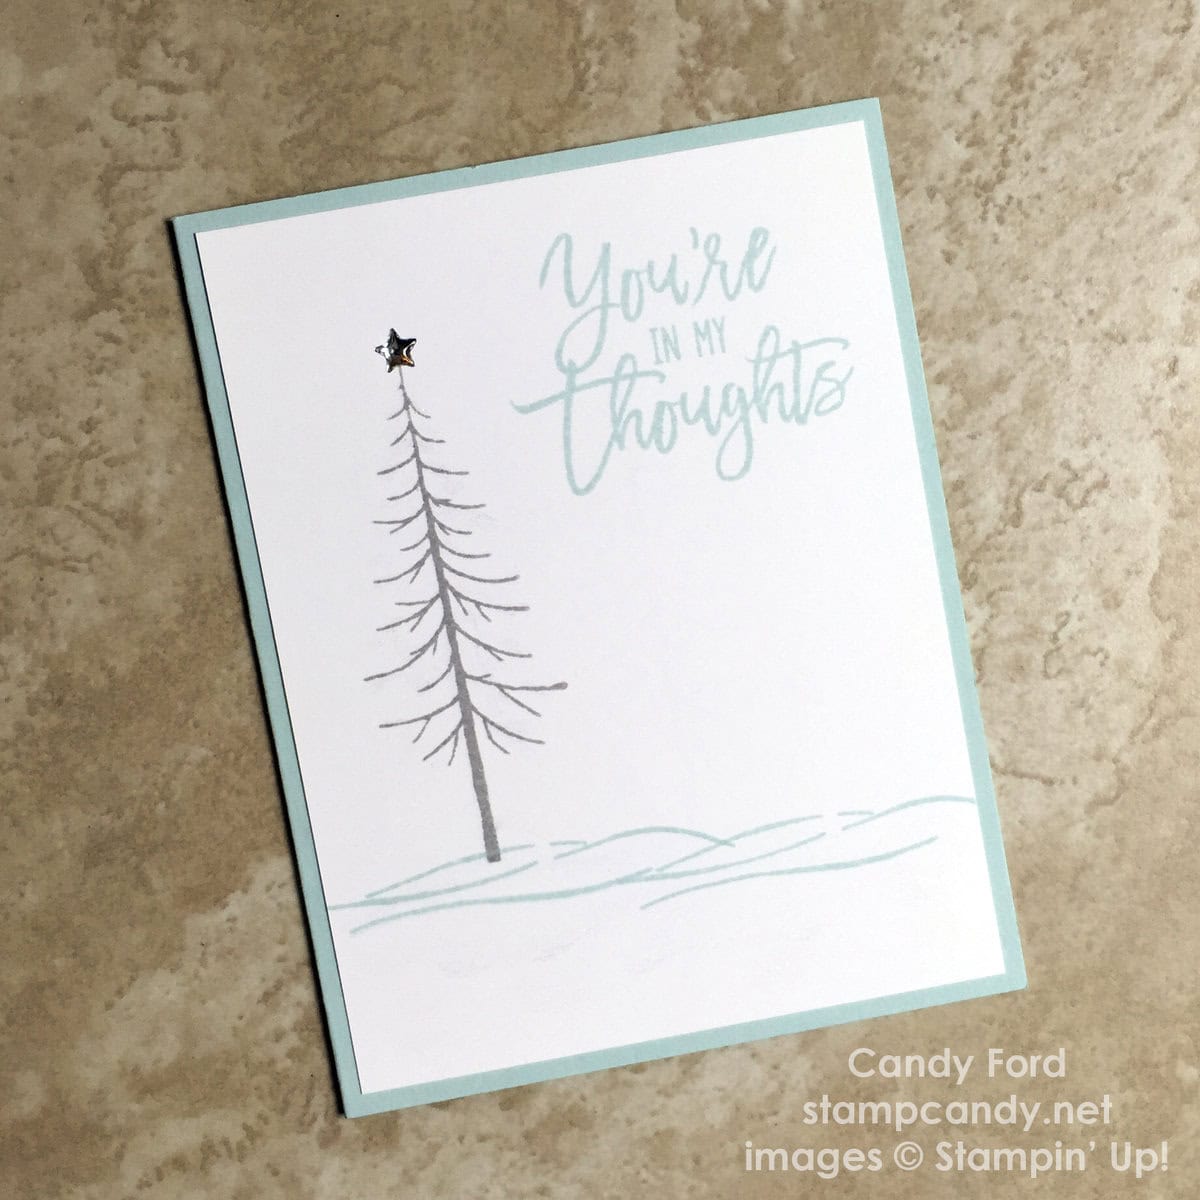
This could be a Christmas card, a Thinking About You card, or even a sympathy card. It’s cool tones of Soft Sky, Smoky Slate, and Whisper White are very soothing.
Here’s how I did it:
This is another very simple card.
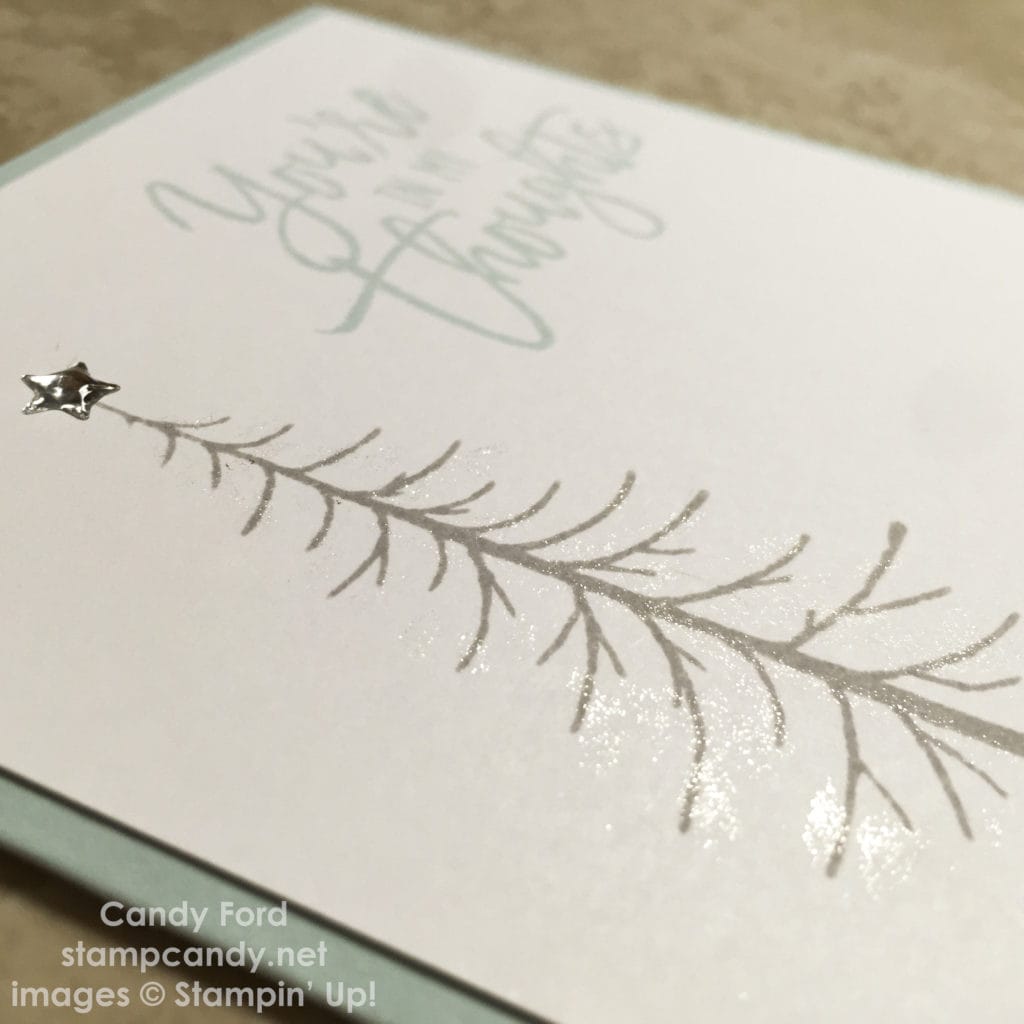
I stamped the snow and the sentiment in Soft Sky ink and the tree in Smoky Slate ink onto Whisper White card stock cut to 4″ x 5-1/4″.
I added a silver star from the Metallic Enamel Shapes to the tree top. Then I added bits of Clear Wink of Stella for a little shimmer – you can see just a bit of it in the first photo.
I glued it onto a Soft Sky card base. Voila!
This was one of our August Stamp Club projects. Here’s a shot of everyone’s card:
Here’s what I used:
Get what you need to make this card. Click on the product images to go to my online store now!
AUGUST HOSTESS CODE
PMTWBJMQ
If you are placing an order for less than $150, please use this Hostess Code.
Click here for details on how to use the Hostess Code.
If you are placing an order of $150 or more, you will receive Stampin’ Rewards on your order, so do not use the Hostess Code.
Thanks for stopping by today, and Sweet Stamping!
Jul 17, 2016 | Boxes, Club, Gallery, Gift Wrap, New Products |
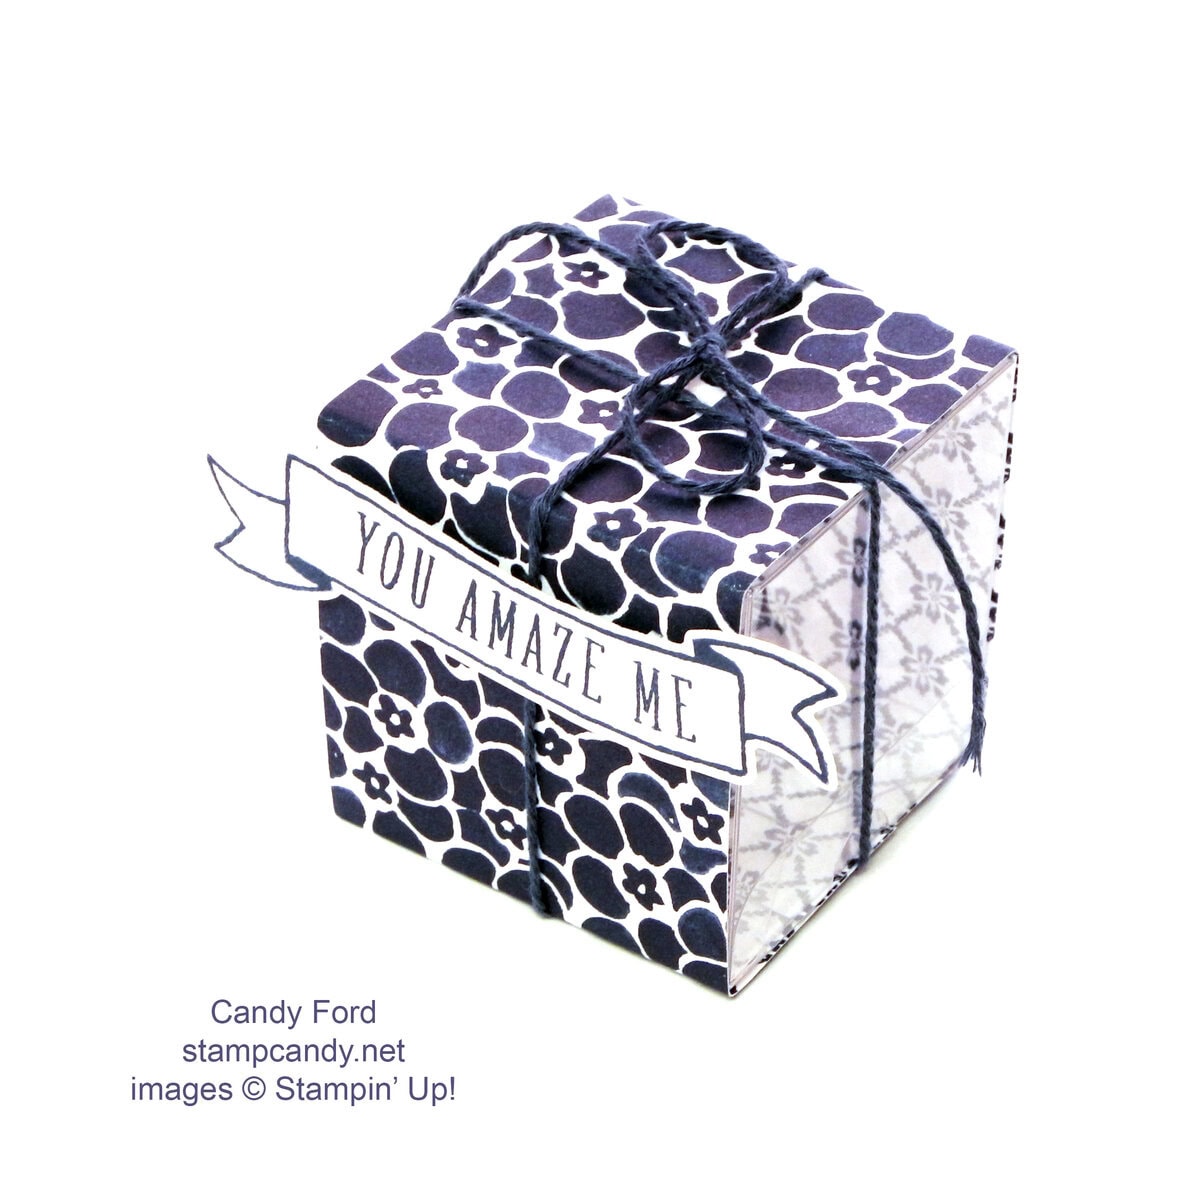
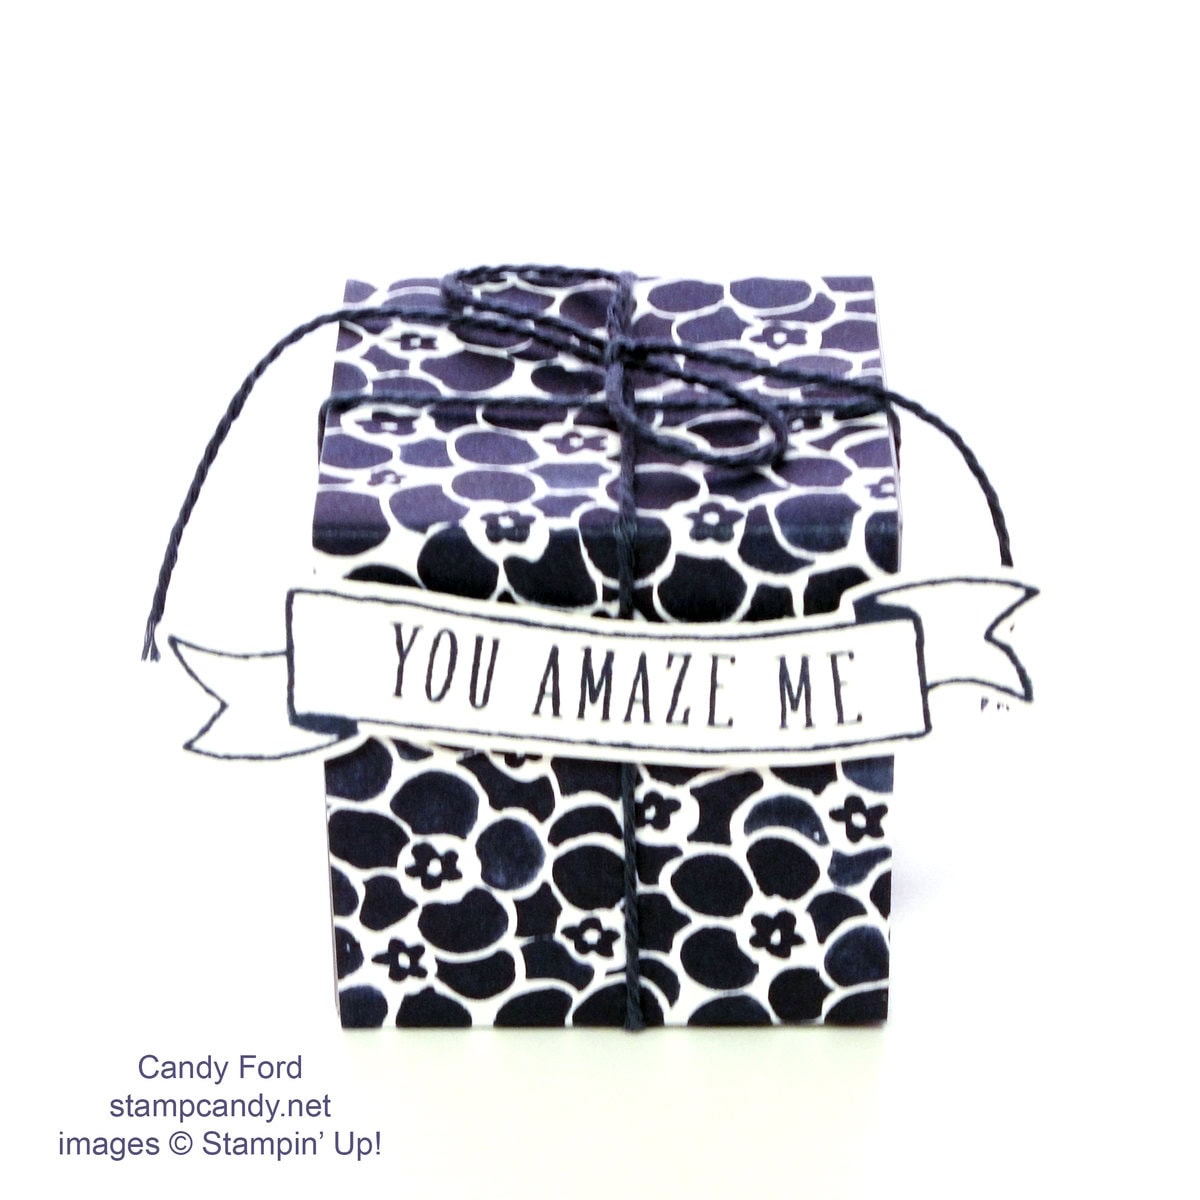
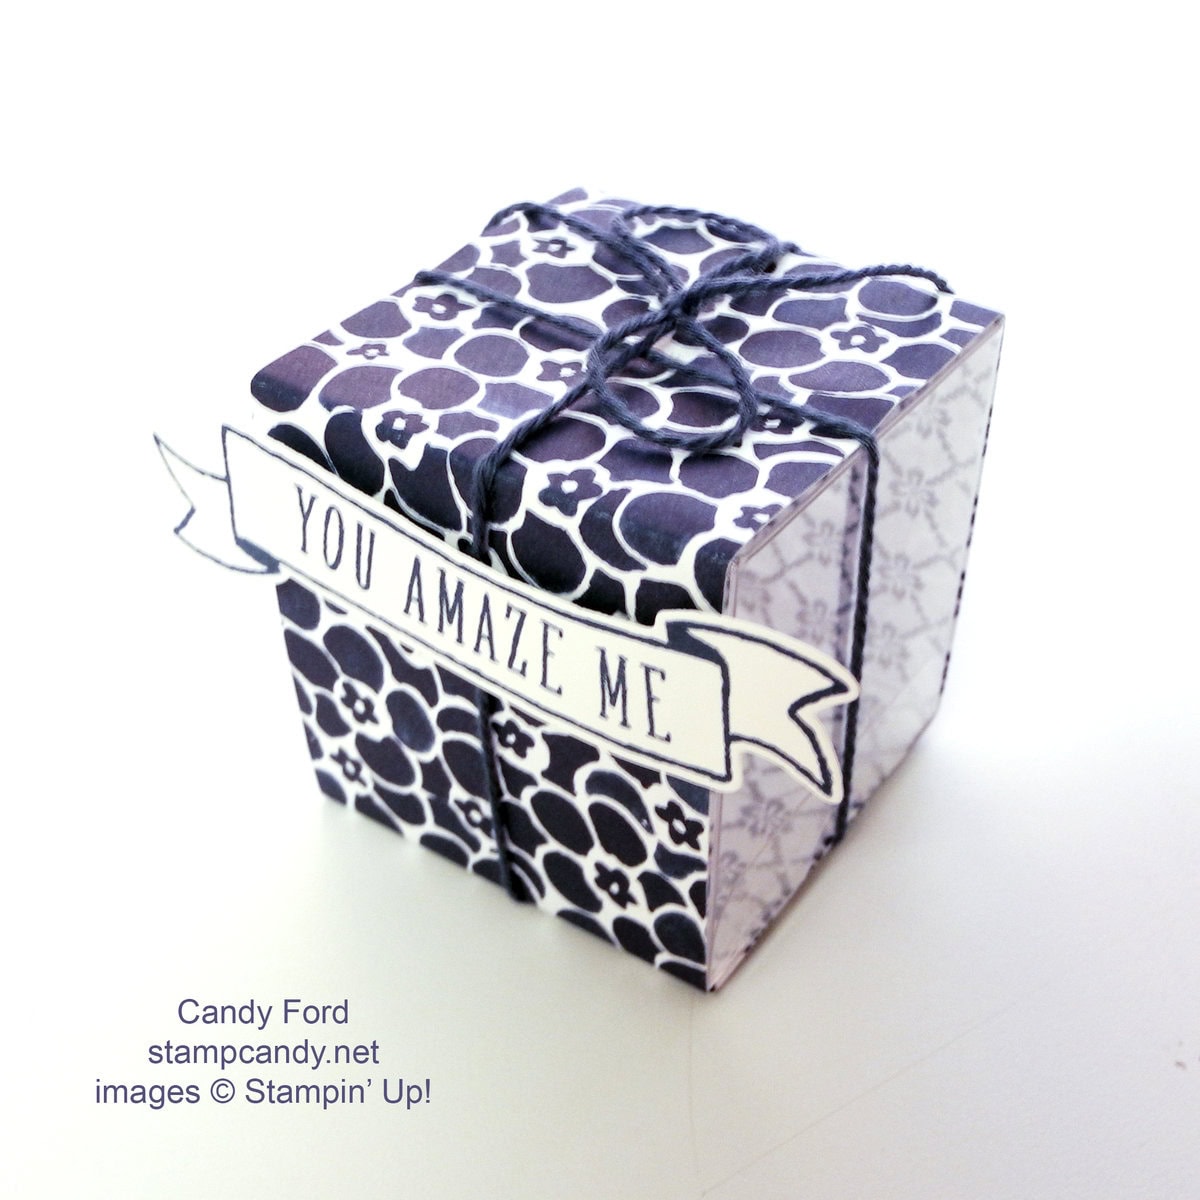
Today’s project is another from July’s Stamp Club. (You can see the first two here and here.) This one is so quick and easy, you won’t believe it!
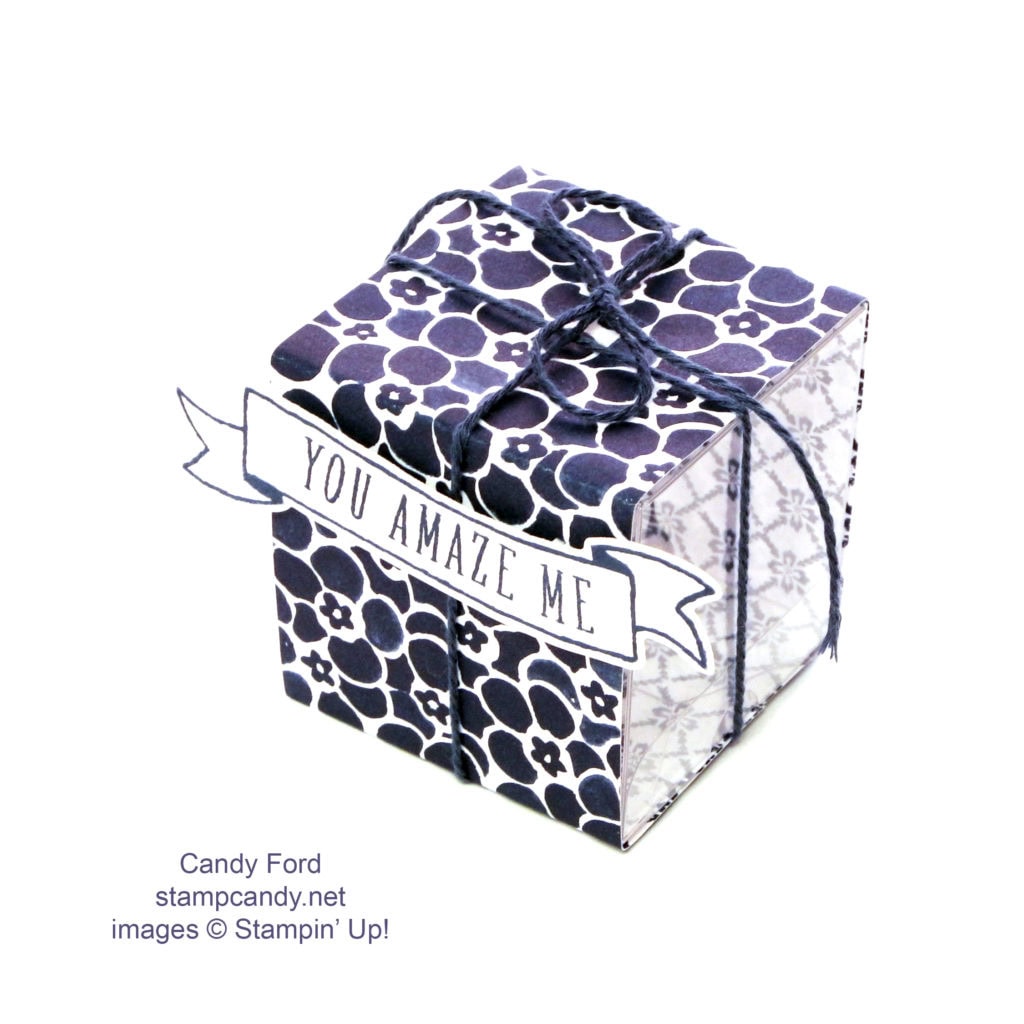
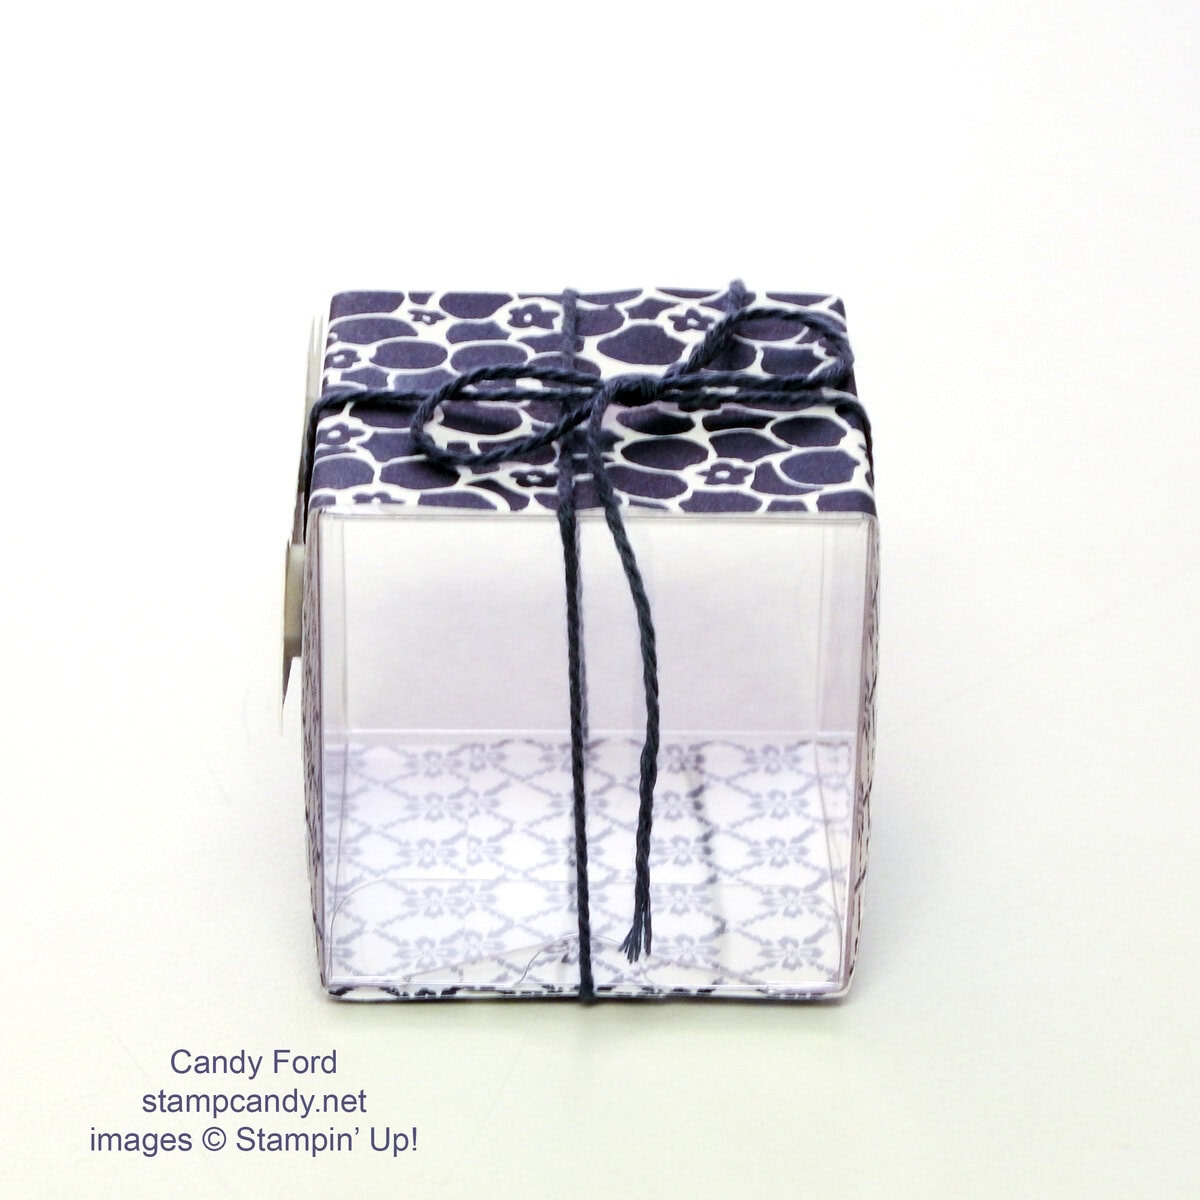
Assemble a Clear Tiny Treat Box.
Cut a piece of Floral Boutique Designer Series Paper to 2″ x 9″. Wrap it around the box and glue the ends together. Do not glue it to the box because it needs to be able to slide on and off.
Tie a piece of Night of Navy Solid Baker’s Twine around the box and tie in a bow on top.
Stamp the banner and sentiment from the Banners for You stamp set in Night of Navy ink onto Whisper White card stock, then cut out with the coordinating die from the Bunch of Banners Framelits dies. Attach it to the DSP with Stampin’ Dimensionsals. Do not put one in the center of the banner, so the twine can slide through easily.
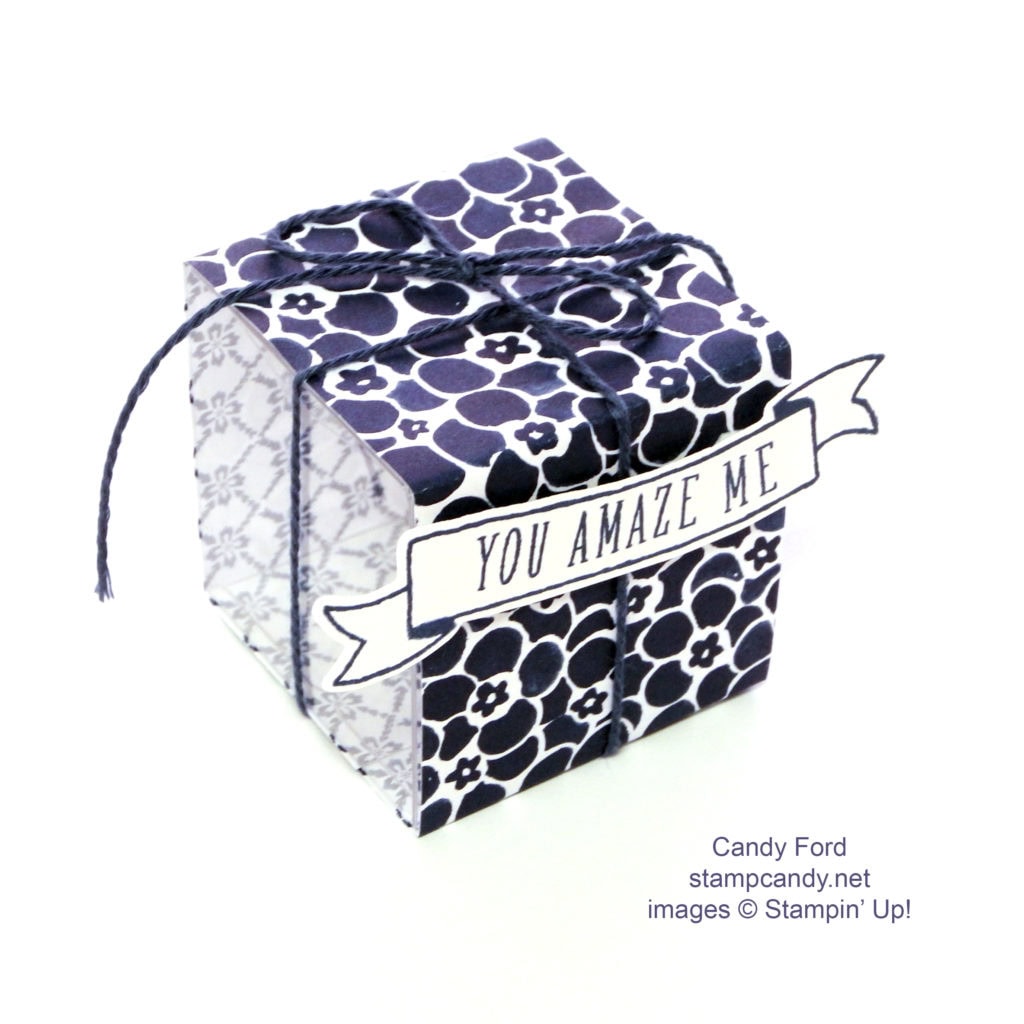
You can fill this with all sorts of little goodies. You can use your Fringe Scissors to cut strips of paper then crinkle it with your hands for filling. By the way, a Pandora Charm box fits perfectly inside this little box. Just sayin’.

Here’s what we used:
Thanks for stopping by today, and Sweet Stamping!

Jul 16, 2016 | Cards, Club, Gallery, New Products, Techniques |
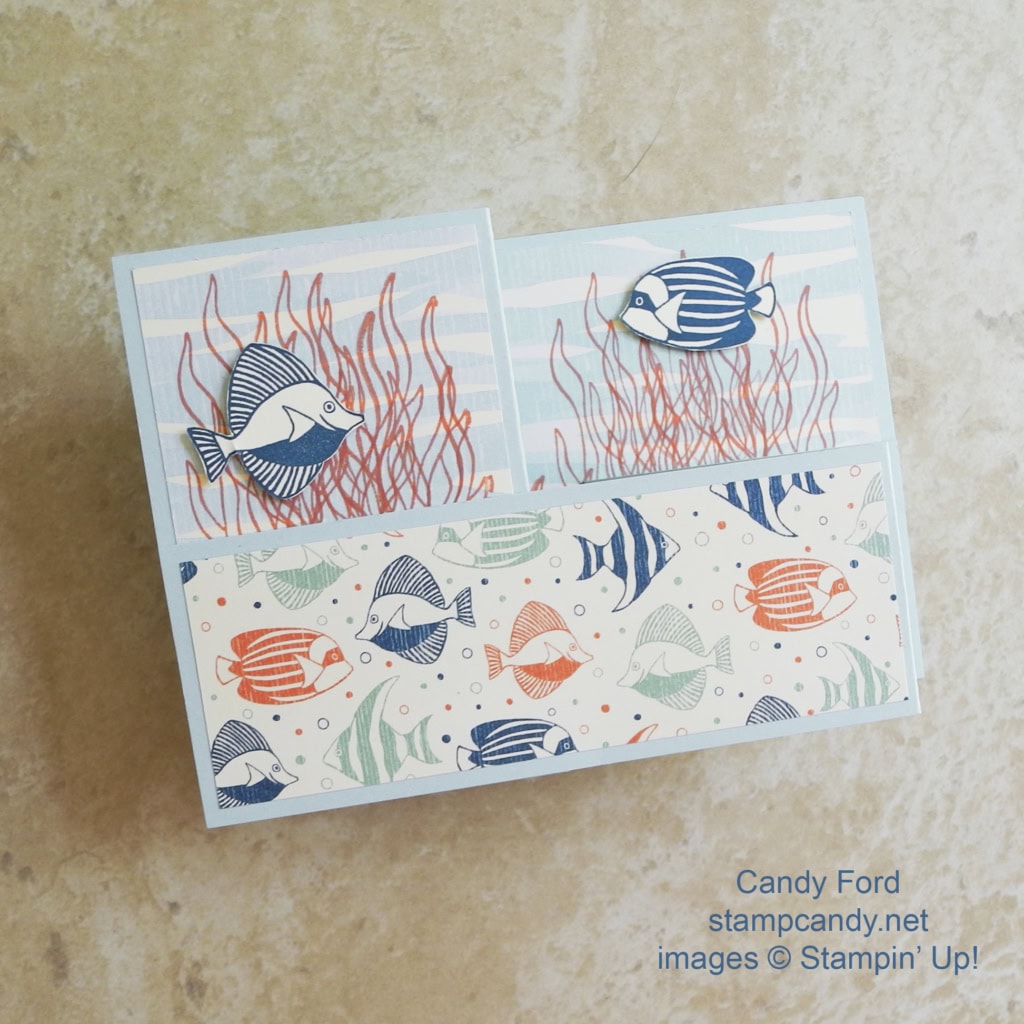
Today I’m sharing another project from July’s Stamp Club meeting. You can see the first one here. Today’s project is a Z-Fold card. When it first comes out of the envelope, it looks like this:

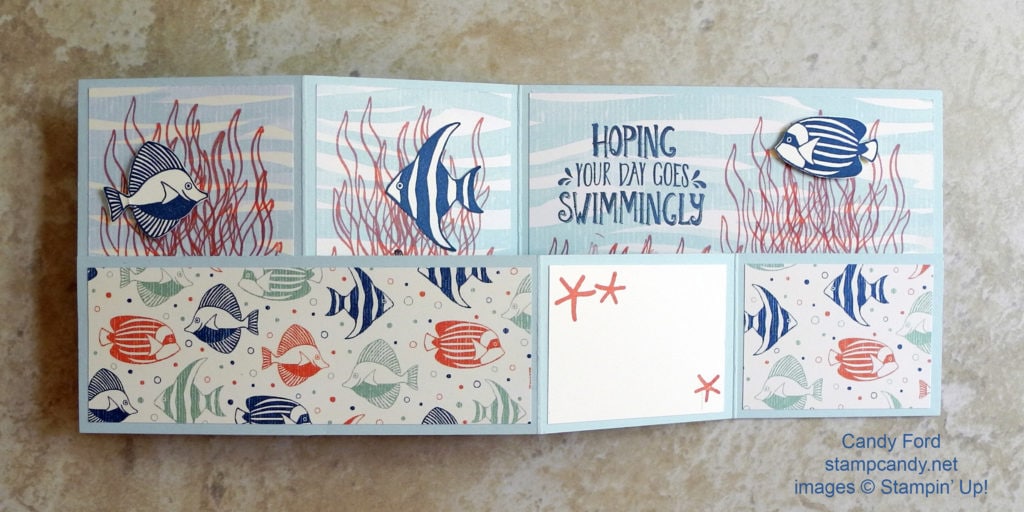
Then when it is opened, it looks like this:
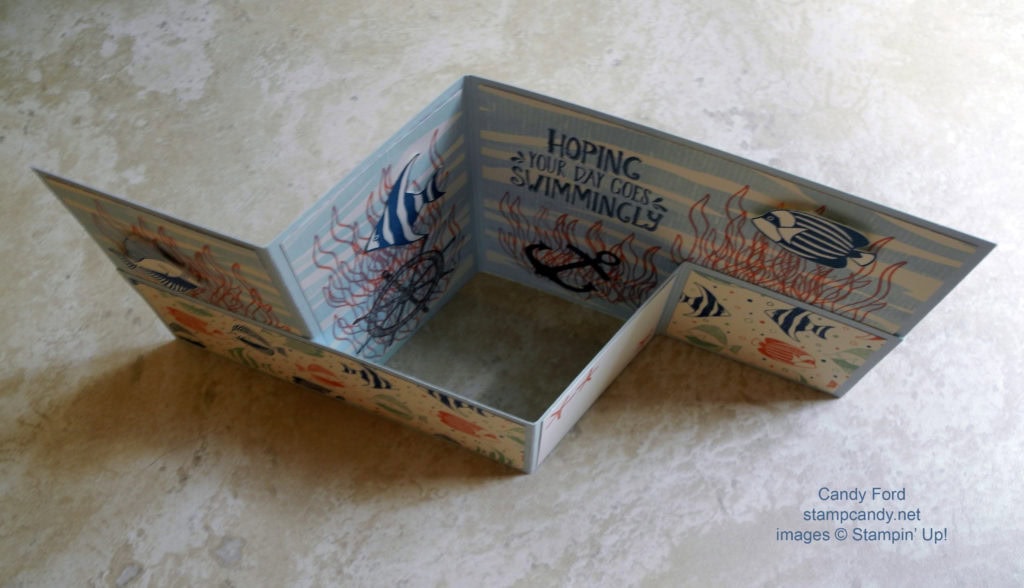
Here is a top view:
Here’s how we did it:
Cut a piece of Soft Sky card stock @ 4-1/4 x 11”. Cut another piece @ 2-1/8” x 11”. Score both pieces along the long side at 2-3/4” and at 5-1/2”. Flip the 2-1/8″ around to the other end. The taller piece will have an extra score line on the left and the shorter piece will have an extra score line on the right. See photos above.
Cut a piece of Very Vanilla card stock @ 2-1/2” x 1-7/8”.
Cut the following pieces of the By The Shore Designer Series Paper. Be sure to keep the patterns going in the right direction.
- water design: 1 piece @ 5-1/4” wide x 4” tall, and 2 pieces @ 2-1/2” wide x 4” tall.
- fish design: 1 piece @ 2-1/2” wide x 1-7/8” tall, and 1 piece @ 5-1/4” wide x 1-7/8” tall.
Stamp sentiment in Dapper Denim on the large water DSP as shown.
Stamp kelp in Calypso Coral on the water DSP pieces as shown. We stamped around the sentiment, but I think you could stamp over it, since the Dapper Denim ink is so much darker than the Calypso Coral.
Stamp three starfish in Calypso Coral onto the Very Vanilla piece. This is where your hand written message will go.
Stamp the anchor and the ship’s wheel in Early Expresso near the bottom of the 2 pieces of water DSP as shown.
Stamp three fish in Dapper Denim on an extra piece of Very Vanilla card stock. Use your Paper Snips to cut them out. We glued on the center one, since it is inside the card when it’s closed. The other two are attached with Stampin’ Dimensionals.
Now glue all the small pieces to the two Soft Sky card stock pieces. Then glue the 2-/18″ tall piece to the 4-1/4″ tall piece, only gluing in the two bottom corner areas. You can see where they are attached in the top view above.
It looks much more complicated than it really is. I hope my directions are easy to follow. If you have any questions at all, please let me know!
Here’s what we used:

Earn Bonus Days coupons in July!
Redeem Bonus Days coupons in August!
Details
- An email address is required to participate in this promotion; Bonus Days coupon codes can only be delivered to participants via email.
- We strongly recommend that participants both save emails containing their Bonus Days coupon codes AND write down the coupon codes in a safe place—the codes cannot be resent if the participant loses the email, and Demonstrator Support cannot recover lost codes.
- Participants will receive a $5 Bonus Days coupon code via email for every $50 they spend in a single order (catalog price before shipping and tax). There is no limit to the number of coupons participants can receive per order or throughout the duration of the promotion. There is no limit on the number of coupons participants can use on an order during redemption.
- Bonus Days coupons codes can be used in the checkout process during the redemption period.
- All order types qualify for this promotion. FOR FAX AND MAIL ORDERS, email addresses must still be provided in order to qualify for Bonus Days coupons during the promotion period. During redemption, be sure to include your coupon codes on your fax and mail orders.
- Bonus Days coupon codes can be redeemed for any product, excluding Starter Kits and Paper Pumpkin subscriptions. New prepaid Paper Pumpkin codes can be redeemed.
- Promotion period: July 7–31, 2016
- Promotion Deadlines:
- PHONE/FAX/MAIL: July 29, 2016 by 6:50 PM (MT)
- ONLINE: July 31, 2016 by 11:50 PM (MT)
- Redemption period: August 2–31, 2016
- Redemption Deadlines:
- PHONE/FAX/MAIL: August 31, 2016 by 6:50 PM (MT)
- OONLINE: August 31, 2016 by 11:50 PM (MT)
For Eastern time, add two hours to these times. For Central time add 1 hour. For Pacific time, subtract 1 hour.
Do you know what else you earn for every $50 you spend in a single order? Gum Balls! And they’re good for a year! Click on Gum Ball Rewards at the top of the page for details.
Place a $500 order with me in July (before tax and shipping) and you will receive 10 Bonus Days Coupons (that’s $50 off in August!) AND a FREE stamp set!
Thanks for stopping by today, and Sweet Stamping!


