Jul 15, 2016 | Cards, Club, Gallery, New Products |
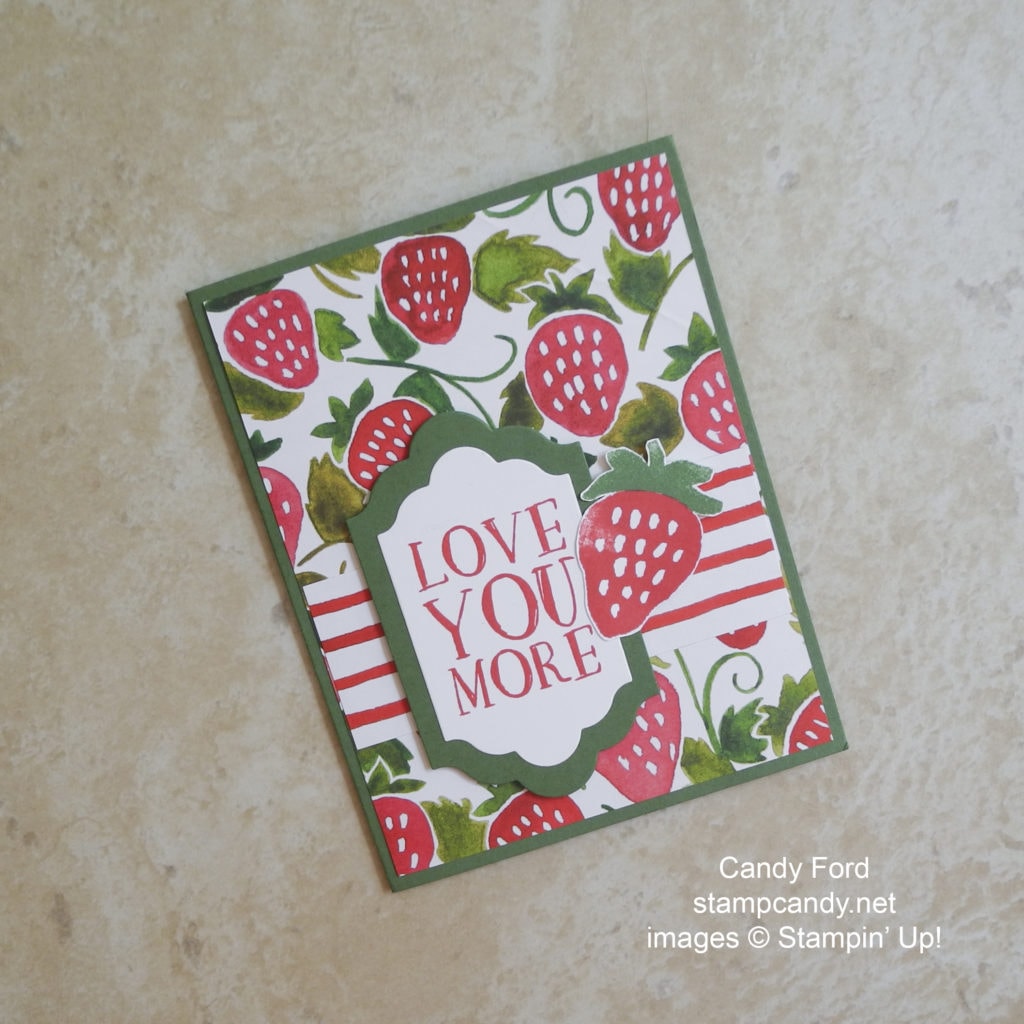
The Fruit Stand Designer Series Paper and coordinating Fresh Fruit stamp set are perfect for this time of year. It’s hot outside here in Atlanta, GA, USA, and there’s nothing better than enjoying fresh produce, especially sweet, juicy, ripe fruit.
At July’s Stamp Club, we used this set for one of our projects. Doesn’t this card just scream summer?
Here’s how we did it:
We glued a piece of the strawberry design DSP to a Garden Green card base, then glued a striped piece (the back side of the strawberries) about 2/3 of the way down.
We stamped the sentiment from the coordinating Fresh Fruit stamp set in Real Red onto Whisper White card stock, then cut it with the Lots of Labels Framelits dies. We used one size larger Framelit to cut a piece of Garden Green card stock. We glued these two pieces together.
We stamped the strawberry in Real Red, and the top in Garden Green, onto Whisper White card stock, then cut it out with Paper Snips. We glued it just overlapping the sentiment piece, then attached the whole thing to the card front with Stampin’ Dimensionals.
Super Easy! This took my Stamp Club ladies no time to finish!
Here’s what we used:


Did you know that you can now register for my classes right here on my web site? It’s true! It’s so much easier to sign up for classes. Click on the “Classes & Events” menu item at the top of the page, and you have three options:
- Class & Event Calendar – A calendar of my events (obviously.) Click on each event to see details about it.
- Register for Classes – You can select all the classes you want to take and pay only once! You can pay with your credit/debit card or your PayPal account!
- About My Classes – General information about my classes, cancellation policy, etc.
Keep an eye out for my Classes-to-go coming soon!!!
Thanks for stopping by today, and Sweet Stamping!

Jul 2, 2016 | Cards, Club, Gallery, New Products |
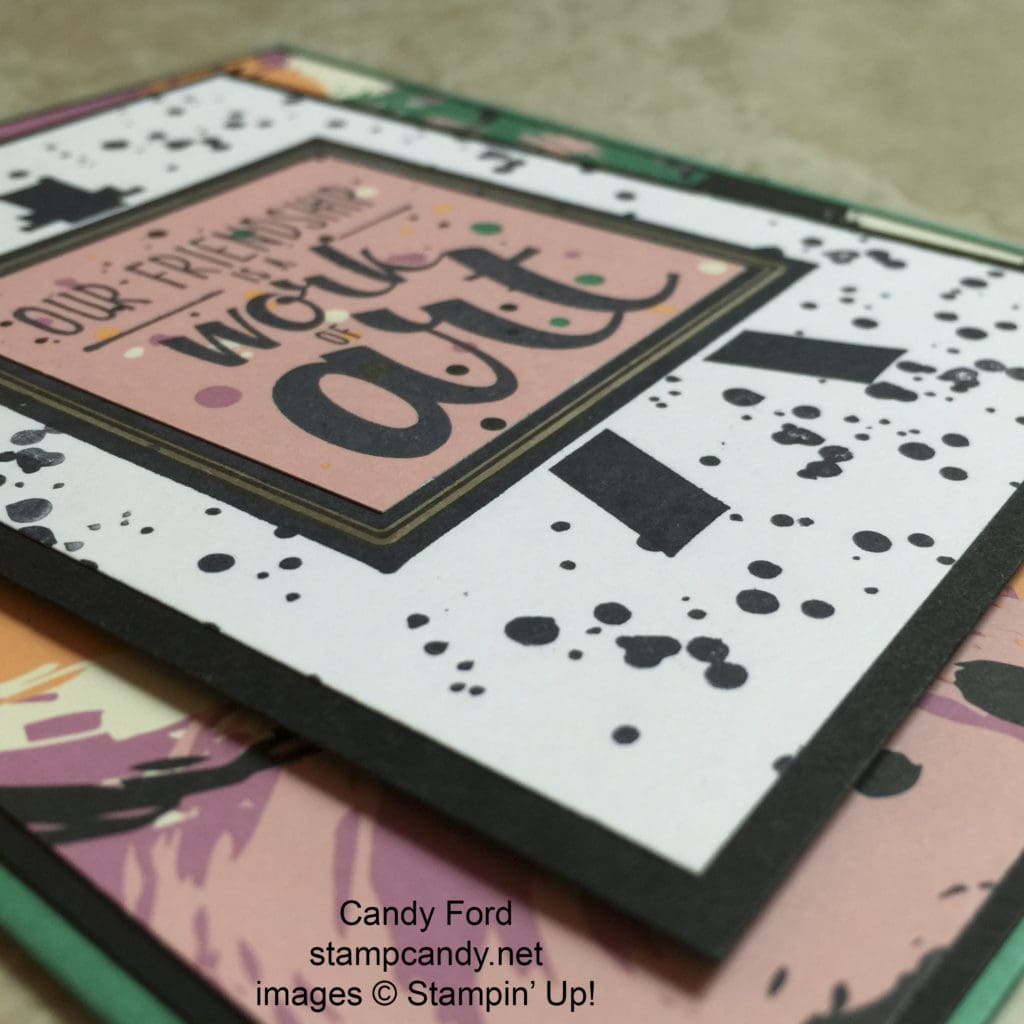
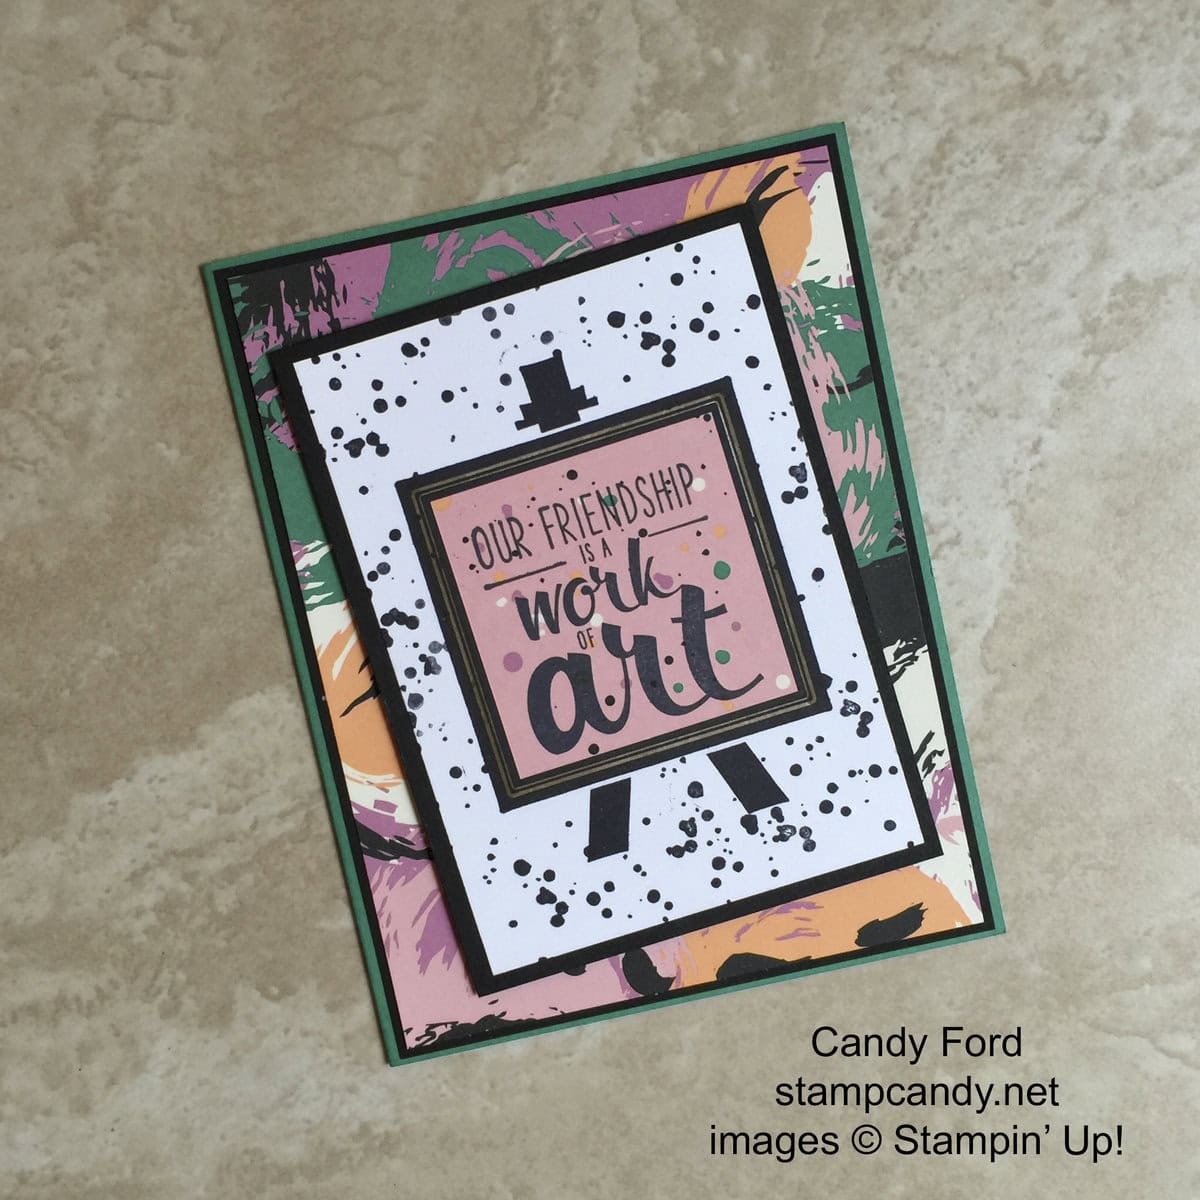
This was one of the projects we made in my June Stamp Club. It uses the new Playful Palette Designer Series Paper Stack. I wasn’t too sure about this paper when I first saw it. The color combinations and patterns seemed odd to me. But then I got it in my hands and started playing with it. That’s all it took. Now I see the versatility of it, and I can think of a zillion projects to use it on.
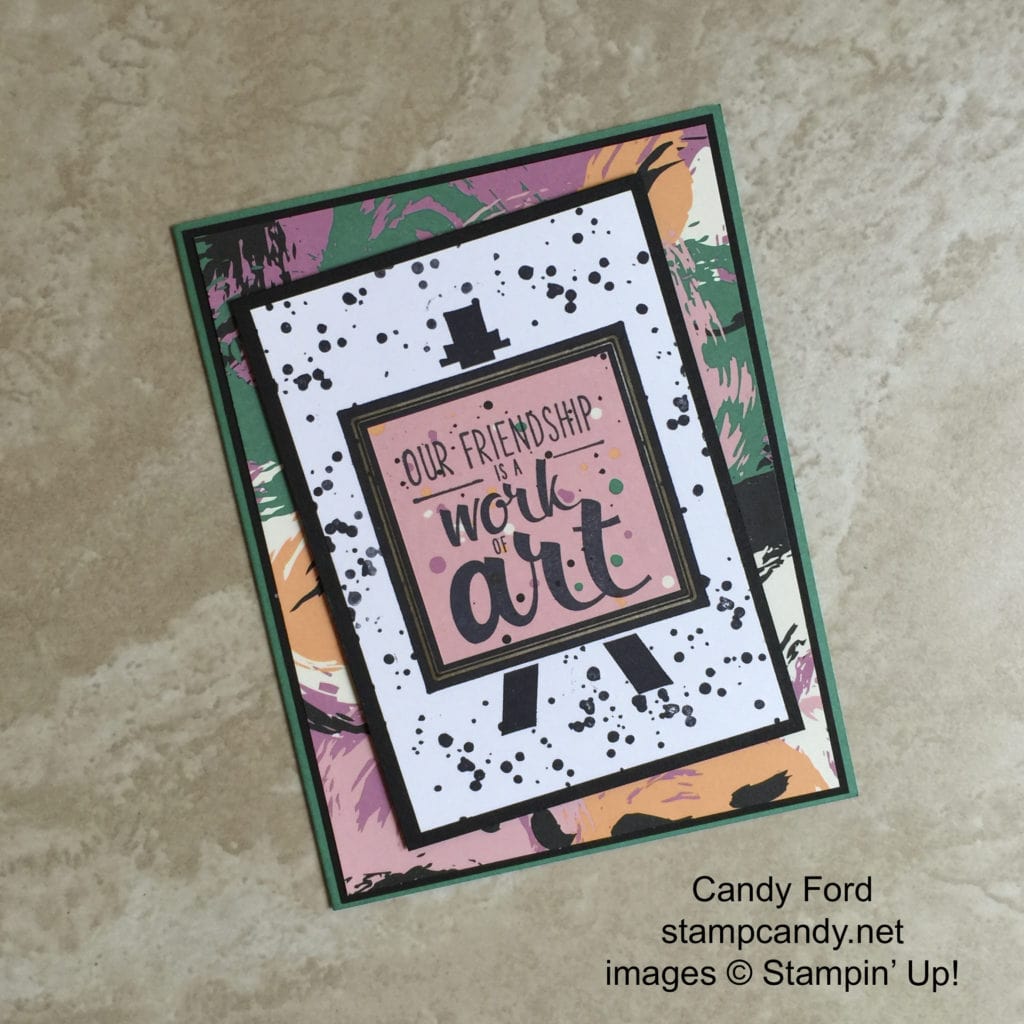 For today’s card, I started with an Emerald Envy card base and glued on a Basic Black layer and a DSP layer.
I stamped the easel and speckles from the Painter’s Palette stamp set in Basic Black onto Whisper White card stock and matted that with Basic Black.
I stamped the sentiment in Basic Black onto the pink speckled piece of DSP, then cut it out with one of the new Layering Squares Framelits Dies. I glued it to the center of the easel. Then I adhered this smaller panel onto the larger panel at an angle with Stampin’ Dimensionals. (Everything else is glued with Multipurpose Liquid Glue – my favorite!)
That’s it! 4 pieces of card stock, 2 pieces of DSP, 3 stamps, and Basic Black ink.
Here’s what I used:
Be sure to check out the Cupcake Challenge on my Stamp Candy Facebook page! Make something with a cupcake on it and post a photo on my Facebook page by July 6 to be entered into a drawing to win the Perfectly Wrapped stamp set! I will randomly draw the name and announce the winner on July 7. And while you’re there, please “Like” my page. Thank you!
Thanks for stopping by today, and Sweet Stamping!
May 12, 2016 | Cards, Club, New Products |
This is another of the projects we made at our May Stamp Club meeting. You can see the first one here.
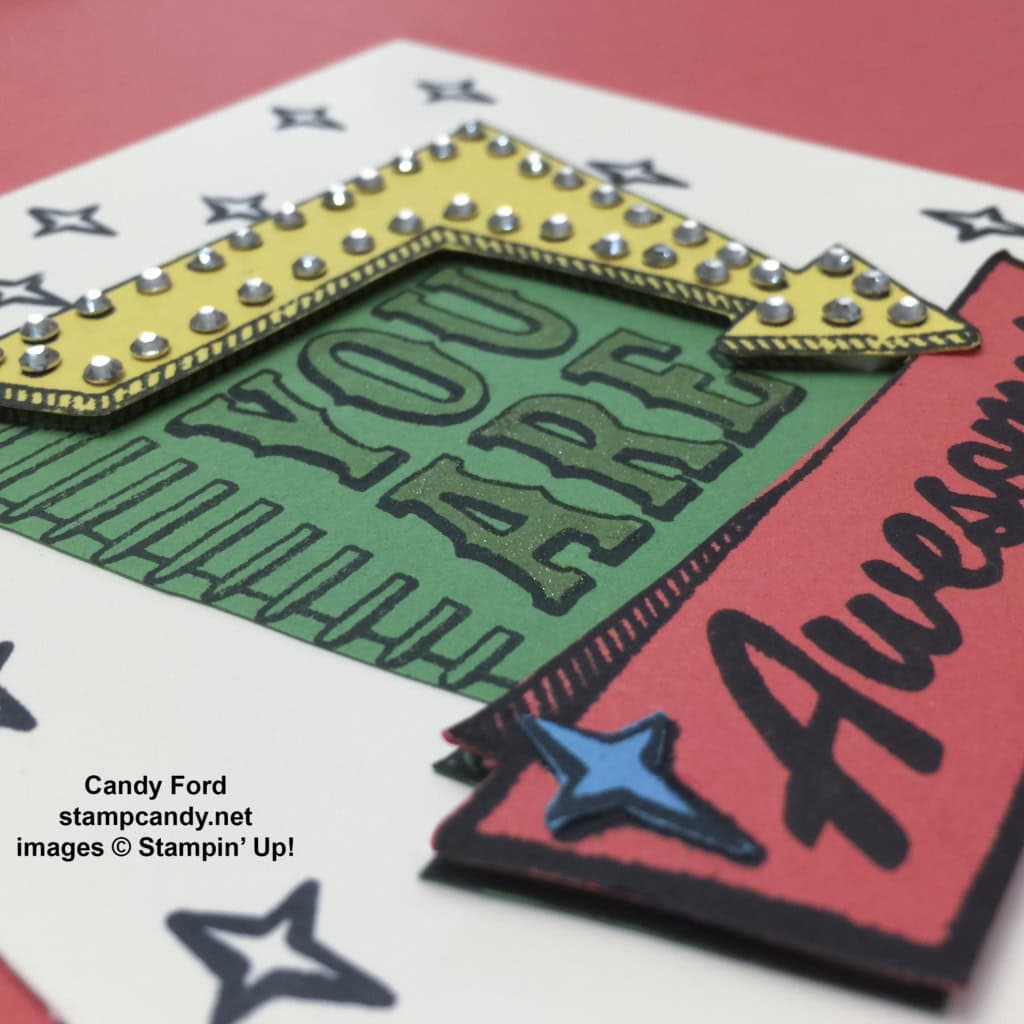
I’d like to thank Kimberly Laidley for allowing me to use photos of her card. My sample didn’t have the rhinestones, as I was afraid I wouldn’t have enough for club members. Each card required 39 of the smallest Rhinestone Basic Jewels.
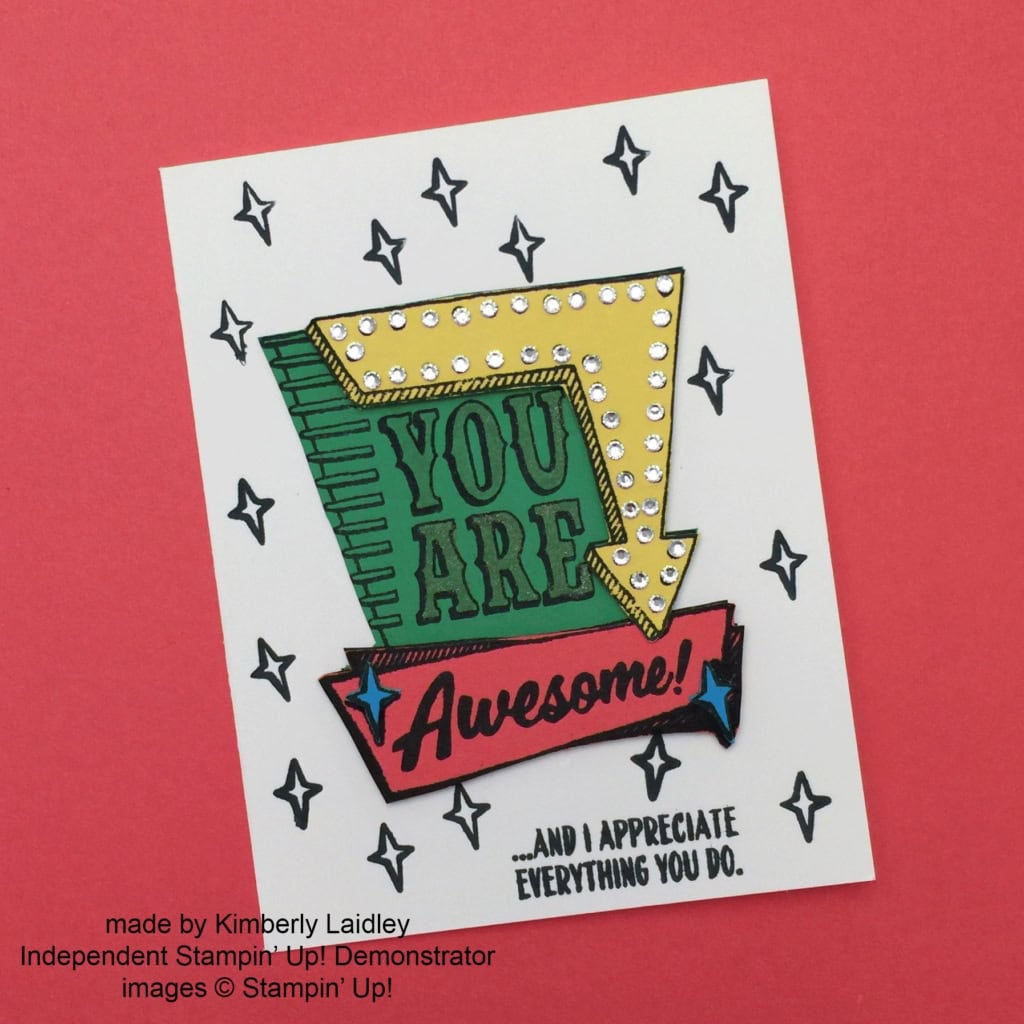
We used the Marquee Messages stamp set (photopolymer, 141727, $21.) We stamped the marquee in Black Memento ink four times, once each on Daffodil Delight, Cucumber Crush, Watermelon Wonder, and Tempting Turquoise card stock. We then fussy cut the different parts of the image, and reassembled them on a card base of Whisper White Thick card stock. We used Stampin’ Dimensionals to attach the arrow and bottom banner, and glued everything else.
We also used Black Memento ink to stamp all parts of the sentiment, and the stars.
We used a Gold Wink of Stella Glitter Brush on the “YOU ARE” and a Clear one on the blue stars.
Here are the current items we used:
 There are only 19 days left to shop from the 2015-2016 Annual Catalog’s Retiring List! Click here to see what is still available.
Thanks for stopping by today, and Sweet Stamping!
May 11, 2016 | Cards, Club |
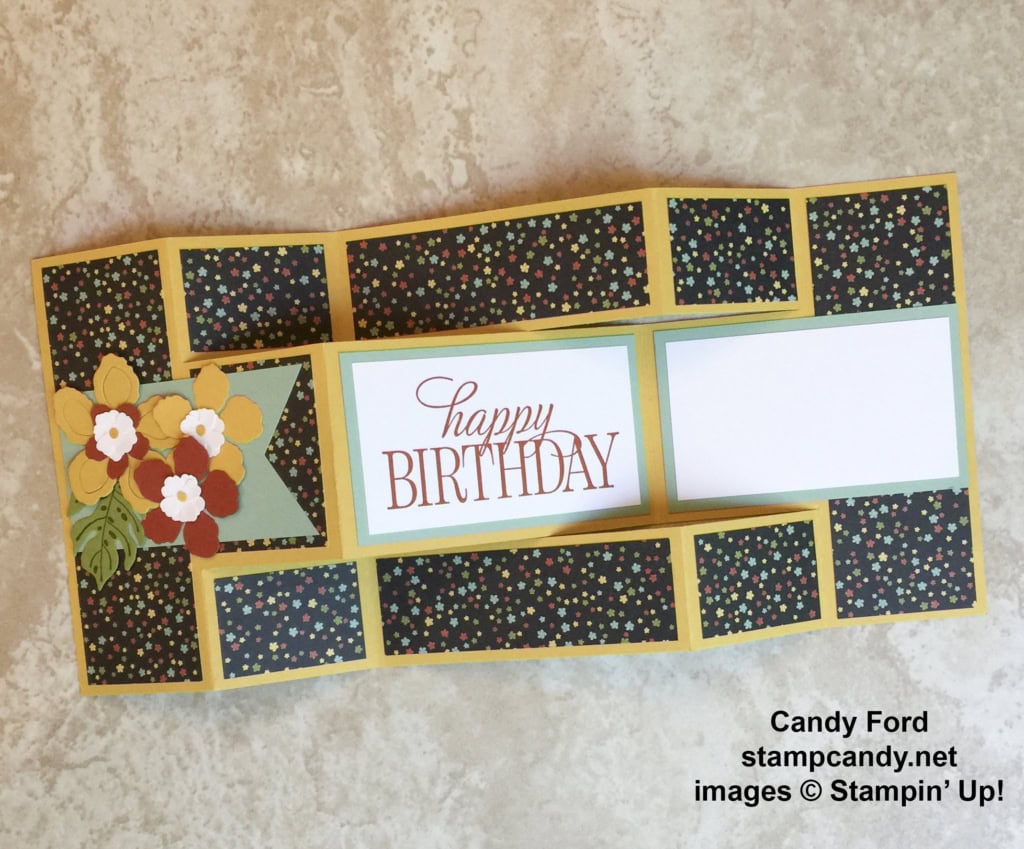
One of the projects we made in our May Stamp Club meeting is this Tri-Shutter card. It’s another of those projects that isn’t nearly as complicated as it looks. Here it is open. The blank panel on the right is for a handwritten message.

This is a view from above as it stands up.
Click here to download a full tutorial pdf.
Here’s what we used:
There are only 20 days left to shop from the 2015-2016 Annual Catalog’s Retiring List! Click here to see what is still available.
Thanks for stopping by today, and Sweet Stamping!
May 7, 2016 | Baby, Boxes, Cards, Club, Gifts |
Hello, Sweet Stampers! I’m sorry I haven’t posted in a few days. I’ve been having some computer issues. Hopefully they’re fixed now.
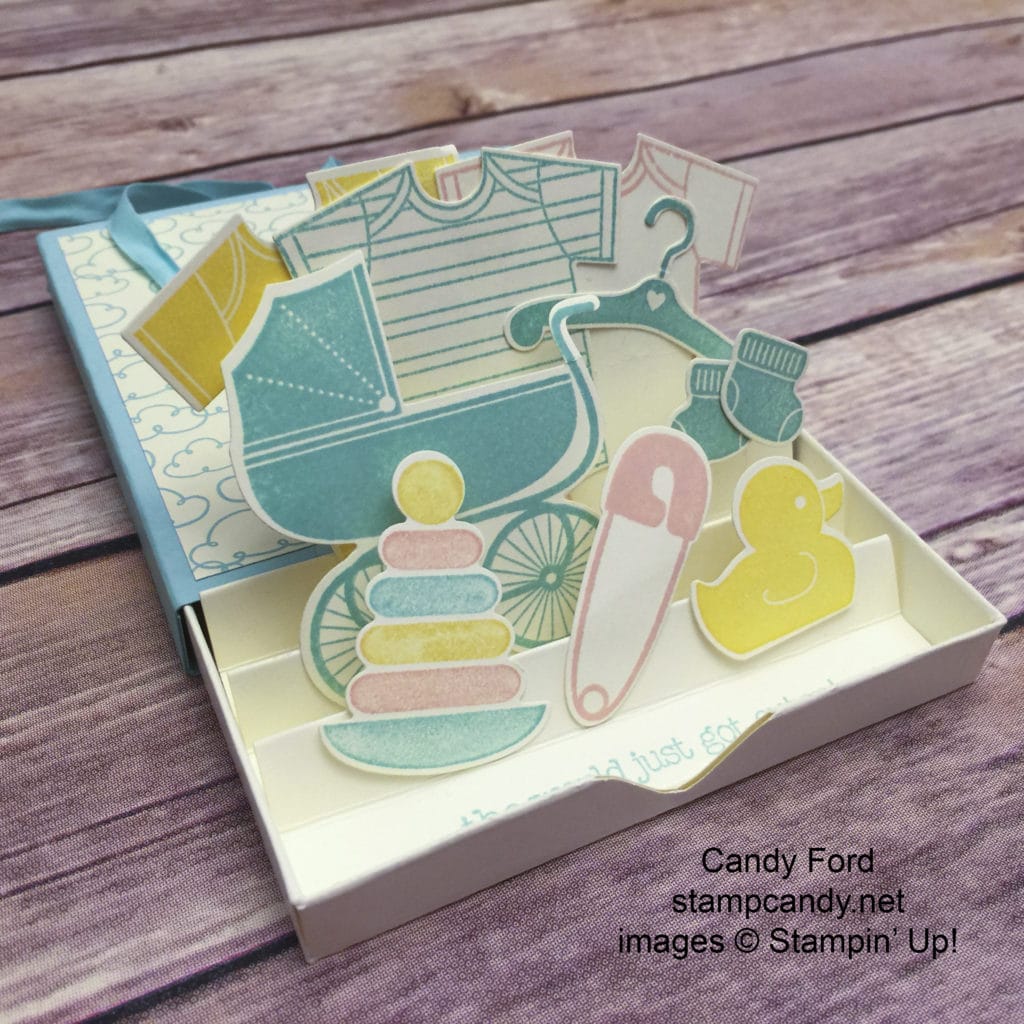
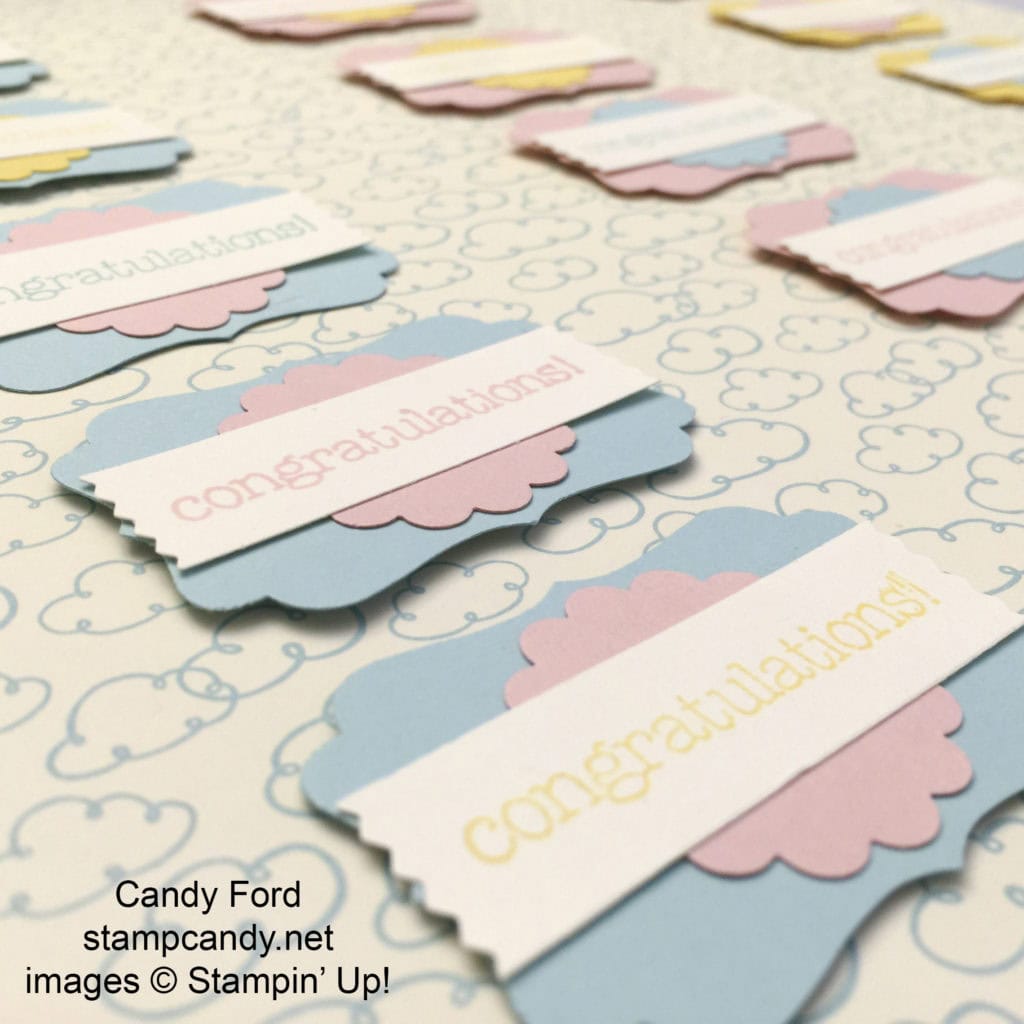
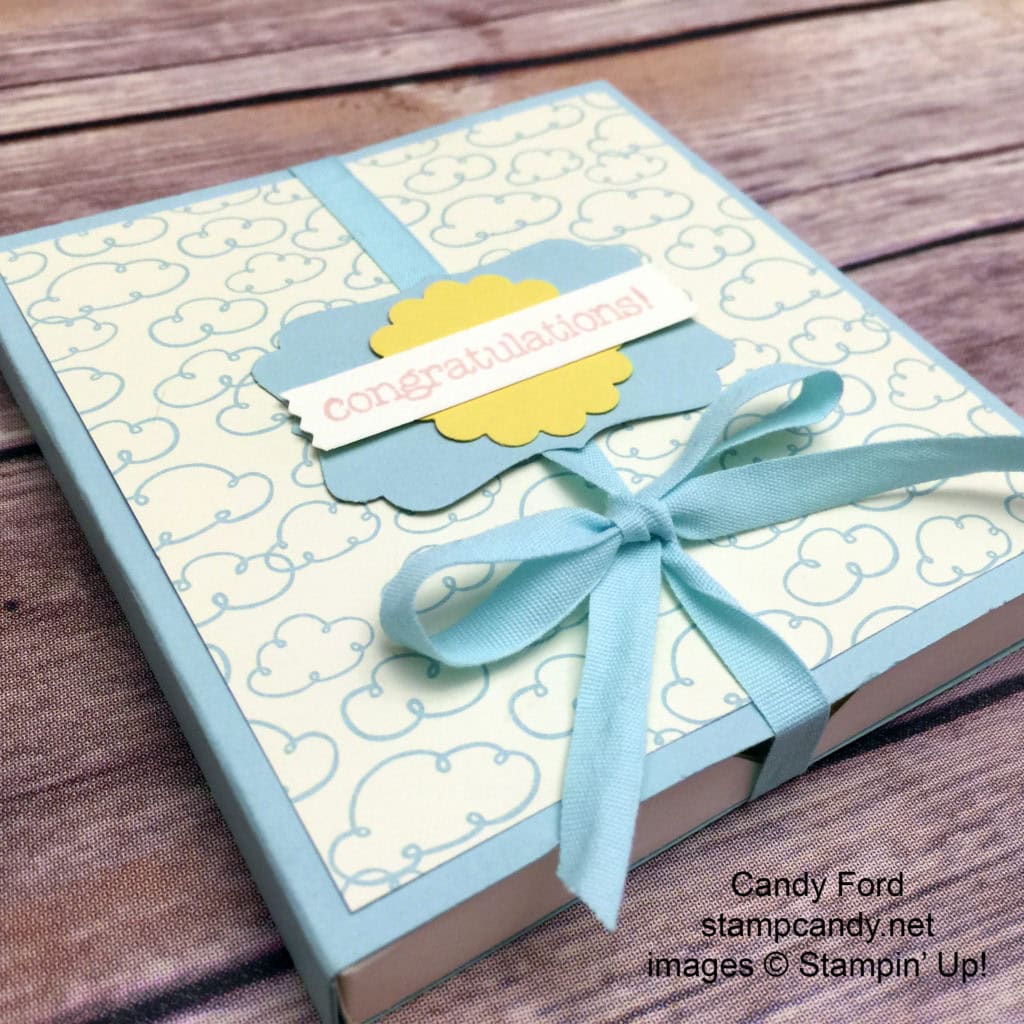
Today I’m excited to share another Stamp Club project with you. It’s a Baby Themed Pop Up Matchbox Card with space in the back for a gift card. Everyone got to choose which color cover and ribbon they wanted to use, which colors to stamp the items inside the box, and which colors to use for the box label – all combinations of Blushing Bride, Daffodil Delight, and Pool Party. My sample has more blue than pink and yellow.
At first you see the sweet little box tied up with ribbon.
Then when you untie the ribbon and begin to pull out the inner tray, you see the continuation of the sentiment from the cover peeking out.
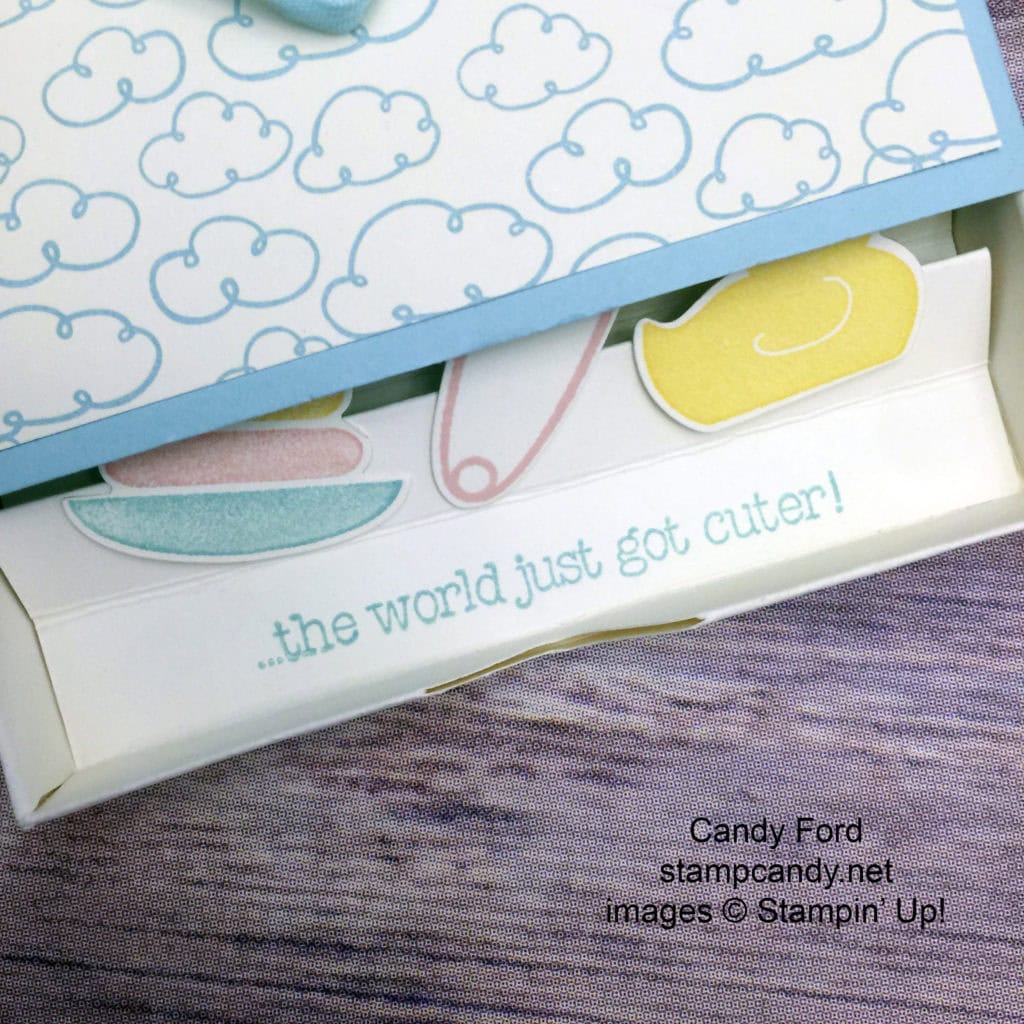
As you continue to pull, all the little goodies pop up! Window Sheets cut into strips and adhered to the backs of the images with Glue Dots help them pop.

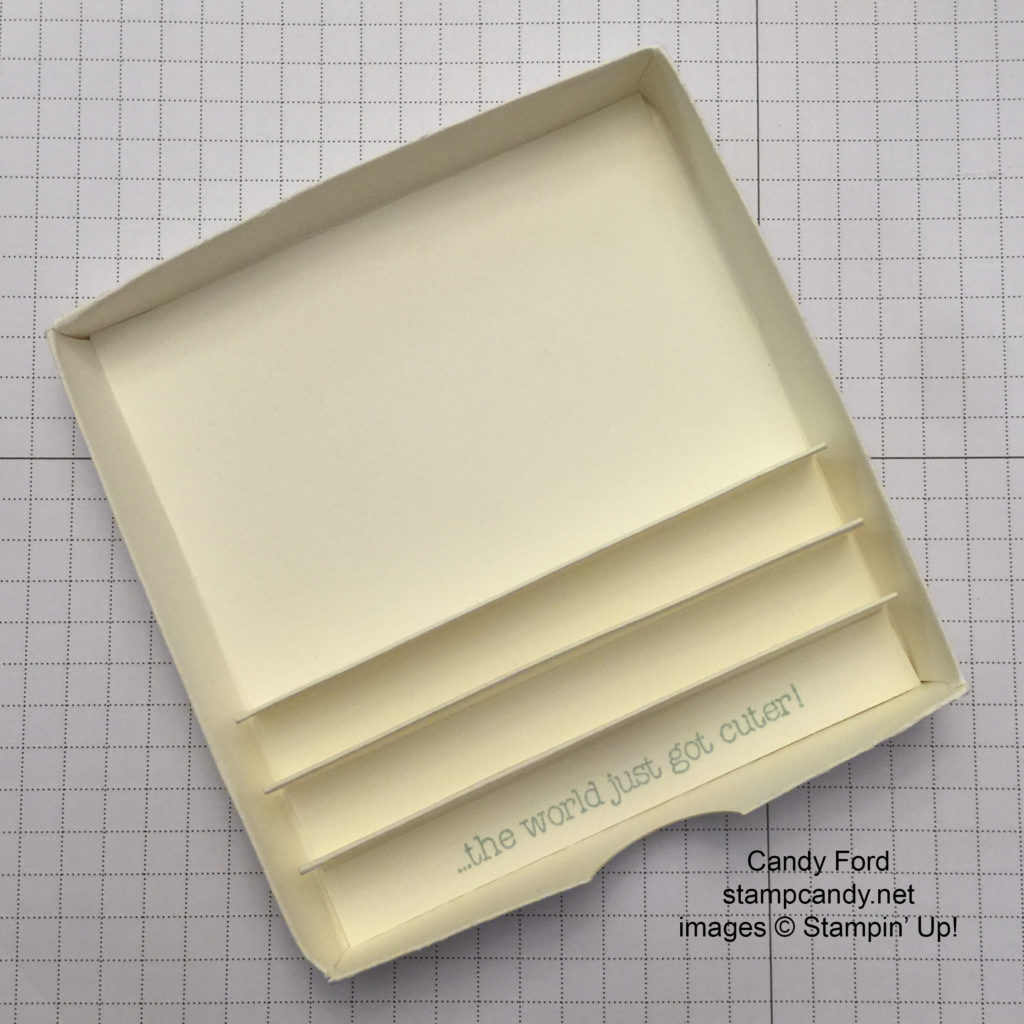
This is what the tray looks like before adding the goodies.There is space in the back for a gift card.
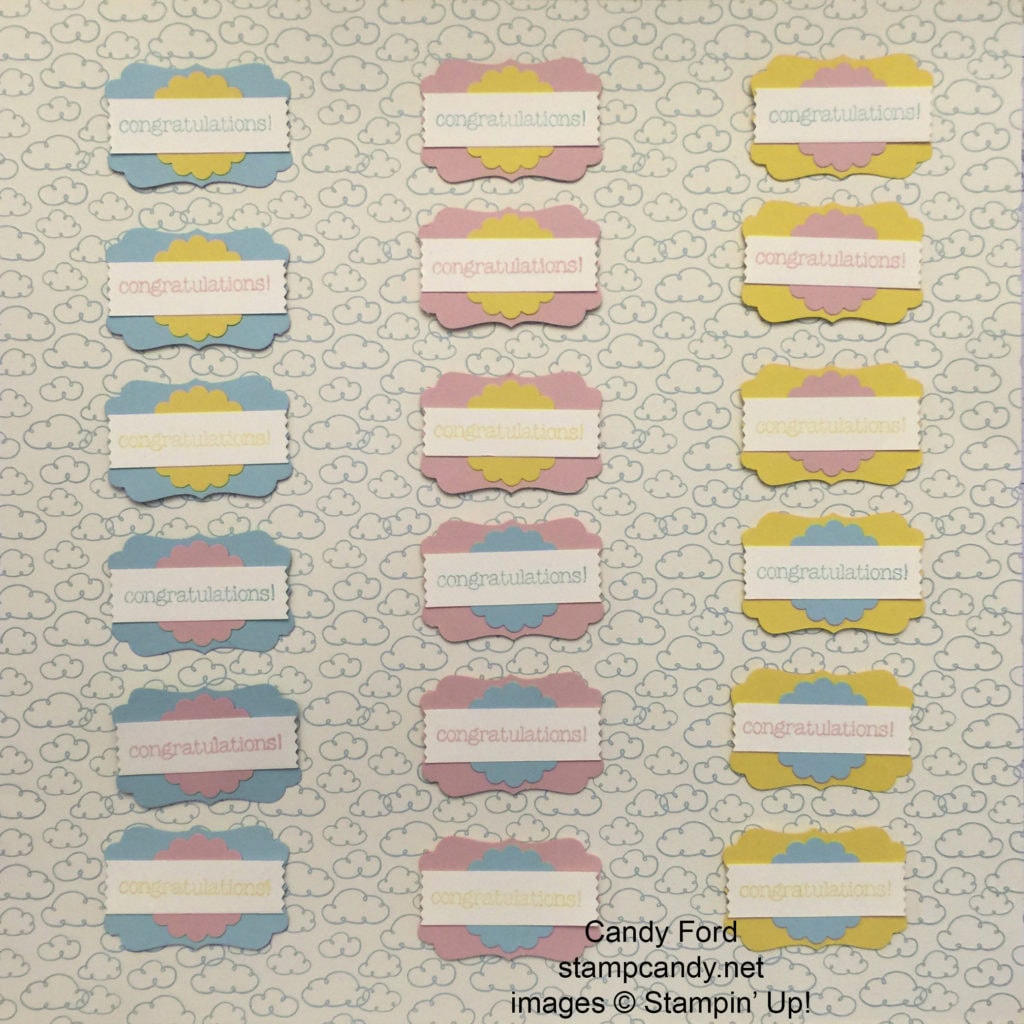
Here are 18 different color combinations of the box label, to help you decide which you like best:

Would you like the tutorial for this project? Click here to upload the pdf. Remember, you can always contact me with questions!
I hope you enjoy making your own Pop Up Matchbox Card!
Here’s what I used:
There are only 24 days left to order from the 2015-2016 Annual Catalog! Be sure to check out the remaining retiring items here.
Thanks for stopping by today, and Sweet Stamping!

May 2, 2016 | Boxes, Cards, Club, Events, Occasions |
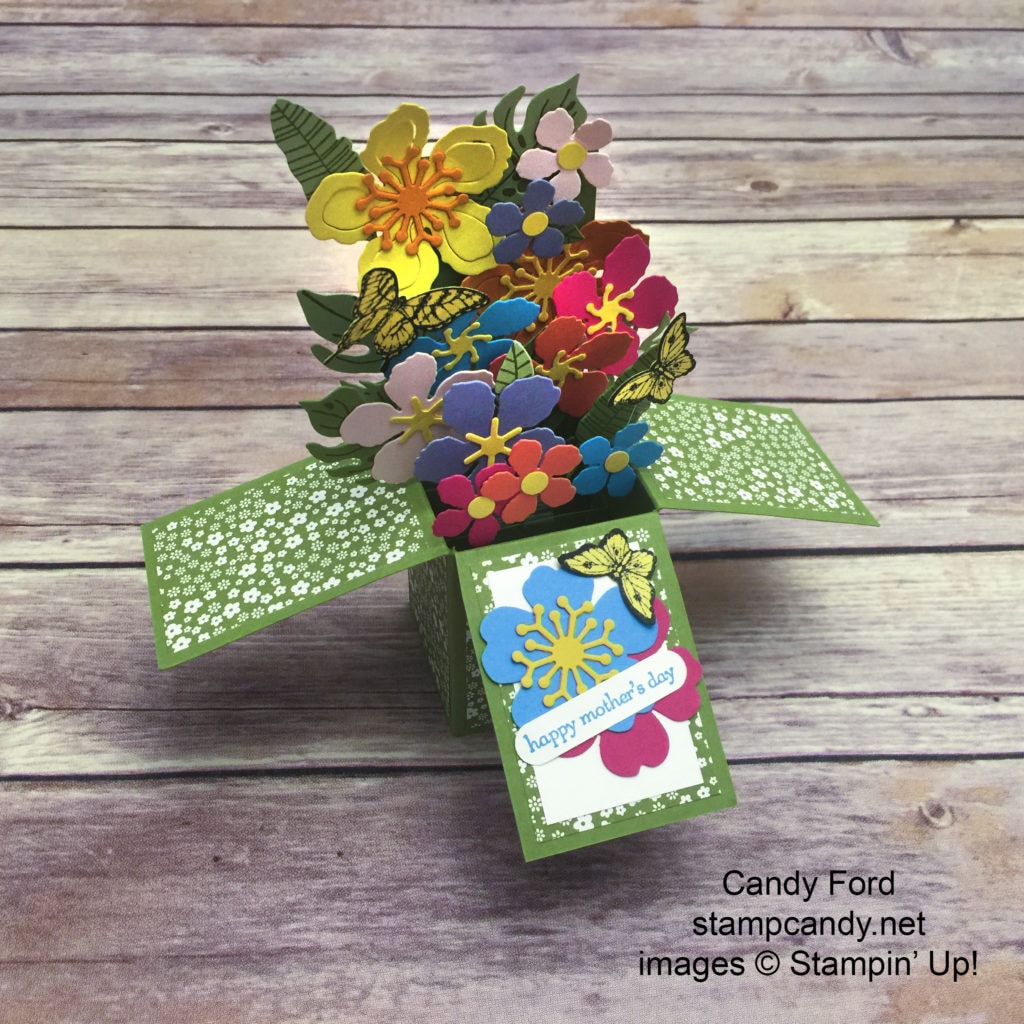
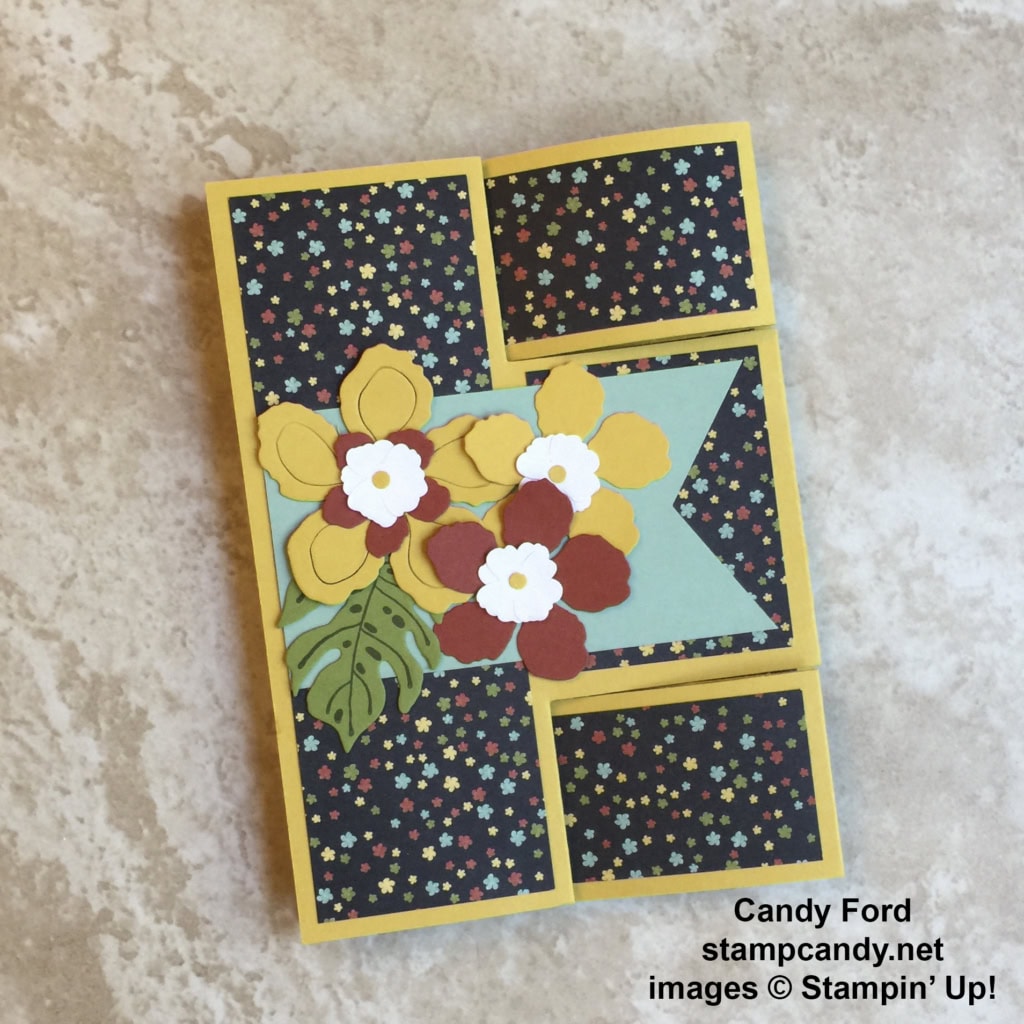
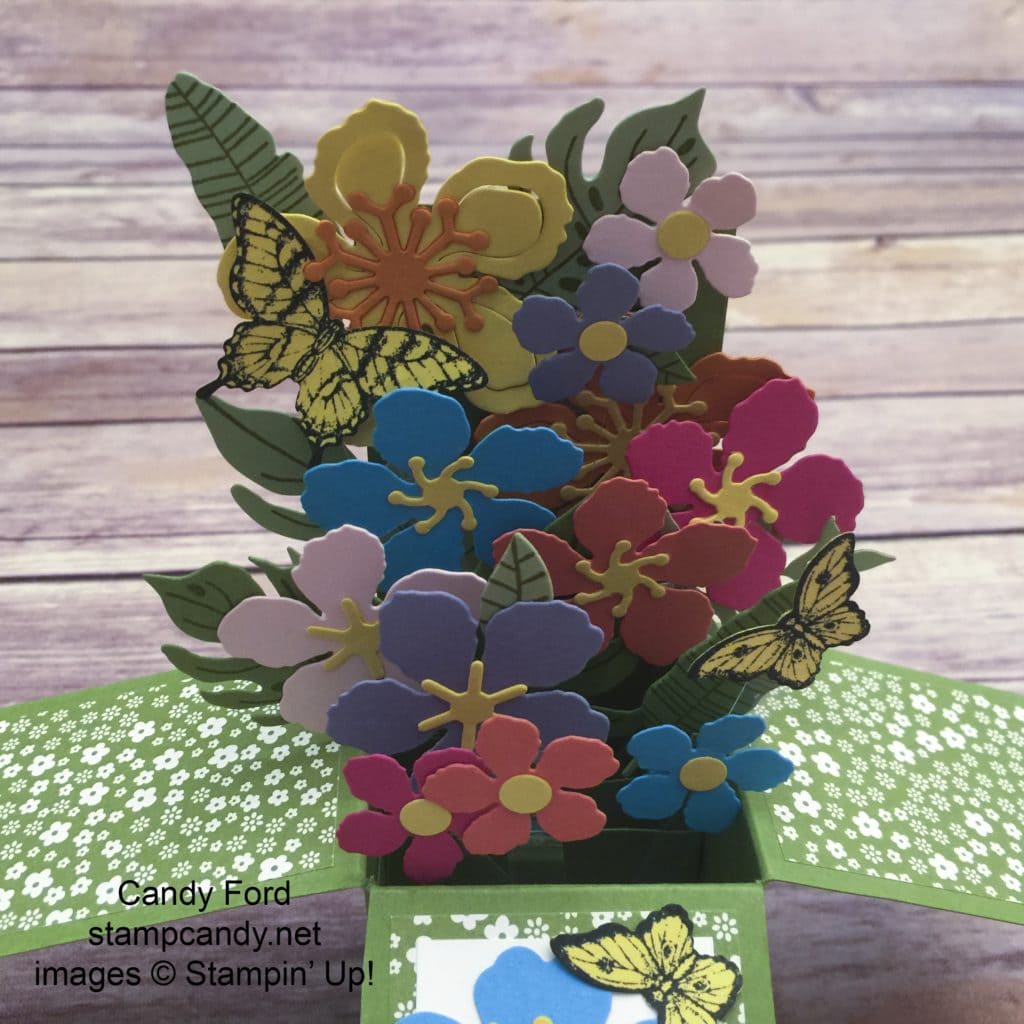
Today I’m sharing with you one of our April Stamp Club projects, a card in a box. This one is bursting with flowers and butterflies…
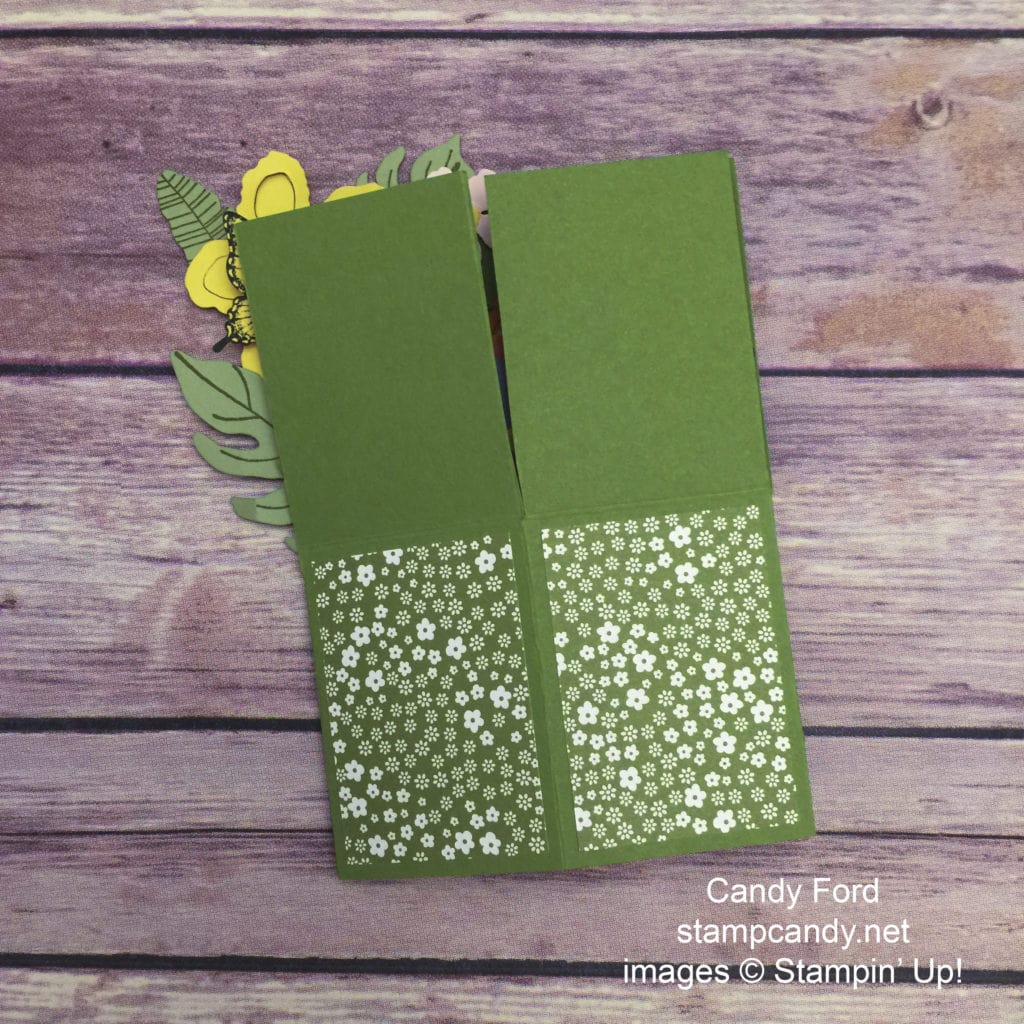
…then it folds flat to go into an envelope.
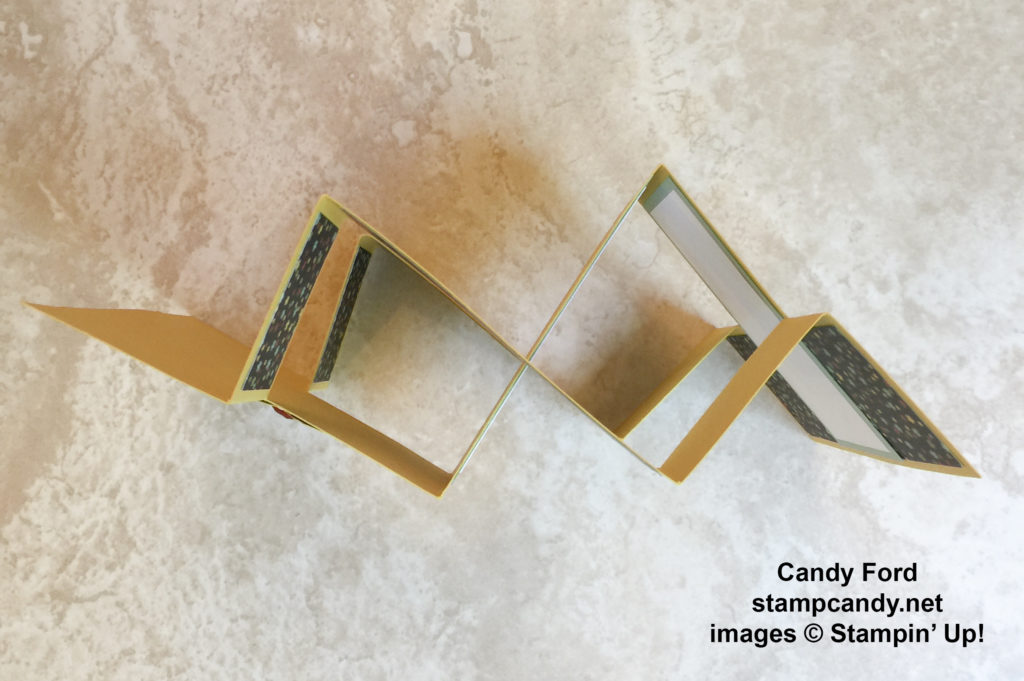
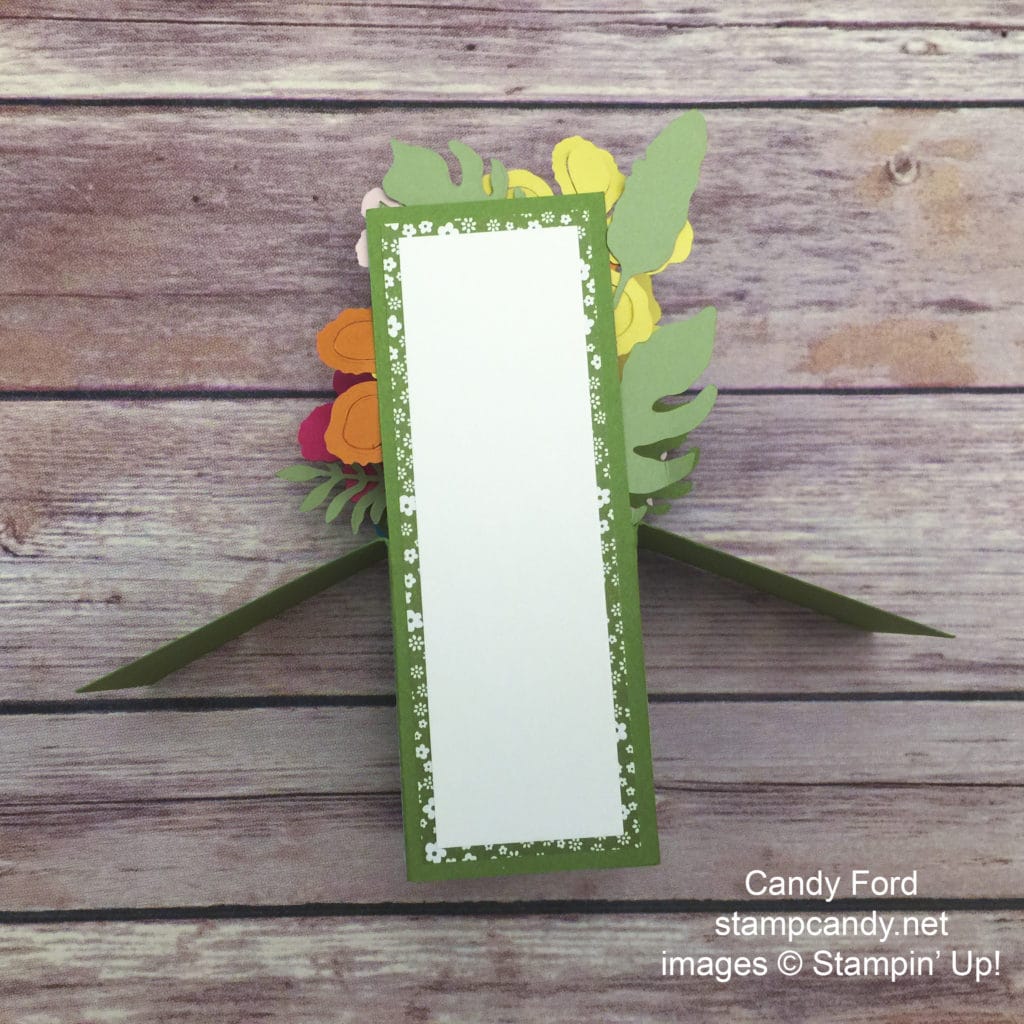
The back has a blank panel for a handwritten message. It’s easier to write on before gluing it onto the box.
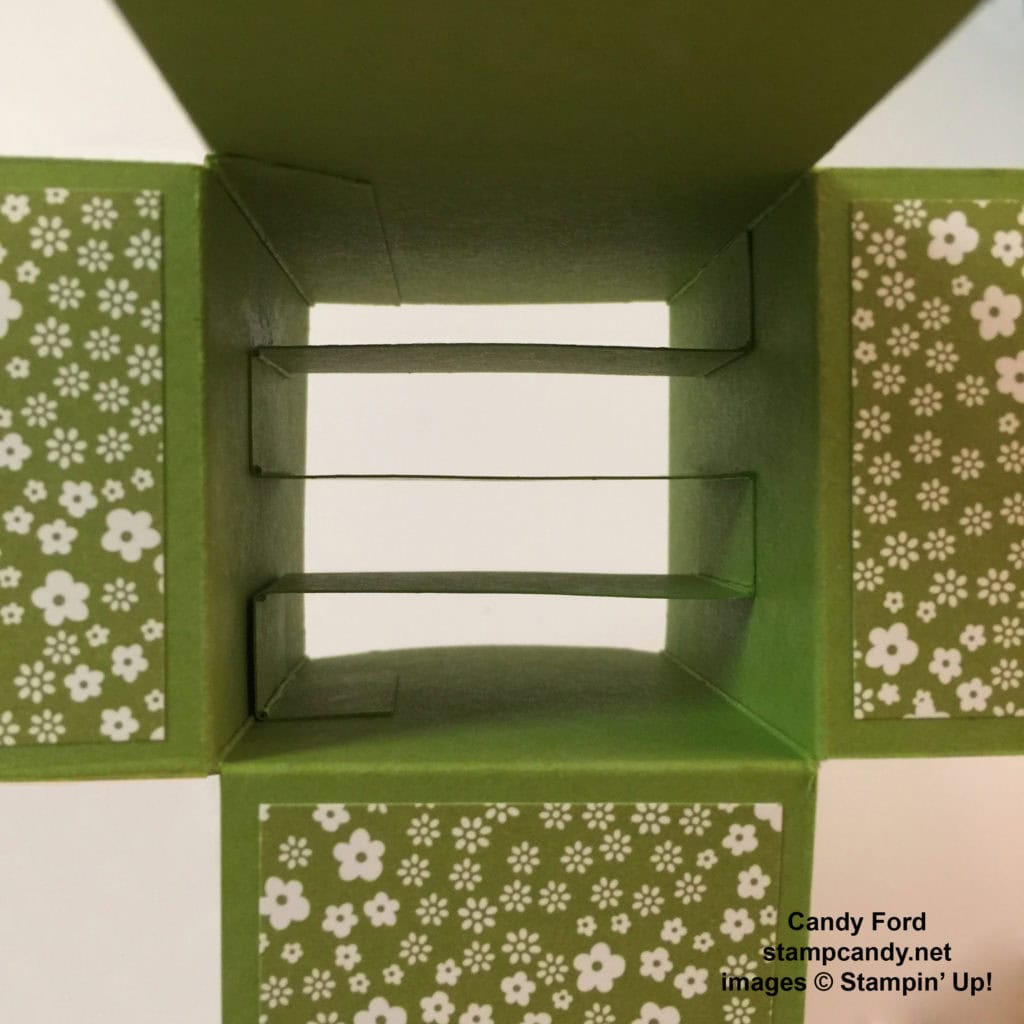
There is a strip of card stock zig-zagged on the inside of the box to attach the flowers & butterflies to. Be sure you attach it so that it runs side to side instead of front to back.
The front panel has the sentiment. I chose to make this a Mother’s Day card, but you could use almost any sentiment from the Teeny Tiny Wishes stamp set.
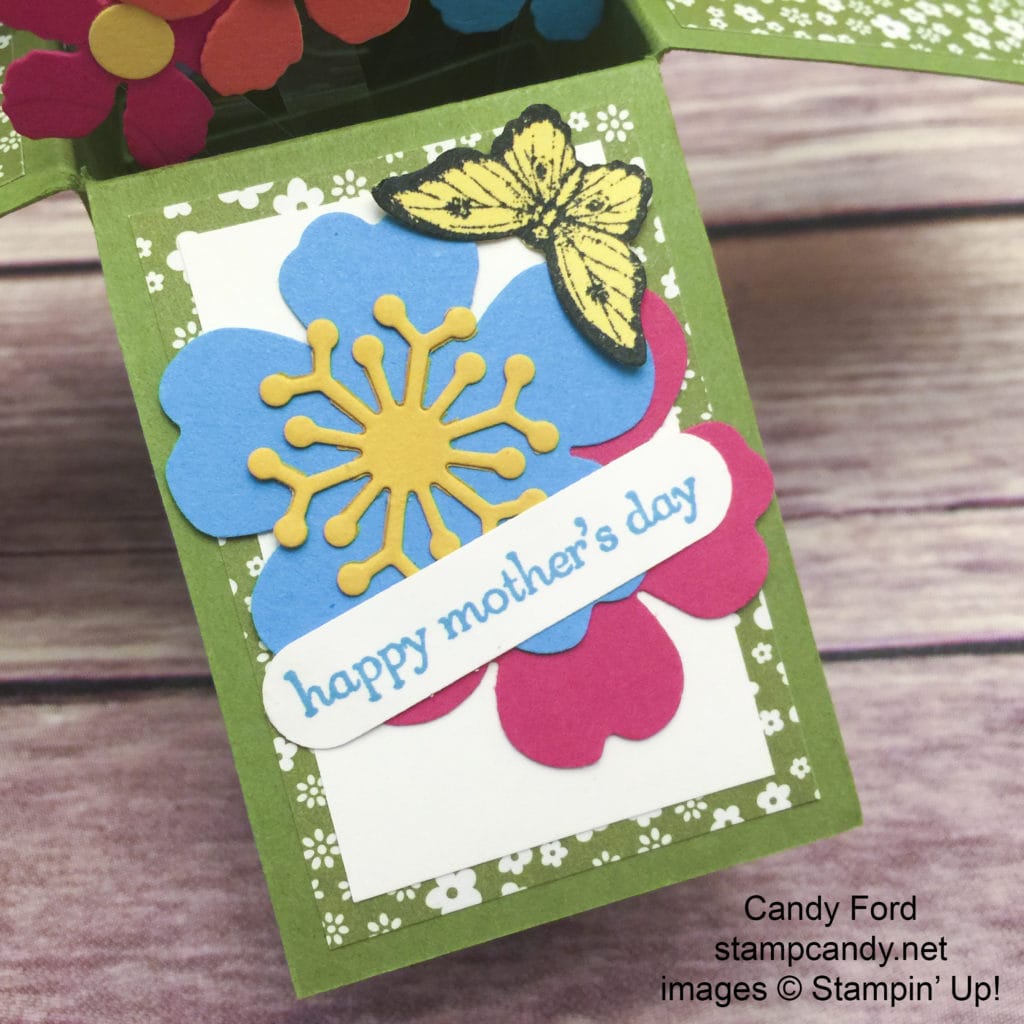
This card may seem a bit overwhelming at first, but it really isn’t difficult at all. I find the most difficult part is to get the zig-zagged strip glued inside the box. I recommend using liquid glue, so you can slide it into place more easily than if you use a dry adhesive.

Click here to download the free tutorial for this Floral Card in a Box!

Paper Pumpkin is a great way to spend 30-60 minutes each month relaxing, crafting, and hanging out with friends. Each month you receive a box full of goodies in the mail. It contains everything you need to complete that month’s project including ink pad(s) and an exclusive stamp set (you might need scissors and adhesive.) A clear acrylic block comes in your first kit to use with all your Paper Pumpkin stamps in the future.

When you subscribe month-to-month the kits are $19.95 per month, which includes shipping. When you buy a prepaid subscription of 6- or 12-months, you save money! See the options here.
When you subscribe to Paper Pumpkin in May or June 2016, and the kits ship to you for 6 months, I will send you a Paper Pumpkin shopping bag full of goodies!

Be sure to check out the retiring products here, many of which are discounted up to 50%. Most items are only available while current supplies last, and none of them will be available after May 31. Some things have already sold out, so don’t wait!
Thanks for stopping by today, and Sweet Stamping!