Sep 17, 2015 | Cards, Club, Halloween, Holiday, New Products |
This is the first of three projects we made at the September Stamp Club gathering. It’s a super quick and easy card.
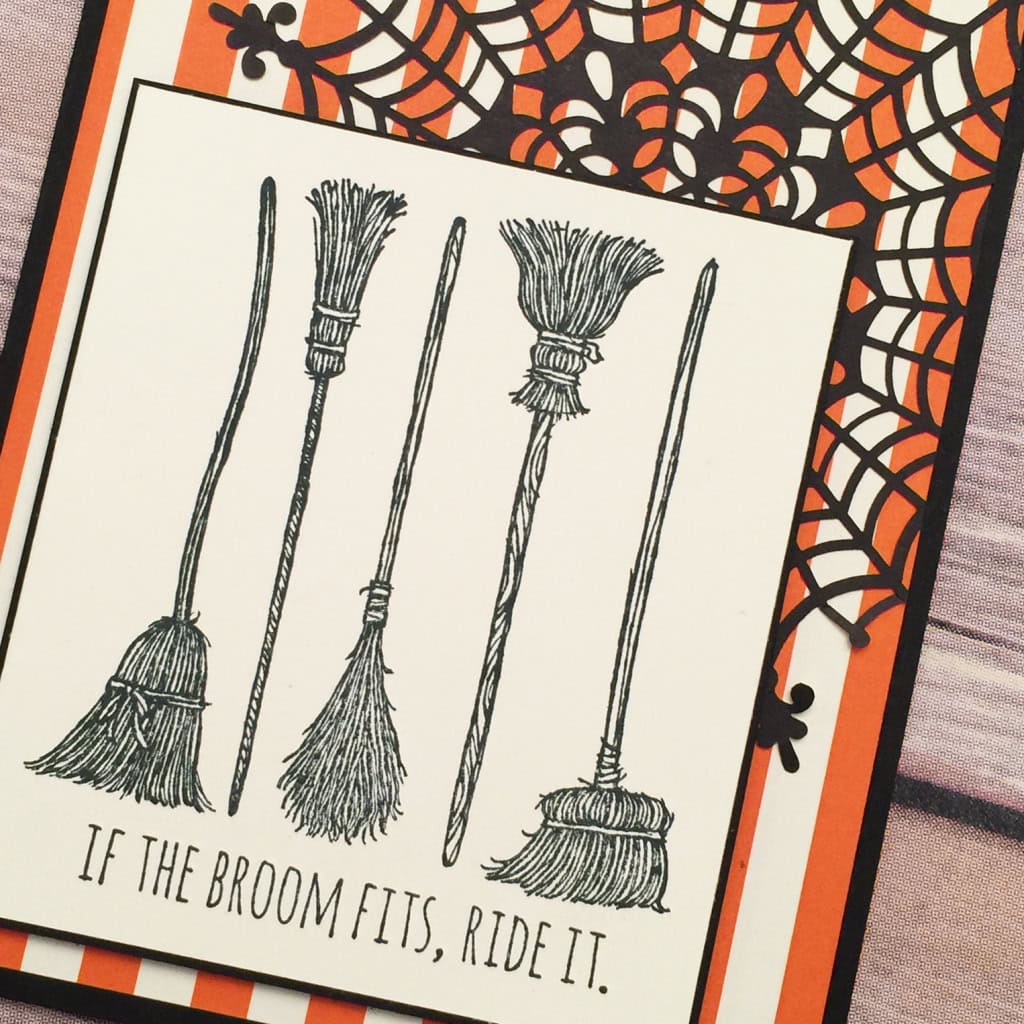
Basic Black card base with a piece of Happy Hauntings DSP and a Spider Web Doily on the front. If The Broom Fits stamp in Basic Black on Very Vanilla card stock, matted with Basic Black card stock, and attached to card with Stampin’ Dimensionals. That’s it!
If you want, you can glue a piece of Very Vanilla card stock to the inside of the card to write on. Or you can write directly on the Basic Black card stock with a White Signo UniBall Gel Pen.
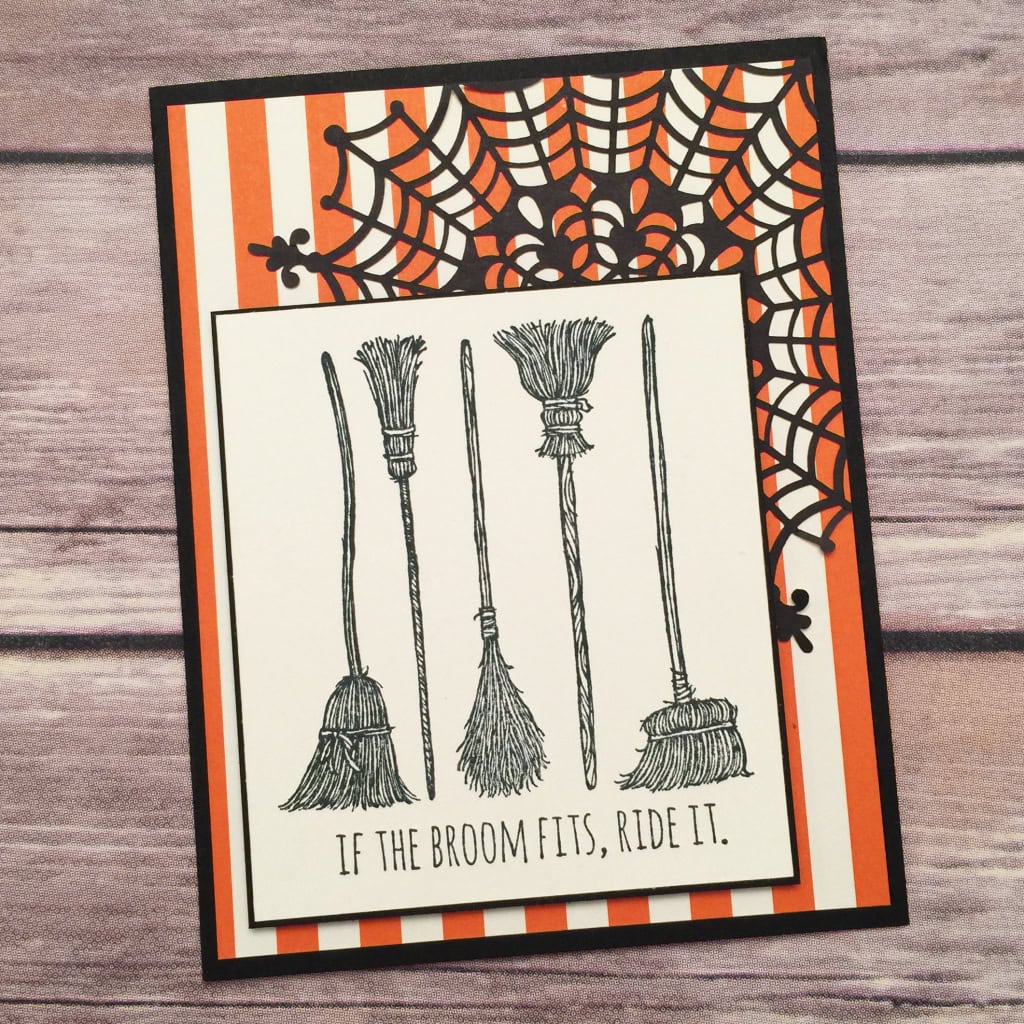
TIP: Before gluing the DSP to the card base, glue on the doily, then use Craft Scissors to trim the bits that extend past the edge.
Here’s what we used:
Here are this week’s Weekly Deals:
I love hearing from you, and I welcome your questions and comments.
Thanks for stopping by today, and Sweet Stamping!
Sep 16, 2015 | Boxes, Cards, Christmas, Club, Food, Halloween, Holiday, New Products |
I like to have treats ready for my Stamp Club members when we meet. This month I decorated some Basic Black Fry Boxes with Smoky Slate “tombstones” and Basic Grey owls. A Tangelo Twist banner lets everyone know what’s inside. Here they are decorated and waiting to be filled…
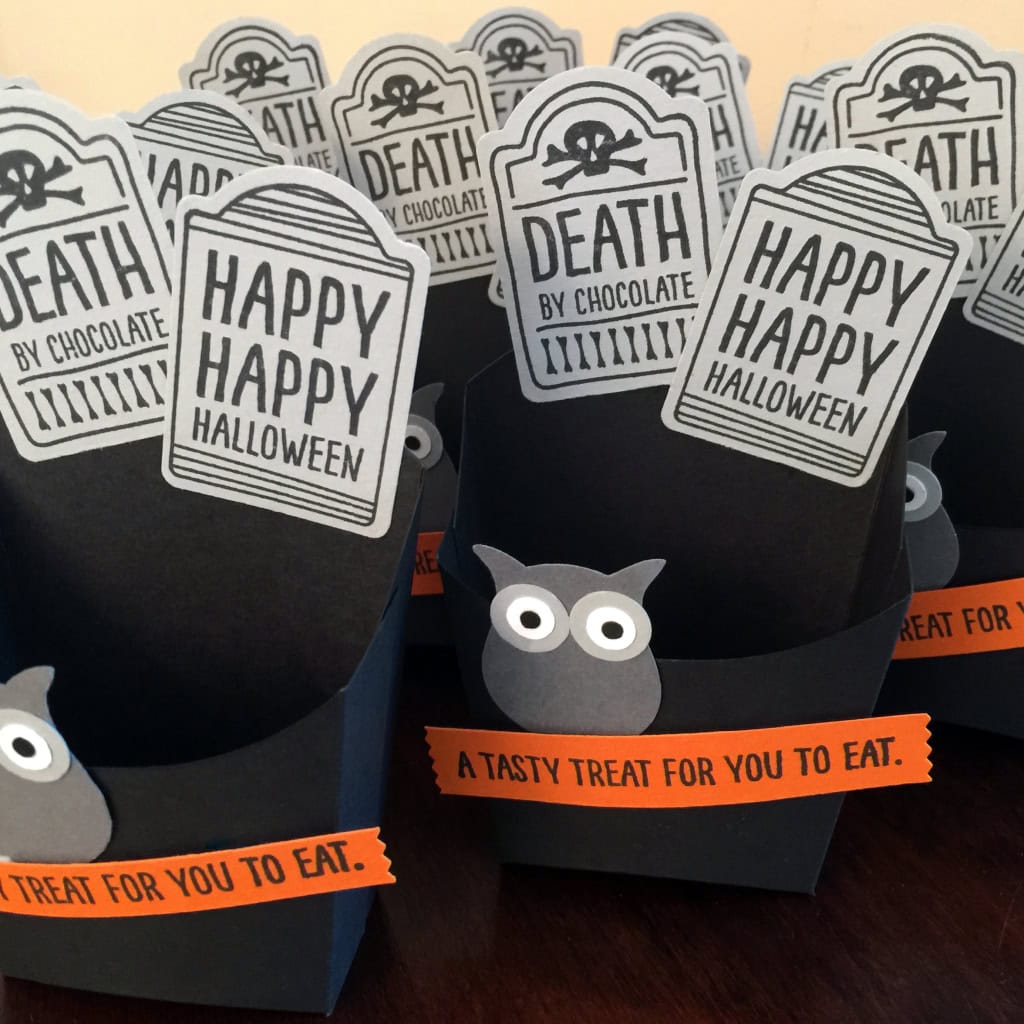
…and here they are full of chocolates. Since the one tombstone says “Death by chocolate” it HAD to be chocolates, right? But really you could put all manner of goodies in these adorable little boxes.

TIP 1: I stamped the sentiments on Tangelo Twist card stock, then cut them into strips. I inserted each end into the back of the Washi Label Punch to cut the ends.
TIP 2: For the owls’ eyes, I used Circle Punches in 1/2″, 1/4″, and 1/8″.
———————
I decorated the water bottles with Happy Haunting DSP belly bands and Tangelo Twist labels cut with the Note Tag Punch.
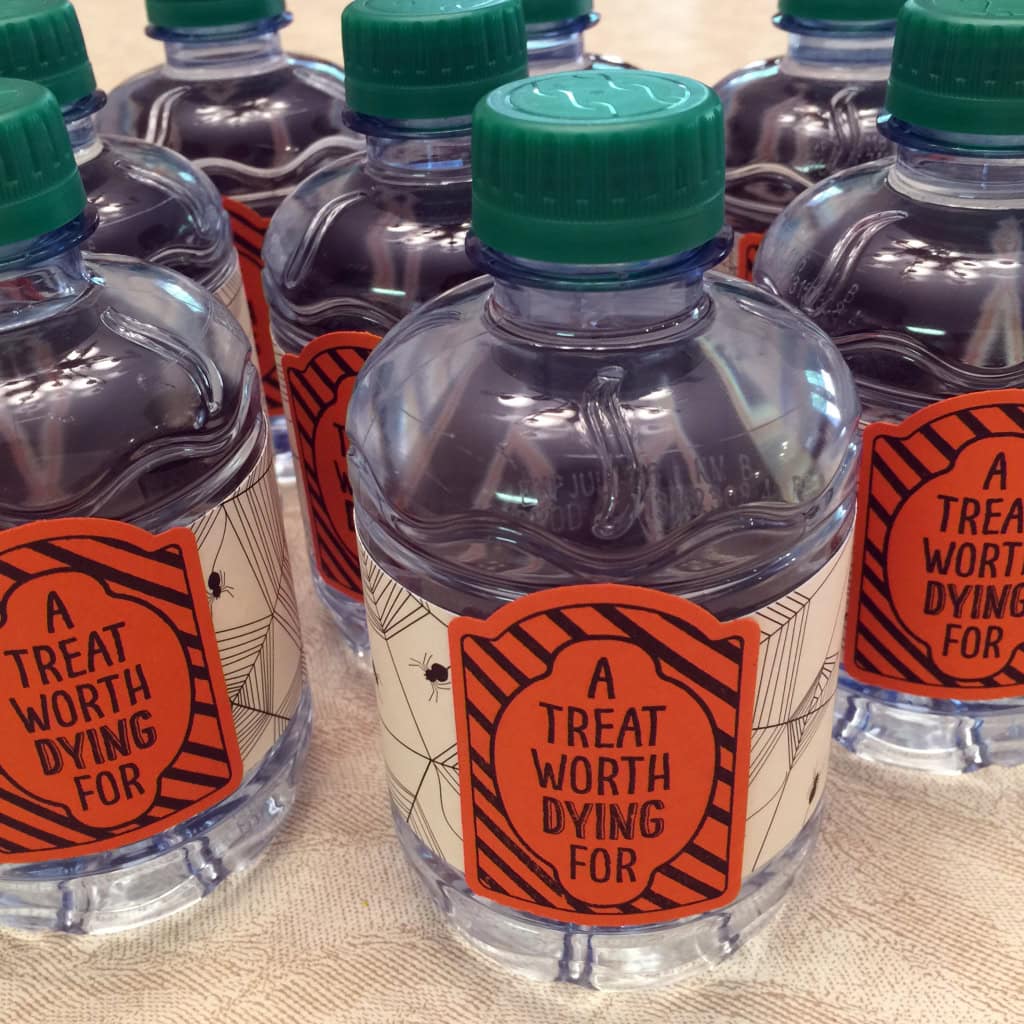
TIP 3: Attach the belly bands to the bottles before attaching the labels. I use a piece of Tear & Tape at each end of the belly band. If you adhere the labels to the belly bands first, they may not curve correctly around the bottles.
Both of these projects are quick and easy, and would be great for your Halloween gatherings, school classes, and even Trick or Treaters.
———————
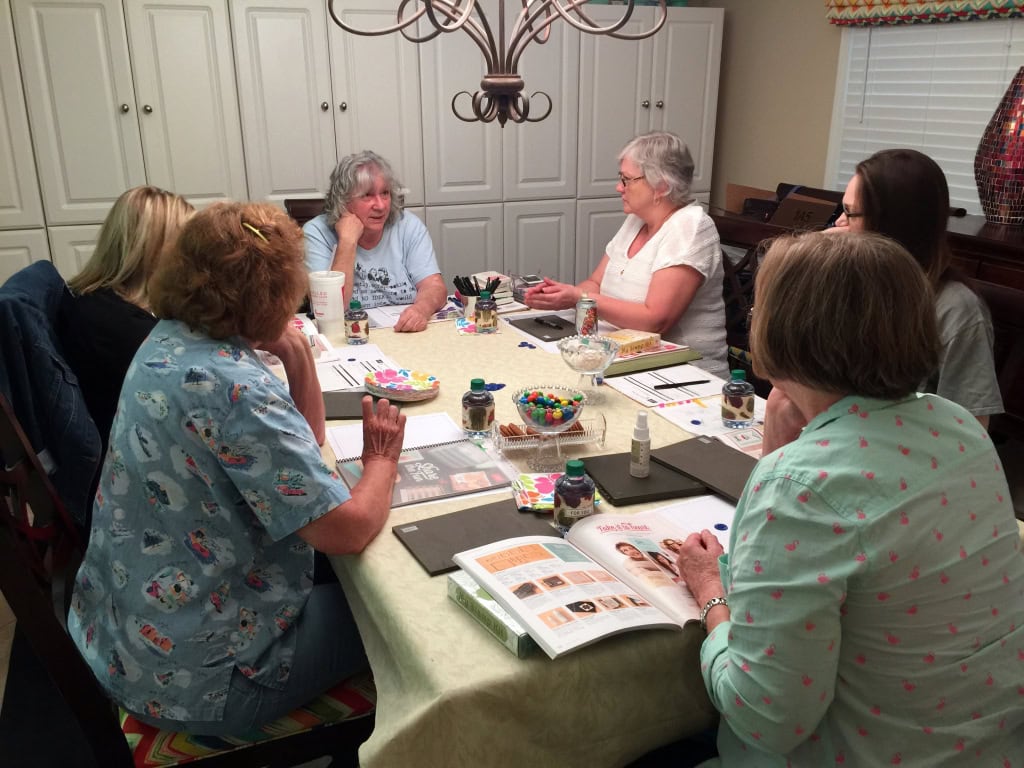
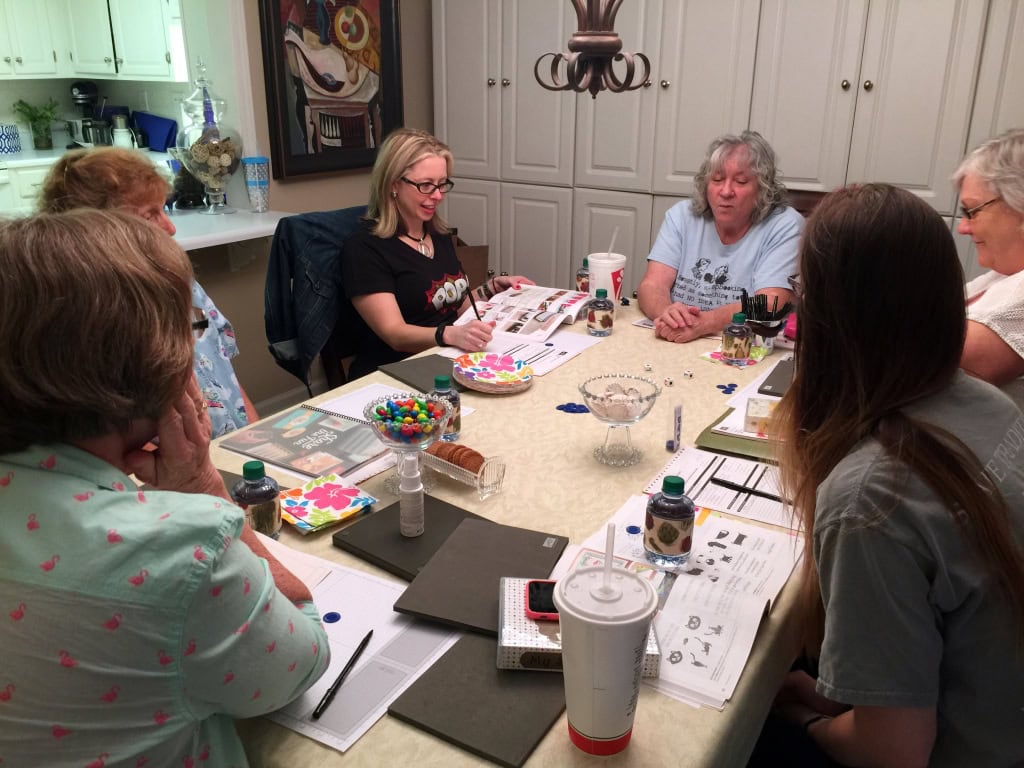
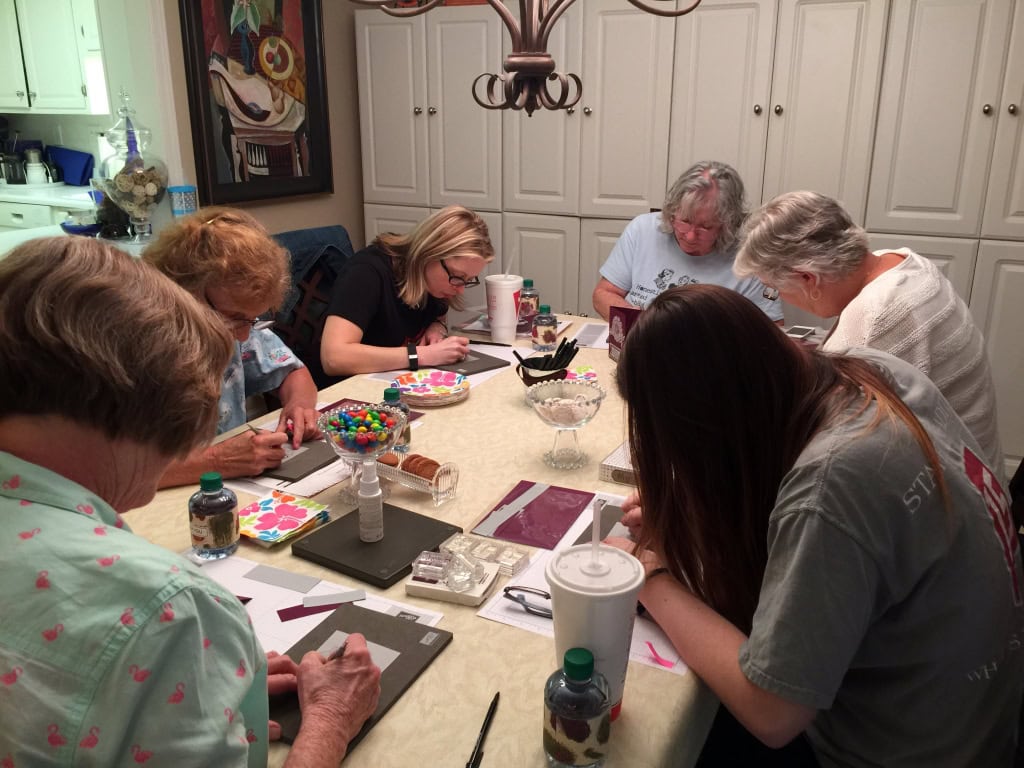
We made three cards this month: Halloween, Thanks, and a Christmas easel card. Be sure to check back in the coming days for details on each one.
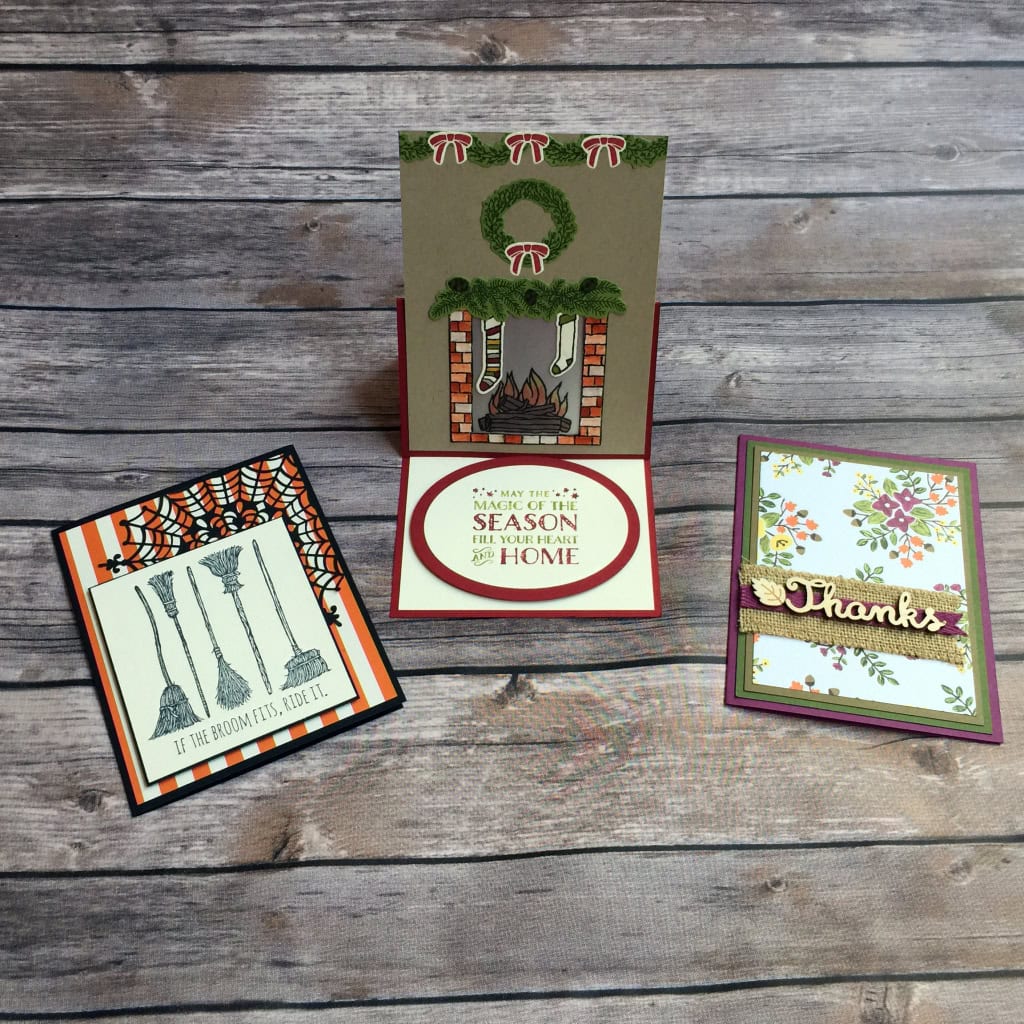
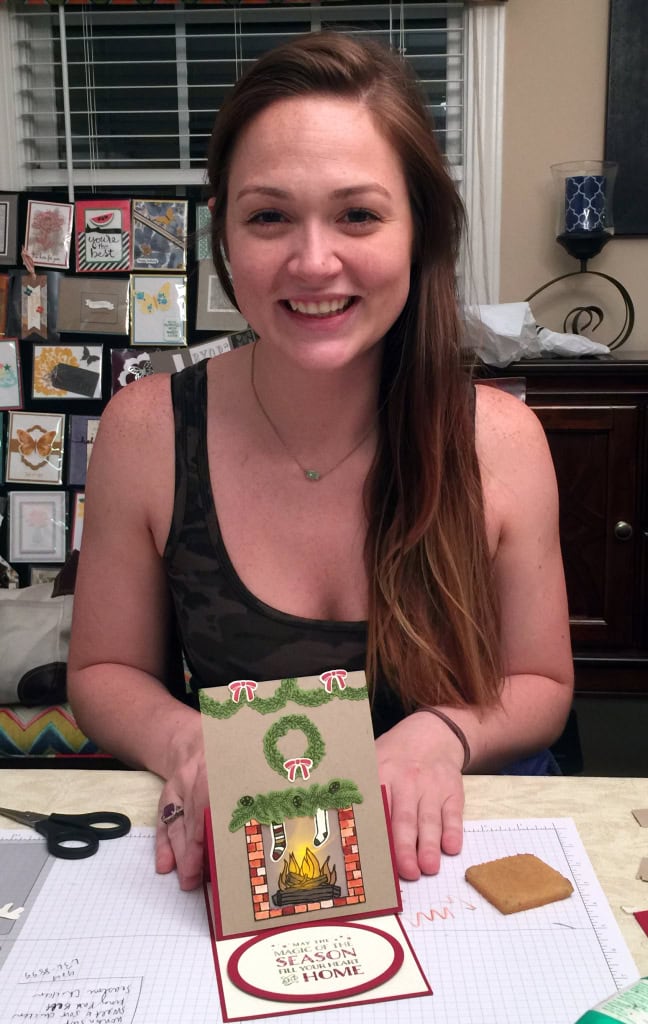
I can’t seem to remember to take photos during our gatherings – I’m always too busy having fun – but I did get this shot of Caitlin proudly showing off her easel card. Check back to see how we lit the fire in the fireplace!
 Here’s what I used for the treat boxes and water bottle labels:
I love hearing from you, and I welcome your questions and comments.
Thanks for stopping by today, and Sweet Stamping!
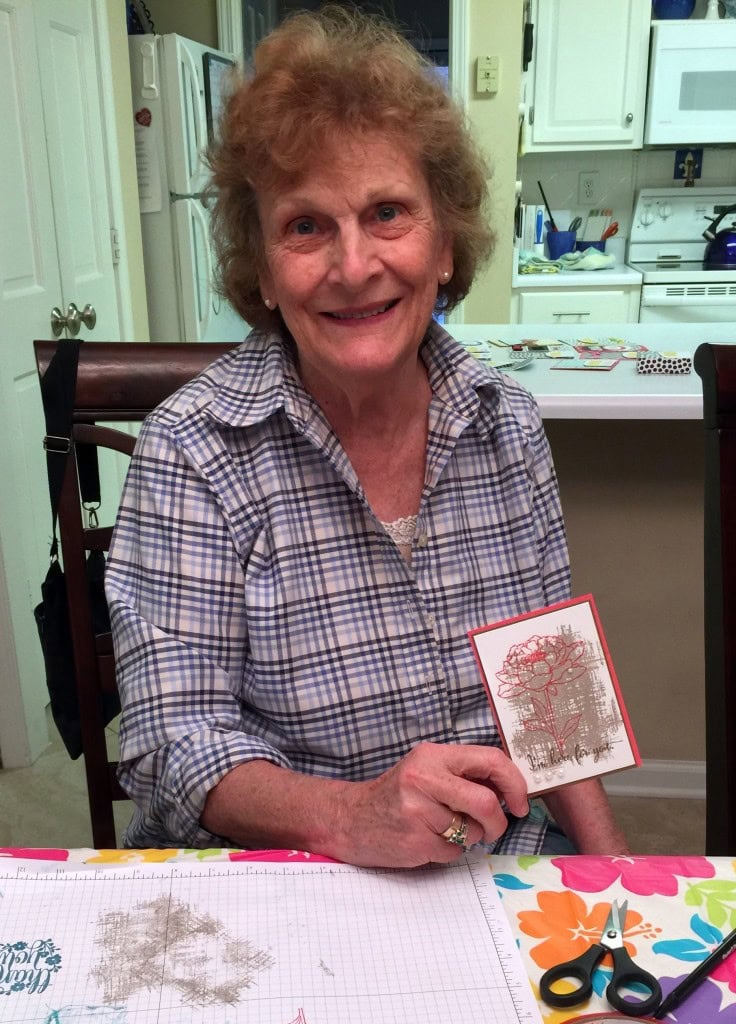
Aug 8, 2015 | Cards, Club |

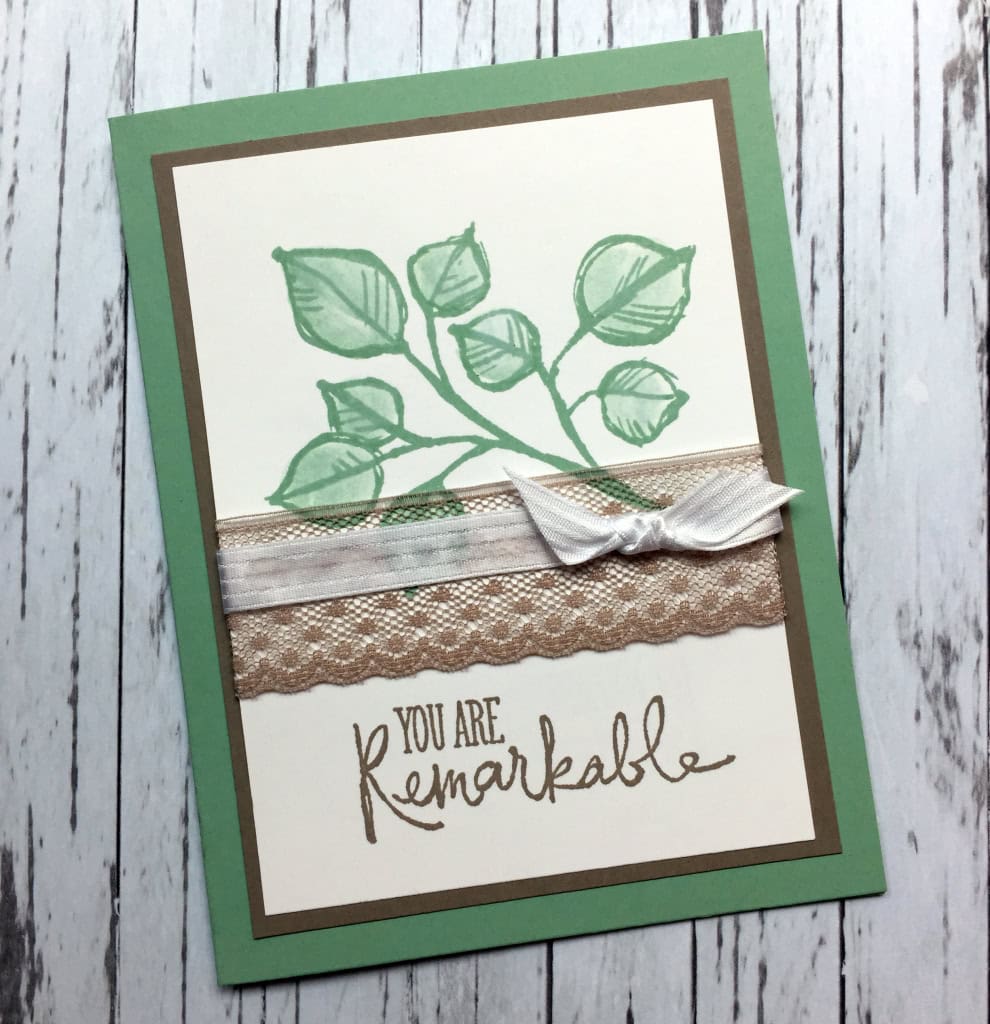
As always, we had a fun time at Stamp Club this month. Everyone got their copy of the new Holiday Catalog, and we spent a lot of time looking through it, drooling over the new holiday products I’ve already received, and making lengthy wish lists.
We made two cards, both CASEd from Stampin’ Up! Demonstrator Ronda Wade. The “remarkable” card is just like hers, but I had to make some minor changes to the “watermelon” card because I didn’t have all the same supplies on hand.
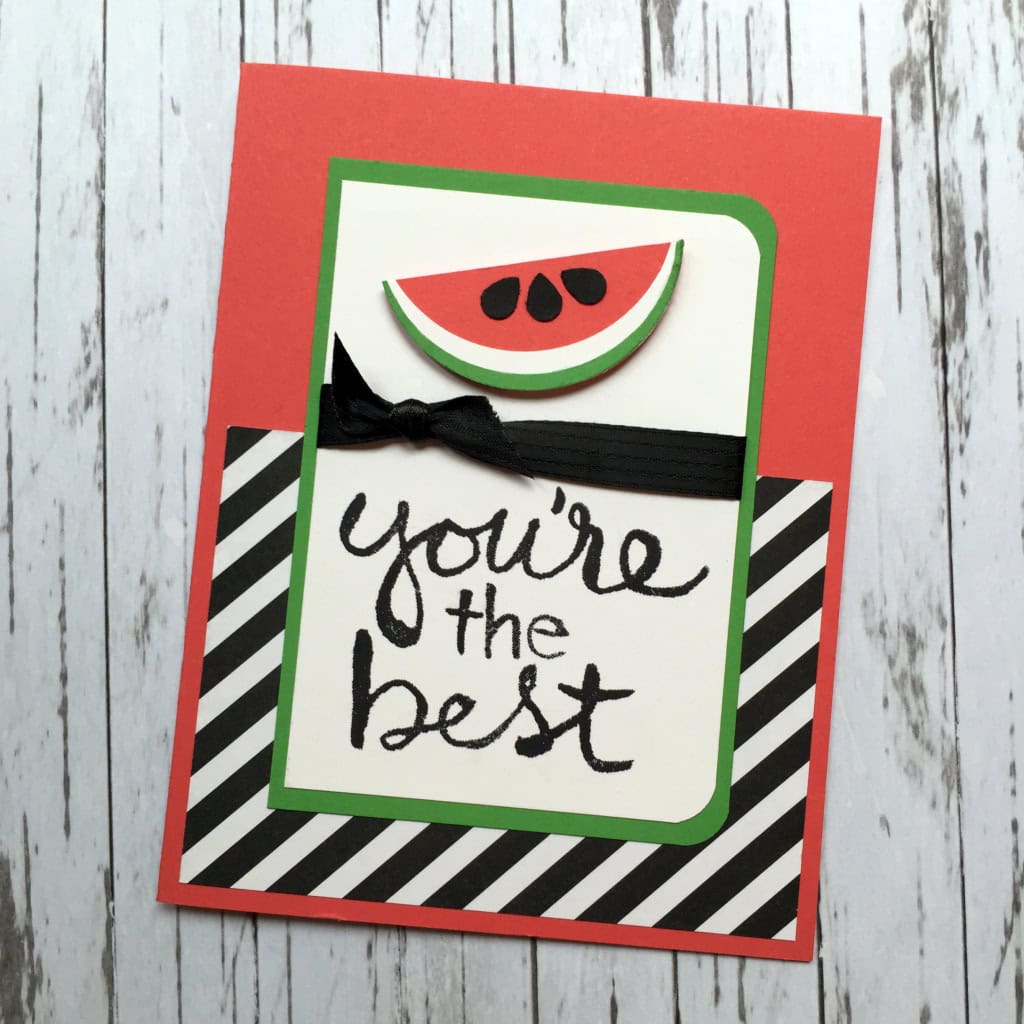
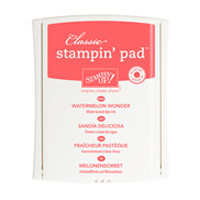
We used the new Archival Basic Black ink pad (available September 1 from the new Holiday catalog) but you can use your Memento black ink pad until you get the new one.

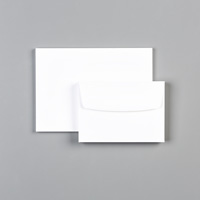
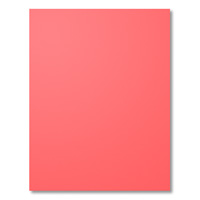
Here’s what we used:

Here’s what we used:
Thanks for stopping by today, and Sweet Stamping!
Jul 4, 2015 | Blog Candy, Cards, Club, Techniques |
We had a lot of fun this month at Stamp Club. Of course, we always do! You can see the two cards we made here and here. On one we used the dry embossed vellum technique, and on the other we used the three tier stamping technique.
Judy was guest instructor this month, showing how to make the vellum flower on the first card. She also brought her LCR game. Tuesday she won my blog candy – 5 Classic Stampin’ Pads, one in each of the new 2015-2017 In Colors. Since she had already ordered them, she generously gave them to the winner of the LCR game.
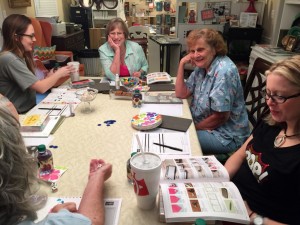
Here are some action shots of the fun we had.
Playing LCR

Good roll!


Margie won!
All heads down, working on that vellum flower.


If you think you might be interested in joining Stamp Club, please contact me: candy@stampcandy.net or 404-661-5222. I’ll be happy to tell you all about it.
– We meet on the first Wednesday of each month at 6:30PM. (You may come at 11AM – you just need to let me know so I’ll be ready for you, since most everyone comes at 6:30.)
– We make at least two projects each month.
– Members take turns receiving Stampin’ Rewards (host benefits.)
– Minimum order each month is only $25 (before tax & shipping.)
Come join us!
Thanks for stopping by today, and Sweet Stamping!
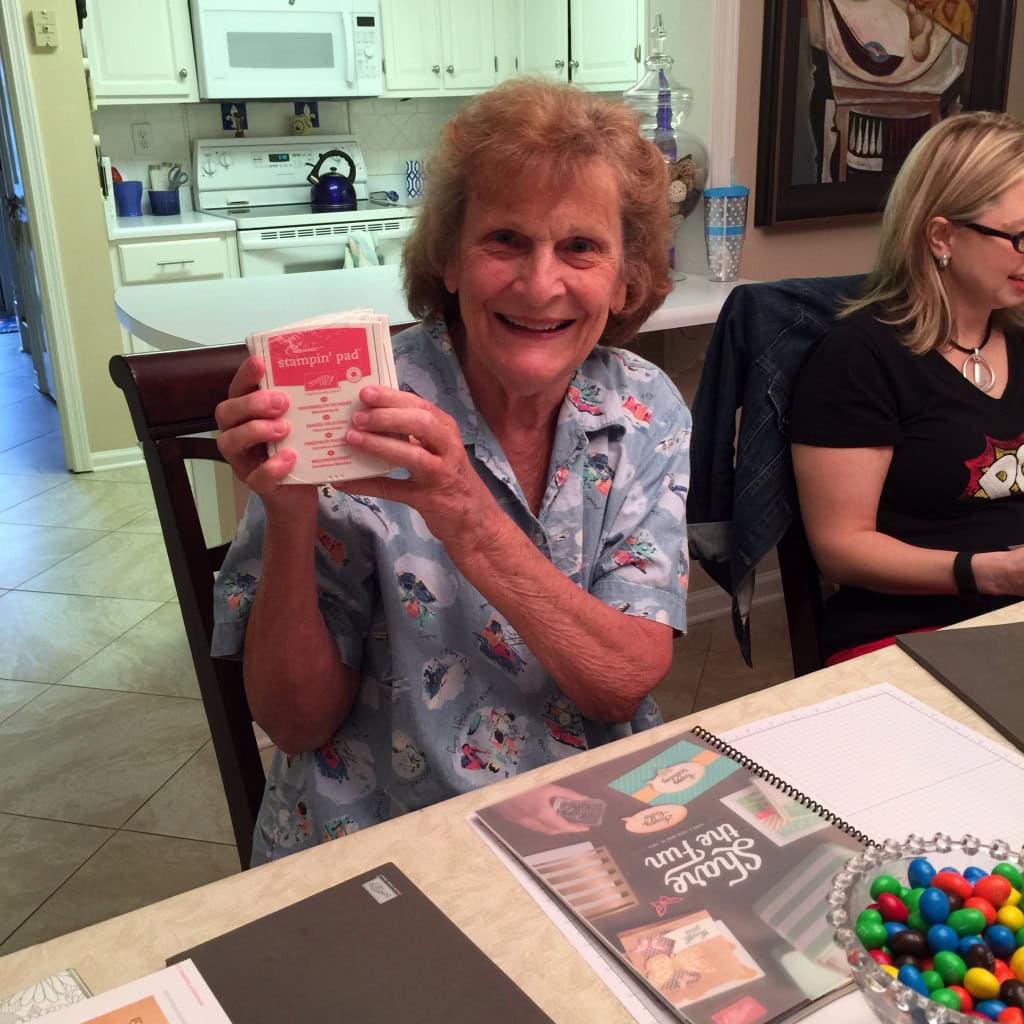
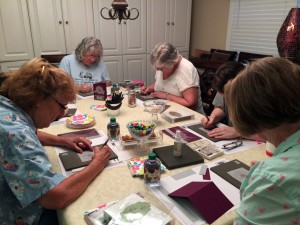
Jun 7, 2015 | Cards, Club, New Products |
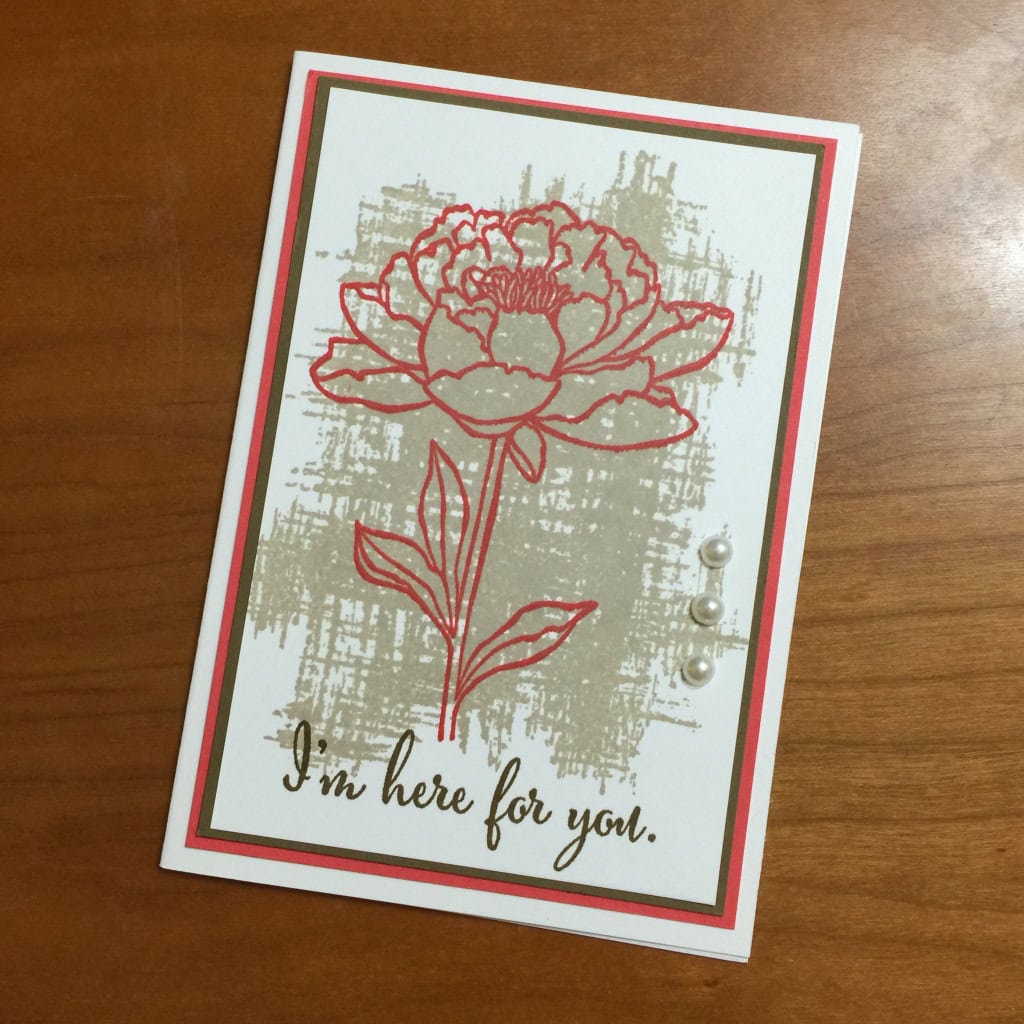
We made this card at our June Stamp Club meeting. It may seem familiar. That’s because we made something very similar at my Open House last weekend. You can see that card here. This is a slightly more advanced version using the “stamping off” technique, and with extra layers.
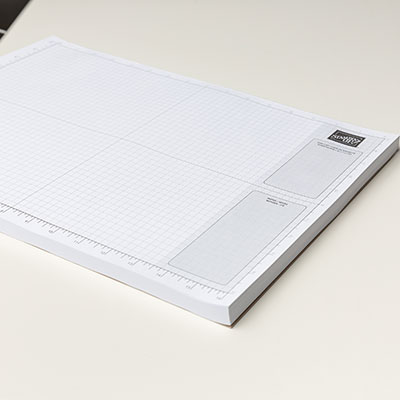
The Stamping Off Technique in 3 easy steps:
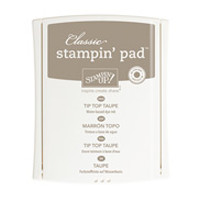
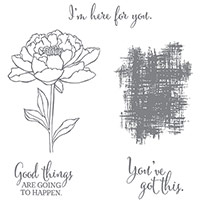
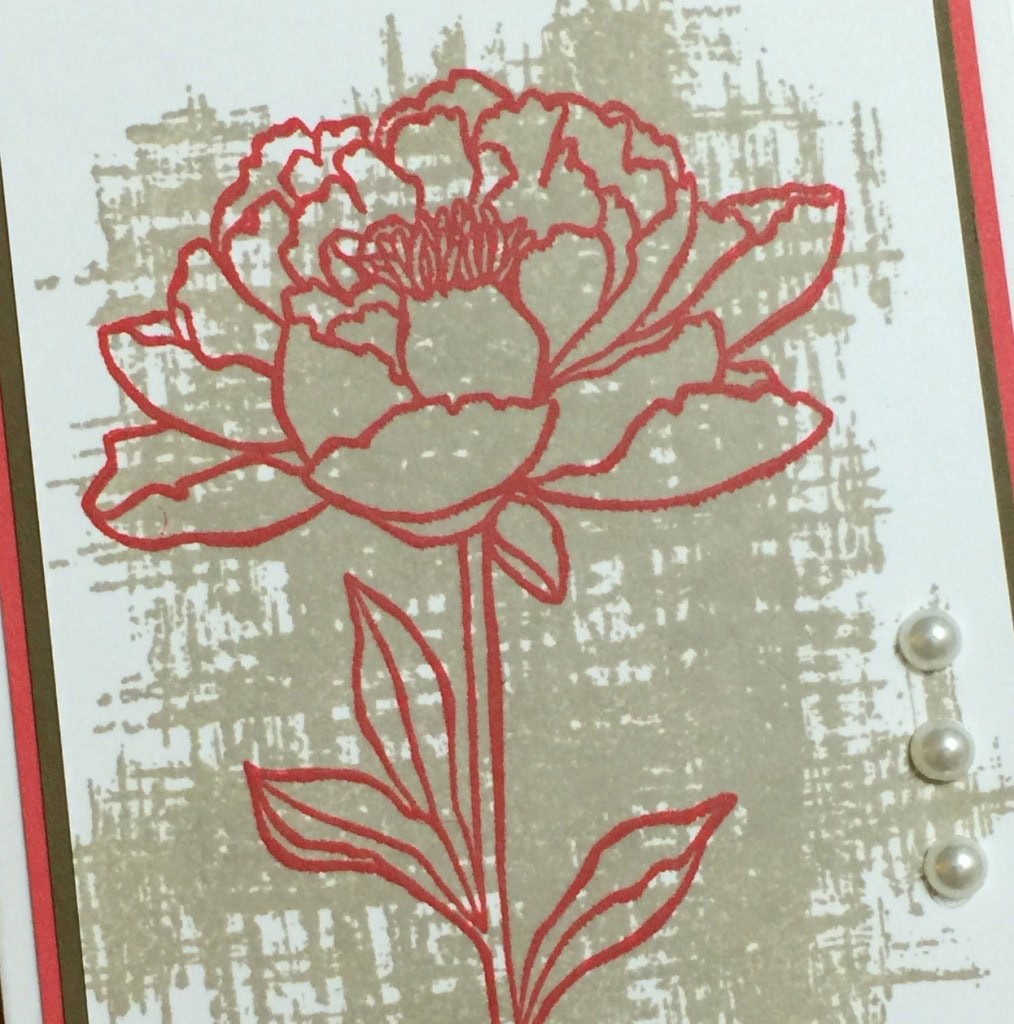
1) Ink up your stamp. In this case we inked up the background stamp from the You’ve Got This stamp set with Tip Top Taupe.
2) Stamp lightly onto your grid sheet, or a scrap piece of paper that is a little absorbent but not too much. By looking at the grid sheet in the photo, you can tell I made several of these.
3) Now stamp your card stock. That’s it! Easy peasy lemon squeezy!
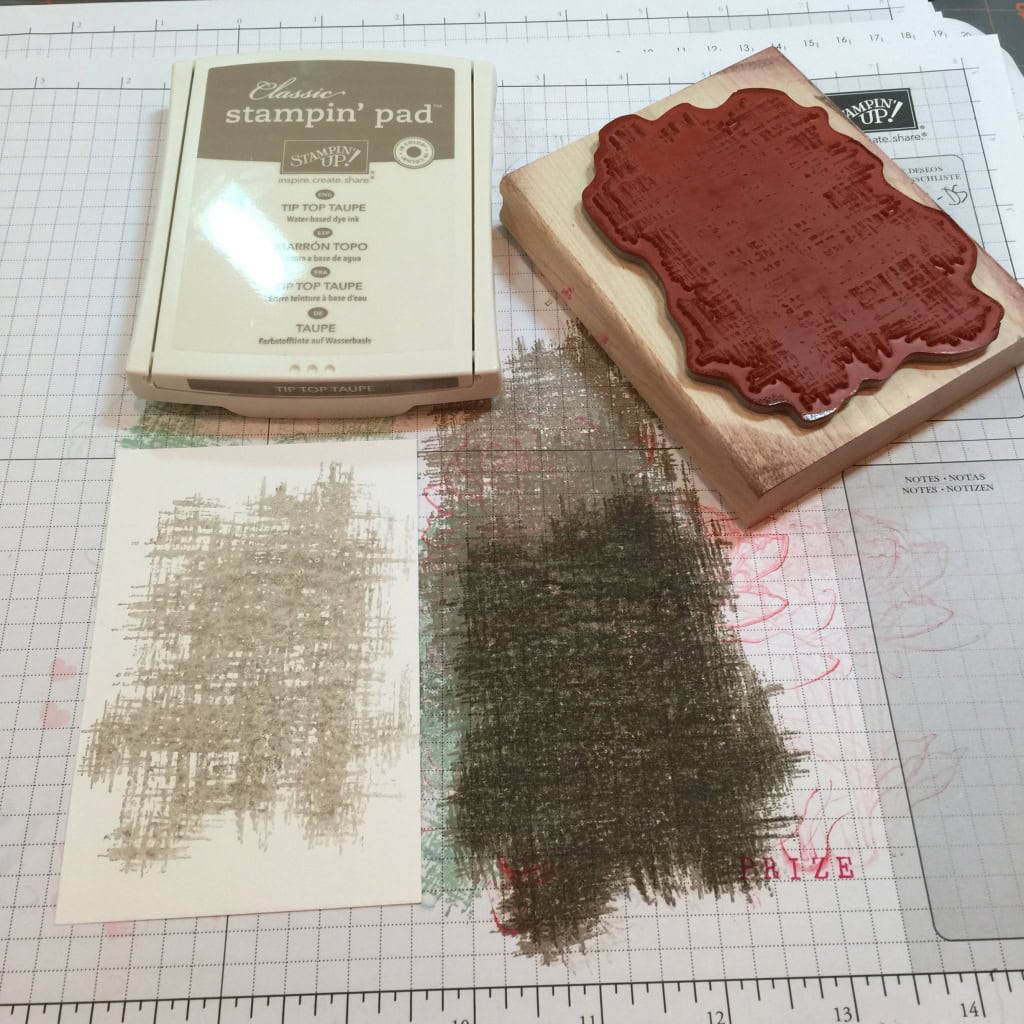
Here’s the difference in the Tip Top Taupe ink stamped off and stamped directly. See how much darker the one on the right is? The Watermelon Wonder flower would have gotten lost in such a deep background color.
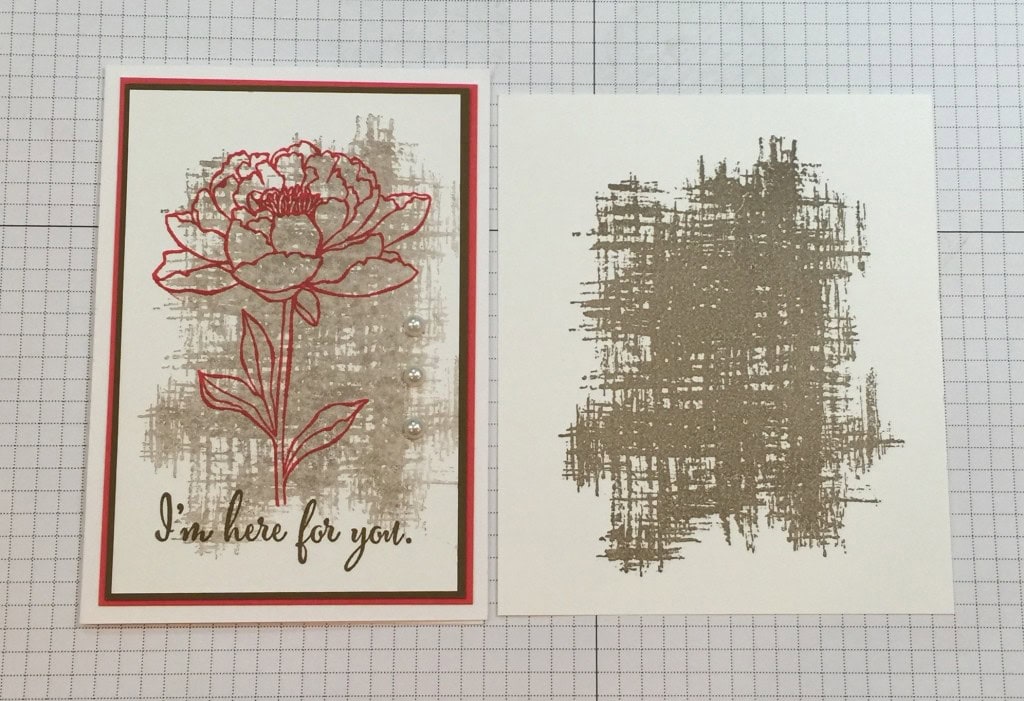
We finished off the card with a sentiment stamped in Soft Suede and three of the large Pearl Basic Jewels.
Here’s what we used:
Thanks for stopping by today, and Sweet Stamping!
Jun 6, 2015 | Bags, Cards, Club, New Products, Paper Pumpkin |
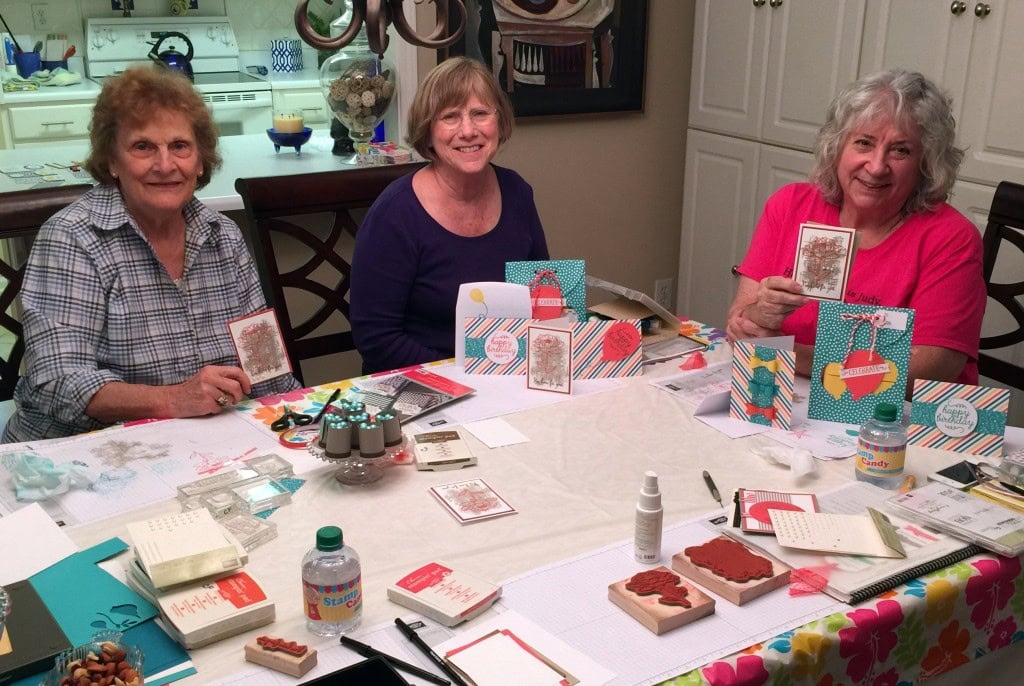
We used brand new goodies this month at Stamp Club: the newest Paper Pumpkin kit to make a gift bag and two cards, and some new In Colors to make a note card.
Here are a few samples from the May 2015 Paper Pumpkin kit.
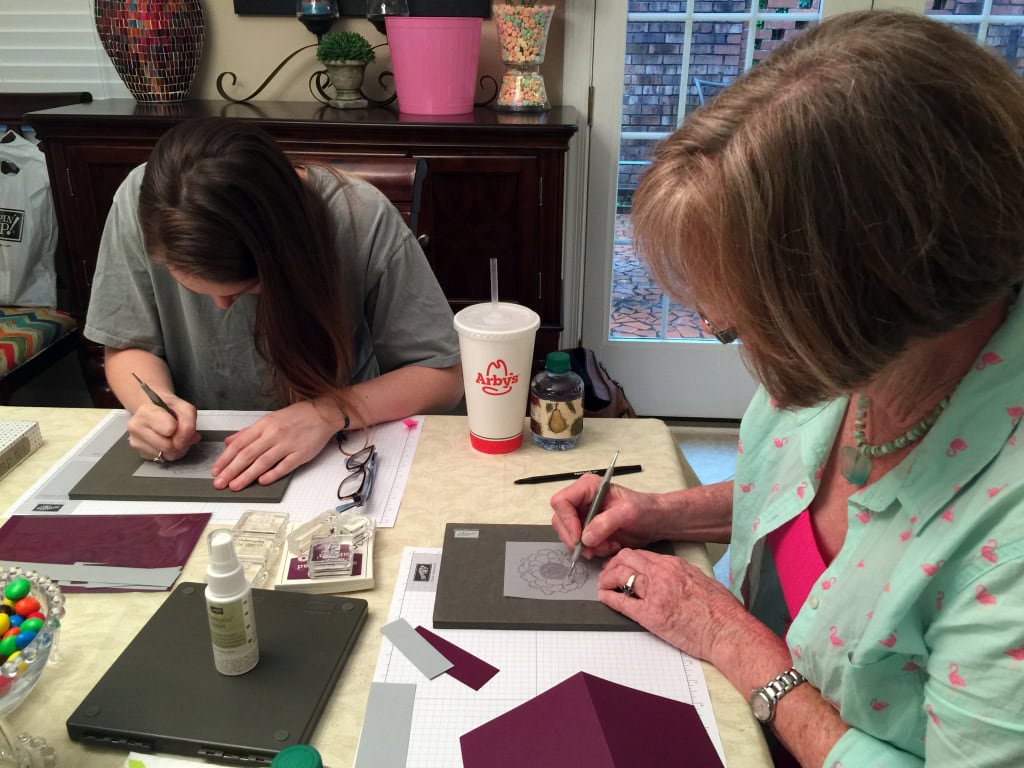
Everyone working hard on their projects.
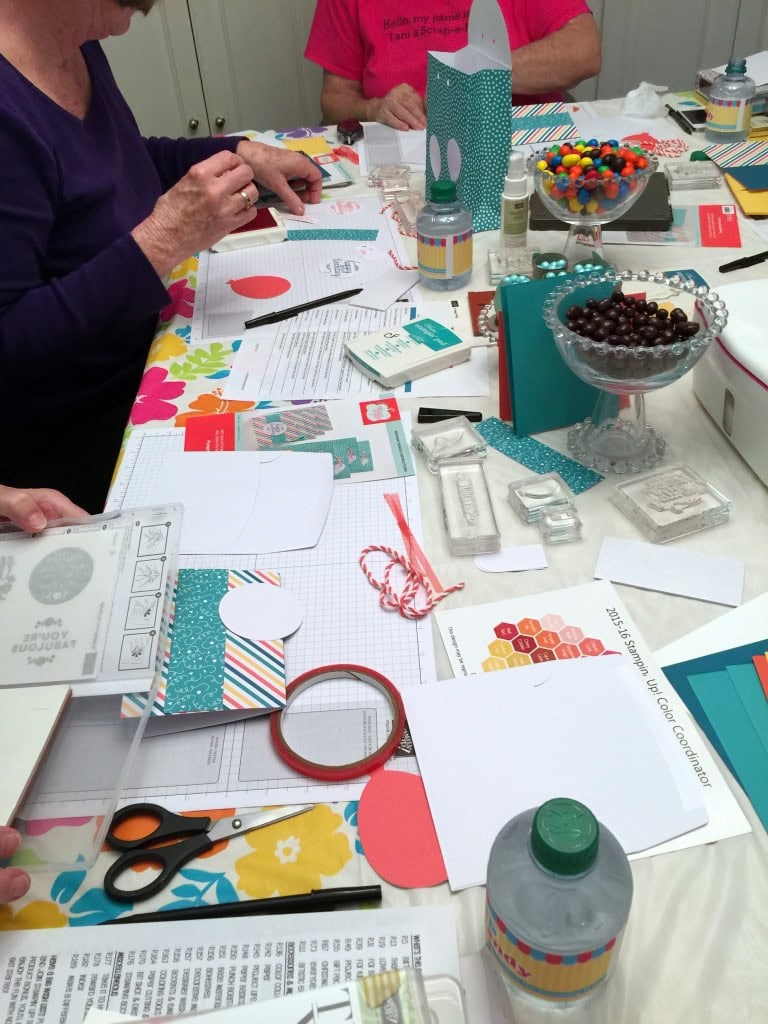
Such concentration!
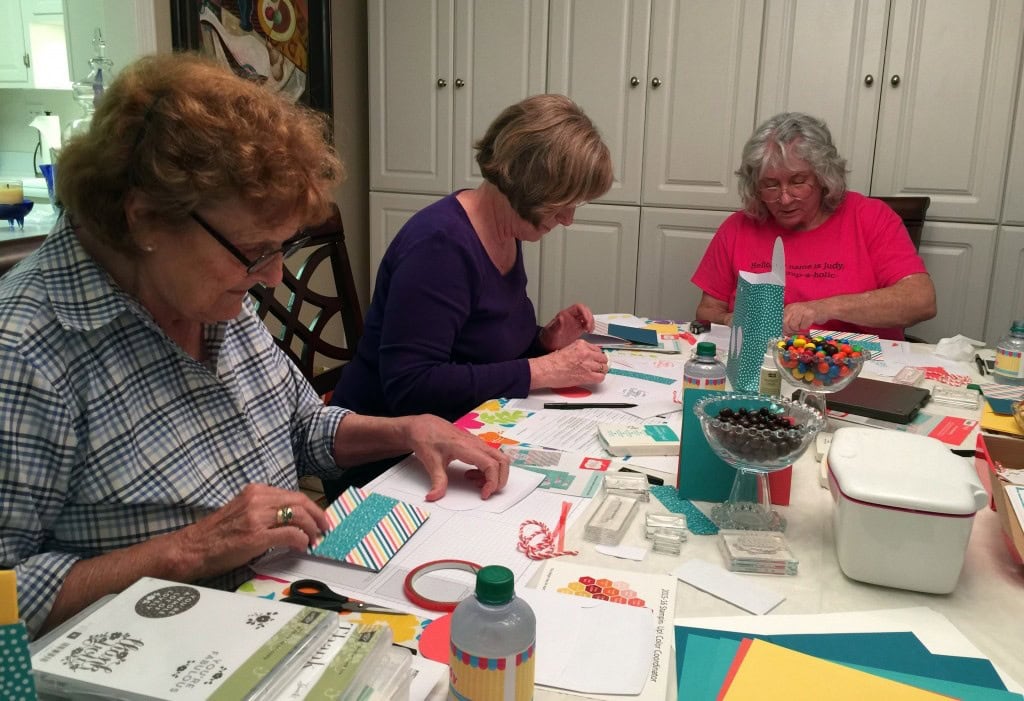
Here’s Margie with her In Color card. We used the You’ve Got This stamp set and the stamping off technique. Check back for more details.
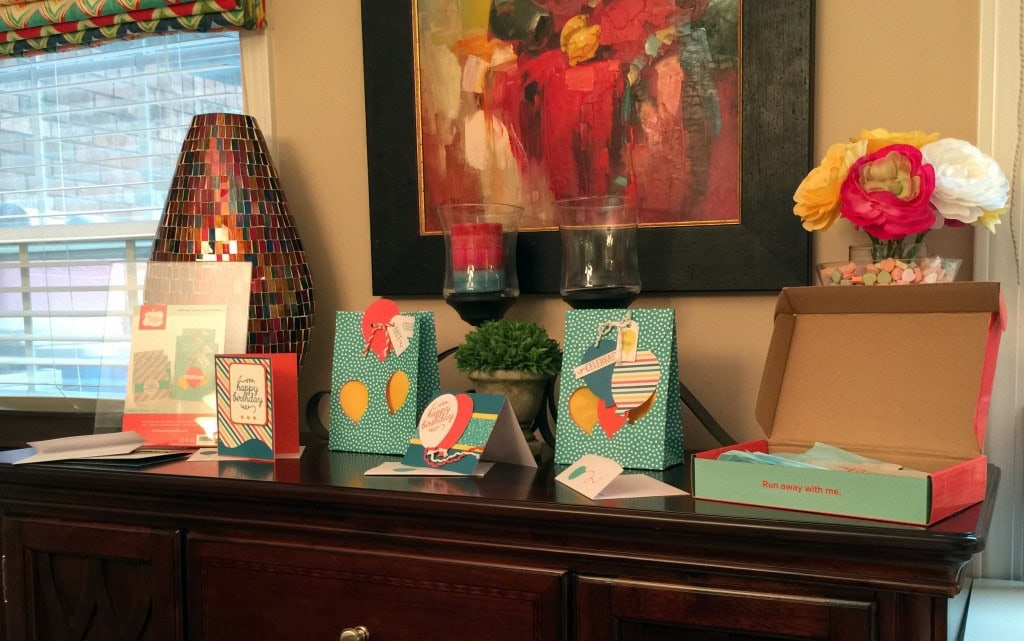
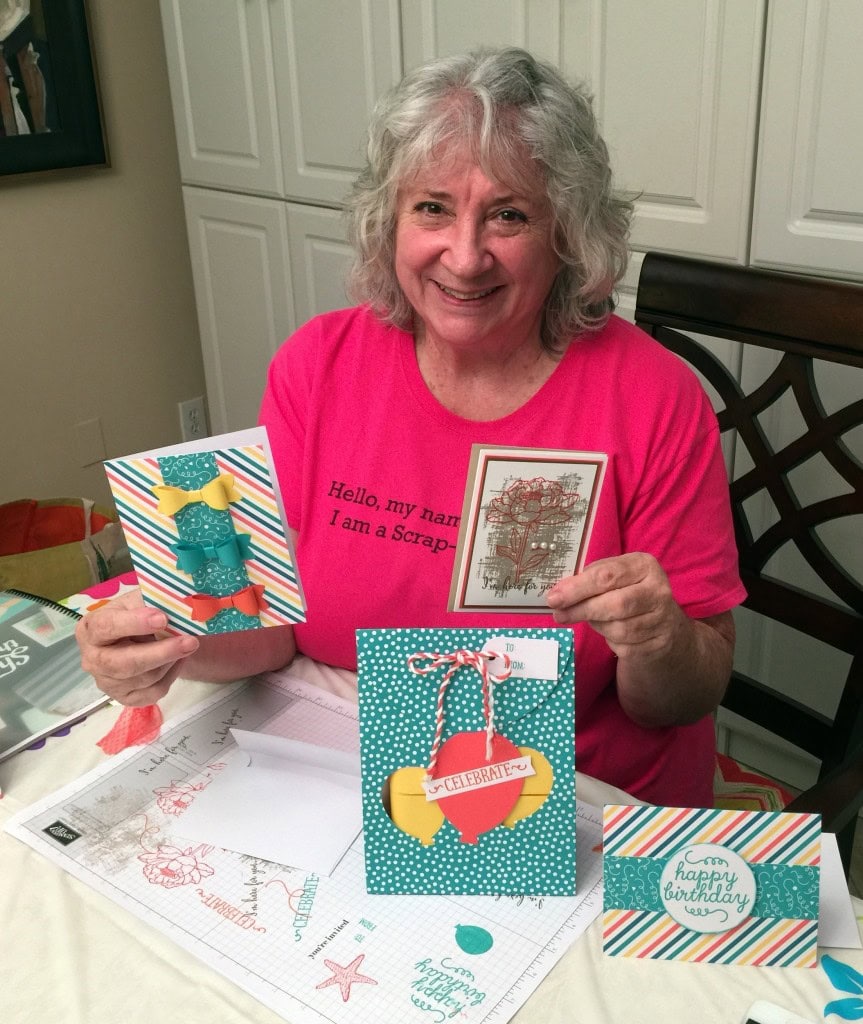
Martha with her bag and 3 cards. She stamped the sentiment on one of the Tangerine Tango balloon die cuts, and put it on the front of one her cards.
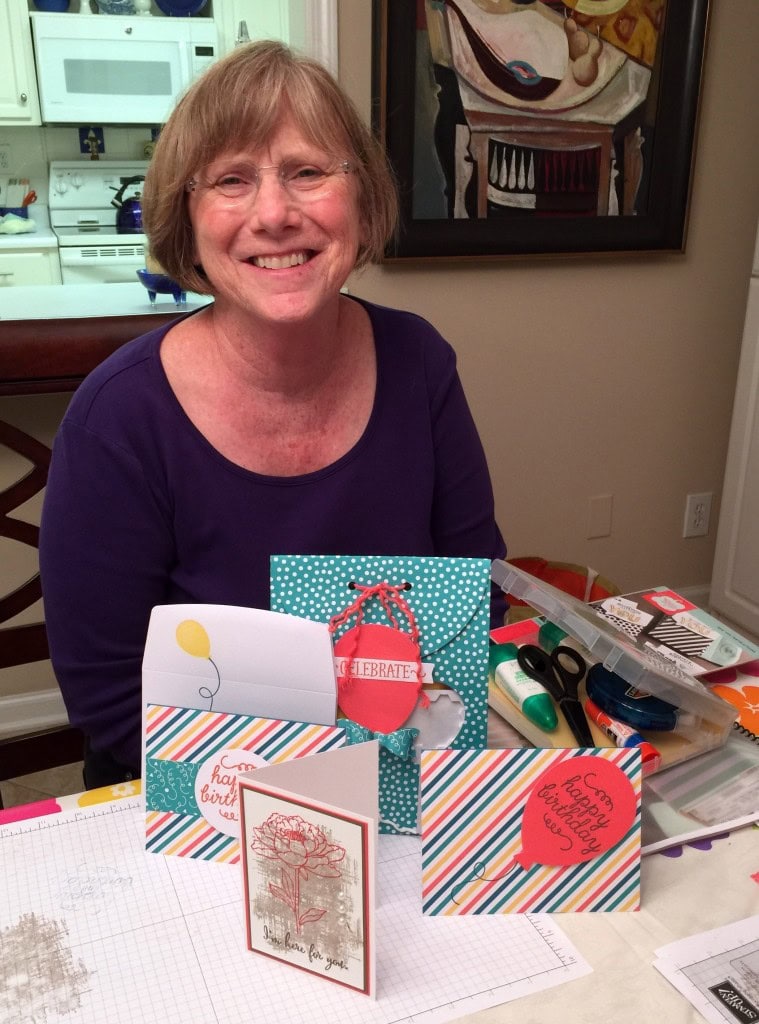
Judy with her bag and 3 cards. For one of her Paper Pumpkin cards, she changed the orientation (vertical/portrait instead of horizontal/landscape) and attached bows made using the Bow Builder Punch.
Thanks for stopping by today, and Sweet Stamping!