Dec 18, 2014 | Christmas, Club, Gift Wrap, Gifts |
This is the second of three projects we made at December’s Stamp Club meeting. Super simple but oh so cute!
Gift cards are such a common and convenient gift nowadays. Here’s a way to give them in holiday style. Who wouldn’t appreciate this Santa gift card holder?
(I didn’t have a gift card handy, so I used my Kroger card to demonstrate how to attach it to the back of the insert with glue dots.)


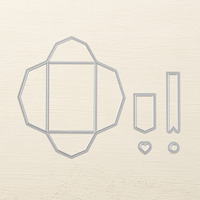
The envelope – Use the Gift Card Envelope Thinlits Die to cut the holder. Fold on the score lines and adhere three sides to make an envelope. Cut a piece of Whisper White card stock to 1″ x 2-3/4″. Adhere to the front of the envelope.
The belt – Cut a piece of Basic Black card stock to 3/4″ x 8-1/2″. Use the Curly Label Punch to cut a piece of Silver Foil Sheet. Use the Petite Curly Label Punch to cut a piece of Basic Black card stock.
Wrap the long black piece around the envelope, overlapping in the center of the envelope front. Make sure the belt is loose enough to slip on and off the envelope, but snug enough so it doesn’t just fall off. Adhere the ends. Glue the black petite label onto the center of the silver curly label, then adhere that to the belt, covering the overlap.
The insert – Cut a piece of Whisper White card stock to 3-3/4″ x 2-1/2″. Stamp on one side – we placed the Seasons Greetings stamp and the To/From stamp on the large acrylic block together, and stamped in Read Red. We placed the holly stamp on the small acrylic block and inked it with Real Red and Garden Green Stampin’ Write Markers. Adhere gift card to the other side with a couple of mini glue dots. Slide into the envelope and slip the belt over.
Margie & Linda


Caitlin


Martha & Judy


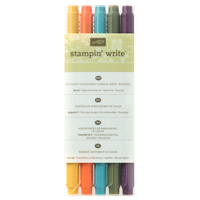
Here’s what we used:
Here are some other inserts I made using the Visions of Santas stamp set.

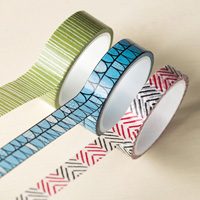
Here’s what I used for these:
Thanks for stopping by today, and Sweet Stamping!
Dec 16, 2014 | Cards, Christmas, Club, Gifts, Techniques, Tools |
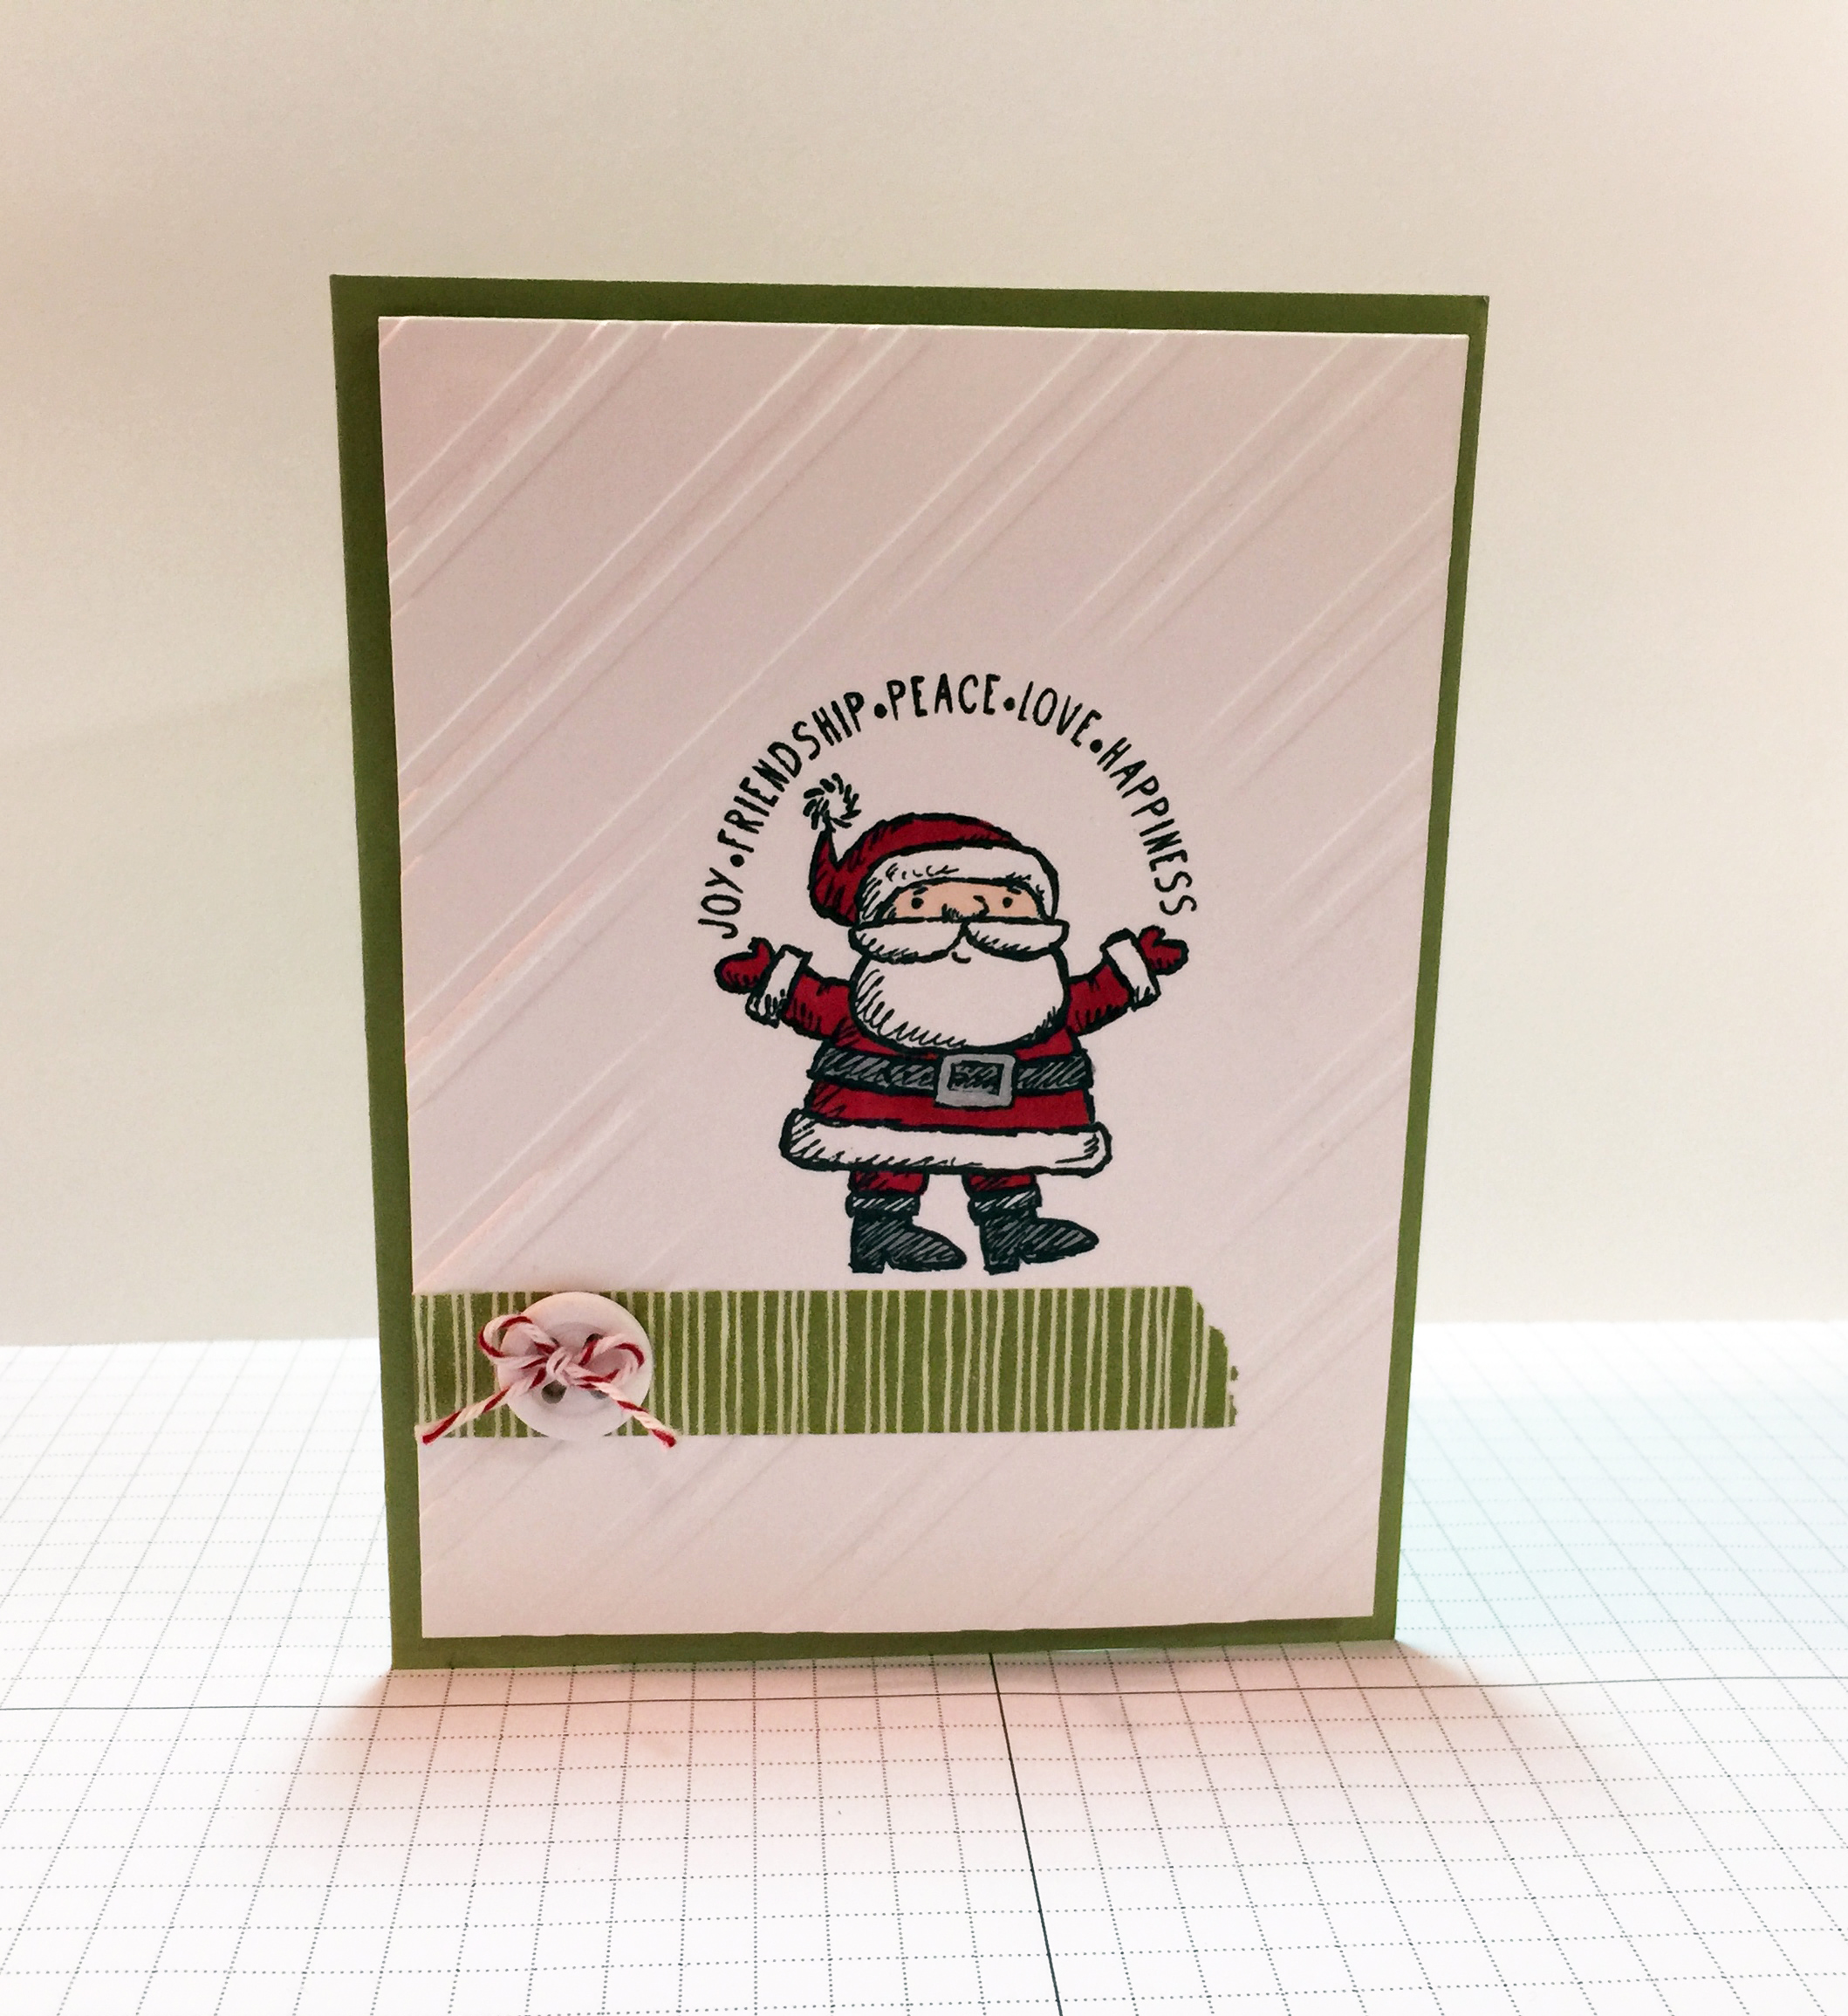
This is the first of three projects we made at December’s Stamp Club meeting. This card uses the emboss resist technique. See how the embossed diagonal stripes are around the sides but not in the center where the stamped image is? While this is a Christmas card, of course this technique can be used year round for any project theme.

I thought this Santa from the Get Your Santa On stamp set looked great in the oval. I grounded him with a base of washi tape. A button with a baker’s twine bow completes the look.
Here’s how to do the embossing resist technique. First of all you need a template. I used three layers of the cardboard that comes in the DSP packs. (I find a use for everything.)

I cut them down to to 6″ x 7″.
I decided on an oval shape, so I used one of the Ovals Framelits dies to cut a hole in the center of each piece of cardboard. Since the die isn’t very think, cut only one piece at a time.
TIP: Cut the first piece, then lay it on top of the next piece and mark the oval with a pencil. Then you know where to put the Framelits die on the next piece.

Once all three are cut, glue them together with Multipurpose Liquid Glue, lining up the oval cutout, instead of the outer edges of the cardboard.

Set the template aside and place your paper in the embossing folder.

Now it’s time to make your Big Shot sandwich. Normally when embossing you would use two of the clear plates and the platform with the top tab off.

Since the template is so thick, this sandwich will be a bit different. Use the platform with all tabs in place.

Hold your embossing folder and template up to the light. In the day time a sunny window works great. At night just use a lamp, or a light box if you have one. Line up the opening wherever you want it on your card. I tried to center mine.

Now place the template and embossing folder on the platform, and place just one clear plate on top. Run the whole sandwich through the Big Shot. When you open the folder, you’ll have a piece of paper that is embossed everywhere except where the template opening is.

The hardest part is deciding on the shape of the template opening. I prefer to keep them to simple shapes, like ovals, circles, etc.
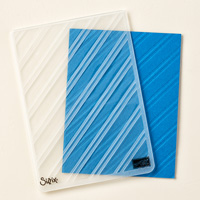
Here’s what I used for this card:
Here are a few action shots of club members working on their cards.
Margie


Judy


Linda & Caitlin


Martha

It’s not too late to get a Big Shot for Christmas! It comes with the platform used here and two clear plates. Tell your loved ones to go here to get yours. Or they can contact me to buy you a gift certificate for any amount: email: candy@stampcandy or call/text: 404-661-5222.
Thanks for stopping by today, and Sweet Stamping!
Nov 8, 2014 | Christmas, Club, Food |
For our Stamp Club meetings, I like to keep refreshments simple (chocolates and bottled water) but that doesn’t mean they have to be boring.

I always use a label from one of the bottles as a template for my hand stamped labels. For these I used Whisper White card stock, Pear Pizzazz and Soft Sky ink pads, the Ornamental Pine stamp set, and the Sassy Salutations stamp set for the sentiment. Fast Fuse adheres the labels.
This is such an easy way to take something as mundane as a bottle of water and turn it into something much more special and personal.
Thanks for stopping by today, and Sweet Stamping!
Nov 7, 2014 | Cards, Club, Gift Wrap, Techniques |
Hello, everyone!
The Stamp Candy Stamp Club had our November meeting this week. We always laugh and have lots of fun. This month we made projects in preparation for the upcoming Christmas season.

I love the color scheme of the All Is Calm DSP. Soft Sky, Lost Lagoon and Pear Pizzazz have such a calming, Wintery feel. We used these colors, along with Whisper White, for all the projects.
First, we used 1″ strips of DSP to make bows and belly bands for Kraft Gift Boxes. I highly recommend using Liquid Multipurpose Glue for assembling the bow. Here’s a link to the instructions: http://www.stampinup.com/us/documents/paper_bows(contact).pdf


Next we made the tags. We stamped the snowflakes in Soft Sky, and the To/From in Lost Lagoon.

Margie & Judy each added a touch of All Is Calm Designer Washi Tape to their tags. (I forgot to take any photos at the evening meeting, but Martha and Linda did an excellent job on their projects, too.)


Now, of course, we needed cards to match, right? We stamped the sentiment in Lost Lagoon and Pear Pizzazz. Normally we would color each area of the stamp with a Stampin’ Write Marker, but we did something a little different this time. When I was designing this project, I used markers at first, but realized there was a lot of ground to cover with the Lost Lagoon. So I inked up the whole stamp image with the Lost Lagoon ink pad, then used a baby wipe to remove the ink only where I wanted to color it in with the Pear Pizzazz marker. If I accidentally removed too much Lost Lagoon with the wipe, I simply filled it in with the Lost Lagoon marker. And that’s how we did it at Club.
After embossing the card front with the Filigree Frame TIEF, it was beautiful, but it seemed just a little too calm. We used a Cherry Cobbler Candy Dot to dot the “i” in Christmas. It added just that little pop of something that it needed. We adhered the card front to a Soft Sky card base and rounded all four corners with the Project Life corner rounder punch.

We stamped the envelope with the same Soft Sky Snowflakes as on the tag.

Here are the products we used:
Thanks for stopping by today, and Sweet Stamping!
Oct 2, 2014 | Cards, Club, Food, Techniques |
We had a great Stamp Club meeting. We made the three projects I showed you yesterday. I love seeing how folks change things up from my samples. Such a creative group! I promised details on the projects today, so here they are.
***********
Caramel Apple Curvy Keepsake Box
Cut two box pieces of Baked Brown Sugar card stock with the Curvy Keepsake Box Thinlits Die. Adhere the two pieces together at the bottom, with like sides opposite each other. Use a bone folder to get nice sharp creases.
Using a 2-1/2″ circle punch, cut a Whisper White card stock circle. Adhere it to the center of a Tea Lace Paper Doily. Then adhere that to the bottom of the box, so that, when assembled, it will resemble a caramel apple sitting on a doily.
Cut a paper straw to 6-1/2″ long. Using a bone folder, flatten 2-3 inches of one end.
Assemble the box, filling it with caramels or other treats of your choice. Stick the flattened end of the straw between the two “handles” on top of the box, and down into the box all the way to the bottom.
Using the round tag die from the Curvy Keepsake Box die set, cut a Real Red card stock tag. Using Paper Snips, cut the bottom of the tag to resemble an apple. (I’m not sure of a better way to describe it than saying to cut a little “derriere” at the bottom.)
Using the small leaf from the Fun Fall Framelits Dies, cut a Pear Pizzazz leaf. Adhere it to the Real Red apple tag.
Run two 10″ pieces of Whisper White Bakers Twine through the apple tag and tie it onto the straw just above the box handles.
From the For All Things stamp set, stamp Hello Fall! on Whisper White cardstock with Baked Brown Sugar ink. Cut it into a strip, apply adhesive, and wrap it around the straw, just above the twine, to make a flag. Using one corner from the Hexagon Punch, notch the end of the flag.
Be sure to lift the box from the bottom and not by the straw.
Again, many thanks to Cindy Schuster at Nutmeg Creations for the project idea!

Club members Martha, Marenda, Judy & Angela with their Caramel Apple Treat Boxes
***********
Halloween Post-It Note Cover
Cut a piece of Motley Monsters DSP to 2-15/16″ x 9-3/16″. On the long side, score at 2-15/16″, 3-1/8″, 6-1/16″, and 6-1/4″. Use bone folder to make sharp creases at all four score lines. (These are the dimensions for the note pads I bought at Target: 2-15/16″ square and 3/16″ thick. You may need to adjust for yours.)
For the brad closure: Insert one end of the DSP into the Scalloped Tag Topper Punch. It is wider that the 2″ tray, but it will go in on top of the tray. Make sure it’s centered, then punch. You’ll end up with extra arms on each side, which you can just trim off with Paper Snips.

Angela using the Scalloped Tag Topper Punch
Wrap the cover around your note pad with the punched end on top. Mark through the hole onto the other end of the cover where the brad should go. Unwrap and make the hole with a Paper Piercing Tool. Stick a brad through the hole and flatten on the back (inside) of the cover. We used a Candy Dot Brad Base and a Candy Dot.


Judy applying the brad
Adhere the back of your note pad to the inside of the cover. Close the cover, pulling the hole over the brad until it catches.
Adhere stamped images to the front of the cover.*
For the belly band closure: Adhere the back of your note pad to the inside of the cover. Cut a strip of DSP or card stock of your choice 1/2″ x 7-1/2″ and wrap it around the covered note pad. Adhere the ends together in the back. It should be snug, but not so tight that you can’t slide it on and off.
Adhere stamped images to the front of the belly band.*
*Stamped images: Using the Fall Fest stamp set, stamp a couple of pumpkins in Tangerine Tango, their faces in Tuxedo Black Memento Ink, and a few leaves in Bermuda Bay and/or Crushed Curry – all on Whisper White card stock. Cut out the pumpkins and leaves with the Fun Fall Framelits die set.


Martha and Angela stamping their pumpkins

Marenda stamped her pumpkins in Bermuda Bay and used the ghost side of the DSP for her cover.


Martha and Angela show off their new Note Pad Covers. Angela used what would have been a belly band to make little ribbons coming off the top of hers.
***********
Thanks Card
Use the same technique here with the Seasonally Scattered stamp that I used on the pumpkin from a previous post (which you can see here) except with Sahara Sand, Cajun Craze, and Mossy Meadow ink pads. After stamping on Whisper White card stock, cut it out with the Apothecary Framelits, then ink the edge with a sponge dauber and a Soft Suede ink pad.
 Martha daubing inks on the Thanks stamp.
The card base is 8-1/2″ x 5-1/2″ Sahara Sand card stock, scored and folded at 4-1/4″. There’s a 5-1/4″ x 4″ Mossy Meadow card stock layer, then a 5″ x 3-3/4″ Soft Suede card stock layer, then a 4-3/4″ x 3-1/2″ piece of Color Me Autumn DSP.
Adhere the stamped piece on top with Stampin’ Dimensionals.
More action shots from yesterday


(I’ve mentioned before what a huge deal Halloween is in our household. As you can see in some of the photos, Halloween prep is well under way.)
Oct 1, 2014 | Club, Deals |
Today is one of my favorite days of the month – Stamp Club! We meet the first Wednesday of each month. We make at least 2 projects and members place a minimum $25 order each month. Members take turns receiving host benefits. Last month Margie received a whole lot of goodies, including the exclusive Good Greetings Stamp Set.
Here are the projects we’ll be making today:
Caramel Apple Curvy Keepsake Box
This Fall project is completely CASEd from Cindy Schuster, a Stampin’ Up! Artisan Design Team member. I fell in love with it as soon as I saw it on her blog (and I realized I already had the straws!) We’ll fill them with caramels.


Halloween Post-It Note Covers
I saw these cute Halloween post-it notes in a store and knew I had to come up with something to do with them. The brad closure (left) was inspired by a project by Sam Donald on her blog. The other one (right) has a belly band.

Thanks card
After a Fall project and a Halloween project, I thought we should move on to a Thanksgiving themed project. So I came up with this card. Love those tiny acorns.

I’ll post project details tomorrow.
To learn more about the Stamp Candy Stamp Club, please contact me by commenting on this post, emailing me at candy@stampcandy.net, or calling me at 404-661-5222. We’d love for you to join in the fun!
**************************************************************************
Stamp, Stock & Save Begins today!
Place your order now! It only lasts until Monday!
Click on flyer to see full size: