I haven’t forgotten you! Of course, I had the best intentions of prescheduling blog posts for all the time I would be away from home, but alas, I just didn’t get it done. Between traveling, recuperating from traveling, traveling more, recuperating,… – you get the idea – I’m afraid my energy for blogging has been lacking.
It’s been a wacky few weeks, and the wackiness continues. As it has turned out, mid-October through late November is just a crazy chunk of time in my 2015 schedule. While I’m extremely grateful for the opportunities I have had to travel, spend time with friends, and attend wonderful events, I’m pooped! And I’m afraid my blog has suffered for it.
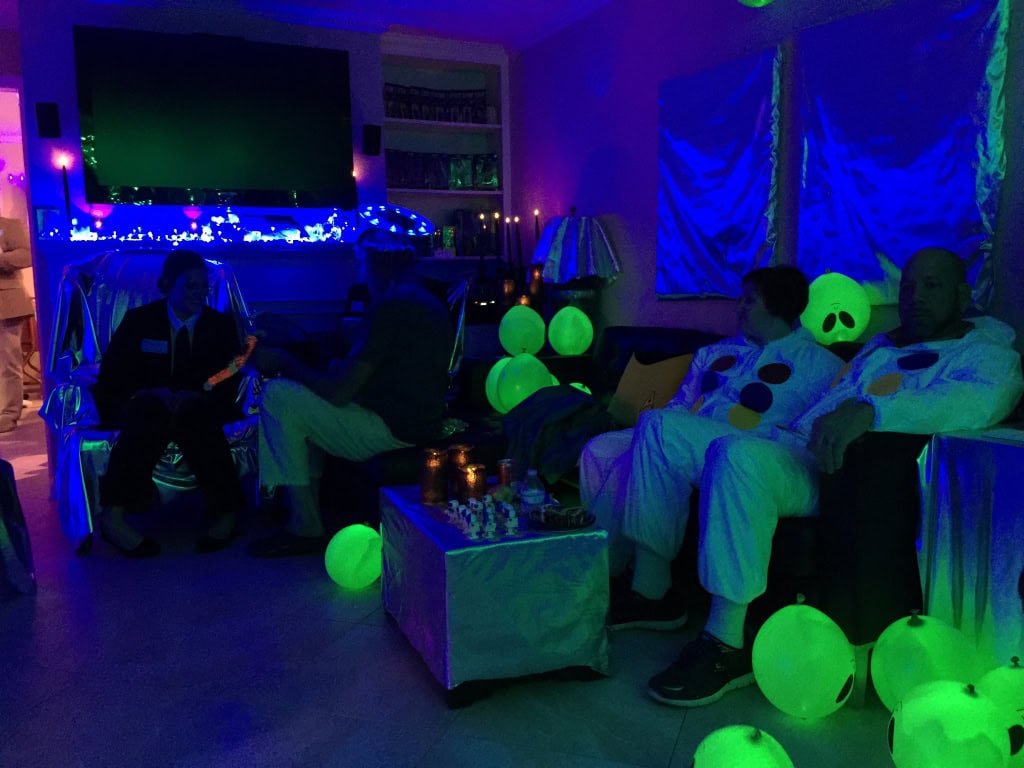
I plan to post photos from my adventures. First was our huge annual Halloween party – it took weeks to put together, and then a week to recuperate afterward. Here’s a sneak peek of the invitation and the living room:
Then I got to attend Stampin’ Up’s Rising Star Retreat in Utah, where five fabulous demonstrators from around the country and myself were pampered and trained and given an inside look at Stampin’ Up! Then I went on a week long crafting cruise around the Caribbean.
I’m on my way now to attend Stampin’ Up’s OnStage Local event in Tampa, FL. Then there’s another cruise, a family gathering at my brother’s house in the Smoky Mountains, and Thanksgiving with my husband’s family at the Georgia coast. Phew!
I’m looking forward to December when I can sit in my stamping studio with my cats and make stuff!
Welcome to InKing Royalty’s September Blog Hop. We are helping to prepare you for October with super-fun Tricks OR Treats. Our projects center around fun techniques (tricks) or creative ways to package up Halloween goodies (treats.) In some cases you might get BOTH! What fun! After you read my post, I hope you’ll hop over to the next person on the list at the base of this post.
I’ve used a few tricks (sponging, heat embossing, crumpling) and leftovers from the Witching Decor Project Kit, to create this candle label. The candle itself is a battery operated black candle from the local Halloween store.
For the label, I used four leaves, a label, and a Spider Web Doily from the kit. I flipped the black doily over to the white side and inked it up in Cajun Craze.
I sponged the label in Delightful Dijon, Cajun Craze, Tangelo Twist, and Soft Suede inks to create a mottled effect. I thought about embossing in clear and inking in Basic Black or Early Espresso – the Joseph’s Coat technique. But then I decided to heat imboss the image in gold.
I crumpled the leaves with my hands and inked them up in Soft Suede.
I glued all the parts together and glued the label onto the card stock belly band.
The raven’s eye is a Pearl Basic Jewel colored with a black Sharpie marker
And here’s my completed Witching Decor Project kit, whose leftovers I used.
Thank you for hopping along with us. If you get stuck during the Blog Hop, please use this line up as a guide.
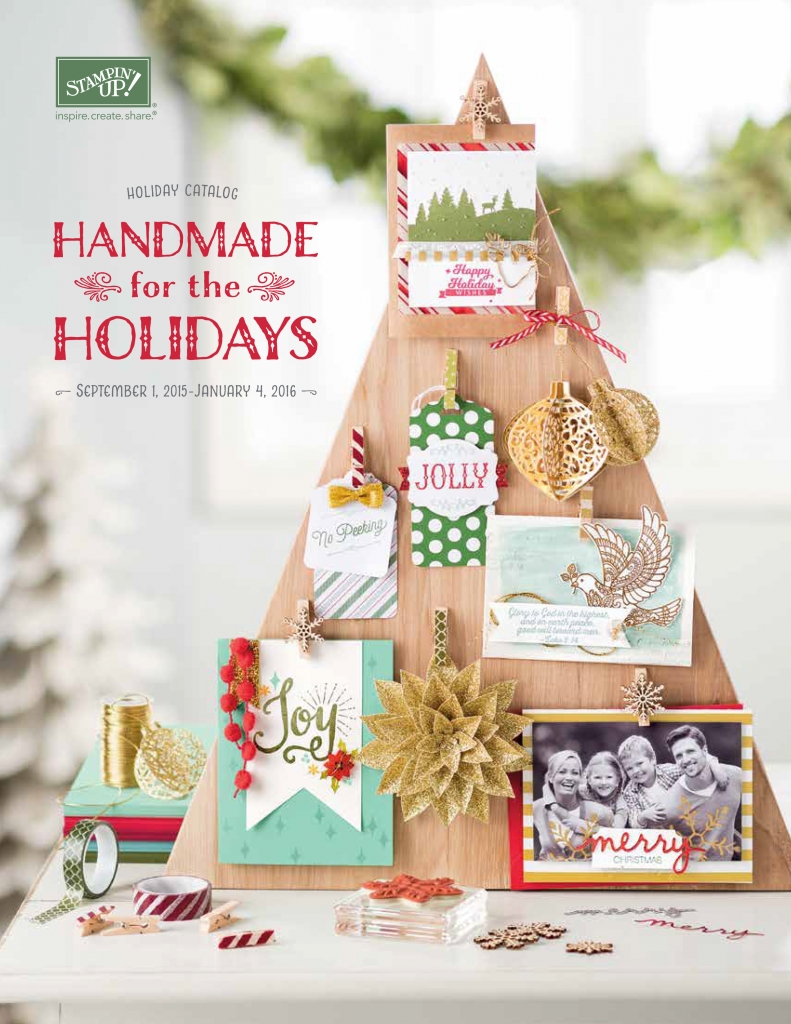
I am sooooooo excited about the new Holiday Catalog that begins on September 1! Here’s a video showing some more of my pre-preorder items.
It took me longer than I anticipated to get this video posted, so when I say “yesterday” in this one, I’m actually referring to the video I posted 6 days ago. 😀
By the way, even more new holiday products were just delivered, so I’ll get a video of those done as soon as I can. I’ve already used some of them, and they are amazing. There is a new tool that will blow your socks off! So stay tuned!
————————————————————-
Be sure to check the Events tab at the top of this page often. I’m scheduling more and more classes. Space is limited, so sign up now!
————————————————————-
If you haven’t tried Paper Pumpkin, now is a great time to sign up.
For new subscribers only. Use the code HALFOFF to join Paper Pumpkin before September 10, 2015, and get 50% off the first two months!
After that, keep the creativity coming for only $19.95 + tax per month (includes shipping!) Or purchase a prepaid subscription HERE. Save $1 per month with a 6 month subscription, or $2 per month with a one year subscription.
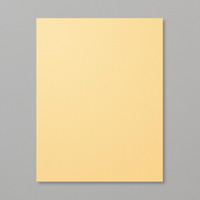
This is just one example of a past Paper Pumpkin kit. Each month is a surprise, but they are always wonderful, and include everything you need except scissors and adhesive. (Sometimes they even include adhesive!)
Current subscribers – and ONLY current subscribers – can purchase past kits and refills.
All stamp sets in Paper Pumpkin kits are exclusive to Paper Pumpkin and will never be seen elsewhere.
Here’s the skinny:
For new subscribers only.
Available for month-to-month subscriptions, not prepaid subscriptions.
Discount applied to one kit per month for the first two months of a new subscription. After the first two months, the price for each month’s kit will renew at the regular price: $19.95.
A Paper Pumpkin membership is $19.95 per month (and shipping is included!)
There’s no commitment. You can cancel your monthly Paper Pumpkin or skip a month by logging into your Paper Pumpkin account and changing your preference at “manage my account” on or before the 10th of the month.
Catalog dates are September 1, 2015 through January 4, 2016.
Keep checking back for more sneak peeks of the new products! See the first sneak peek here.
If you don’t have a demonstrator and would like a free catalog, please email me at candy@stampcandy.net. If you already have a demonstrator, please get your catalog from them.
You know how I love making ornaments. Well, these are my latest creations. And they are SO EASY!
I’ve seen glass ornaments filled with thin strips of crimped paper. I set out to make that. But then I couldn’t find my paper crimper – it probably got mixed in the huge crafting purge earlier this year. So I thought I would try curling the strips. I think it worked well, don’t you?
I tried strips 1/8″ wide and strips 1/4″ wide. I think the thinner strips look better. The bone folder (will we ever stop finding uses for this awesome tool?) curled the paper strips quickly and beautifully. To add interest, I curled half the strips with one side of the DSP out, and half of them with the other side of the DSP out.
I dropped each curl into the ball, turning them this way and that, until it seemed full enough. Then I replaced the ornament top. It took less than one sheet of Nordic Noel DSP. I can’t wait to use the other DSPs!
Products in the Holiday Catalog and Holiday Supplement are only available until January 5, 2015! Don’t miss out on these great items! Place your order now!
The Occasions and Sale-A-Bration (OC/SB) catalogs begin on January 6 – the day after the Holiday Catalog and Supplement end. If you don’t have a Stampin’ Up! Demonstrator to give you the new catalogs, please contact me and I’ll get them in the mail to you!
One of the MANY perks of being a Stampin’ Up! Demonstrator is getting to pre-order from new catalogs. (To join my team, go to stampcandy.stampinup.net and click on Join the Fun at the top right!)
I received my first shipment of pre-ordered merchandise from the new OC/SB catalogs and I just had to start working on this new kit first thing.
It’s the Hello Life Simply Created Project Kit. You get this awesome wire frame and all the goodies you need to decorate it, including specialty papers, die cuts, twine, clothespins, and more. As I said, it will be available for everyone to order on January 6.
Here’s a little tip. When you’re separating the die cut shapes from their sheets, it can be hard to see them from the front side. Can you see the die cut hearts in the polka dot area?
There’s one.
I found that turning them over to the back side makes them much easier to see.
I haven’t completed the kit yet – I’m still waiting to get the coordinating stamp set – but I just had to share what I’ve done so far. I plan to print black & white photos of hubby to add to it. I love the combination of Basic Black, Whisper White, Crushed Curry, and Silver in the kit.
Oh, by the way, all the solid black pieces you see are chalkboard paper – even the stick on letters! The White Stampin’ Chalk Marker (132133) works great with it.
I think I will keep this hanging in my stamping studio for a very long time, changing the components and colors as I choose. I may even add a second one, hanging it from the bottom of this one. It’s a fun way to have a “bulletin board” without having to poke holes in everything with push pins!
Thanks for stopping by today, and Sweet Stamping!
P.S. Remember that tonight at midnight EST is the deadline to enter the Blog Candy drawing. To enter, go to yesterday’s post here and leave a comment telling me what your favorite items are from the Holiday Catalog and Supplement. I will post the winner tomorrow. The winner will then have until midnight EST to email me their shipping address.