Dec 16, 2014 | Cards, Christmas, Club, Gifts, Techniques, Tools |
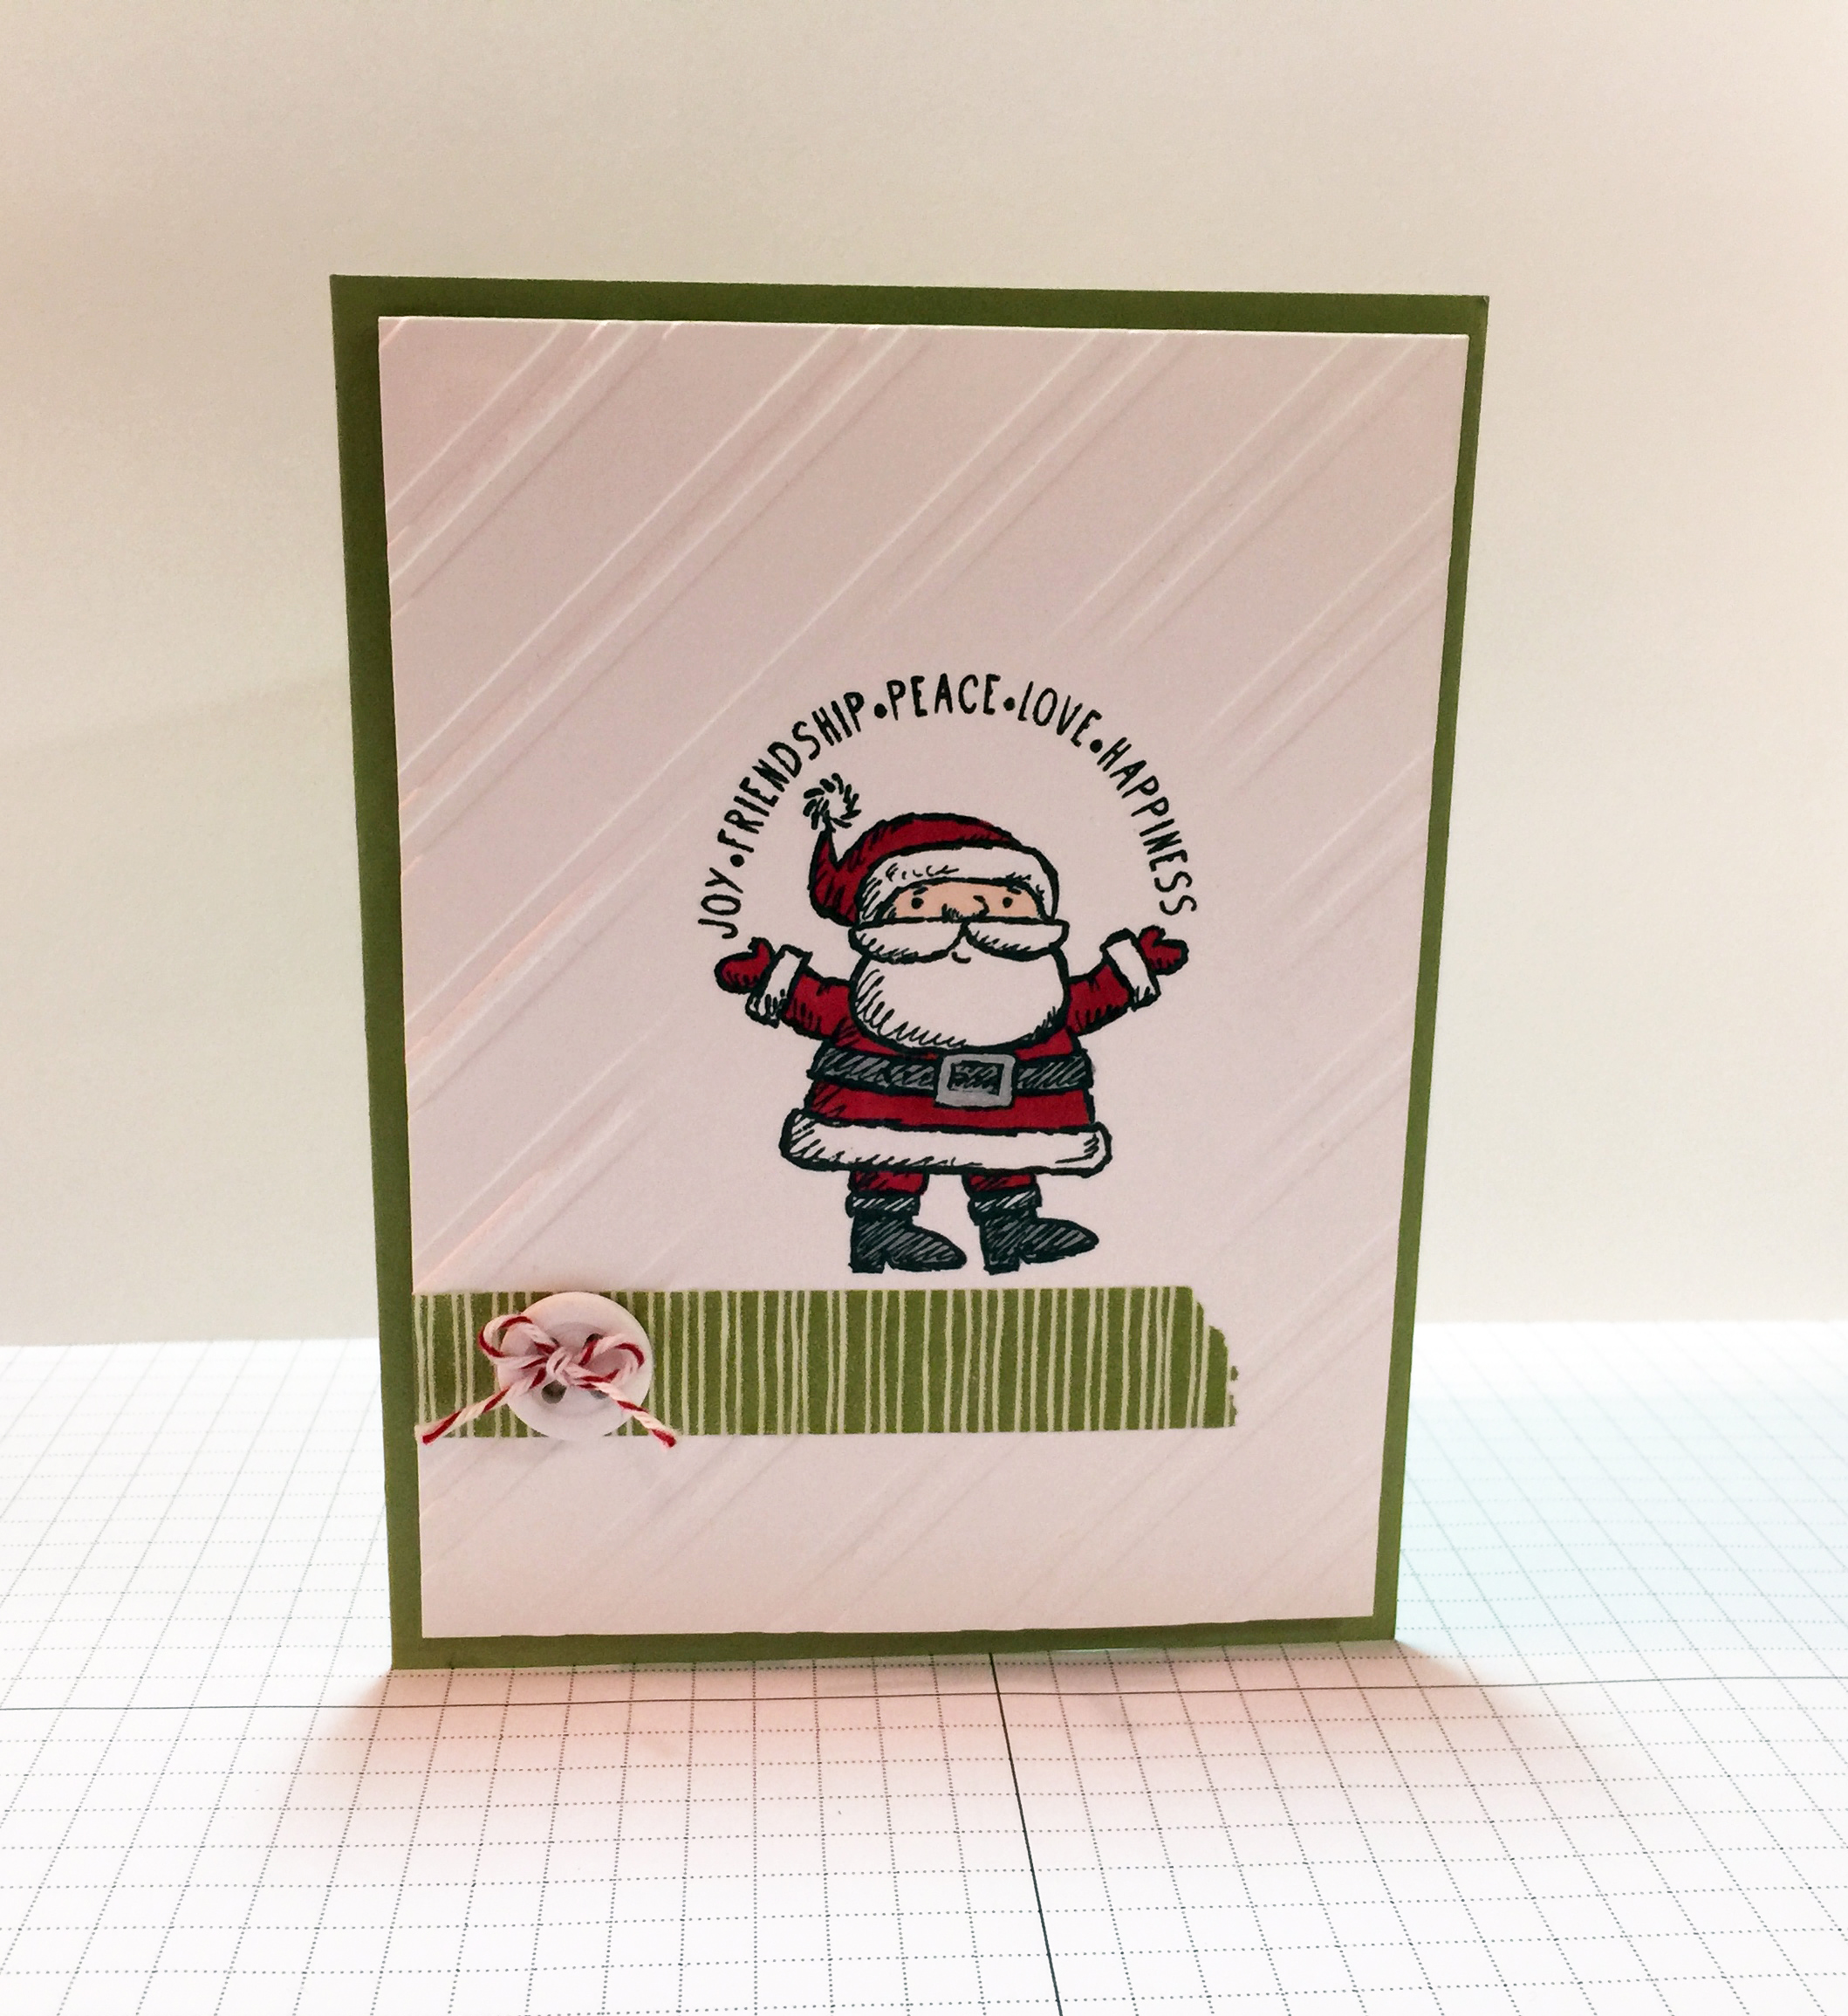
This is the first of three projects we made at December’s Stamp Club meeting. This card uses the emboss resist technique. See how the embossed diagonal stripes are around the sides but not in the center where the stamped image is? While this is a Christmas card, of course this technique can be used year round for any project theme.

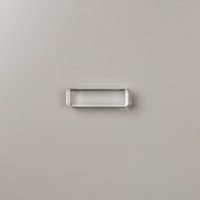
I thought this Santa from the Get Your Santa On stamp set looked great in the oval. I grounded him with a base of washi tape. A button with a baker’s twine bow completes the look.
Here’s how to do the embossing resist technique. First of all you need a template. I used three layers of the cardboard that comes in the DSP packs. (I find a use for everything.)

I cut them down to to 6″ x 7″.
I decided on an oval shape, so I used one of the Ovals Framelits dies to cut a hole in the center of each piece of cardboard. Since the die isn’t very think, cut only one piece at a time.
TIP: Cut the first piece, then lay it on top of the next piece and mark the oval with a pencil. Then you know where to put the Framelits die on the next piece.

Once all three are cut, glue them together with Multipurpose Liquid Glue, lining up the oval cutout, instead of the outer edges of the cardboard.

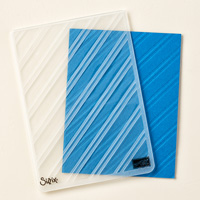
Set the template aside and place your paper in the embossing folder.

Now it’s time to make your Big Shot sandwich. Normally when embossing you would use two of the clear plates and the platform with the top tab off.

Since the template is so thick, this sandwich will be a bit different. Use the platform with all tabs in place.

Hold your embossing folder and template up to the light. In the day time a sunny window works great. At night just use a lamp, or a light box if you have one. Line up the opening wherever you want it on your card. I tried to center mine.

Now place the template and embossing folder on the platform, and place just one clear plate on top. Run the whole sandwich through the Big Shot. When you open the folder, you’ll have a piece of paper that is embossed everywhere except where the template opening is.

The hardest part is deciding on the shape of the template opening. I prefer to keep them to simple shapes, like ovals, circles, etc.
Here’s what I used for this card:
Here are a few action shots of club members working on their cards.
Margie


Judy


Linda & Caitlin


Martha

It’s not too late to get a Big Shot for Christmas! It comes with the platform used here and two clear plates. Tell your loved ones to go here to get yours. Or they can contact me to buy you a gift certificate for any amount: email: candy@stampcandy or call/text: 404-661-5222.
Thanks for stopping by today, and Sweet Stamping!
Dec 12, 2014 | Christmas, Gifts, Techniques |

It seems a lot of people come down with colds or flu this time of year. Whether you have the sniffles or an allergy – or you’re just messy like me – it’s always nice to have some tissues handy. This is a nice way to give folks something useful and pretty at the same time.
I used Kleenex pocket tissue packs. I imagine most brands are the same size, but you may need to adjust the dimensions a little. These measured just under 4-1/2 x 2-1/2 x 1 inch, so those are the dimensions of my box. I used card stock to make the boxes and DSP to decorate them.
Start with a piece of card stock cut to 7 x 7-1/2 inches. Score along the longer side at 1, 3-1/2, 4-1/2, and 7 inches. Rotate counter-clockwise and score along the shorter side at 1/2, 1-1/2, and 6 inches. You’ll end up with something that looks like this.

Now cut along the dark lines. The parts colored in will be gone.

You’ll have something that looks like this:

Cut DSP like so: one piece at 4-1/4 x 2-1/4 inches, two pieces at 4-1/4 x 3/4 inch, and two pieces at 2-1/4 x 3/4 inch. In the middle of the largest piece, cut a hole large enough to pull a tissue through. I used my Decorative Label punch (120907.) You could also use another punch, your paper trimmer, or scissors.

Center the cut/punched piece of DSP on the top area of the box, but do not adhere it yet.

Holding the DSP in place, use a pen or pencil to mark the outline of the cut/punched out area on the box.

Now cut out this area from the box, making sure to make the hole larger than the markings, but also making sure to leave enough paper around the hole to glue. (Please forgive the different colors used in these photos. I made several different colors, and I remembered to take photos at different points during the process on each one.)

Now glue the DSP over the hole. Here is one from the back. See how the hole in the box is larger than the decorative hole in the DSP? You don’t want the card stock to show.

Now glue the other pieces of DSP on the 4 sides of the box.

I used Multipurpose Liquid Glue because I wanted to make sure everything would hold together in a pocket or purse.
Now assemble the box. Make sure the wider side panel goes over the skinny side panel.

I like to lay it flat so I can fold the wider panel over the skinny panel. Apply glue to the skinny panel, then fold the wider panel over it to adhere.


On the end with 4 flaps, fold in the two smallest and apply glue to the top of them.


Fold in the bottom flap to adhere to the small flaps. Apply glue to it, then fold down the last flap to finish the end of the box.


Now you have a box with one open end.

Prepare tissues. Option #1:
Put the pack of tissues inside the box, then mark around the opening.


Take them out and cut a hole in the plastic wrapper a little bigger than the marking. Insert the pack into the box.

Prepare tissues. Option #2:
Remove the wrapper from the tissues and insert them into the box.


Now close the box and you’re done! I don’t glue this end of the box closed, so tissues can be added once it’s empty.

Of course, you can continue to decorate it with punched shapes, bling, etc., but I chose to keep mine simple.
Thanks for stopping by today, and Sweet Stamping!
Dec 11, 2014 | Cards, Christmas, Food, Gift Wrap, Gifts |
There are always folks you want to do a little something for during the holidays, like your delivery man, dry cleaner, and others you see on a regular basis. Here’s an idea for a yummy little treat to keep them warm during the holidays. It holds an individual pack of hot cocoa mix.
The Garden Green card stock base is the standard 4-1/4″ x 5-1/2″. The DSP is from the Trim The Tree stack. The mats are Cherry Cobbler card stock. I used the Scoring Tool with the Diagonal Scoring Plate to create the flap at the top right of the card, just to give them a peek inside. I sealed the bottom shut with Sticky Strip.
The Bearing Gifts stamp is a friendly way to let folks know there’s something inside for them. I stamped the image in Tuxedo Black Memento Ink and colored it with Blendabilities (Cherry Cobbler, Daffodil Delight, Old Olive, Calypso Coral, Smoky Slate, and Skin Tone Assortment.)
I used Cherry Cobbler Bakers Twine to attach the marshmallows to the card. I punched 6 holes through both layers of the card base with the 1/8″ Handheld Circle Punch, then laced the twine through them.

Here it is from the back.

The 1×8 Cellophane Bags fit miniature marshmallows perfectly – I happened to find peppermint flavored ones. For the toppers, I punched bits of Garden Green and Cherry Cobbler card stock with the Modern Label Punch. Then I stamped greetings from the Teeny Tiny Wishes stamp set on Whisper White card stock, and punched them out with the Word Window Punch. I used the Hand Held Stapler to attach the green and red pieces to the top of the bag, then I glued the white pieces on top to cover the staple.

Thanks for stopping by, and Sweet Stamping!