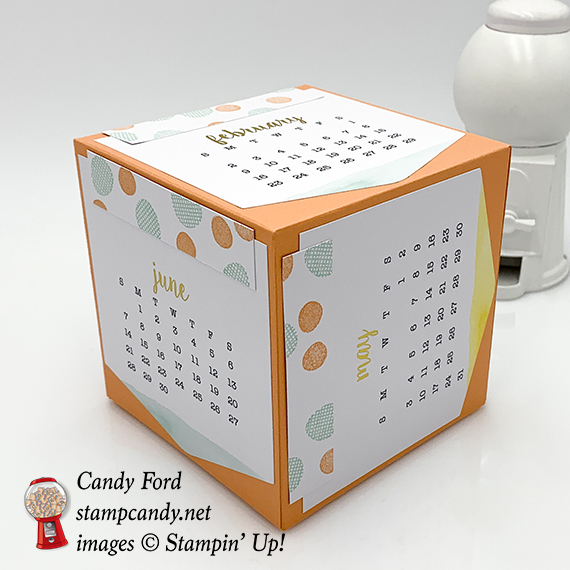
It’s time for the last A Paper Pumpkin Thing Blog Hop of the year! The December kit is called Day By Day and if featured a cute little calendar and a gift box it fits in. For my alternate projects I used some of the calendars to make birthday cards and some to make a calendar cube. I’ll send the cards to someone with a birthday or anniversary that month, and I’ll circle the date on the calendar – there’s a handy little circle stamp in the set just for this purpose! I’ve left the insides blank for now so I can stamp the appropriate sentiment in them later. I haven’t lined these yet either, but I’ll glue a piece of Whisper White card stock inside each one for the sentiment and handwritten note.
The kit makes an 18 month calendar: January 2019 – June 2020. You can make 3 cubes, 6 months each, or you can use some for cards. Get two kits and you can do both!
Here’s what I made:
I only got 3 cards made so far. For the first two I used only kit components on a card base. For the third one I also used a Gold Foil Sheet and some ribbon not in the kit.
The cube is 4″ x 4″ x 4″. I glued on the calendars going in all different directions.
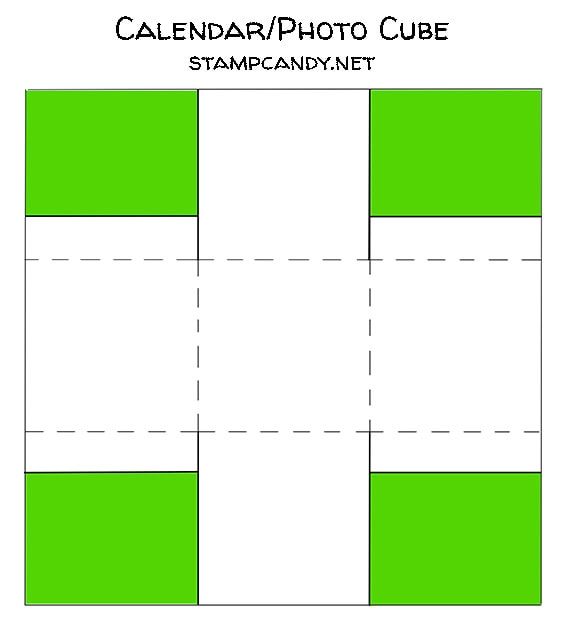
Here you can see where the two boxes go together to make the cube.
Here’s what I did:
Cut and scored with my Stampin’ Trimmer:
12″ x 12″ Grapefruit Grove card stock (CS) scored at 4″ and 8″ in both directions
Grapefruit Grove CS cut to 11-7/8″ x 11-7/8″, then scored at 3-15/16″ from all four sides
Pool Party, Grapefruit Grove, and Gray Granite CS cut to 4-1/4″ x 11″, then scored in half at 5-1/2″
Gold Foil Sheet cut to 4″ x 5-1/4″
trimmed the sides off the sheets of white rectangular stickers (see below) – this gave me more stickers of the same length but different widths, some 1-1/8″ tall and some 3/4″ tall
trimmed some of the 1-1/8″ tall stickers to 3/4″ tall
trimmed the tops off the calendars for the cube and for one of the cards
Stamped with the Day By Day stamp set:
dots in Pool Party, Grapefruit Grove, and Gray Granite inks onto some of the stickers
Assembled the cards:
burnished the folds in the card bases with a Bone Folder
applied a stamped sticker onto two of the calendars, then glued them onto the front of the card bases
ran a 4″ piece of ribbon through the two holes and adhered the ends on the back
tied a 4″ piece of ribbon around the first piece of ribbon and trimmed the ends
adhered the first two calendars onto the fronts of the card bases using Stampin’ Dimensionals
gold foil layer glued onto the front of the third card base
calendar with the top trimmed away (to remove the holes) adhered onto the gold layer
a piece of Gray Granite ribbon adhered onto the calendar
a piece of gold ribbon adhered onto the Gray Granite ribbon
glued (or will glue) a 4″ x 5-1/4″ piece of Whisper White CS to the inside of each card base
Assembled the cube:
burnished the folds in the two large Grapefruit Grove CS pieces with a Bone Folder
cut down one score line on each corner, only to the first score line it crosses
cut away most of the 4 corner panels (the green areas below) leaving a little for a tab
glued each tab to the inside of the adjacent side – this gave me two topless boxes
inserted the smaller box inside the larger box, open side first, and put a little adhesive just inside the seam where they met
glued the 6 calendars (I used January – June 2020) onto the 6 sides of the cube
applied a 3/4″ tall stamped sticker to each calendar
Here’s the hop:
Here are today’s colors:
You can click on each one to see all the products that come in that color!
Click on these images for more details and to purchase.
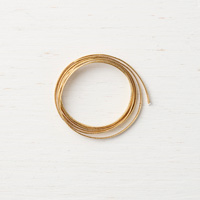
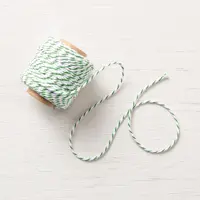
Oops! I realized the 1/8″ gold ribbon I used on the third card is retired. I substituted the 1/8″ gold cord below. Looks like I need to recheck my current products!
During the Year-End Closeout promotion, you can save on a selection of retiring and surplus items—while supplies last. Definitely place your orders sooner rather than later, because supplies are limited and the Year-End Closeout ends on January 2. After that, some of your favorite retiring items may be gone for good!
CLICK HERE to see all the Year-End Closeout items.
Here’s how to get your copy of the new catalogs:
Just click on this button and I’ll send you the new catalogs, along with a list of the bundles, the Designer Series Paper coordinating colors, and a handmade card!
Here’s how to shop 2019 Occasions/Sale-a-bration items now!
Become a Candy Heart!
Join my team and you can order the new products right now, instead of having to wait another month!
No selling required! I welcome Hobby Demos! (Hobby Demos join to get the discount for themselves.)
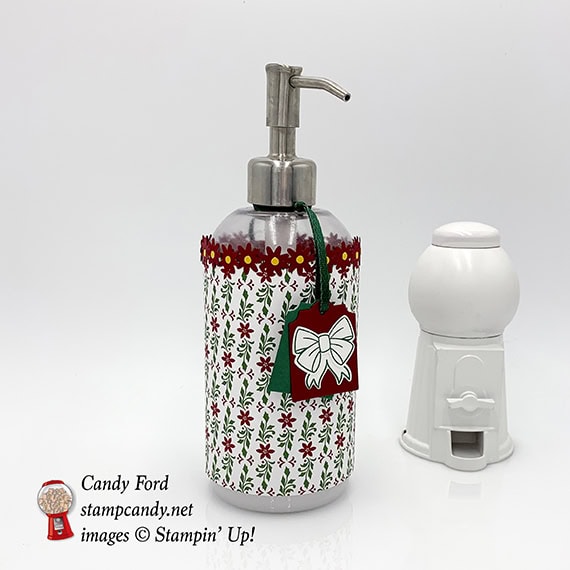
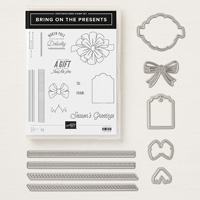
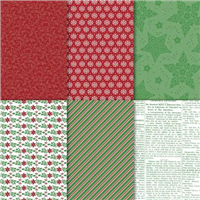
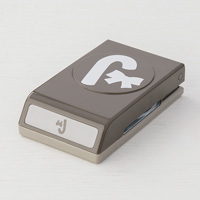
Need a really last minute gift? Wrap something ordinary, like a plain soap / lotion dispenser, in decorative paper and add a few embellishments, and you have a lovely and sensible gift that anyone can use. I used Dashing Along Designer Series Paper to wrap the dispenser. I used a new punch from the 2019 Occasions catalog (Bitty Blooms Punch Pack sneak peek!) for the little flowers around the top. The bow on the tag is from the Bring on the Presents bundle.
Here’s what I made:
Here’s what I did:
Cut and scored with my Stampin’ Trimmer:
Dashing Along Designer Series Paper (DSP) cut to 10″ x 4-1/2″
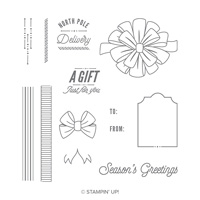
Stamped with the Bring on the Presents stamp set:
bow and ribbon ends in Shaded Spruce ink onto a scrap of Whisper White card stock (CS)
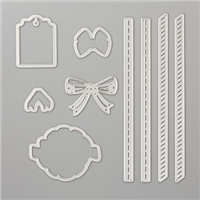
Die cut using the All the Presents Thinlits:
bow and ribbon ends
tags from a scrap of Shaded Spruce CS and a scrap of Cherry Cobbler CS
Cut using a punch from the Bitty Blooms Punch Pack:
20 flowers from a scrap of Cherry Cobbler CS
Cut using the 1/8″ Circle Punch:
20 pieces from a scrap of Crushed Curry CS
Assembled the card:
DSP adhered to the dispenser with Tear & Tape
Crushed Curry dots glued onto the Cherry Cobbler flowers
Cherry Cobbler flowers glued onto the top edge of the DSP
bow glued onto the Cherry Cobbler tag
both tags strung onto a piece of Shaded Spruce ribbon and tied onto the dispenser
Here are today’s colors:
You can click on each one to see all the products that come in that color!
The Year-End Closeout has officially begun! During this promotion, you will be able to save on a selection of retiring and surplus items—while supplies last. Definitely place your orders sooner rather than later, because supplies are limited and the Year-End Closeout ends on January 2. After that, some of your favorite retiring items may be gone for good!
CLICK HERE to see all the Year-End Closeout items.
Here’s how to get your copy of the new catalogs:
Just click on this button and I’ll send you the new catalogs, along with a list of the bundles, the Designer Series Paper coordinating colors, and a handmade card!
Here’s how to shop 2019 Occasions/Sale-a-bration items now!
Become a Candy Heart!
Join my team and you can order the new products right now, instead of having to wait another month!
No selling required! I welcome Hobby Demos! (Hobby Demos join to get the discount for themselves.)
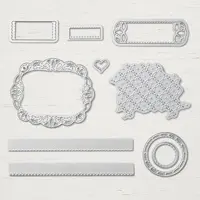
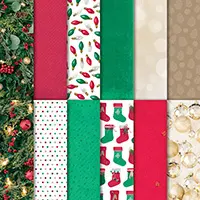
The Clear Tiny Treat Boxes make gift giving so easy. You can line it with paper, as I have today, or let the gift inside show through. I especially like to do that when the gift is colorful, like M&Ms. I decorated this one with a tag I made using the Candy Cane Season stamp set and Stitched Labels Framelits Dies.
Here’s what I made:
Here’s what I did:
Cut and scored with my Stampin’ Trimmer:
All is Bright Designer Series Paper (DSP) cut to 2″ x 8″, then scored at 2″, 4″, and 6″
DSP cut to 2″ x 6″, then scored at 2″ and 4″
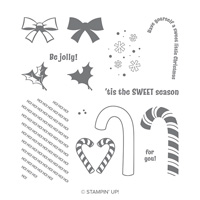
Stamped with the Candy Cane Season stamp set:
sentiment in Garden Green ink onto a scrap of Whisper White card stock (CS)
Die cut using the Stitched Labels Framelits:
a scrap of Garden Green CS (largest layer)
sentiment (smallest layer)
Die cut using the Layering Circles Framelits:
a scrap of Real Red CS (middle layer)
Cut using the 1/2″ Circle Punch:
a semicircle from one end of the 8″ DSP, to match the rounded finger notch in the box
Assembled the project:
folds in the DSP pieces burnished with a Bone Folder
assembled the box
6″ DSP inserted into the box to line the two sides and the bottom
8″ DSP inserted into the box to line the front, bottom, back, and top, with the finger notch in the front
put treats/gift in the box and close the lid
sentiment glued onto the Real Red CS circle
Real Red CS circle glued onto the Garden Green CS circle
Garden Green CS circle adhered onto the top of the box using Stampin’ Dimensionals
Here are today’s colors:
You can click on each one to see all the products that come in that color!
The Year-End Closeout has officially begun! During this promotion, you will be able to save on a selection of retiring and surplus items—while supplies last. Definitely place your orders sooner rather than later, because supplies are limited and the Year-End Closeout ends on January 2. After that, some of your favorite retiring items may be gone for good!
CLICK HERE to see all the Year-End Closeout items.
Here’s how to get your copy of the new catalogs:
Just click on this button and I’ll send you the new catalogs, along with a list of the bundles, the Designer Series Paper coordinating colors, and a handmade card!
Here’s how to shop 2019 Occasions/Sale-a-bration items now!
Become a Candy Heart!
Join my team and you can order the new products right now, instead of having to wait another month!
No selling required! I welcome Hobby Demos! (Hobby Demos join to get the discount for themselves.)
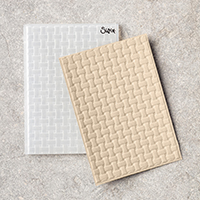
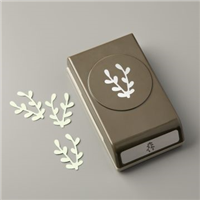
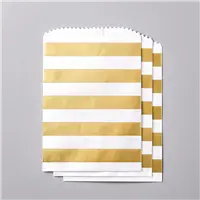
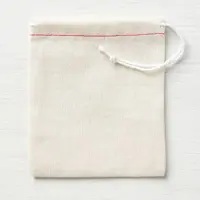
Today I’m sharing one of the gifts I made for the ladies at my Autumn retreat. It’s a very quick and simple idea for a small gift. I used the Sprig Punch and Basket Weave embossing folder to create a simple decoration for a Striped Treat Bag.
Here’s what I made:
This one is a little crinkled from being transported.
Here’s what I did:
Die cut using the Layering Circles Framelits:
a scrap of a Gold Foil Sheet
Cut using the Sprig Punch:
2 pieces from a scrap of Tranquil Tide glimmer paper
Embossed using the Basket Weave TIEF:
gold circle
Assembled the card:
put the gift in the bag and fold over the top
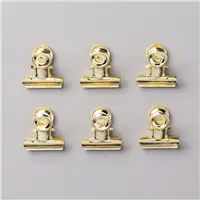
clip the embossed gold circle and the 2 sprigs onto the top of the bag using a Gold Library Clip
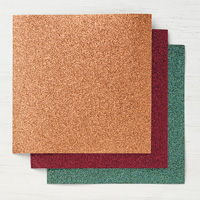
Here are today’s colors:
You can click on each one to see all the products that come in that color!
The Year-End Closeout has officially begun! During this promotion, you will be able to save on a selection of retiring and surplus items—while supplies last. Definitely place your orders sooner rather than later, because supplies are limited and the Year-End Closeout ends on January 2. After that, some of your favorite retiring items may be gone for good!
CLICK HERE to see all the Year-End Closeout items.
Here’s how to get your copy of the new catalogs:
Just click on this button and I’ll send you the new catalogs, along with a list of the bundles, the Designer Series Paper coordinating colors, and a handmade card!
Here’s how to shop 2019 Occasions/Sale-a-bration items now!
Become a Candy Heart!
Join my team and you can order the new products right now, instead of having to wait until January!
No selling required! I welcome Hobby Demos! (Hobby Demos join to get the discount for themselves.)
The Year-End Closeout has officially begun! During this promotion, you will be able to save on a selection of retiring and surplus items—while supplies last. Definitely place your orders sooner rather than later, because supplies are limited and the Year-End Closeout ends on January 2. After that, some of your favorite retiring items may be gone for good!
CLICK HERE to see all the Year-End Closeout items.
Here’s how to get your copy of the new catalogs:
Just click on this button and I’ll send you the new catalogs, along with a list of the bundles, the Designer Series Paper coordinating colors, and a handmade card!
Here’s how to shop 2019 Occasions/Sale-a-bration items now!
Become a Candy Heart!
Join my team and you can order the new products right now, instead of having to wait another month!
No selling required! I welcome Hobby Demos! (Hobby Demos join to get the discount for themselves.)
Today I’m sharing a super quick and easy treat idea. I stamped directly onto a Santa’s Bag using the Candy Cane Season stamp set and Real Red ink. It isn’t waterproof, but as long as it stays dry it’s makes a great little gift. I cut the tag using the Everyday Label Punch, and tied it onto the bag using Garden Green Baker’s Twine.
Here’s what I made:
Here’s what I did:
Stamped with the Candy Cane Season stamp set:
candy cane hearts in Real Red ink onto the bag, 5 on each side
candy cane outline and sentiment in Real Red ink onto a scrap of Whisper White card stock (CS)
Cut using the Candy Cane Builder Punch:
candy cane
Cut using the Everyday Label Punch:
a scrap of Garden Green CS
Cut using the 1/8″ Circle Punch:
a hole in one end of the Garden Green CS tag
Assembled the project:
punched candy cane glued onto the Garden Green CS tag
treats put inside bag
tag tied onto bag with a piece of Garden Green twine
That’s it!
Here are today’s colors:
You can click on each one to see all the products that come in that color!
Clearance Rack and Year-End Closeout! Get ’em while you can!
Stampin’ Up! added a lot of goodies to the Clearance Rack! Check it out now!
During the Year-End Closeout promotion, you can save on a selection of retiring and surplus items—while supplies last. Definitely place your orders sooner rather than later, because supplies are limited and the Year-End Closeout ends on January 2. After that, some of your favorite retiring items may be gone for good!
Here’s how to get your copy of the new catalogs:
Just click on this button and I’ll send you the new catalogs, along with a list of the bundles, the Designer Series Paper coordinating colors, and a handmade card!
Here’s how to shop 2019 Occasions/Sale-a-bration items now!
Become a Candy Heart!
Join my team and you can order the new products right now, instead of having to wait another month!
No selling required! I welcome Hobby Demos! (Hobby Demos join to get the discount for themselves.)